How to Organize Your Garage on a Budget (Complete Guide)
Last updated: February 24, 2026
This article may contain affiliate links. If you make a purchase through these links, we may earn a small commission at no extra cost to you. Learn more
Is your garage a chaotic dumping ground where you can barely park your car? You're not alone. Most homeowners struggle with garage clutter, but the good news is that you don't need to spend thousands of dollars to transform it into a functional, organized space.
With strategic planning and budget-friendly solutions, you can create a garage that actually works for your family. This complete guide will walk you through every step of the process, from the initial purge to maintaining your new organized system.
Why Garage Organization Matters
A well-organized garage does more than just look nice. It protects your belongings from damage, makes it easier to find what you need, and can even increase your home's value.
When your garage is properly organized, you'll save time searching for tools and equipment. You'll also reduce the risk of injury from tripping over clutter or having items fall on you. Plus, an organized garage gives you back valuable square footage that you can actually use.
Step 1: The Great Garage Purge
Before you buy a single storage solution, you need to purge. This is the most important step in the entire process, and skipping it will waste both time and money.
Start by removing everything from your garage. Yes, everything. This might seem overwhelming, but it's essential for seeing what you actually have and making smart decisions about what stays.
The Three-Pile Sorting System
As you remove items, sort them into three categories: keep, donate/sell, and trash. Be ruthless during this process and ask yourself when you last used each item.
If you haven't touched something in over a year, it's probably time to let it go. Broken items that you've been meaning to fix for months should also go unless you commit to repairing them within the next week.
Items with sentimental value but no practical use can be photographed and then donated. This way, you preserve the memory without the clutter. For more guidance on the decluttering process, check out our guide on how to declutter your home room by room.
What Actually Deserves Garage Space
Your garage should house items that make sense for this environment. Seasonal decorations, outdoor equipment, tools, and automotive supplies are all good candidates.
Items that don't belong in the garage include important documents, photos, electronics sensitive to temperature changes, and anything that could be damaged by humidity. Be honest about what needs climate-controlled storage versus what can handle garage conditions.
Step 2: Zone Planning for Maximum Efficiency
Now that you know what you're keeping, it's time to plan your zones. Zoning creates designated areas for different categories of items, making everything easier to find and put away.
Think of your garage like a store, where similar items are grouped together. This systematic approach prevents the chaos from creeping back in.
Common Garage Zones
Most garages benefit from these standard zones: automotive (car care products and tools), garden and lawn care, sports and recreation, seasonal items, workshop/tools, and household overflow. You don't need every zone, just the ones that match your lifestyle.
Measure your garage and sketch a rough floor plan on paper. Mark where your car needs to park and where doors swing open. These immovable elements will determine where your zones can go.
The Activity-Based Approach
Place frequently used items in the most accessible locations. Items you use daily or weekly should be at eye level and within easy reach.
Seasonal items can go up high or in the back corners since you'll only access them a few times a year. This strategic placement saves you time and frustration throughout the year.
Group items by activity rather than just by category. For example, create a "bike maintenance" zone with your pump, tools, and spare parts all together. This makes starting and completing tasks much simpler.
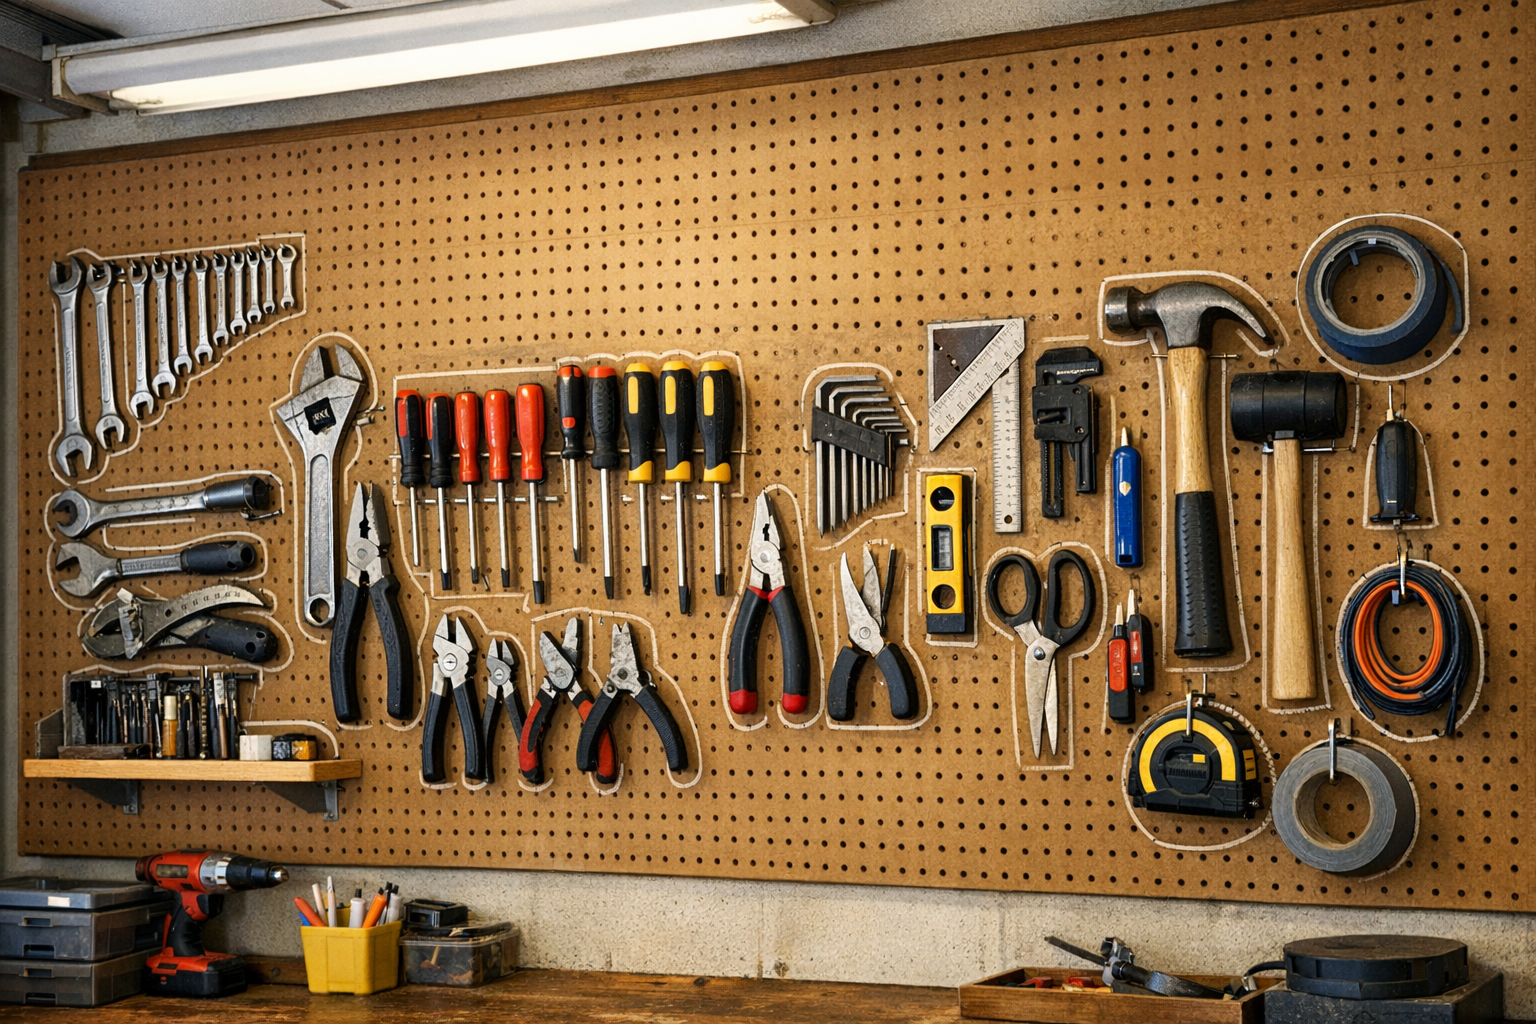
Step 3: Wall Storage and Pegboard Solutions
Walls are your garage's most underutilized storage space. By going vertical, you free up floor space while keeping items visible and accessible.
Pegboard is the budget organizer's best friend, costing just $15-30 for a 4x8 sheet. It's infinitely customizable, and you can rearrange hooks as your needs change.
Installing Pegboard the Right Way
Mount pegboard to wall studs using furring strips to create a gap behind the board. This gap is essential for the hooks to fit properly. Use 1x2 or 1x3 furring strips, which cost around $3-5 each.
Mark your stud locations before you start, and ensure the board is level. A poorly installed pegboard will be frustrating to use and may eventually pull away from the wall.
Paint your pegboard before installation to brighten up the space and make it easier to see tool outlines. White, light gray, or even a bold color can completely transform the look of your garage.
Budget-Friendly Wall Storage Alternatives
If pegboard isn't your style, consider slat wall systems or simple hooks screwed directly into studs. Heavy-duty hooks can hold bikes, ladders, and extension cords for just a few dollars each.
French cleats are another excellent DIY option that costs almost nothing if you have scrap wood. They create a versatile hanging system that can support heavy shelves and storage bins.
Magnetic tool strips work great for metal tools and cost around $10-15. Mount them near your workbench for easy access to screwdrivers, pliers, and wrenches.
Step 4: Ceiling Storage for Maximum Space
Your garage ceiling represents a huge amount of untapped storage potential. Overhead storage is perfect for items you don't need frequent access to but want to keep safe and out of the way.
Seasonal decorations, camping gear, and rarely-used sporting equipment are ideal candidates for ceiling storage. Just make sure items are properly contained and not too heavy for the mounting system.
Overhead Rack Options
Pre-made overhead storage racks range from $60 to $200 depending on size and weight capacity. These install directly into ceiling joists and can hold hundreds of pounds.
For a DIY approach, you can build simple overhead platforms using 2x4s and plywood for around $30-50. Just ensure you're mounting into solid joists and not just drywall. If you accidentally damage your ceiling during installation, our guide on how to patch a hole in drywall can help.
Always consider the height clearance for your garage door and your parked vehicle. You need enough space for the door to open fully and to walk beneath the stored items comfortably.
Safety First with Ceiling Storage
Never exceed the weight limits of your ceiling joists or storage system. A typical ceiling joist in a garage can handle 50 pounds per foot, but always verify your specific situation.
Clearly label everything stored overhead so you know what's up there without having to climb a ladder. Use a sturdy step ladder, never a chair or makeshift platform, when accessing ceiling storage.
Distribute weight evenly across the storage platform and avoid creating a heavy pile in one spot. This prevents sagging and potential failure of the mounting system.
Step 5: Shelving Units That Won't Break the Bank
Freestanding shelving units are essential for most garage organization systems. They provide sturdy, accessible storage for bins, tools, and supplies.
You don't need fancy custom built-ins to create functional storage. Basic metal or resin shelving from home improvement stores works perfectly well and costs $50-100 per unit.
Choosing the Right Shelving
Look for shelving units that are at least 72 inches tall to maximize vertical space. Units with adjustable shelves offer flexibility as your storage needs change over time.
Heavy-duty metal shelving can hold 1,000-4,000 pounds total capacity when properly assembled. Cheaper resin shelving works fine for lighter items but shouldn't be used for heavy automotive parts or paint cans.
Consider the depth of your shelving carefully. Standard 18-24 inch depth works well for most items, but deeper shelves can make it hard to reach items in the back.
DIY Shelving Solutions
If you're handy with basic carpentry, you can build custom shelving for less than buying it. Simple 2x4 frames with plywood or OSB shelves cost around $30-60 per unit.
Cinder block and board shelving is the ultimate budget option at around $20-30 per unit. While not the prettiest, it's incredibly sturdy and completely adjustable.
Repurpose old kitchen cabinets or bookcases for garage storage. Many people give these away for free when remodeling, and they work great for storing smaller items.
Step 6: Creating an Efficient Floor Plan
With your wall, ceiling, and shelving storage in place, it's time to finalize your floor plan. The goal is to maintain clear pathways and keep the space functional.
You should be able to walk through your garage without turning sideways or stepping over obstacles. A 3-foot-wide pathway is the minimum for comfortable access.
The Parking Priority
If you park in your garage, mark out the exact space your vehicle needs with tape on the floor. This visual boundary prevents storage from creeping into parking space over time.
Install a tennis ball on a string from the ceiling to mark the perfect parking spot. When the ball touches your windshield, you're in the right position.
Keep the area around your car doors clear enough to fully open them and get in and out comfortably. Allow at least 2-3 feet on the driver's side for easy access.
High-Traffic Zones
The area near the door leading into your house should remain clear and clutter-free. This is a high-traffic zone that needs to stay functional for daily use.
Consider adding a small table or shelf near this door for packages, recycling, or items heading to donation. This prevents them from piling up on the garage floor. Similar principles apply to other areas of your home, like organizing under your kitchen sink.
Install hooks near the entry door for frequently-used items like reusable shopping bags, dog leashes, or your yard work gloves. These items deserve prime real estate because you use them constantly.
Budget Breakdown: What to Expect
Let's talk numbers. You can completely transform a two-car garage for $200-500 if you're strategic and willing to do the work yourself.
This budget-friendly approach focuses on essential storage infrastructure rather than expensive organizational products. You'll spend your money where it matters most: durable shelving and mounting hardware.
Sample Budget for a Two-Car Garage
Here's a realistic breakdown: Pegboard and hooks ($50-80), two 5-shelf storage units ($100-200), overhead ceiling rack ($60-120), clear storage bins ($40-80), wall hooks and hardware ($20-40), paint and labels ($15-30). This totals approximately $285-550.
You can reduce costs by shopping sales, using coupons, and watching for seasonal discounts at home improvement stores. The weeks after Christmas and in late summer often have the best deals on storage products.
If you're on an extremely tight budget, start with just pegboard and one shelving unit. You can add more storage solutions over time as your budget allows.
Where to Splurge vs. Save
Invest in quality mounting hardware for wall and ceiling storage. Cheap screws and anchors can fail, creating safety hazards and potentially damaging your belongings.
Save money on storage bins by using cardboard boxes or free plastic bins from grocery stores for non-precious items. You can always upgrade to matching bins later if desired.
Don't cheap out on your pegboard hooks if you'll be hanging heavy tools. Quality hooks cost a bit more but won't bend or fall out under weight.
DIY Solutions That Actually Work
The internet is full of clever garage storage hacks, but not all of them are practical. Here are the DIY solutions that actually deliver results without requiring expert carpentry skills.
Most of these projects take less than an hour and use materials you might already have around the house. Even if you need to buy supplies, you'll spend far less than on commercial products.
PVC Pipe Organizers
PVC pipes make excellent holders for long-handled tools, sporting goods, and yard equipment. Cut 4-6 inch sections of 3-4 inch diameter pipe and mount them to the wall at an angle.
These simple holders keep tools upright and organized for just a few dollars. A 10-foot section of PVC costs around $5-10 and can create multiple tool holders.
Use PVC pipes screwed to boards to organize electrical cords, extension cords, and hoses. The pipes keep everything separated and tangle-free.
Jar Lid Storage Hack
Screw metal jar lids to the underside of shelves, then twist jars full of screws, nails, and small parts onto the lids. This creates visible, space-efficient storage for hardware.
This system costs nothing if you save jars from pasta sauce, pickles, or other foods. The clear glass makes it easy to see contents at a glance.
Label the bottom of each jar with a permanent marker so you know what's inside without unscrewing it. This small step saves time when you're looking for a specific size of screw.
Laundry Basket Corral
Mount laundry baskets on the wall to create budget-friendly storage bins for sports balls, pool toys, or outdoor play equipment. Secure them with L-brackets or zip ties through pre-drilled holes.
Plastic laundry baskets cost $3-5 each and provide ventilated storage that allows wet items to dry. The open design makes it easy for kids to put equipment away themselves.
Color-code baskets by family member or activity type for even better organization. This visual system helps everyone maintain the organizational system.
Magnetic Strip Tool Holders
Attach magnetic strips to walls or the side of shelving units to hold metal tools. This works great for screwdrivers, pliers, wrenches, and scissors.
A 12-18 inch magnetic strip costs $8-15 and can hold dozens of tools in a small footprint. The magnetic attachment makes it easy to grab the exact tool you need.
Install magnetic strips at different heights if you have kids helping with projects. Lower strips let them access their own tools while keeping sharp or dangerous items higher up.
Seasonal Rotation Strategy
One key to maintaining an organized garage is rotating seasonal items. This strategy keeps frequently-needed items accessible while storing off-season equipment out of the way.
Twice a year, typically in spring and fall, spend 30 minutes rotating your seasonal zones. This simple maintenance prevents clutter from building up and keeps your system functional.
Spring and Summer Setup
As the weather warms up, move lawn care equipment, gardening supplies, and outdoor recreation items to easily accessible locations. These should be at eye level and near the garage door for quick access.
Store winter items like snow shovels, ice melt, and heavy coats in overhead storage or back corners of high shelves. You won't need them for months, so they don't deserve prime real estate.
Set up a dedicated station for summer activities near the door for items like sunscreen, bug spray, and pool toys. This makes it easy to grab what you need before heading outside.
Fall and Winter Preparation
Before the first freeze, rotate your zones again. Move snow removal equipment to the front and gardening tools to the back or overhead storage.
Check that all summer equipment is clean and dry before storing it long-term. Dirty or wet items can develop mold or rust during months in storage.
This is also the perfect time to assess what worked and what didn't during the past season. Adjust your organization system based on what you learned about your actual usage patterns. Apply similar seasonal thinking to indoor spaces, like when you organize your pantry like a pro.
The Donation Box System
Keep a designated donation box in your garage year-round. When you notice you're not using something, immediately place it in the box rather than returning it to a shelf.
When the box fills up, make a donation run. This ongoing purging prevents accumulation and keeps your garage from slowly filling back up with unused items.
Schedule donation runs quarterly on your calendar so they actually happen. Having a set schedule turns this from a good intention into a consistent habit.
Maintenance Tips for Long-Term Success
Creating an organized garage is an accomplishment, but maintaining it requires ongoing effort. The good news is that with the right systems in place, maintenance takes just minutes per week.
The "one in, one out" rule works perfectly for garages. When you bring in a new garden tool, donate or discard an old one. This prevents slow accumulation over time.
The 10-Minute Weekly Reset
Set a timer for 10 minutes once a week and do a quick garage reset. Return any misplaced items to their proper zones and wipe down work surfaces.
This small weekly investment prevents the need for massive reorganization projects down the road. It's much easier to maintain organization than to recreate it from scratch.
Get the whole family involved by making it a group activity. When everyone participates, the work goes faster and everyone stays aware of the organizational system.
Label Everything
Invest in a label maker or use a permanent marker to clearly label all bins, shelves, and zones. Labels eliminate the excuse of "not knowing where it goes."
Take photos of how zones should look when properly organized and post them in the garage. Visual references make it easier for family members to maintain the system.
Update labels as your system evolves. If you're constantly putting items somewhere other than where the label says they go, change the label to match your actual behavior.
Common Garage Organization Mistakes to Avoid
Even with the best intentions, certain mistakes can derail your garage organization project. Learning from others' errors saves you time, money, and frustration.
The biggest mistake is buying storage solutions before purging and planning. Those "great deals" on bins and shelves often don't match your actual needs and become clutter themselves.
Over-Organizing Small Items
Don't waste time creating elaborate systems for cheap, easily replaceable items. A box of miscellaneous screws is fine—you don't need to sort them by size unless you're a professional carpenter.
Focus your organizational energy on items that are expensive, hard to replace, or frequently used. Everything else can have a simpler storage solution.
Remember that the goal is functionality, not perfection. An organizational system that's too complicated won't be maintained over time.
Ignoring Weight Distribution
Placing all your heaviest items on one shelf or in one corner can cause structural problems. Distribute weight evenly across your shelving units and storage systems.
Always place the heaviest items on lower shelves for both safety and ease of access. Top shelves should hold only lightweight, infrequently used items.
Check manufacturer weight limits on all storage products and stay well below them. It's better to have an extra shelf than to overload the ones you have.
The "I Might Need It Someday" Trap
This mindset is the enemy of organization. If you haven't used something in over a year, the chances you'll need it "someday" are extremely slim.
For specialty tools or equipment, calculate the replacement cost. If you can buy it again for less than $20 and it's available at local stores, let it go. The freed-up space is worth more than storing it.
Be especially ruthless with multiples of the same item. You don't need five hammers or three partially empty bottles of the same cleaner.
Frequently Asked Questions
How long does it take to organize a garage?
A complete garage organization project typically takes 1-3 weekends, depending on the size of your garage and the amount of clutter. The purging phase usually takes the longest—expect to spend 4-8 hours sorting through everything.
Once you've purged, installing storage systems can take another full day or two. If you're doing DIY solutions, add extra time for building and mounting. The good news is that this upfront investment saves countless hours of searching for lost items in the future.
Can I organize my garage without buying anything?
Yes, you can make significant progress using only items you already own. Repurpose cardboard boxes, old shelving units, and even furniture from inside your home for garage storage.
Nails and screws can create simple tool holders on wall studs. Paint can labels directly on walls to mark zones if you don't have a label maker. While purchased solutions may be more durable and attractive, they're not essential for functionality.
The purging step alone will transform your garage even if you don't add a single storage product. Sometimes less stuff is the best organizational tool of all.
What temperature-sensitive items shouldn't be stored in the garage?
Avoid storing paint, batteries, electronics, photographs, important documents, propane tanks, and canned goods in unconditioned garages. Extreme temperatures can damage these items or make them dangerous.
Paint can freeze and separate, batteries can leak or lose charge, and electronics can suffer component damage from heat and humidity. If your garage isn't climate-controlled, keep these items inside your home.
Propane tanks should never be stored indoors but should be kept in a well-ventilated area of the garage away from heat sources. Always check manufacturer storage recommendations for any potentially hazardous materials.
How do I keep my garage organized when I have kids?
Create zones and storage solutions at kid-accessible heights for their equipment. When children can reach their bikes, balls, and toys without help, they're more likely to put them away properly.
Use visual labels with pictures instead of just words for younger children. A photo of a bike on the bike storage area clearly communicates where it belongs.
Make cleanup a game or part of the routine before dinner. Consistency is key—when putting things away becomes automatic, organization maintains itself. Involve kids in the initial organization process so they understand the system and feel ownership over maintaining it.
Your Organized Garage Awaits
Transforming your garage from a cluttered catch-all into an organized, functional space doesn't require a massive budget or professional help. With strategic planning, smart storage solutions, and consistent maintenance, you can create a garage that actually serves your family's needs.
Start with the purge, plan your zones carefully, and maximize vertical storage with walls and ceilings. Invest in basic shelving units and use creative DIY solutions to fill in the gaps. Remember that perfection isn't the goal—functionality is.
The time and modest financial investment you make now will pay dividends for years to come. You'll spend less time searching for misplaced items, better protect your belongings, and maybe even discover you have more garage space than you thought. Your future self will thank you every time you pull into a clean, organized garage.
Now grab some garbage bags and get started on that purge. Your organized garage is just a weekend away.
Get weekly home tips that actually work
Join thousands of homeowners getting practical cleaning hacks, DIY fixes, and money-saving tips every week. Free, and you can unsubscribe anytime.

Written by
Beth SullivanFounder & Editor-in-Chief
Beth Sullivan is the founder of Practical Home Guides. With over a decade of hands-on experience tackling every home challenge imaginable, she started this site to share the practical, no-nonsense solutions she wishes she had found years ago. When she's not testing cleaning hacks or organizing pantries, you'll find her in the garden or working on her next DIY project.
Recommended Products
Looking for specific product recommendations? Check out our tested picks.
Best Garage Shelving Systems (2026 Tested)
Wire shelving, freestanding steel, wall-mounted, and overhead — we tested the garage shelving systems that hold real weight without sagging.
5 Best Closet Organizer Systems Under $100 (2026)
Transform your cluttered closet without spending a fortune. We compared the top closet organizer systems under $100 — here are the 5 best for different closet sizes and needs.
Best Storage Bins and Organizers for Every Room (2026)
The best storage bins, baskets, and organizers for closets, pantries, bathrooms, and garages. Practical picks at every price point to get your home organized.
Related Articles
How to Swap Winter and Summer Wardrobes (And Cut Your Closet in Half)
The seasonal wardrobe swap is the highest-leverage closet declutter you can do. Here's the system that takes 90 minutes and dramatically simplifies dressing for months.
How to Set Up Garage Pegboard Zones (Pro Mechanic Style)
A pegboard wall keeps every tool in its own spot. Here's the zone-based layout pro mechanics use — adapted for home garages.
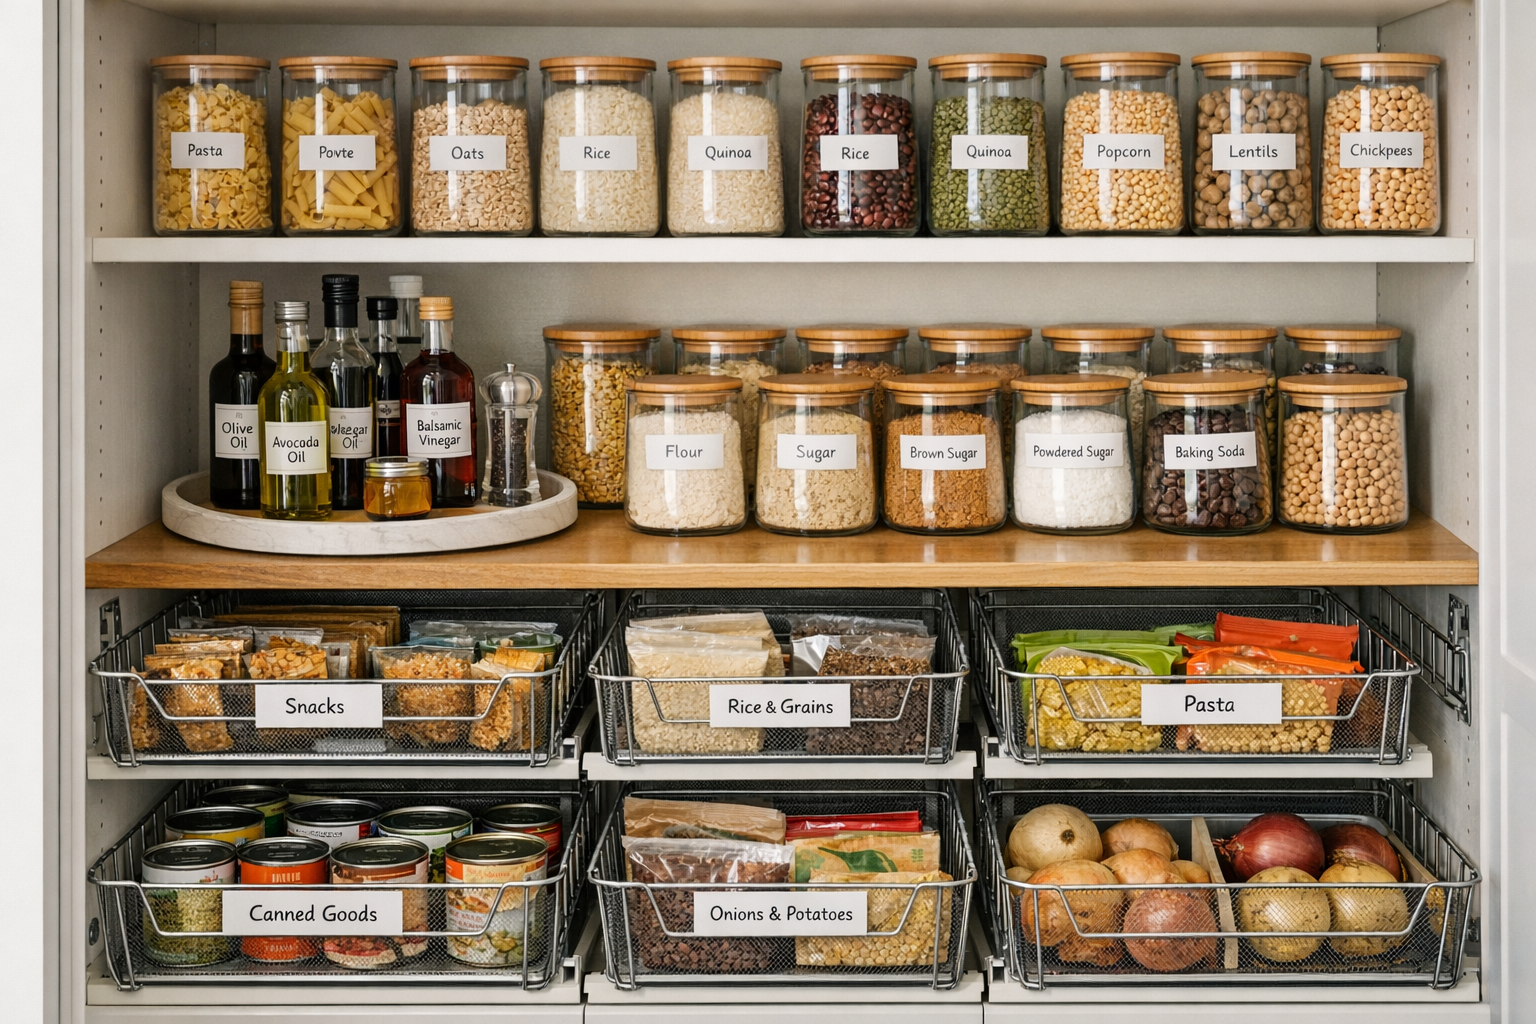
How to Organize Deep Pantry Shelves Without Wasting Food
Deep pantry shelves are where food goes to be forgotten. Here's the system that keeps everything visible and rotated — even on 24-inch deep shelves.
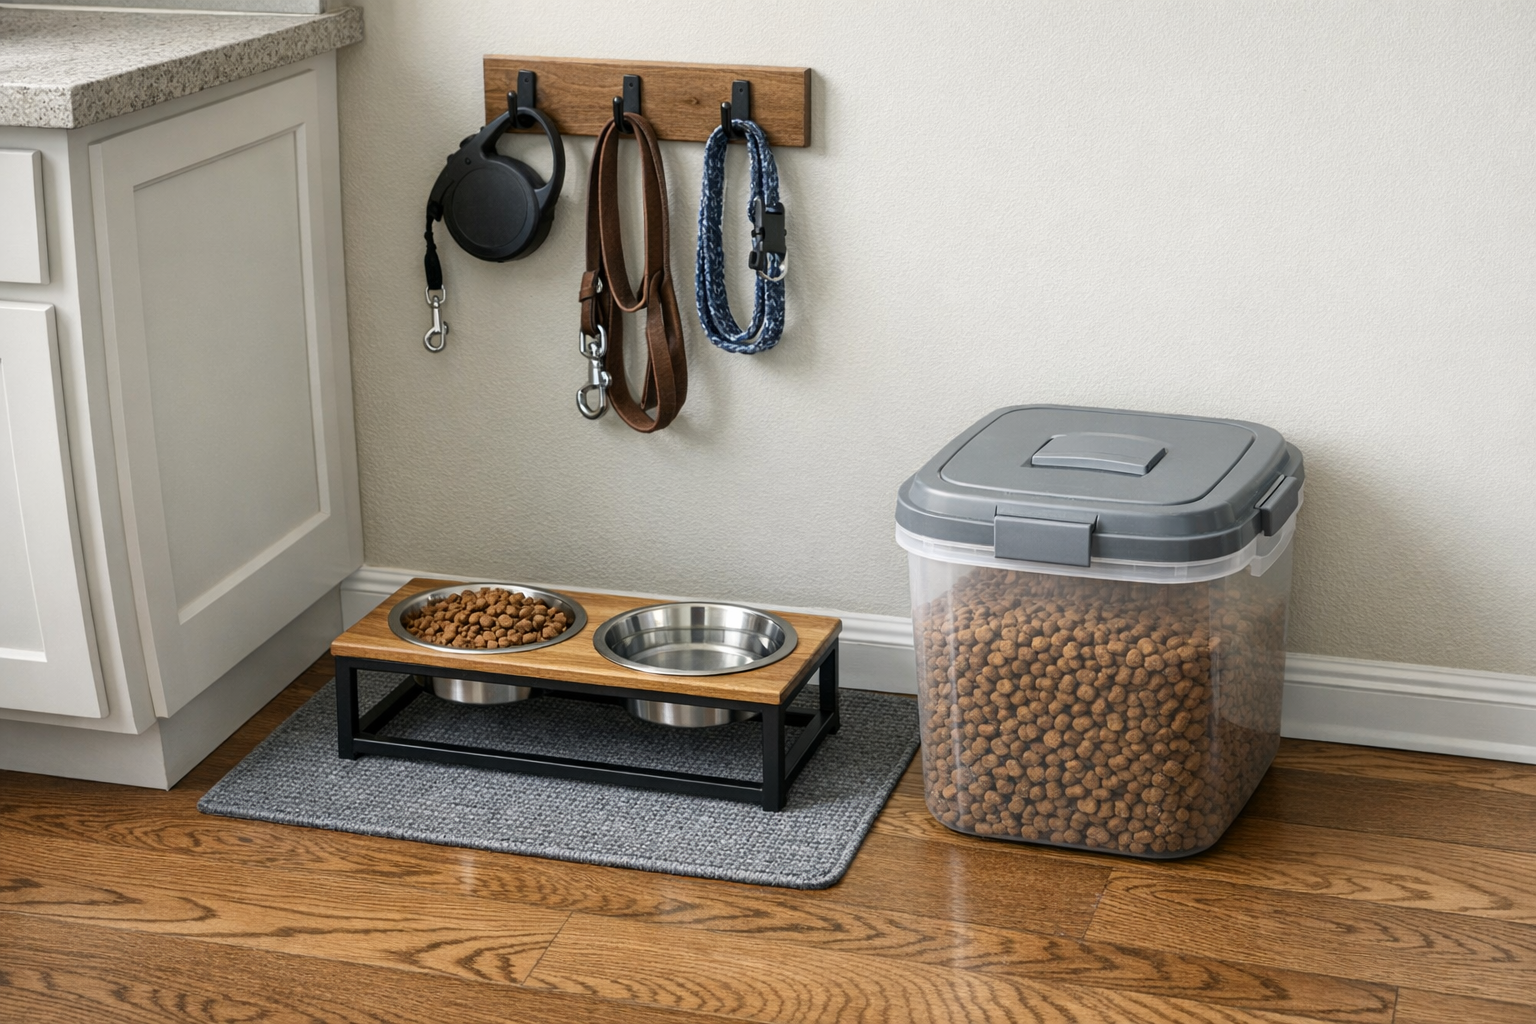
How to Organize Pet Supplies and Build a Tidy Feeding Station
Stop tripping over kibble bags and digging through a chaotic pet drawer. A simple feeding station system that works for one pet or five.