How to Clean a Garbage Disposal and Get Rid of the Smell
This article may contain affiliate links. If you make a purchase through these links, we may earn a small commission at no extra cost to you. Learn more
Quick Answer
How to Clean a Garbage Disposal and Get Rid of the Smell
Pour half a cup of baking soda down the disposal, followed by one cup of white vinegar. Let it fizz for 5 minutes, then flush with hot water while running the disposal. For stubborn odors, grind a handful of ice cubes with half a cup of rock salt to scrub the blades and walls, then push a few lemon or orange peels through. Do this once a week to keep the smell away.
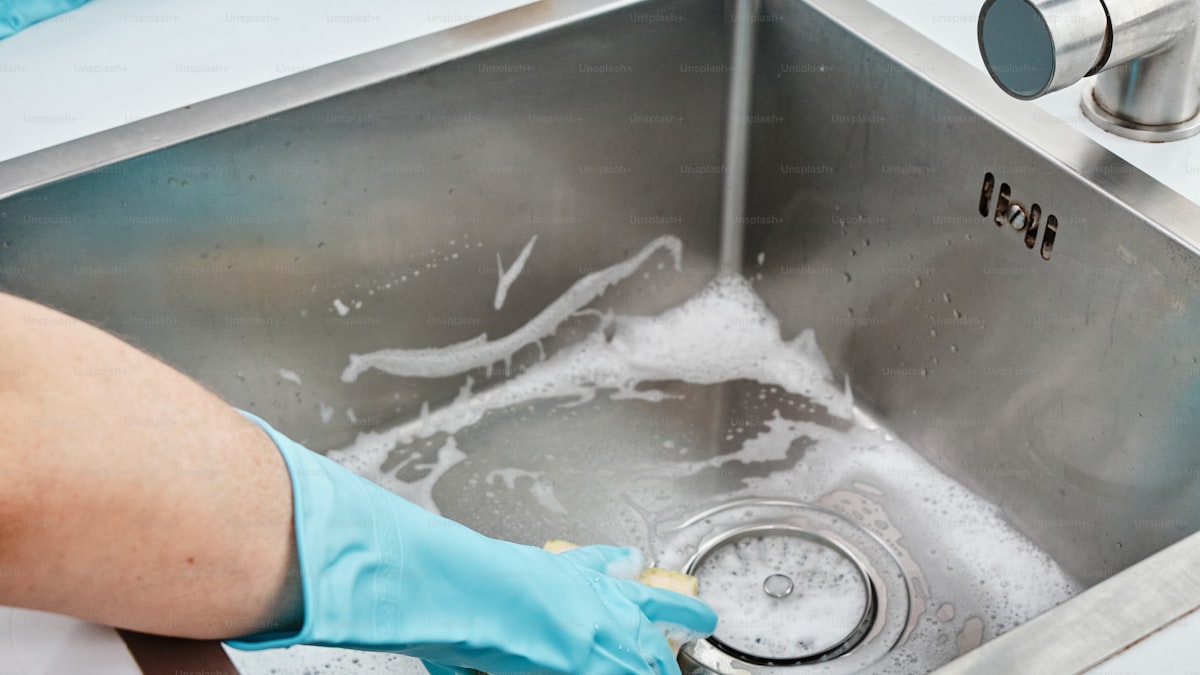
You keep your kitchen clean, your counters wiped down, and your dishes put away. But there's still that smell. Something rotten, sour, and vaguely swampy drifting up from the drain every time you turn on the faucet. Nine times out of ten, the culprit is your garbage disposal.
The problem is that most people assume running the disposal is the same thing as cleaning it. It's not. Every time you grind up food scraps, tiny particles get trapped under the splash guard, cling to the chamber walls, and settle into crevices where water alone can't reach them. Over time, bacteria go to work on those leftovers and produce the stench that greets you when you lean over the sink.
The good news is that cleaning a garbage disposal takes about ten minutes, uses supplies you already have, and makes a dramatic difference you'll notice immediately. In this guide, I'll walk you through several proven methods, show you where the smell is actually hiding, and help you build a simple routine that keeps odors from coming back.

Why Does My Garbage Disposal Smell?
A garbage disposal smells bad because food particles get stuck in places the grinding action never reaches. The blades do a decent job of pulverizing whatever you feed them, but they can't scrub the walls of the grinding chamber, the underside of the splash guard, or the drain pipe leading away from the unit.
Here's what's actually happening inside your disposal when it starts to stink:
Trapped food particles. Tiny bits of meat, vegetables, and starchy foods cling to the interior walls and the underside of the splash guard. These particles start decomposing within hours, especially in a warm, moist environment like the inside of a disposal.
Bacterial and mold growth. That dark, damp chamber is a paradise for bacteria. They feed on the trapped food and produce sulfur compounds, which is why the smell often resembles rotten eggs. Mold can also take hold on the rubber splash guard if it stays wet.
Grease and fat buildup. When cooking oils and grease go down the disposal, they coat the interior surfaces and harden over time. This greasy film traps even more food particles and creates a layered buildup that gets worse with every use.
Drain pipe residue. Even after food clears the disposal, residue can accumulate in the drain pipe just below it. If your dishwasher drains through the disposal (which is common), you're adding soap scum and food particles from that source too. If you haven't deep cleaned your dishwasher lately, that could be contributing to the problem.
How Do You Deep Clean a Garbage Disposal?
The baking soda and vinegar method is the most effective way to deep clean a garbage disposal. It's safe, cheap, and tackles both the grime and the odor at the same time. Here's how to do it step by step.
Step 1: Turn off the disposal and unplug it (or switch off the breaker). Safety first. You're going to be reaching near the opening, and you want zero chance of the unit accidentally turning on. Never put your hand inside the disposal itself.
Step 2: Clear any visible debris. Use tongs or long-handled pliers to pull out any large pieces of food or objects stuck in the disposal. Shine a flashlight down there to get a clear look at what you're dealing with.
Step 3: Pour half a cup of baking soda into the disposal. Let it sit for about five minutes so it can start absorbing odors and loosening the buildup coating the interior walls.
Step 4: Add one cup of white vinegar. The mixture will fizz and bubble aggressively. That reaction is actively lifting food particles and grease from the surfaces inside the disposal. Let it work for at least five minutes, though ten is even better if you have the time.
Step 5: Boil a kettle of water. While the baking soda and vinegar are doing their thing, get a full kettle going on the stove.
Step 6: Flush with hot water and run the disposal. Plug the unit back in, turn on the disposal, and carefully pour the boiling water down the drain. The combination of the chemical reaction, the heat, and the mechanical action of the blades flushes away the loosened grime. Let the water run for another 30 seconds after the kettle is empty.
Your disposal should already smell noticeably better. For a routine clean, this method alone is usually enough. But if the odor has been building for weeks or months, keep reading.
The Ice and Salt Trick
This is the method plumbers recommend for scrubbing the inside of a disposal without ever putting your hand near it. The ice acts as a mild abrasive that scours the grinding chamber walls, while the salt amplifies the scrubbing action and helps break up stuck-on residue.
Dump two cups of ice cubes into the disposal, followed by half a cup of rock salt or coarse kosher salt. Turn on the cold water at a steady stream, then run the disposal for about 30 seconds. You'll hear a loud crunching noise, which is normal. The ice chips bounce around the chamber and knock loose the grime that's been clinging to every surface.
When the grinding stops and the ice is gone, let the cold water run for another 15 seconds to flush everything through. The interior walls of your disposal will be noticeably cleaner. If you've never done this before, you might be surprised at the dark sludge that washes out.
Use cold water for this method, not hot. Hot water can melt the ice too quickly before it has a chance to do its scrubbing job. Cold water also helps solidify any grease inside the disposal, making it easier for the ice and salt to knock it loose and wash it away.

How Do You Deodorize a Garbage Disposal?
Once the disposal is physically clean, deodorizing it is simple. These methods leave behind a fresh scent and help neutralize any lingering bacterial odors.
Citrus peels. Cut a lemon, orange, or lime into small wedges and feed them through the disposal one at a time with the cold water running. The natural oils in citrus peel are antimicrobial and leave a clean, fresh smell. This is the simplest deodorizing trick and it works every time.
Baking soda maintenance. Sprinkle two tablespoons of baking soda into the disposal before bed, and let it sit overnight without running water. Baking soda is a natural odor absorber that neutralizes acids and bases alike. Flush it with cold water in the morning.
Commercial cleaning pods. If you prefer a grab-and-go option, disposal cleaning pods are formulated to foam and expand inside the chamber, reaching areas that liquids miss. Drop one in, run warm water, and let the disposal do its thing. These are especially convenient for weekly maintenance between deep cleans.
Don't Forget the Splash Guard
Here's where most of the smell is actually hiding, and almost nobody thinks to clean it. The splash guard, that black rubber flap sitting at the top of your disposal, has multiple folds and ridges on its underside. Food particles, grease, and bacterial slime collect in those folds every single day, and no amount of running water or grinding will clean them.
To clean the splash guard, lift each flap and scrub the underside with an old toothbrush or a disposal brush dipped in dish soap. You'll probably be disgusted by what comes off. Dark, slimy buildup is completely normal, especially if the guard has never been cleaned.
If the splash guard is removable (many are, they just pop out), take it out and scrub it in a basin of hot, soapy water. Get into every fold and ridge. Rinse it thoroughly and snap it back in. If you can't remove it, just work your brush around each flap while it's still in place.
Once you realize how much gunk lives on the splash guard, you'll understand why your disposal still smelled even after you cleaned the chamber itself. Make this part of every deep clean, and the difference will be significant.
What Should You Never Put in a Garbage Disposal?
Prevention is half the battle. Many odor problems start because the wrong foods went down the disposal in the first place. These items either create stubborn buildup, damage the unit, or both.
Grease, oil, and fat. They go down as liquid but solidify inside the disposal and drain pipe, creating a sticky coating that traps food particles and breeds bacteria. Pour cooking grease into a disposable container and toss it in the trash instead.
Pasta and rice. Both continue to expand when exposed to water, even after cooking. They form a starchy paste that clogs drains and gums up the disposal's grinding mechanism.
Coffee grounds. They seem harmless going down, but they clump together in the drain pipe and create dense blockages over time. Compost them or toss them in the trash. If you're dealing with the fruit flies that old coffee grounds attract, that's another reason to keep them out of the disposal.
Bones and shellfish shells. Small chicken bones won't destroy a disposal, but they dull the blades and create fragments that get stuck in the chamber. Shellfish shells are even worse. Keep them all in the trash.
Fibrous vegetables. Celery, artichokes, corn husks, asparagus, and onion skins have stringy fibers that wrap around the blades and jam the motor. These belong in the compost bin.
Egg shells. Despite the old myth that they sharpen the blades, egg shells actually create a sand-like residue that sticks to grease inside the pipe and contributes to clogs. If you want to know what else shouldn't go down your drains, check out our guide on how to unclog a drain without chemicals.

How to Prevent Odors From Coming Back
Cleaning a disposal once is easy. Keeping it clean is where most people fall off. These habits take almost no time and prevent the kind of buildup that leads to odors in the first place.
Run it with cold water every time. Whenever you use the disposal, run a strong stream of cold water for at least 15 seconds before you start grinding and 30 seconds after you finish. The water flushes debris through the drain pipe and prevents particles from settling. Cold water keeps fats solid so the blades can chop them up rather than letting them coat the walls.
Run it longer than you think you need to. Most people turn off the disposal the moment the grinding sound stops. Keep it running with the water for another 20 to 30 seconds. This extra time ensures everything is fully flushed through and nothing is left sitting in the chamber.
Clean it weekly. Pick a day, any day, and do a quick maintenance clean. The baking soda and vinegar method takes five minutes. Toss a few citrus peels in afterward. That's it. One consistent weekly habit prevents 90 percent of odor problems.
Don't let food sit in it. If you scrape a plate into the disposal, run it right away. Leaving food sitting in the chamber overnight is one of the fastest ways to create an odor problem. If you keep your stainless steel sink clean and dry at the end of each day, extend the same habit to the disposal.
Flush with hot water after cleaning (but not during grinding). After you finish a cleaning session, a hot water flush helps dissolve any remaining grease. Just don't use hot water while grinding regular food waste, because that melts fats and allows them to coat surfaces further down the drain.
Frequently Asked Questions
Can I pour bleach down my garbage disposal?
You can, but it's not the best choice. A small amount of diluted bleach (one tablespoon in a gallon of water) will disinfect the disposal, but bleach can damage the rubber splash guard over time and corrode metal components with repeated use. It's also harsh on septic systems. Vinegar and baking soda accomplish the same disinfecting and deodorizing goals without any of the downsides.
How often should I clean my garbage disposal?
A quick baking soda and vinegar clean once a week is ideal for preventing odor buildup. A more thorough deep clean that includes the ice and salt trick plus scrubbing the splash guard should happen once a month. If you cook heavily or use the disposal daily for large amounts of food, bump the deep clean to every two weeks.
Why does my garbage disposal smell like sewage?
A sewage smell, as opposed to a rotten food smell, usually indicates a problem beyond the disposal itself. The most common cause is a dry P-trap, which happens when the sink hasn't been used in a while and the water seal in the trap evaporates. Run water for 30 seconds to refill it. If the smell persists, you may have a blocked vent pipe or a problem with the drain line. That's worth calling a plumber about.
Is it safe to put ice cubes in a garbage disposal?
Absolutely. Ice cubes are one of the best things you can put in a disposal. They don't damage the blades or the motor. Instead, they act as a safe abrasive that scrubs the grinding chamber walls clean. The disposal is designed to handle much harder materials than ice. Combine the ice with rock salt for even better scrubbing action, and make it a regular part of your monthly maintenance routine.
Keep Your Disposal Fresh for Good
A smelly garbage disposal isn't a sign that something is broken. It's a sign that food residue has been building up in places you can't see. The fixes are simple, the supplies are cheap, and the results are immediate.
Start with the baking soda and vinegar deep clean to knock out the existing buildup. Follow up with the ice and salt trick to scour the chamber walls. Scrub the splash guard because that's where most of the smell is actually living. Then build a weekly routine of baking soda, vinegar, and citrus peels to keep everything fresh going forward.
The whole process takes ten minutes, and once you get into the habit, you'll never deal with that mystery sink smell again. While you're in the kitchen maintenance mindset, it's a good time to check whether your dishwasher needs a deep clean too, since it drains through the same plumbing and can contribute to disposal odors if neglected.
Your nose will thank you. And so will everyone else who walks into your kitchen.
Get weekly home tips that actually work
Join thousands of homeowners getting practical cleaning hacks, DIY fixes, and money-saving tips every week. Free, and you can unsubscribe anytime.

Written by
Beth SullivanFounder & Editor-in-Chief
Beth Sullivan is the founder of Practical Home Guides. With over a decade of hands-on experience tackling every home challenge imaginable, she started this site to share the practical, no-nonsense solutions she wishes she had found years ago. When she's not testing cleaning hacks or organizing pantries, you'll find her in the garden or working on her next DIY project.
Recommended Products
Looking for specific product recommendations? Check out our tested picks.
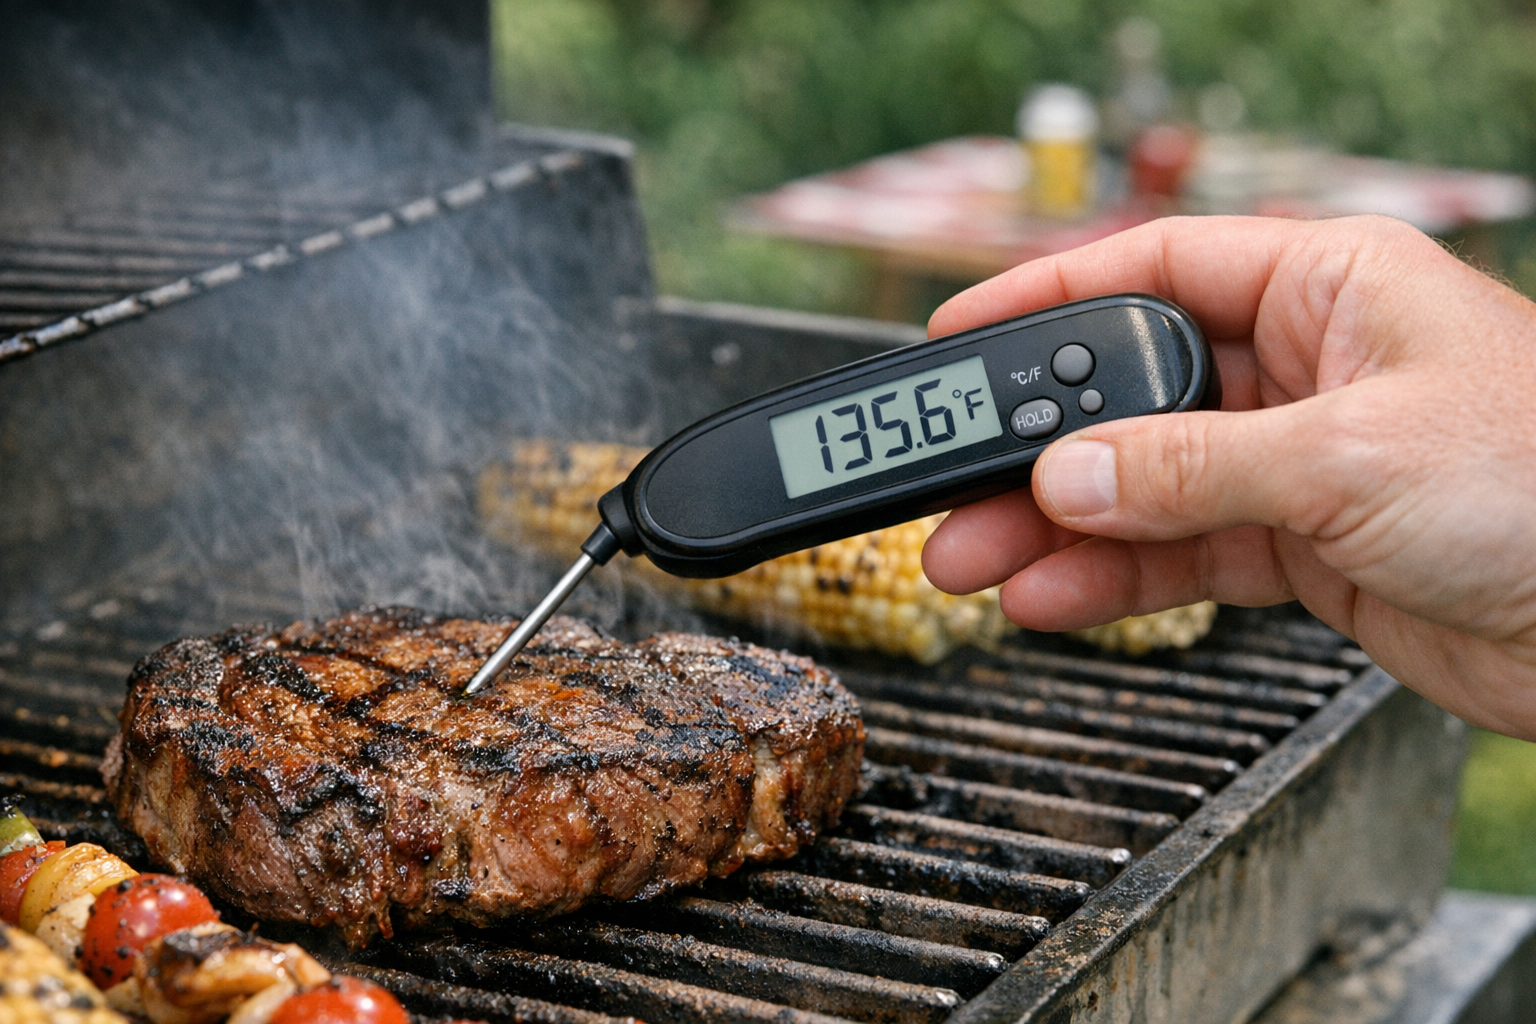
Best Instant Read Meat Thermometers (2026 Tested)
We tested instant read thermometers for grilling, roasting, and candy making. The picks that read in under 3 seconds and don't break after a year.

Best Espresso Machines for Home (2026 Buyer's Guide)
From under-300-dollar starter machines to 2000-dollar prosumer espresso, here are the espresso machines worth your money in 2026.
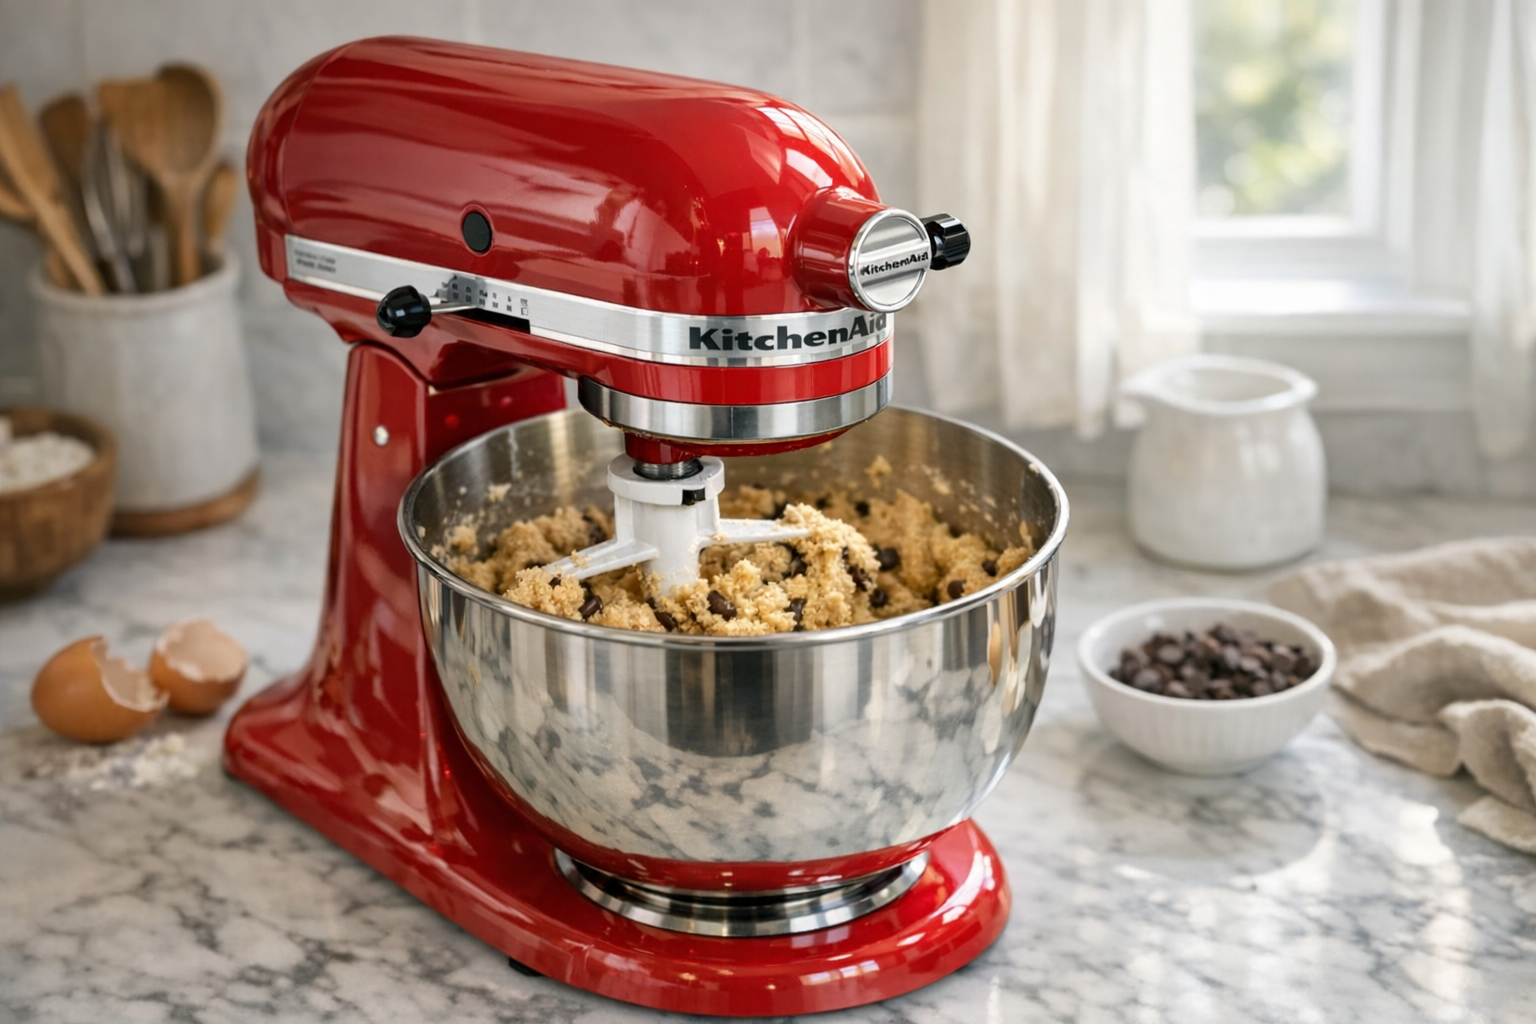
Best Stand Mixers (2026 Buyer's Guide)
We tested stand mixers from KitchenAid, Cuisinart, and Breville on bread dough, cookie batter, and meringues. Here are the picks worth the counter space.

5 Best Kitchen Knife Sets for Home Cooks (2026)
Stop struggling with dull knives. We compared the top kitchen knife sets for home cooks at every budget — here are the 5 best with honest pros and cons.
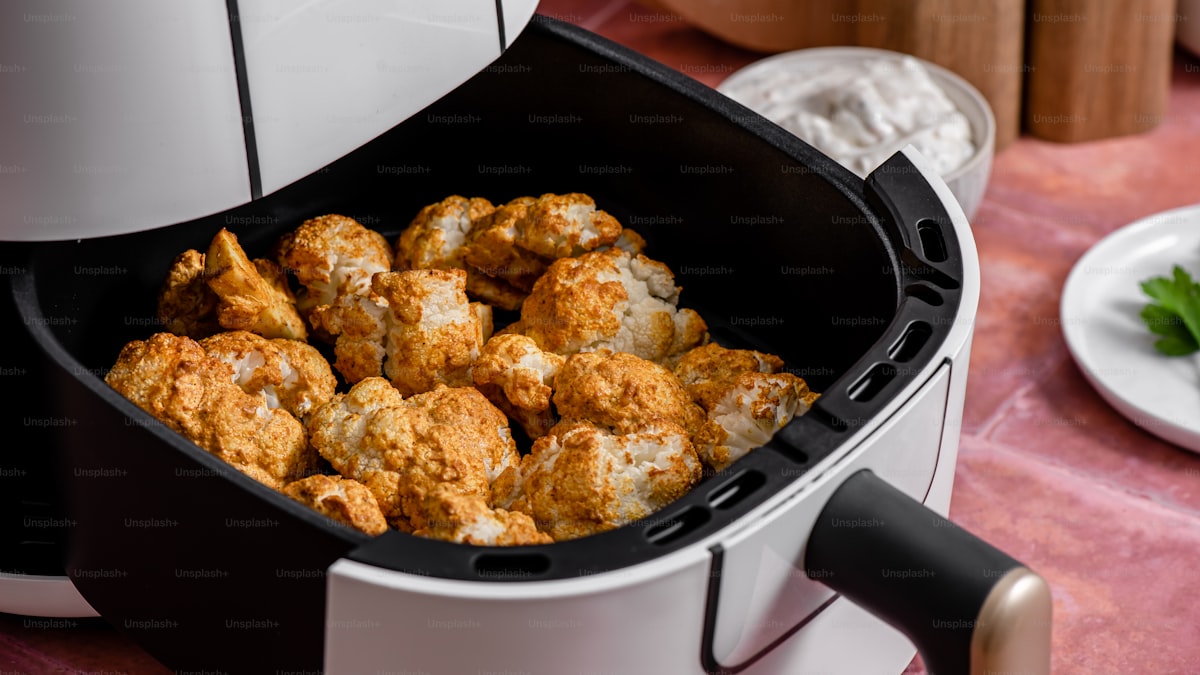
Best Air Fryers for Home Cooks (2026 Buyer's Guide)
Find the best air fryer for your kitchen and budget. We compare 6 top-rated air fryers from basket to oven style, with honest pros and cons for each.
Related Articles

Cookout Staples to Prep Ahead (For Stress-Free Summer Entertaining)
The 8 cookout staples you can make 1 to 3 days ahead — better-tasting than last-minute and lets you actually enjoy the party.

Mother's Day Gifts That Ship Well (Last-Minute Friendly)
If Mother's Day snuck up on you, these gift ideas ship in 3 days or less and don't feel last-minute. From specialty foods to thoughtful kitchen tools.
How to Cook Fluffy Rice Every Time (No Sticky Bottom)
Fluffy separate rice grains, no clumping, no scorched bottom. The exact ratios and technique that work whether you use a pot, rice cooker, or Instant Pot.
Best Instant Read Meat Thermometers (2026 Tested)
We tested instant read thermometers for grilling, roasting, and candy making. The picks that read in under 3 seconds and don't break after a year.