How to Clean Grout Without Scrubbing (5 Easy Methods)
Last updated: February 23, 2026
This article may contain affiliate links. If you make a purchase through these links, we may earn a small commission at no extra cost to you. Learn more

There's nothing quite as frustrating as dirty, discolored grout lines ruining the look of your beautiful tile floors or walls. You know the feeling: you notice those dingy gray or brown lines between your tiles, and your heart sinks at the thought of getting down on your hands and knees to scrub them clean.
But here's the good news: you don't have to resort to back-breaking scrubbing to get your grout looking brand new again. There are several effective methods that do most of the work for you, using simple household ingredients and a bit of patience.
Why Grout Gets So Dirty (And Why Scrubbing Isn't Always the Answer)
Grout is porous by nature, which means it acts like a sponge, absorbing dirt, oils, soap scum, and moisture over time. This is especially true in high-traffic areas like kitchens and bathrooms where grout is constantly exposed to spills, splashes, and humidity.
Traditional scrubbing can actually damage grout over time, wearing it down and making it even more porous. This creates a vicious cycle where your grout gets dirtier faster and requires more aggressive cleaning each time.
The secret to cleaning grout without scrubbing is using chemical reactions and time to break down the dirt and stains. These methods let the cleaning agents do the heavy lifting while you go about your day.
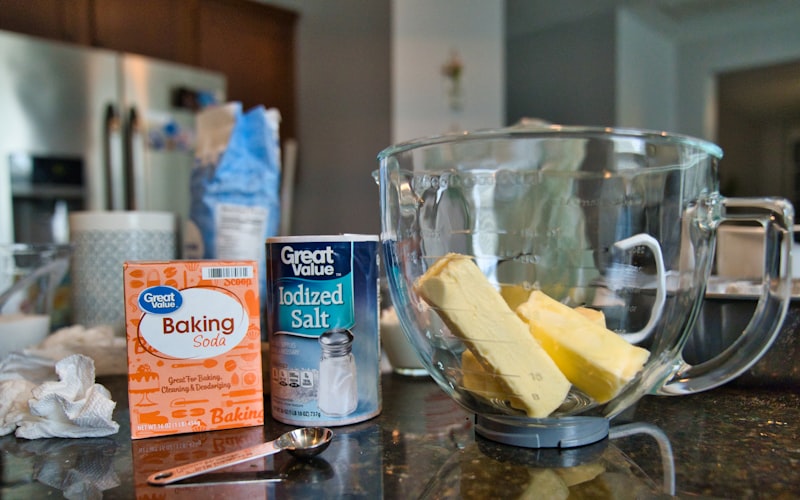
Method 1: Overnight Baking Soda Paste Treatment
This is perhaps the gentlest and most effective no-scrub method for cleaning grout. Baking soda is mildly abrasive and alkaline, making it perfect for breaking down dirt and grime without damaging your grout.
How to Do It
Mix three parts baking soda with one part water to create a thick paste. The consistency should be similar to toothpaste, thick enough to stay in place on vertical surfaces.
Apply the paste generously along all your grout lines using a paintbrush, old toothbrush, or even your finger. Make sure to cover the grout completely with a thick layer of paste.
Let the paste sit overnight, or at least 8-12 hours. During this time, the baking soda will penetrate the grout and break down the embedded dirt and stains.
In the morning, spray the dried paste with water to reactivate it, then wipe away with a damp cloth or mop. You'll be amazed at how much dirt comes up with minimal effort.
For stubborn areas, you can let the paste sit for 24 hours before wiping clean. This extended contact time allows the baking soda to work deeper into the porous grout.
Method 2: Hydrogen Peroxide Spray and Soak
Hydrogen peroxide is a powerful oxidizing agent that breaks down organic stains and kills mold and mildew. It's one of the best solutions for bathroom grout that's dealing with mold or mildew issues.
The Application Process
Pour 3% hydrogen peroxide (the standard concentration sold in drugstores) into a spray bottle. No need to dilute it; use it straight from the bottle.
Spray the hydrogen peroxide liberally on all grout lines, making sure they're completely saturated. The peroxide should be dripping wet, not just lightly misted.
Let it sit for at least 30 minutes, though 2-4 hours is even better for heavily stained grout. The peroxide will fizz and bubble as it breaks down stains and kills bacteria.
After soaking, wipe the area with a damp cloth or sponge. For floor grout, you can simply mop the area with clean water.
For extra cleaning power, you can combine this with the baking soda method: apply baking soda paste first, then spray with hydrogen peroxide. The resulting fizzing reaction provides extra cleaning action similar to vinegar and baking soda, but is safer for grout.
Method 3: Vinegar and Baking Soda Fizzing Action
This classic cleaning combination creates a powerful fizzing reaction that helps lift dirt from grout without any scrubbing required. However, use this method sparingly as vinegar's acidity can damage grout sealant over time.
Step-by-Step Instructions
Start by sprinkling baking soda along all the grout lines you want to clean. Use enough to create a visible layer covering the grout.
Fill a spray bottle with undiluted white vinegar. Spray the vinegar over the baking soda-covered grout lines.
Watch as the mixture fizzes and bubbles vigorously. This chemical reaction creates carbon dioxide gas, which helps dislodge dirt and grime from the porous grout surface.
Let the fizzing action work for 5-10 minutes. You can reapply vinegar if the fizzing stops and you want to extend the cleaning action.
Wipe clean with a damp cloth or mop with warm water. The lifted dirt should come away easily without any scrubbing.
Important note: Don't use this method more than once a month, as regular vinegar exposure can deteriorate grout and grout sealant. For routine cleaning, stick with the baking soda or hydrogen peroxide methods instead.
Method 4: Oxygen Bleach Soak (The Most Powerful Option)
Oxygen bleach (like OxiClean or generic sodium percarbonate) is different from chlorine bleach and is safe for grout. When mixed with water, it releases oxygen bubbles that penetrate deep into grout and break down stains at a molecular level.
How to Use Oxygen Bleach
Mix oxygen bleach powder with warm water according to package directions. Typically, this is about 2-4 tablespoons per gallon of water, but always check your specific product.
Pour or spray the solution onto your grout lines, ensuring complete coverage. For vertical surfaces, you can apply with a spray bottle or sponge.
Let the solution sit for 1-2 hours. The longer it sits, the deeper it penetrates and the more effective it becomes.
For extremely stubborn stains, make a paste with oxygen bleach and water, apply it to the grout, and let it sit for several hours or overnight. This concentrated application provides maximum cleaning power.
After soaking, simply wipe away with a damp cloth or mop with clean water. The stains should lift away with minimal effort.
Oxygen bleach is particularly effective on organic stains, mildew, and general dingy discoloration. It's also safer for colored grout than chlorine bleach, which can cause fading.
Method 5: Steam Cleaning (The Chemical-Free Solution)
Steam cleaning is the ultimate no-scrub, chemical-free method for cleaning grout. The high-temperature steam penetrates deep into grout pores, loosening dirt, killing bacteria, and sanitizing surfaces without any cleaning products.
Using a Steam Cleaner
You'll need a handheld steam cleaner or a steam mop with a grout attachment. Many affordable options are available that work well for home use.
Fill the steam cleaner with water and let it heat up according to manufacturer instructions. Most steam cleaners reach temperatures of 200-300°F.
Hold the steam nozzle about an inch from the grout line and move slowly along each line. The steam will darken the grout as it penetrates, lifting dirt and grime.
Follow behind with a microfiber cloth to wipe away the loosened dirt. You'll see the grime transfer to the cloth without any scrubbing required.
For heavily soiled grout, you may need to go over the same area 2-3 times. The heat and moisture work together to break down even stubborn buildup.
Steam cleaning is especially effective when combined with one of the chemical methods above. For example, apply baking soda paste, let it sit for a few hours, then use the steam cleaner to activate and remove it.
Tips for Making Your Grout Cleaning Easier
Whichever method you choose, these tips will help you get even better results with less effort.
Pre-Treatment Preparation
Before applying any cleaning solution, sweep or vacuum the area thoroughly to remove loose dirt and debris. This prevents you from just pushing dirt around and allows the cleaning solution to work directly on the stained grout.
For especially dirty grout, consider doing a preliminary treatment with hot water. Spray or pour hot water on the grout and let it sit for 10 minutes to soften the dirt before applying your cleaning solution.
Maximize Contact Time
The secret to no-scrub grout cleaning is giving your chosen cleaner enough time to work. Longer contact time means deeper penetration and more effective stain removal.
If you're working on vertical surfaces like shower walls, make your cleaning paste thicker so it won't drip off before it has time to work. You can also cover treated areas with plastic wrap to keep the solution from drying out during extended contact times.
Work in Sections
Don't try to tackle your entire house in one session. Focus on one room or area at a time, giving each section the attention it needs.
This approach prevents you from feeling overwhelmed and allows you to properly apply and remove cleaning solutions without rushing. It's better to thoroughly clean one bathroom than to half-clean three bathrooms.
Protect Your Grout After Cleaning
Once your grout is clean, apply a grout sealer to protect it from future staining. Sealer fills the pores in the grout, making it much less absorbent and easier to keep clean.
Most grout sealers require the grout to be completely clean and dry before application. Follow the product instructions carefully, and reapply sealer every 6-12 months for best results.
Prevention: Keep Your Grout Cleaner for Longer
The best way to avoid intensive grout cleaning is to prevent it from getting deeply stained in the first place. A few simple habits can make a huge difference.
Regular Maintenance Cleaning
Wipe down tile surfaces weekly with a pH-neutral cleaner to prevent dirt buildup. This simple habit keeps grime from settling into the grout lines.
For bathroom tiles, squeegee shower walls after each use to remove excess water and prevent soap scum buildup. This 30-second habit can dramatically reduce how often you need to deep-clean your grout, similar to how regular maintenance prevents soap scum on shower doors.
Improve Ventilation
Moisture is grout's enemy, promoting mold and mildew growth. Always run your bathroom exhaust fan during showers and for at least 30 minutes afterward.
If you don't have an exhaust fan, open a window or door to allow moisture to escape. Good air circulation keeps grout drier and less hospitable to mold and mildew.
Address Spills Quickly
In kitchen areas, wipe up spills immediately rather than letting them dry on the grout. Oil, wine, coffee, and other liquids can quickly stain unsealed grout.
The faster you clean up spills, the less likely they are to penetrate deep into the grout where they become difficult to remove. The same principle applies to carpet stains—the sooner you treat them, the easier they come out. Keep a spray bottle of water and a cloth handy for quick cleanups.
Use Doormats and Rugs
Place doormats at entrances and rugs in high-traffic areas to reduce the amount of dirt that reaches your tile floors. This simple step can significantly extend the time between deep cleanings.
Choose rugs with non-slip backing to prevent sliding, and shake them out or vacuum them regularly to prevent dirt accumulation underneath.
When to Consider Regrouting Instead of Cleaning
Sometimes, no amount of cleaning will restore your grout to its original condition. Knowing when to regrout can save you time and frustration.
Signs It's Time to Regrout
If your grout is crumbling, cracked, or missing in sections, it needs to be replaced rather than cleaned. Damaged grout allows water to penetrate behind tiles, potentially causing water damage similar to water stains on wood furniture.
Persistent mold that returns within days of cleaning indicates that the grout is too porous or damaged to properly clean and seal. In this case, removing and replacing the grout is the only permanent solution.
If the grout color is completely different from what it was originally, deep staining has occurred that cleaning cannot reverse. While this doesn't affect functionality, regrouting may be your only option for aesthetic restoration.
The Regrouting Process
Regrouting involves removing the old grout, cleaning out the joints, and applying fresh grout. While it's more labor-intensive than cleaning, it gives you a completely fresh start.
You can hire a professional or do it yourself with the right tools. A grout removal tool makes the job much easier than using improvised methods.
After regrouting, make sure to seal the new grout once it's fully cured (usually after 48-72 hours). This protection will keep your new grout looking fresh much longer than unsealed grout.
Additional Cleaning Challenges and Solutions
Some grout situations require special consideration beyond the basic cleaning methods.
Colored Grout
If you have colored or dark grout, avoid oxygen bleach and chlorine bleach, which can cause fading. Stick with baking soda, hydrogen peroxide (test in an inconspicuous area first), or steam cleaning.
For colored grout, prevention is especially important since you have fewer heavy-duty cleaning options available without risking color change.
Outdoor Tile Grout
Outdoor grout faces different challenges, including dirt, algae, and weather exposure. Oxygen bleach works particularly well for outdoor grout as it tackles both dirt and organic growth.
Steam cleaning is also excellent for outdoor grout if you have access to power. The high heat kills algae and moss while cleaning the grout.
Heavily Neglected Grout
If your grout hasn't been cleaned in years, you may need to combine methods for best results. Try applying baking soda paste overnight, then treating with hydrogen peroxide the next day before wiping clean.
For severely stained grout, you might need to repeat treatments 2-3 times before seeing significant improvement. Be patient and persistent rather than resorting to aggressive scrubbing.
Eco-Friendly Considerations
If you're environmentally conscious, you'll be pleased to know that most no-scrub grout cleaning methods use common household items with minimal environmental impact.
Green Cleaning Options
Baking soda, hydrogen peroxide, and oxygen bleach are all environmentally friendly options that break down safely. They don't contribute to water pollution or indoor air quality problems.
Steam cleaning is perhaps the greenest option of all, using only water and heat to clean and sanitize. It's perfect for households with allergies, chemical sensitivities, or young children.
Avoid chlorine bleach when possible, as it creates harmful byproducts and contributes to air and water pollution. The methods described here are just as effective without the environmental drawbacks.
Maintaining Other Household Surfaces
The same principles that work for grout cleaning apply to many other household cleaning challenges. Time and the right cleaning agents can replace elbow grease in many situations.
For instance, just like grout cleaning benefits from long contact time with cleaning solutions, deep cleaning your dishwasher works better when you let cleaners sit and work rather than immediately running a cycle.
The key is understanding what type of dirt or buildup you're dealing with and choosing a cleaner that chemically breaks down that specific substance. This knowledge-based approach is always more effective than mindless scrubbing.
Frequently Asked Questions
How often should I deep clean my grout?
For most households, deep cleaning grout every 2-3 months is sufficient if you're doing regular light maintenance. High-traffic areas like entryways may need monthly attention, while less-used spaces can go 4-6 months between deep cleans. If you notice visible discoloration before that time, clean as needed.
Can I use bleach on grout?
While chlorine bleach can clean and whiten grout, it's not the best choice. Bleach can damage grout over time, especially colored grout, and the fumes are harsh. Hydrogen peroxide or oxygen bleach are safer, equally effective alternatives that won't damage grout or create toxic fumes. If you do use chlorine bleach, make sure the area is well-ventilated and never mix it with other cleaning products.
Why does my grout get dirty again so quickly?
If your freshly cleaned grout gets dirty within days or weeks, it's likely unsealed. Unsealed grout is porous and absorbs everything it contacts, making it impossible to keep clean. Apply a quality grout sealer after cleaning and reapply every 6-12 months to maintain protection. Also evaluate your cleaning products; some leave residues that actually attract dirt.
Is it safe to use vinegar on grout?
Vinegar can clean grout effectively, but it's acidic and can damage grout sealant and even the grout itself with repeated use. If you choose to use vinegar, limit it to occasional use only, dilute it with water, and rinse thoroughly afterward. For regular cleaning, stick with pH-neutral cleaners, baking soda, or hydrogen peroxide, which are safer for long-term grout health.
Conclusion: Enjoying Clean Grout Without the Hard Work
Clean grout can transform the entire look of your tile surfaces, making your bathroom or kitchen look fresh and well-maintained. The best part is that you can achieve these results without spending hours on your hands and knees scrubbing.
By choosing one of these no-scrub methods and giving it adequate time to work, you'll get professional-looking results with minimal physical effort. Whether you prefer the gentle effectiveness of baking soda paste, the mold-fighting power of hydrogen peroxide, the deep cleaning of oxygen bleach, or the chemical-free approach of steam cleaning, there's a method that will work for your situation.
Remember that prevention and regular maintenance are your best friends when it comes to grout cleaning. A few minutes of weekly maintenance can prevent the need for intensive cleaning sessions down the road.
Now that you know these time-saving, back-saving methods, there's no reason to live with dingy grout any longer. Choose your favorite method, set aside some time for the cleaning solution to work its magic, and get ready to enjoy beautifully clean grout throughout your home.
Get weekly home tips that actually work
Join thousands of homeowners getting practical cleaning hacks, DIY fixes, and money-saving tips every week. Free, and you can unsubscribe anytime.

Written by
Beth SullivanFounder & Editor-in-Chief
Beth Sullivan is the founder of Practical Home Guides. With over a decade of hands-on experience tackling every home challenge imaginable, she started this site to share the practical, no-nonsense solutions she wishes she had found years ago. When she's not testing cleaning hacks or organizing pantries, you'll find her in the garden or working on her next DIY project.
Recommended Products
Looking for specific product recommendations? Check out our tested picks.
Best Cordless Stick Vacuums (2026 Buyer's Guide)
We tested cordless stick vacuums on hardwood, carpet, pet hair, and stairs. Here are the picks worth the price for every home and budget in 2026.
Best Pressure Washers for Home Use (2026 Buyer's Guide)
We tested electric and gas pressure washers for siding, decks, driveways, and patio furniture. Here are the best picks for every budget and home size.
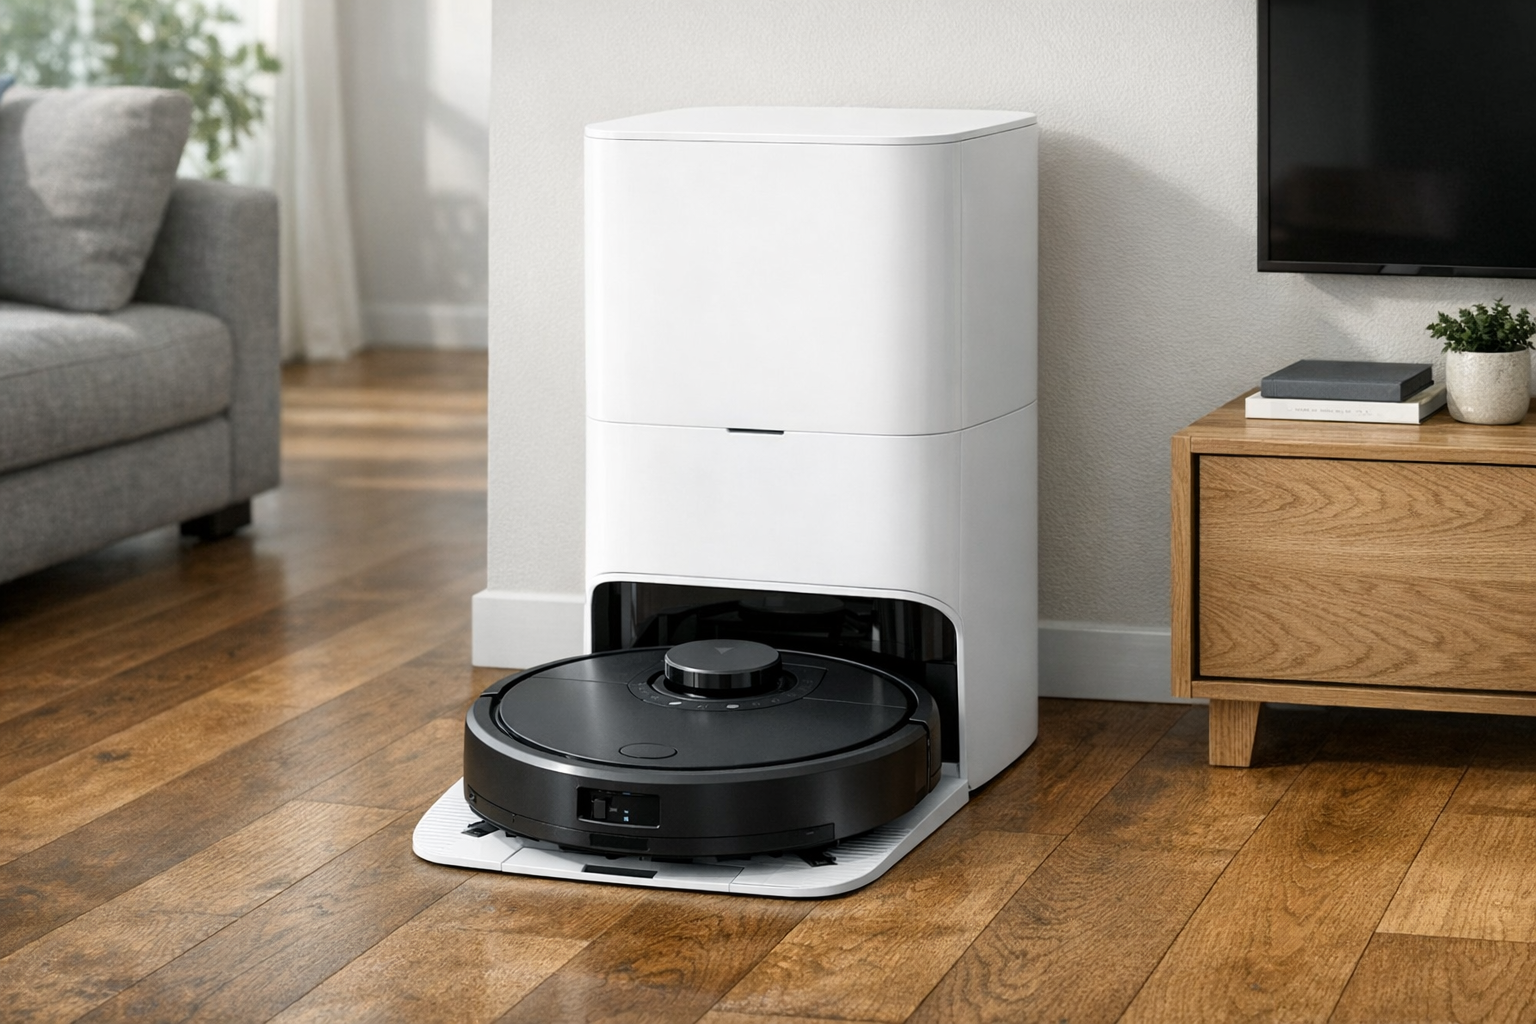
Best Self-Emptying Robot Vacuums (2026 Tested)
Self-emptying robot vacuums let you forget about the dust bin for weeks. We tested the top models on hardwood, carpet, pet hair, and floor plans.

5 Best Steam Mops for Tile Floors (2026)
We tested the top steam mops for tile, grout, and hard floors. Here are the 5 best picks with honest pros, cons, and who each one is best for.

7 Best Robot Vacuums Under $300 (2026)
We compared the top robot vacuums under $300 for pet hair, hardwood floors, and carpet. Here are the 7 best picks with pros, cons, and who each is best for.
Related Articles
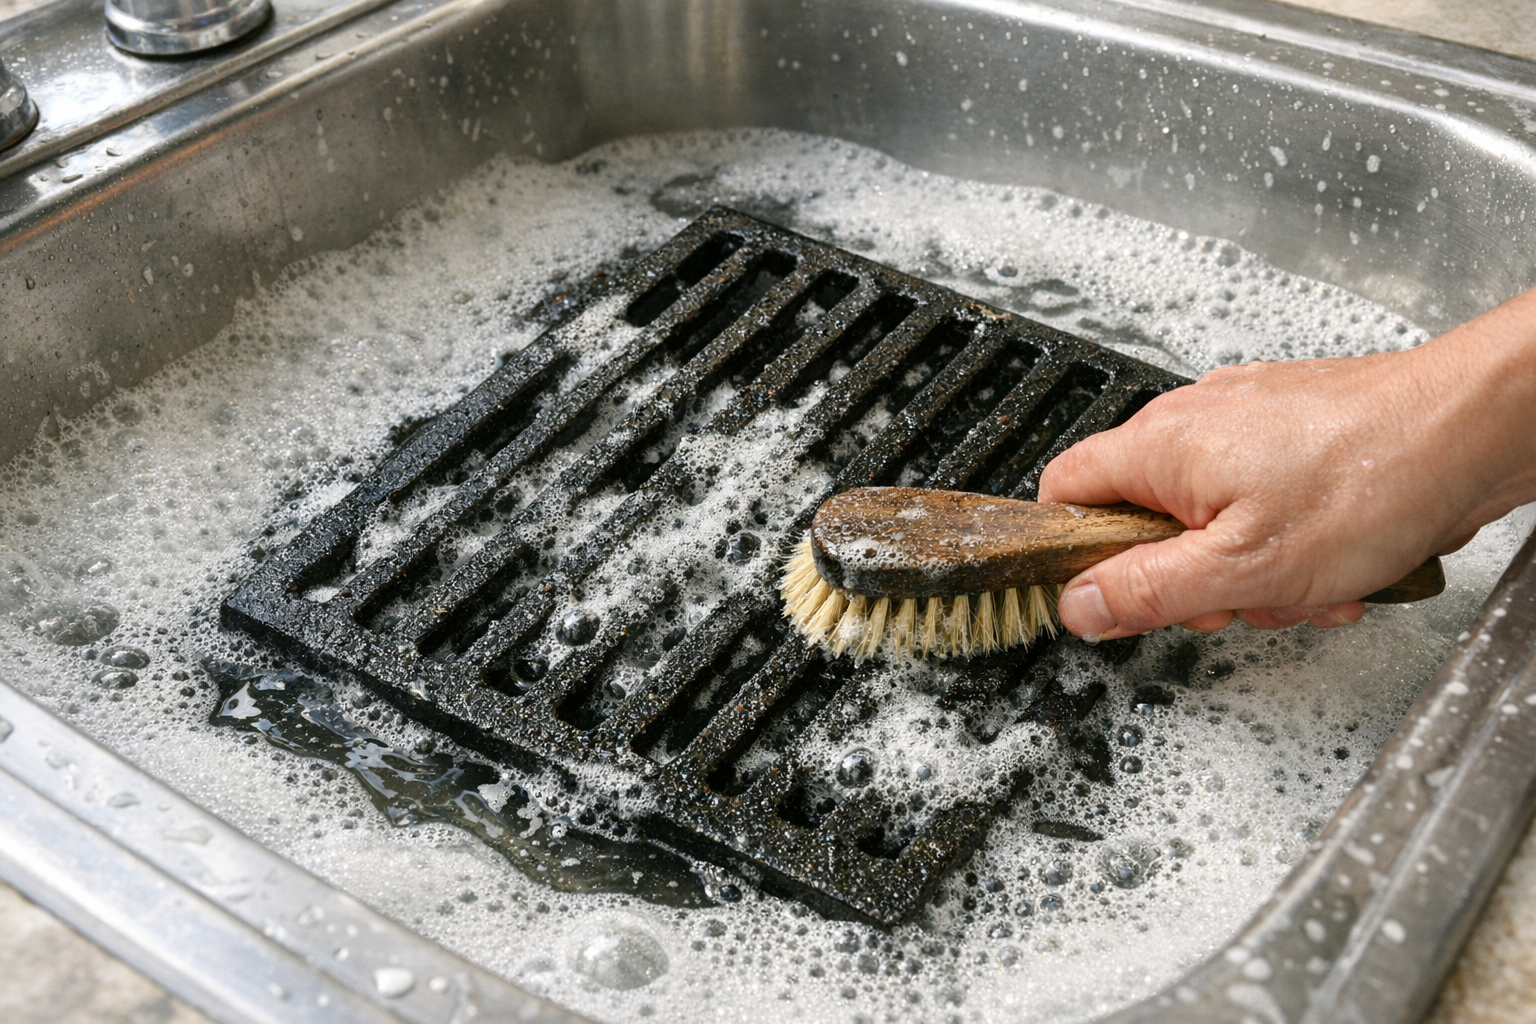
How to Remove Rust From Grill Grates (Without Replacing Them)
Rusted grill grates can be revived if rust is surface-only. Here's the safe restoration method that gets cast iron and steel grates back to cooking-ready.
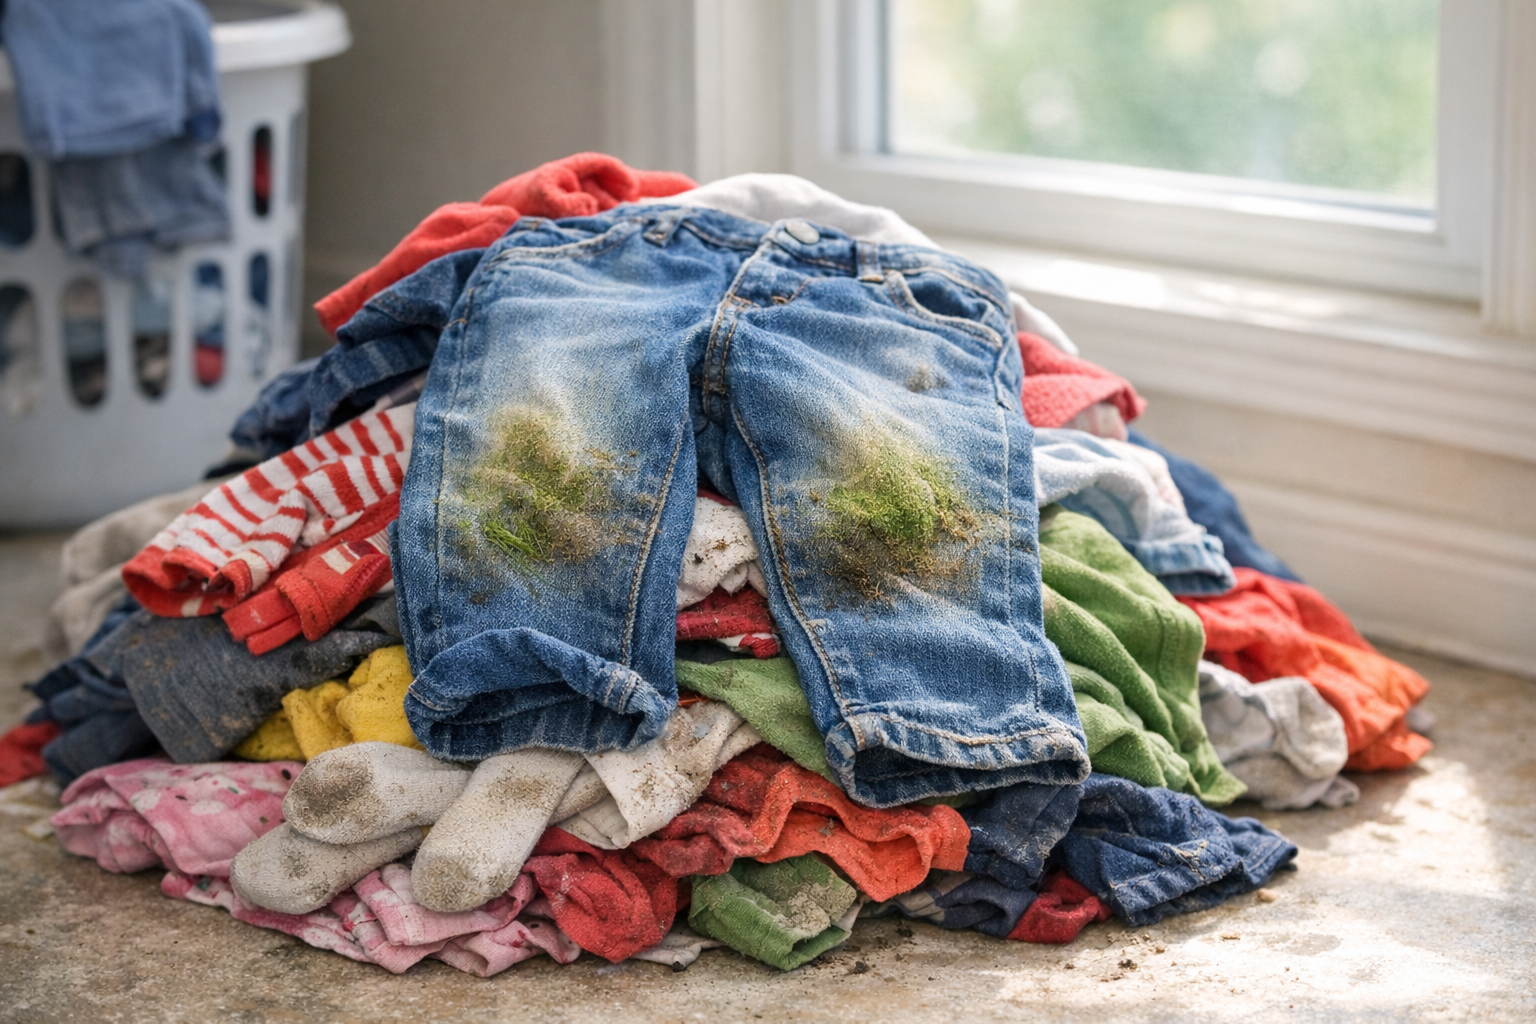
How to Remove Grass Stains From Clothes (Even After Drying)
Grass stains are protein and chlorophyll bonded into fabric. Here's the order of treatments that gets them out — even on jeans that already went through the dryer.

How to Refresh Outdoor Rugs Without Replacing Them
Before you toss that faded, grimy outdoor rug, try this simple revival routine. Most polypropylene outdoor rugs come back like new with 30 minutes of work.

How to Deep Clean Window Screens (The Bathtub Method)
Window screens accumulate a winter's worth of dust, pollen, and grime. The bathtub method gets them all clean in one shot — cleaner than cleaning them individually.