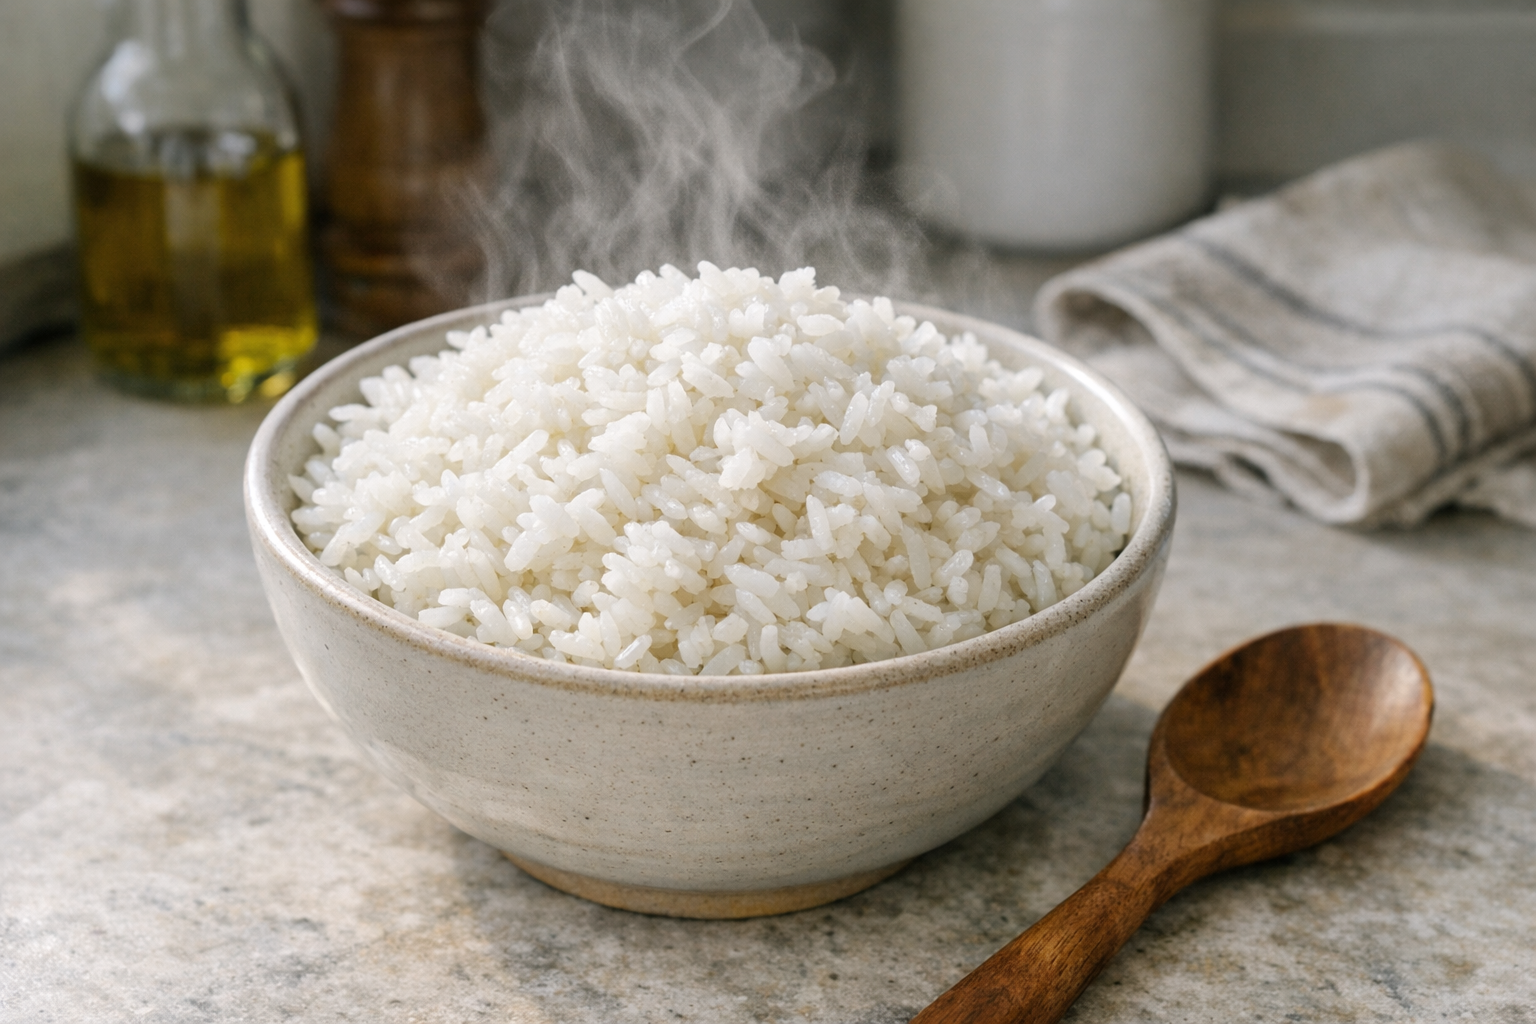
How to Cook Fluffy Rice Every Time (No Sticky Bottom)
This article may contain affiliate links. If you make a purchase through these links, we may earn a small commission at no extra cost to you. Learn more
Quick Answer
How to Cook Fluffy Rice Every Time (No Sticky Bottom)
Rinse rice until the water runs clear, use a 1:2 rice-to-water ratio for white long-grain rice (1:1.25 in a rice cooker), bring to a boil, cover and simmer on the lowest heat for 18 minutes, then let rest off the heat for 10 minutes before fluffing. Resting is the step most people skip — and it's what gives you fluffy separate grains.
If your rice ends up gummy, sticky, or burnt on the bottom of the pot, the problem isn't the rice — it's almost always the technique. The same rice, with the right method, comes out fluffy and separate every time.
Here's the technique I learned from my grandmother, plus the rice cooker and Instant Pot adaptations.
Why Most Home-Cooked Rice Fails
Three common mistakes:
- Skipping the rinse. Surface starch makes rice sticky and gummy.
- Wrong water ratio. Too much water = mushy. Too little = crunchy and burnt.
- No resting time. The 10 minutes off the heat is what makes rice fluffy.
Get those three right and any pot works.
Method 1: Stovetop White Rice (My Default)
What You'll Need
- 1 cup long-grain white rice (basmati, jasmine, or regular)
- 2 cups water
- 1/2 teaspoon salt
- A heavy-bottomed pot with a tight-fitting lid (or use a Dutch oven)
- A fine mesh strainer
Step 1: Rinse the Rice Until Water Runs Clear
Put the rice in the strainer under cold running water. Use your hand to swirl the rice around. The water runs milky white at first.
Keep rinsing until the water runs almost clear (3 to 5 rinses for typical rice).
This is the most important step for fluffy rice. The starchy coating on rice is what makes it stick. Rinse it off.
Step 2: Bring Water and Salt to a Boil
In the pot, bring 2 cups water with the salt to a rolling boil.
Step 3: Add Rice, Cover, Reduce Heat
Add the rinsed rice. Stir once. Cover the pot. Reduce heat to the lowest setting your stove allows.
The pot should be barely simmering — you should not hear active boiling.
Step 4: Cook 18 Minutes (Don't Lift the Lid)
Set a timer for 18 minutes. Resist the urge to lift the lid and check. Lifting releases the steam that's cooking the rice.
Step 5: Rest 10 Minutes Off the Heat
Move the pot off the burner. Keep the lid on. Set a timer for 10 minutes.
This is the step nobody wants to do and it's everything. The residual steam finishes cooking the rice evenly and lets the moisture distribute. Rice that rests is fluffy. Rice that doesn't rest is gummy.
Step 6: Fluff with a Fork
Lift the lid. Fluff with a fork or rice paddle — gently lift and separate, don't stir hard.
The rice should be fluffy with separate grains. Serve immediately.
Method 2: Rice Cooker (Even Easier)
A rice cooker takes the temperature management out of the equation. Three rules:
- Rinse the rice the same way (this still matters)
- Use a 1:1.25 ratio (1 cup rice, 1.25 cups water — slightly less than stovetop)
- Let it sit on "warm" for 10 minutes after the cycle ends, before opening
The rest period is built into most rice cookers as a "warm" hold. Use it.
A simple 3-cup rice cooker is perfect for 1 to 2 person households. The Zojirushi brand is the gold standard.
Method 3: Instant Pot
The Instant Pot makes excellent rice on the "rice" setting. Use these ratios:
- 1 cup white rice + 1 cup water (yes, 1:1 in a pressure cooker)
- 1 cup brown rice + 1.25 cups water
Cook on "rice" preset (or manual high pressure for 4 minutes for white, 22 minutes for brown). Let pressure release naturally for 10 minutes — same rest principle.
Variations for Different Rice Types
Different rice = different ratios and times. Quick reference:
- Basmati or jasmine (long grain): 1:2 water, 18 min cook + 10 min rest
- Long grain white: 1:2 water, 18 min cook + 10 min rest
- Short grain (sushi): 1:1.25 water, 18 min cook + 10 min rest
- Brown rice (long): 1:2.25 water, 45 min cook + 10 min rest
- Wild rice: 1:3 water, 45 min cook + 10 min rest
- Arborio (risotto): Don't use this method — risotto is a different technique
How to Avoid the Burnt Bottom
If your rice always burns on the bottom of the pot:
- Heat is too high. Lowest possible setting on a gas stove, or a heat diffuser on electric.
- Pot is too thin. Use a heavy-bottomed pot (cast iron, enameled cast iron, or hard anodized aluminum).
- Lid doesn't seal. Steam escapes, water boils away, rice burns. A snug lid is essential.
If you do get a slightly toasty bottom, that's tahdig in Persian cooking — a delicacy! Scrape it up and serve as a treat.
Storage and Reheating
- Cooked rice stores 4 to 5 days in the fridge in a sealed container
- Reheat with a tablespoon of water mixed in, microwaved covered for 1 to 2 minutes
- Freezes well for 2 to 3 months — portion into individual servings before freezing
A glass meal prep container is ideal for storing and reheating cooked rice.
Frequently Asked Questions
Why is my rice always sticky?
Rinsing too little or too much water. Rinse until clear, and use the right ratio (1:2 for stovetop white rice, less for sushi rice).
Can I add oil or butter to the cooking water?
Yes — a tablespoon of oil or butter helps separate grains slightly. Some cuisines toast the rice in oil before adding water (pilaf method) — that gives nuttier flavor and even more separation.
How do I know when rice is done?
After the cook time and rest, lift the lid. The water should be fully absorbed, you should see small steam holes on the surface (called "fish eyes"), and a grain should be fully tender when bitten.
Can I cook rice without measuring?
Yes — the Asian "knuckle" method: add rice to the pot, level it, then add water until the water level is one knuckle (about 1 inch) above the rice. Works well for white rice.
Final Thoughts
Rinse, right ratio, low heat, lid on, rest. Five things. Get them right and any rice in any pot comes out fluffy and separate every time. The rest period is the one nobody wants to wait for — and it's the difference between sticky and perfect.
Get weekly home tips that actually work
Join thousands of homeowners getting practical cleaning hacks, DIY fixes, and money-saving tips every week. Free, and you can unsubscribe anytime.

Written by
Priya PatelKitchen & Lifestyle Writer
Priya Patel is a former restaurant pastry chef turned home-cooking obsessive. She writes about meal prep, kitchen organization, and the small appliances actually worth your counter space. Priya tests recipes and gadgets out of a tiny Brooklyn galley kitchen, so she has strong opinions about what earns its footprint.
Recommended Products
Looking for specific product recommendations? Check out our tested picks.
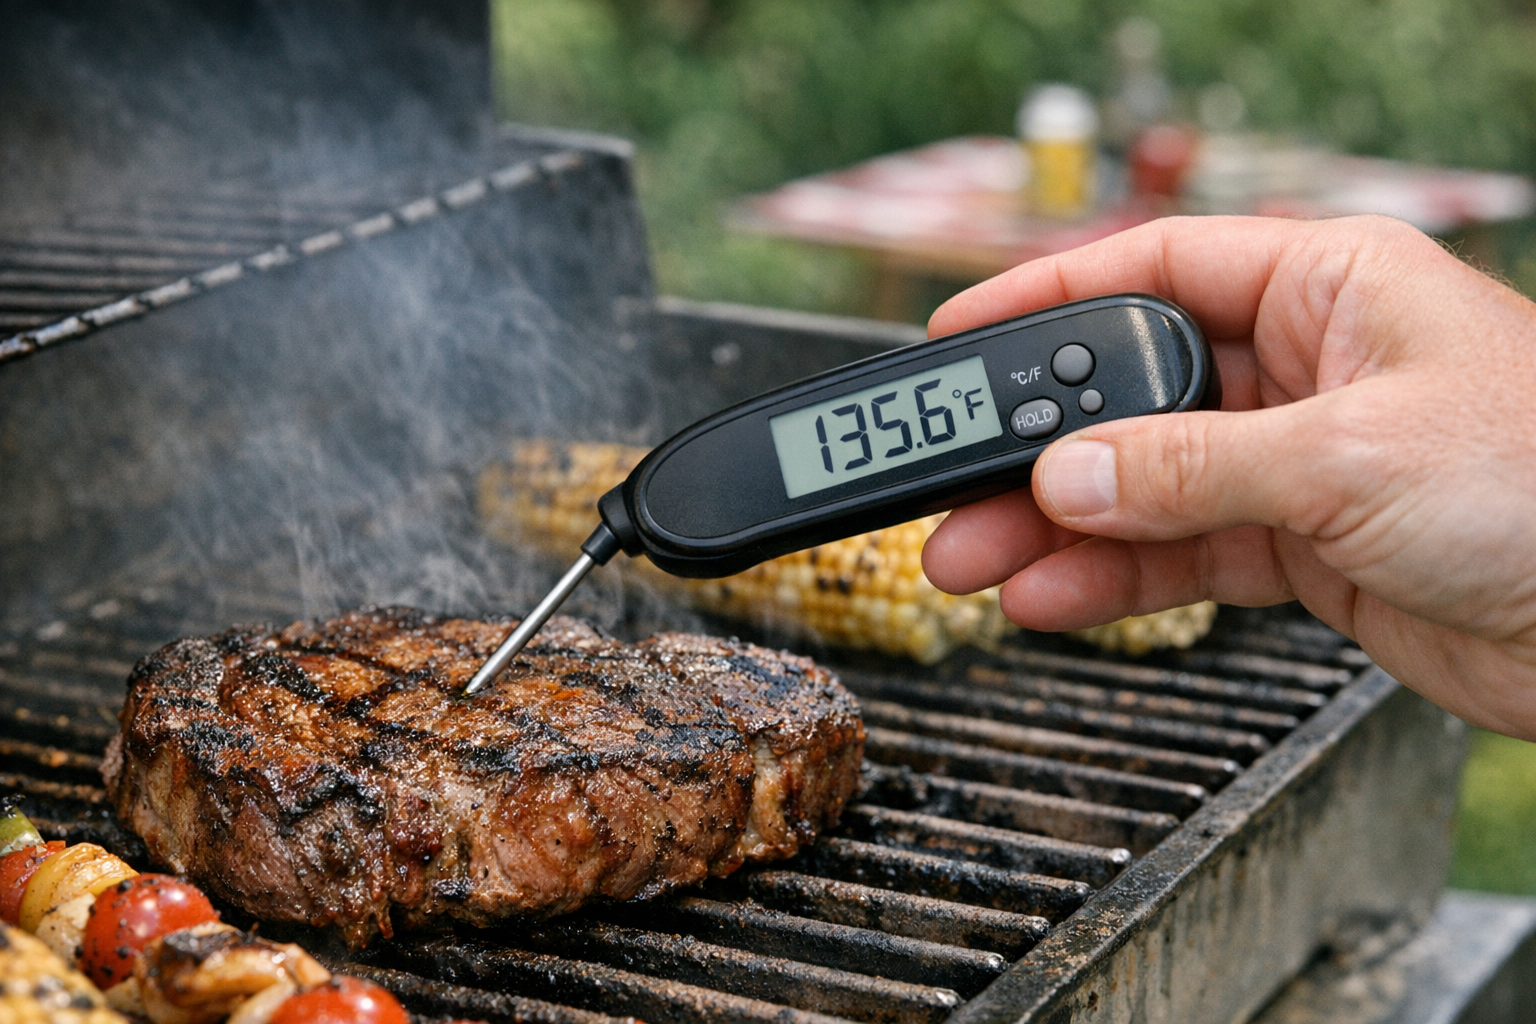
Best Instant Read Meat Thermometers (2026 Tested)
We tested instant read thermometers for grilling, roasting, and candy making. The picks that read in under 3 seconds and don't break after a year.

Best Espresso Machines for Home (2026 Buyer's Guide)
From under-300-dollar starter machines to 2000-dollar prosumer espresso, here are the espresso machines worth your money in 2026.
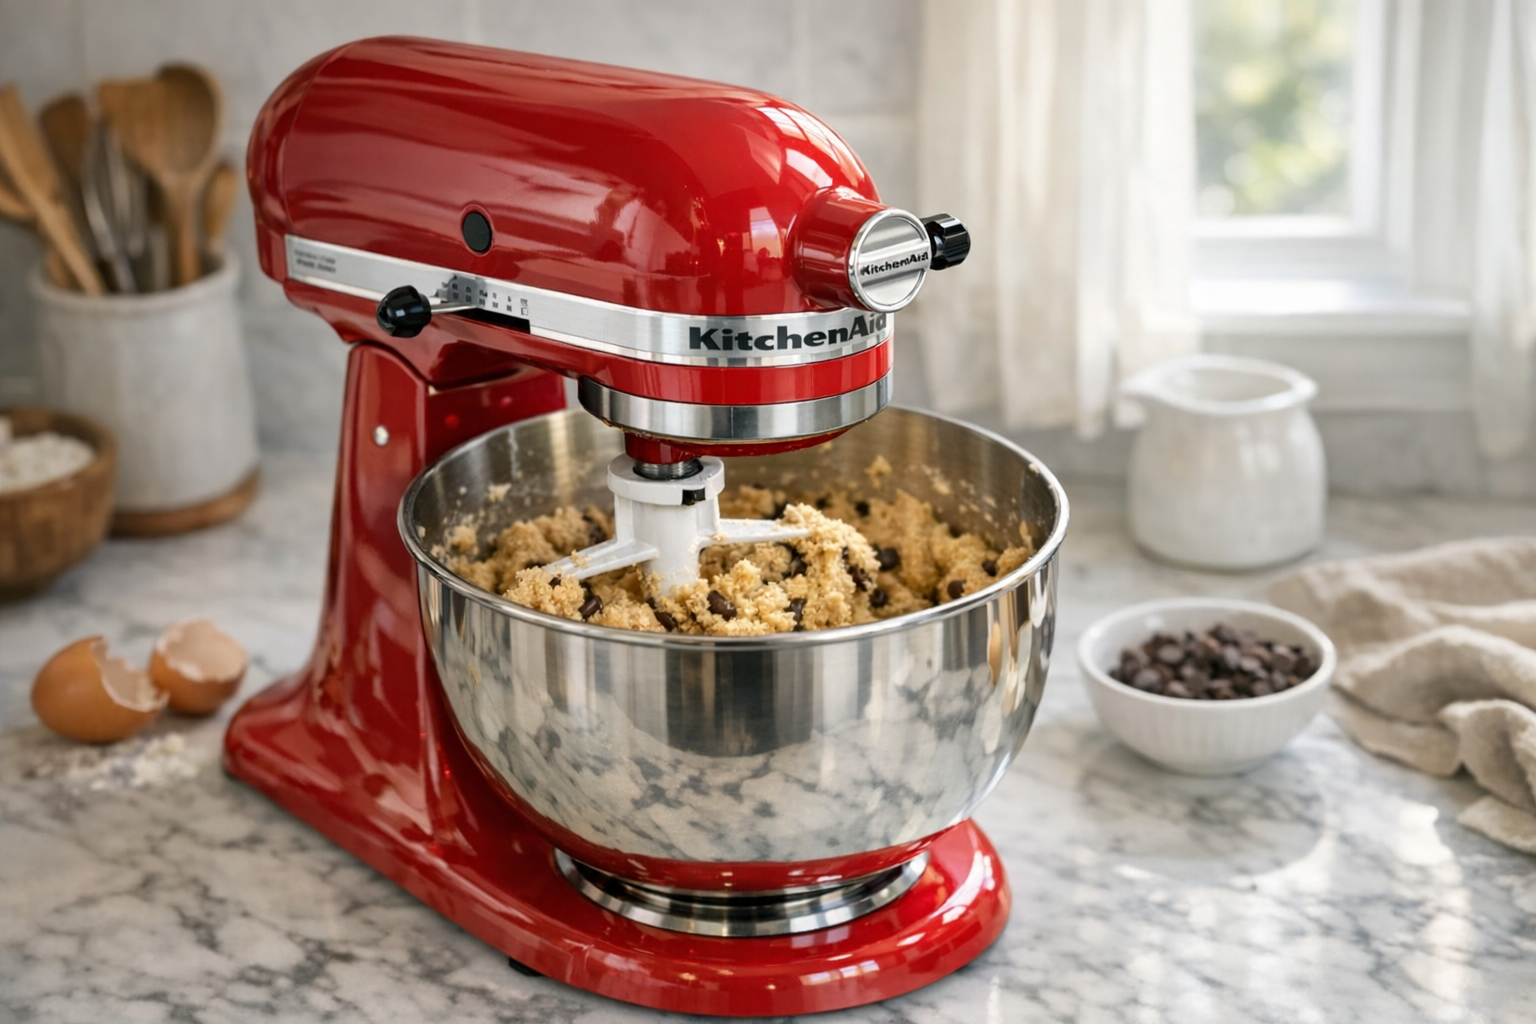
Best Stand Mixers (2026 Buyer's Guide)
We tested stand mixers from KitchenAid, Cuisinart, and Breville on bread dough, cookie batter, and meringues. Here are the picks worth the counter space.
5 Best Kitchen Knife Sets for Home Cooks (2026)
Stop struggling with dull knives. We compared the top kitchen knife sets for home cooks at every budget — here are the 5 best with honest pros and cons.
Best Air Fryers for Home Cooks (2026 Buyer's Guide)
Find the best air fryer for your kitchen and budget. We compare 6 top-rated air fryers from basket to oven style, with honest pros and cons for each.
Related Articles

Cookout Staples to Prep Ahead (For Stress-Free Summer Entertaining)
The 8 cookout staples you can make 1 to 3 days ahead — better-tasting than last-minute and lets you actually enjoy the party.
Mother's Day Gifts That Ship Well (Last-Minute Friendly)
If Mother's Day snuck up on you, these gift ideas ship in 3 days or less and don't feel last-minute. From specialty foods to thoughtful kitchen tools.
Best Instant Read Meat Thermometers (2026 Tested)
We tested instant read thermometers for grilling, roasting, and candy making. The picks that read in under 3 seconds and don't break after a year.
How to Cook Perfect Hard Boiled Eggs Every Time (No Green Yolks)
A reliable method for hard boiled eggs that peel cleanly and don't have that ugly green ring around the yolk. Steaming method included.