How to Deep Clean Window Screens (The Bathtub Method)
This article may contain affiliate links. If you make a purchase through these links, we may earn a small commission at no extra cost to you. Learn more
Quick Answer
How to Deep Clean Window Screens (The Bathtub Method)
Pop out all the screens, lay them in the bathtub, fill with warm soapy water (a few drops of dish soap), let soak 10 minutes, scrub gently with a soft brush, rinse with the shower wand, and air dry on towels. Faster and more thorough than cleaning screens individually outside.

Window screens trap a winter's worth of pollen, dust, exhaust grime, and pollen. Most people clean windows in spring but skip the screens entirely — and then dirty water rolls off the screens onto the freshly cleaned glass the next time it rains.
The bathtub method is the fastest way to get every screen in the house clean in one session. Here's the routine.
Why the Bathtub Beats Outside Cleaning
Cleaning screens individually outside means standing in awkward positions, rinsing each one with the hose, and getting half of them only mostly clean. The bathtub method:
- Cleans all screens at once
- Uses warm water (more effective than cold from the hose)
- Fully submerges screens for thorough cleaning
- Done in 30 minutes total
The only downside: you need to clean the bathtub afterward.
What You'll Need
- Your bathtub (will need to clean it after)
- A few drops of dish soap (Dawn or similar)
- A soft-bristle scrub brush
- A few microfiber cloths
- A handful of clean towels for drying
- The shower wand (or a handheld shower attachment if your tub doesn't have one)
Do NOT use a stiff-bristle brush. It deforms the screen mesh.
Step 1: Pop Out All the Screens
Remove screens from every window. Most slide up or pop out from inside — the technique varies by window type:
- Sliding windows: Lift the screen up and tilt out
- Double-hung: Squeeze the tabs at the bottom and lift out
- Casement: Usually unscrew or release latches inside
Stack the screens against a wall as you remove them. If you have multiple screens, label them with small tape labels or take a photo so you remember which window each came from.
While you're removing the screens, this is also a great time to clean the window tracks before reinstalling.
Step 2: Fill the Tub and Soak
Fill the bathtub with about 6 inches of warm water. Add a few drops of dish soap.
Lay the screens flat in the water. Most tubs hold 3 to 5 standard window screens at a time. Soak for 10 to 15 minutes.
The soak loosens the grime that's been baked on by the sun. Without it, you'd be scrubbing twice as hard.
Step 3: Scrub Both Sides
After soaking, gently scrub each screen with the soft brush. Go in straight strokes, with the grain of the screen mesh — circular scrubbing can stretch the mesh.
Get both sides of each screen. The outdoor side is dirtier; the indoor side has more dust.
For framed screens with stuck-on grime around the frame, use a microfiber cloth and a bit more soap.
Step 4: Rinse Thoroughly
Drain the soapy water. Use the shower wand to rinse each screen on both sides. Rinse until no more soap suds appear in the runoff.
Soap residue left in screens dries to a sticky film that catches more dust faster.
Step 5: Shake and Air Dry
Shake excess water off each screen over the tub. Then lay them flat on towels in a sunny spot — outside if possible, on the floor of a sunlit room if not.
Don't try to dry them with towels. Pressing a towel into a screen pushes lint into the mesh.
Air drying takes 30 to 60 minutes in good sun. Don't reinstall wet screens — they'll trap moisture against the frame and grow mold.
Step 6: Reinstall
Once dry, slide each screen back into its window.
If a screen has any tears or holes, this is the moment to fix or replace it. A small tear can be patched with screen repair patches. A larger one needs new screen mesh — a DIY screen replacement kit handles this in 15 minutes per screen.
Step 7: Clean the Tub
The tub will have a layer of brown silt. Sprinkle Bar Keepers Friend or any non-abrasive cleanser, scrub with a sponge, rinse. Done in 5 minutes.
Alternative Methods
If your bathtub isn't an option:
- Driveway and hose method: Lay screens on a tarp, scrub with soapy water, rinse with the hose. Less effective for stuck-on grime.
- Vacuum method: Run the brush attachment over both sides — handles surface dust but doesn't clean stuck-on pollen and grime. Good monthly maintenance, not a deep clean.
- Pressure washer (low pressure only): Use a 40-degree tip, hold 3+ feet back. Higher pressure deforms screens.
How Often to Deep Clean Screens
Once a year (spring) is enough for most homes. Add a fall deep clean if:
- You have heavy tree pollen in your area
- You live near a busy road (exhaust grime)
- You have allergies (cleaner screens = less indoor allergens)
For monthly maintenance, vacuum screens with the brush attachment. Takes 30 seconds per screen.
Frequently Asked Questions
Can I use the same method on screen doors?
Yes — but most screen doors are too big for the bathtub. Lay them flat on a tarp on the patio, scrub with soapy water, rinse with the hose, let dry standing.
What about pet hair stuck to the screens?
A pet hair removal brush gets most of it off before soaking. Run the soak step longer (20 minutes) for stubborn hair.
My screens have stains that won't come out. What now?
Long-term stains from rusted screws, sap, or chemical splashes are permanent. Replace the screen mesh — easier than you'd think with a DIY screen rescreening kit.
Do I need to clean both sides of the screen?
Yes — the outdoor side has more pollen and dirt, but the indoor side has accumulated dust and pet dander. Both sides need cleaning for the screens to function properly.
Final Thoughts
The bathtub method takes 30 minutes to clean every screen in the house. Far better than spending 2 hours doing them individually outside, and the windows actually stay clean afterward because the screens aren't dripping dirt onto the glass with every rain.
Get weekly home tips that actually work
Join thousands of homeowners getting practical cleaning hacks, DIY fixes, and money-saving tips every week. Free, and you can unsubscribe anytime.

Written by
Priya PatelKitchen & Lifestyle Writer
Priya Patel is a former restaurant pastry chef turned home-cooking obsessive. She writes about meal prep, kitchen organization, and the small appliances actually worth your counter space. Priya tests recipes and gadgets out of a tiny Brooklyn galley kitchen, so she has strong opinions about what earns its footprint.
Recommended Products
Looking for specific product recommendations? Check out our tested picks.
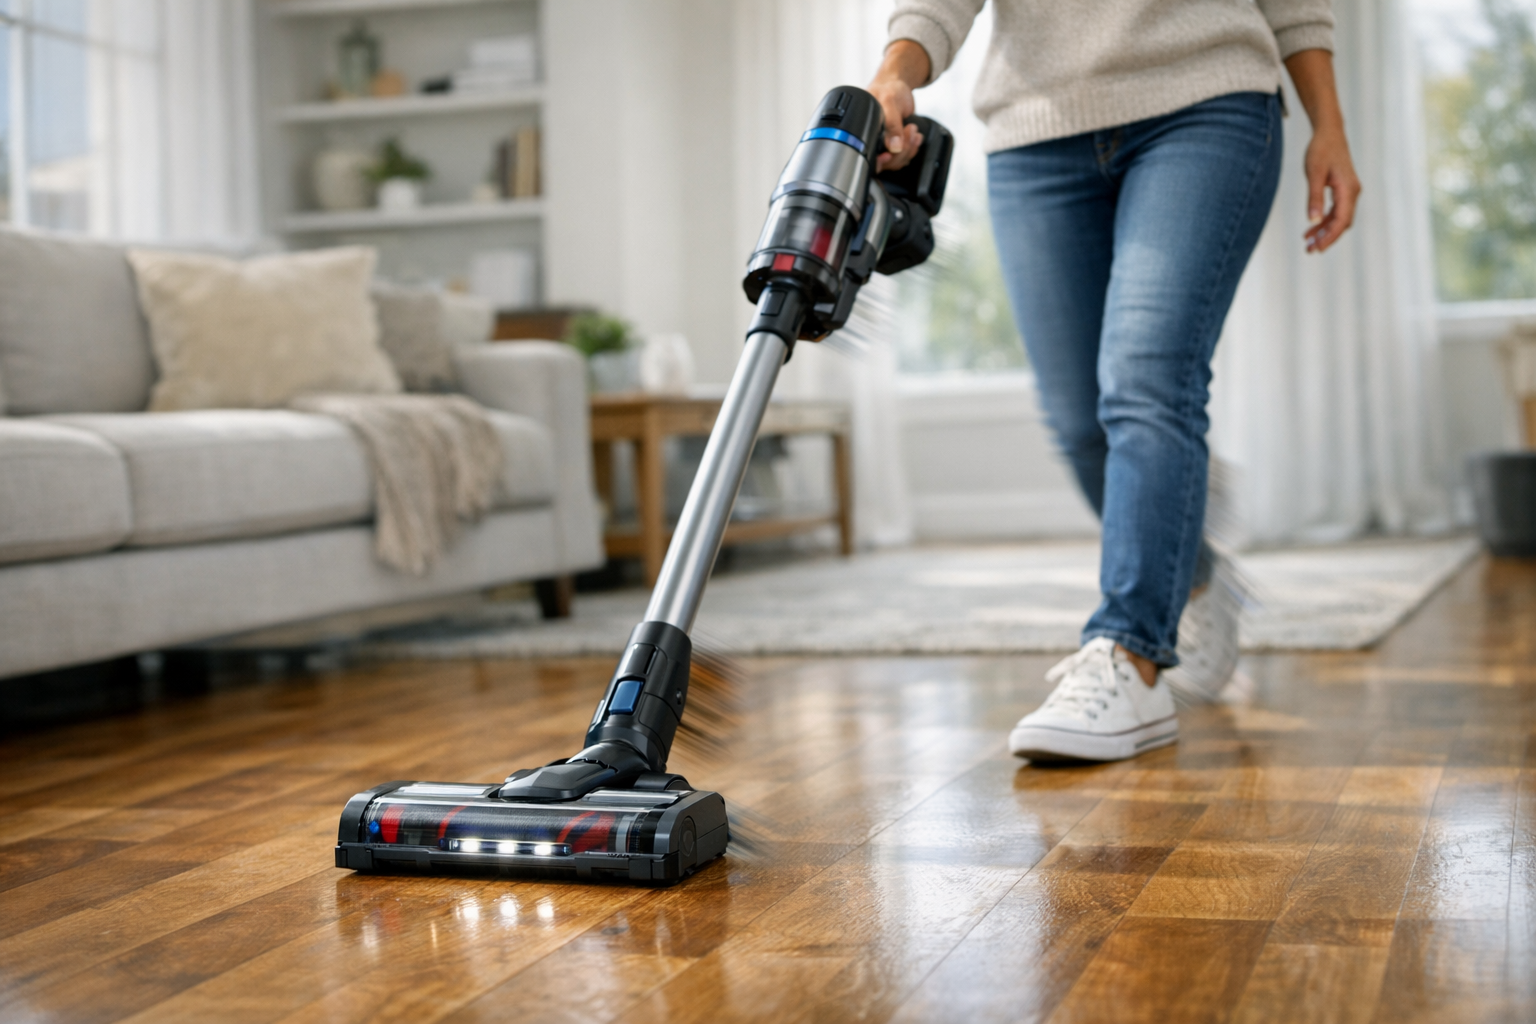
Best Cordless Stick Vacuums (2026 Buyer's Guide)
We tested cordless stick vacuums on hardwood, carpet, pet hair, and stairs. Here are the picks worth the price for every home and budget in 2026.
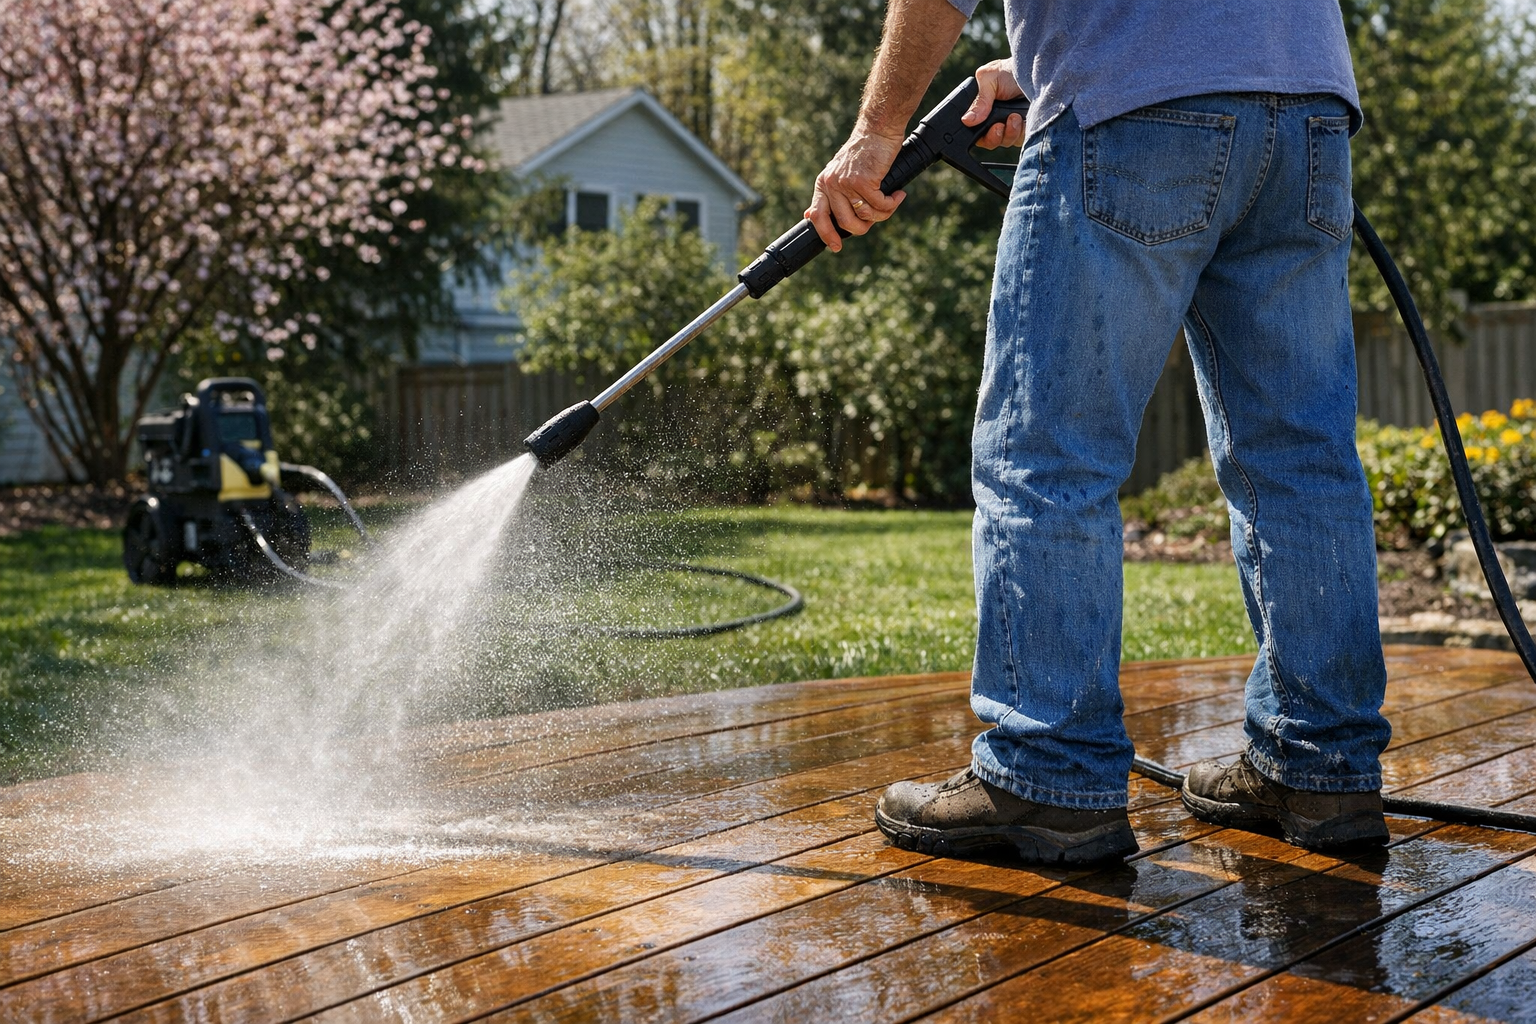
Best Pressure Washers for Home Use (2026 Buyer's Guide)
We tested electric and gas pressure washers for siding, decks, driveways, and patio furniture. Here are the best picks for every budget and home size.
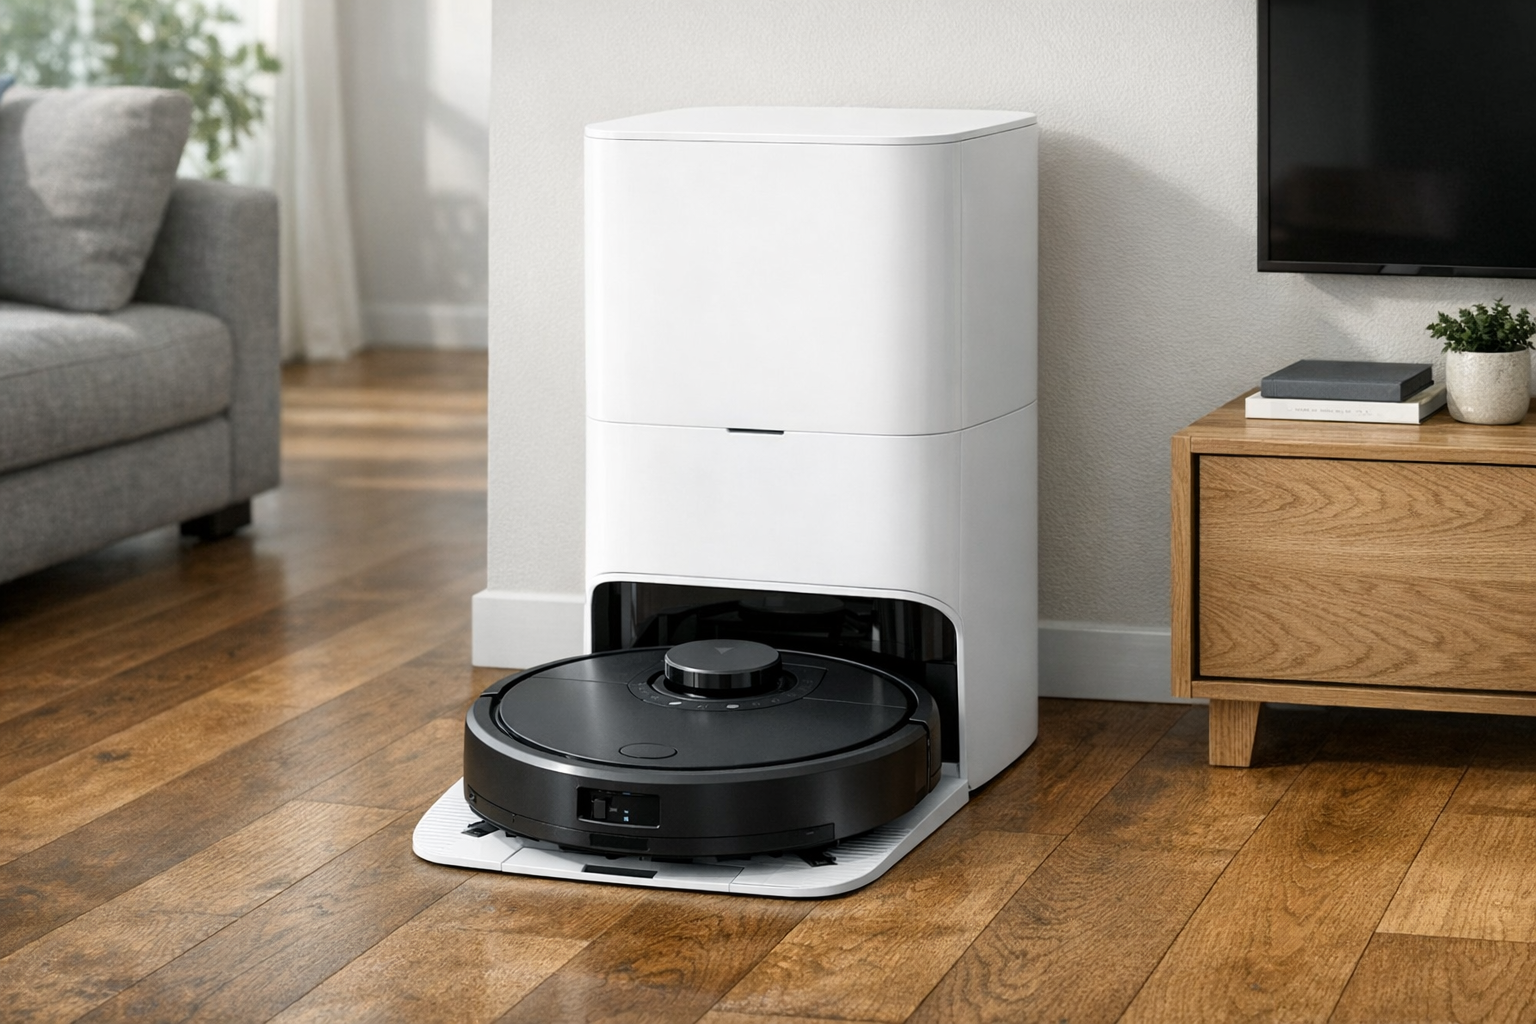
Best Self-Emptying Robot Vacuums (2026 Tested)
Self-emptying robot vacuums let you forget about the dust bin for weeks. We tested the top models on hardwood, carpet, pet hair, and floor plans.
5 Best Steam Mops for Tile Floors (2026)
We tested the top steam mops for tile, grout, and hard floors. Here are the 5 best picks with honest pros, cons, and who each one is best for.
7 Best Robot Vacuums Under $300 (2026)
We compared the top robot vacuums under $300 for pet hair, hardwood floors, and carpet. Here are the 7 best picks with pros, cons, and who each is best for.
Related Articles
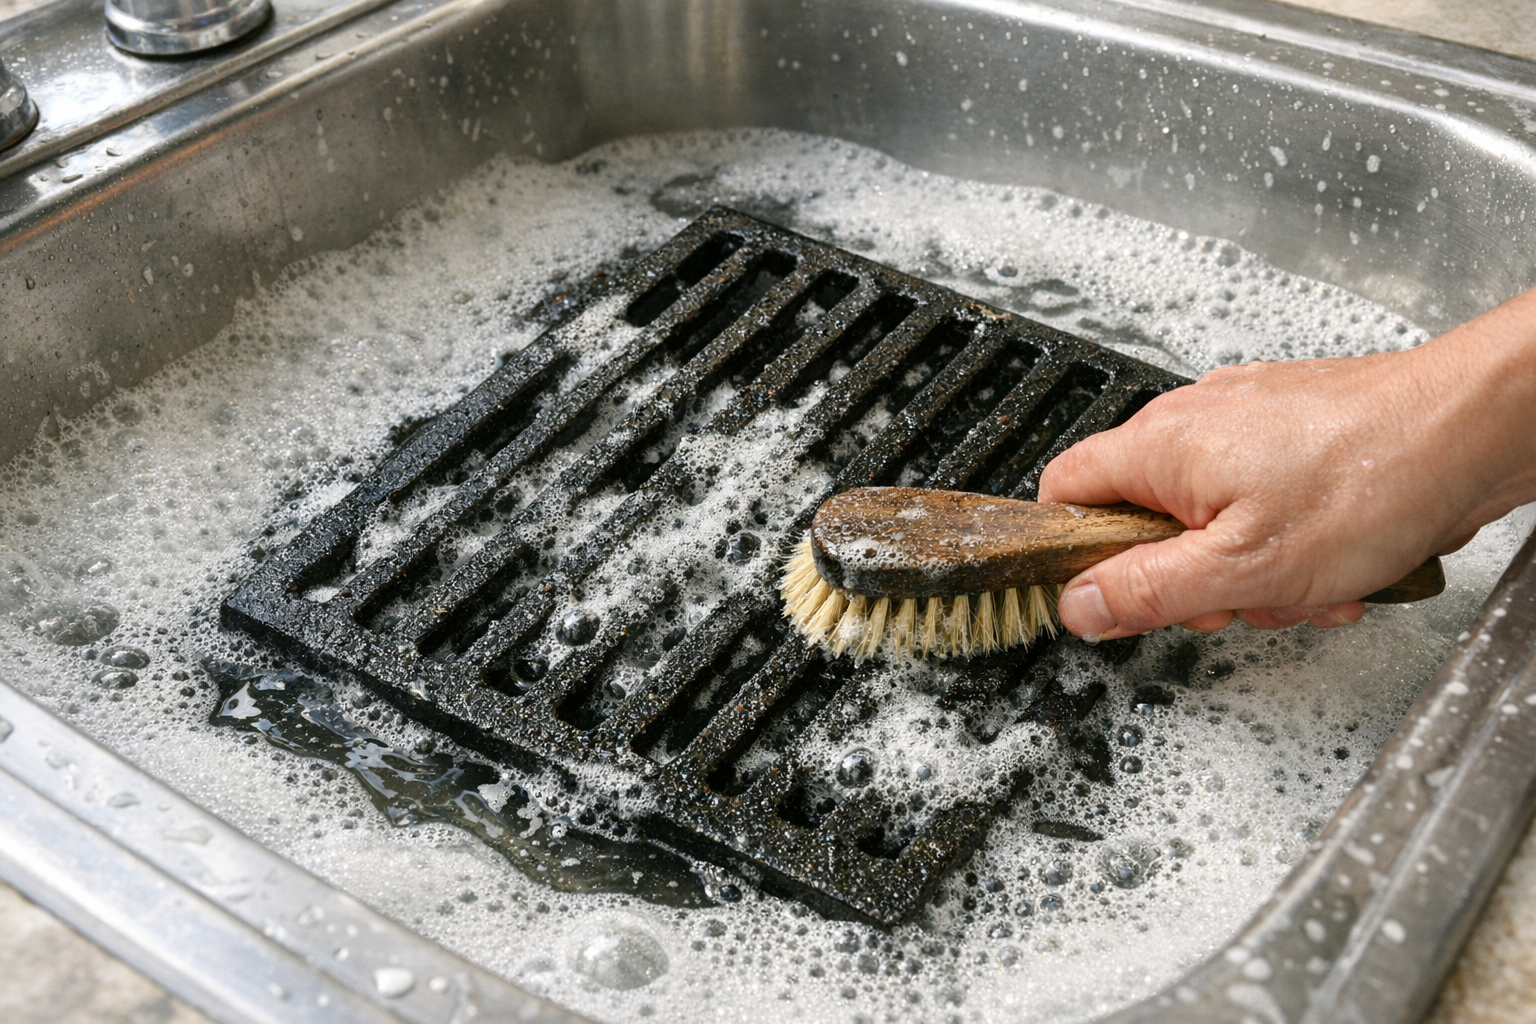
How to Remove Rust From Grill Grates (Without Replacing Them)
Rusted grill grates can be revived if rust is surface-only. Here's the safe restoration method that gets cast iron and steel grates back to cooking-ready.
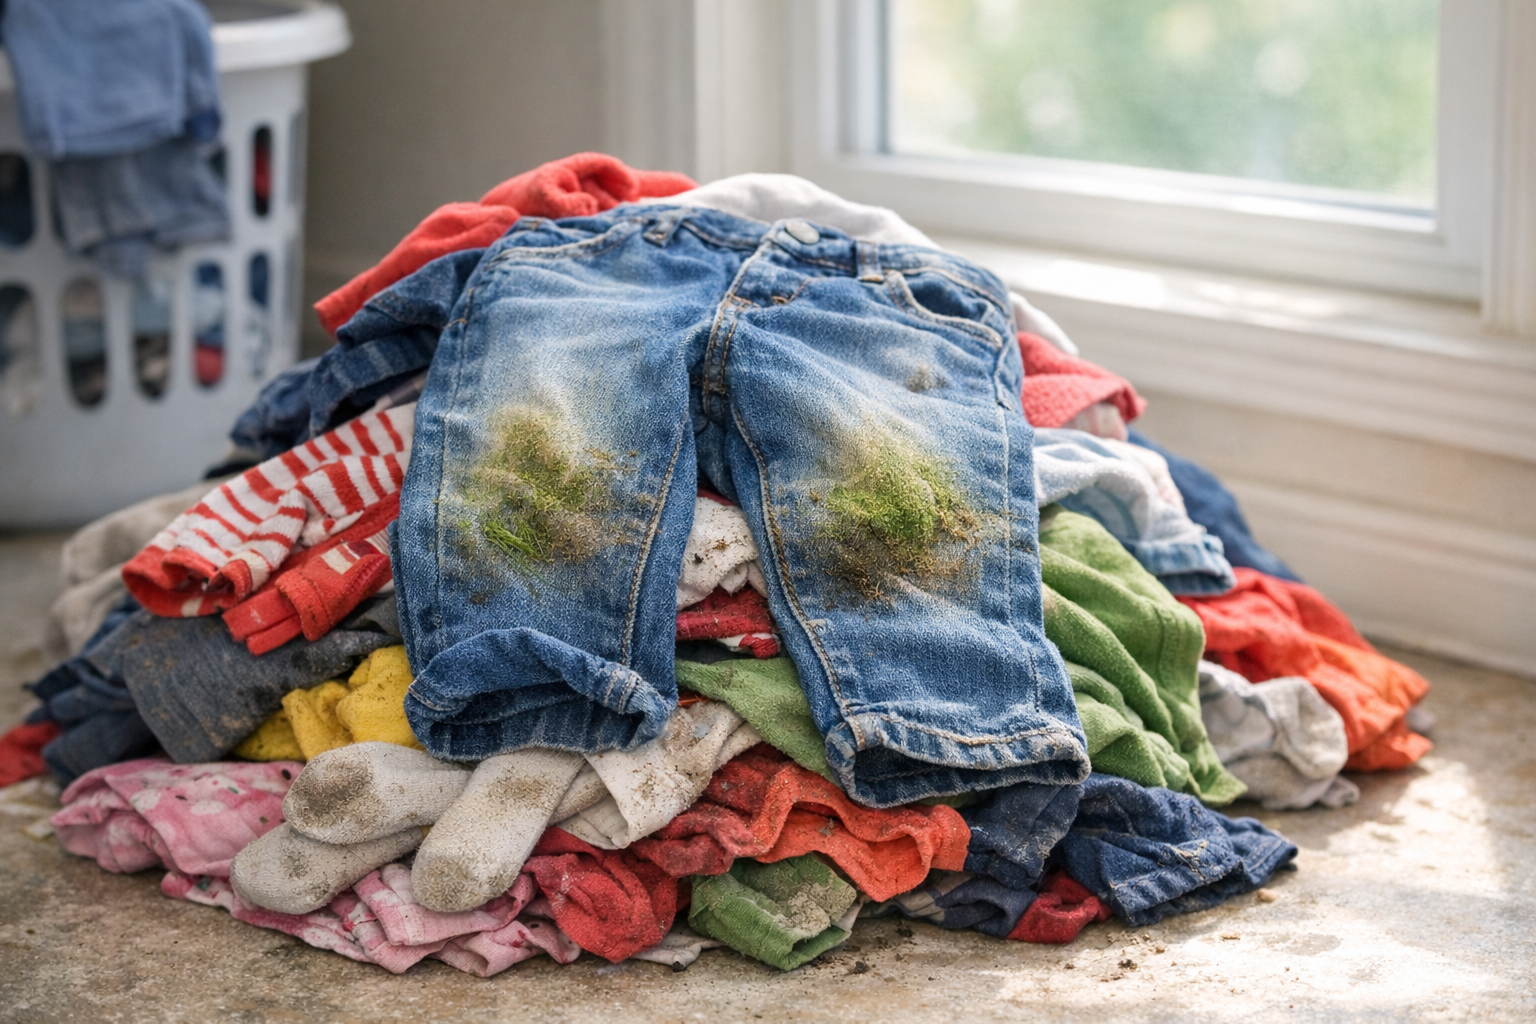
How to Remove Grass Stains From Clothes (Even After Drying)
Grass stains are protein and chlorophyll bonded into fabric. Here's the order of treatments that gets them out — even on jeans that already went through the dryer.

How to Refresh Outdoor Rugs Without Replacing Them
Before you toss that faded, grimy outdoor rug, try this simple revival routine. Most polypropylene outdoor rugs come back like new with 30 minutes of work.
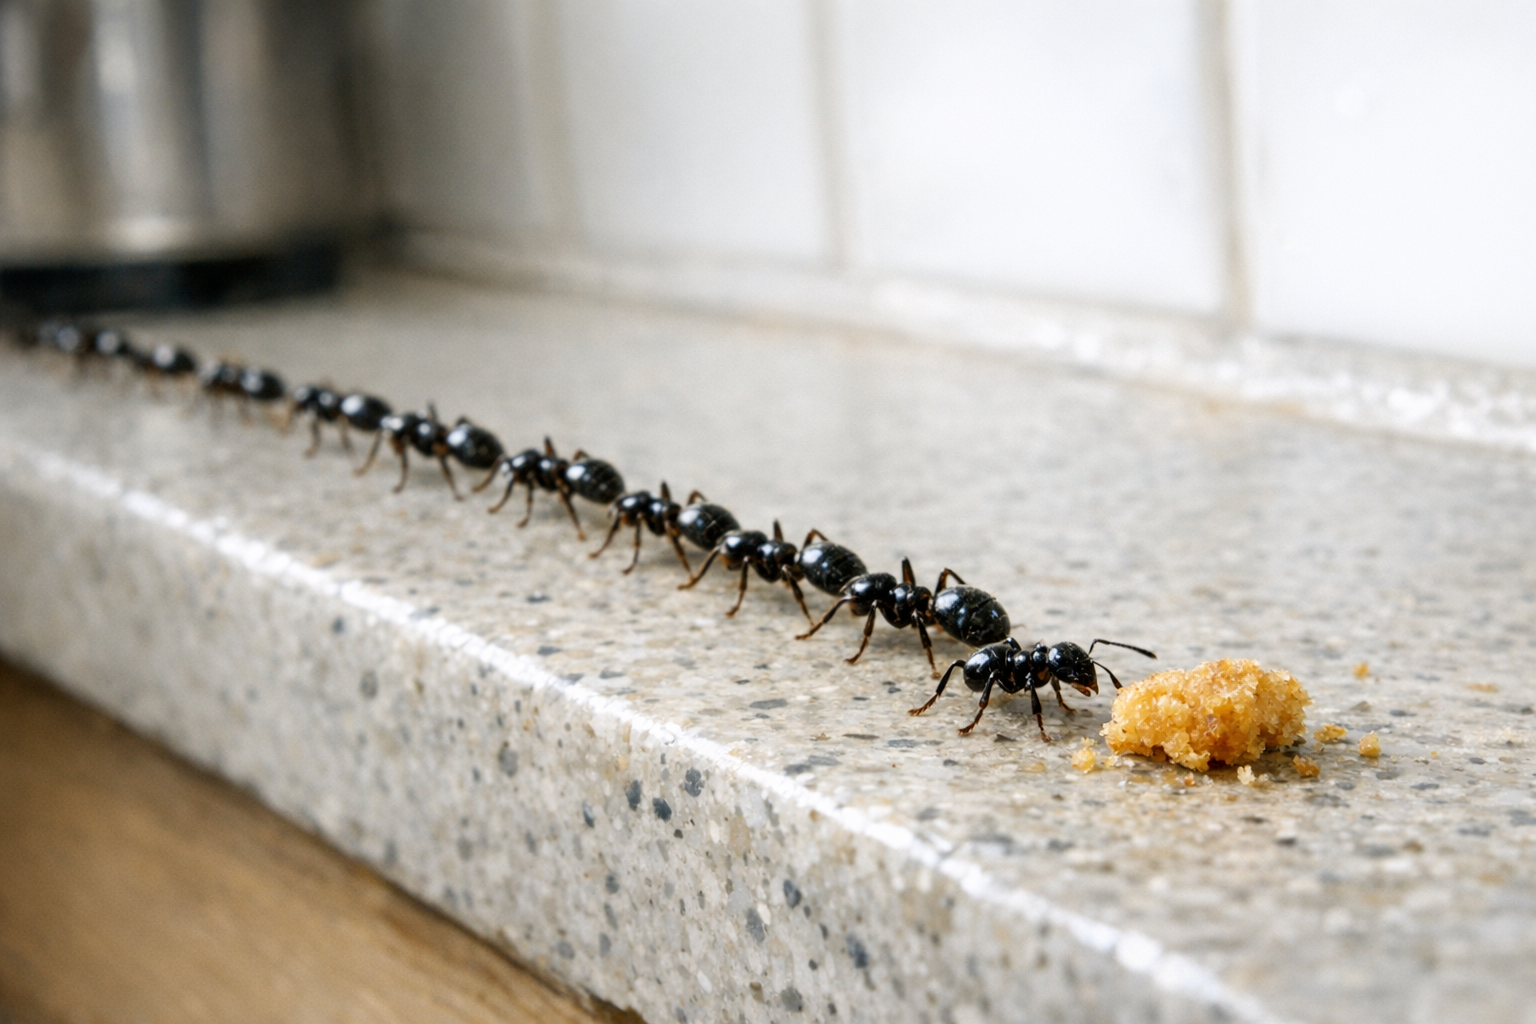
How to Get Rid of Spring Ants (Before They Invade Your Kitchen)
Warm weather brings ant trails marching through kitchens. Here's how to stop them at the source — and the natural deterrents that actually work.