How to Organize Deep Pantry Shelves Without Wasting Food
This article may contain affiliate links. If you make a purchase through these links, we may earn a small commission at no extra cost to you. Learn more
Quick Answer
How to Organize Deep Pantry Shelves Without Wasting Food
Pull-out bins, lazy Susans, and tiered shelf risers solve the deep-shelf problem. Group categories into bins so the whole bin slides out instead of digging behind. Use clear airtight containers for staples, label everything, and do a 5-minute weekly check to rotate older items to the front.
Deep pantry shelves are organized food's worst enemy. Anything pushed to the back vanishes for years until you find an expired can of tomatoes from 2022. The solution isn't reducing the depth — it's making the back accessible.
This is the system I built for my own deep narrow pantry, and it works on shelves up to 24 inches deep without digging.
Why Deep Shelves Defeat Most Pantry Systems
The standard advice — clear bins, labels, categorized shelves — works on shallow shelves where you can see everything. On deep shelves, the back row becomes a black hole. You lose track of duplicates, things expire, and the front 10 inches gets overstuffed because everything in back is invisible.
The fix is making the entire shelf accessible without bending and digging. Three tools do most of the work.
What You'll Need
- 4 to 6 deep pull-out cabinet bins sized to your shelf depth
- 2 to 4 lazy Susans for pantries
- A few tiered shelf risers
- A set of airtight food storage containers for dry staples
- A label maker or chalkboard labels
- A roll of clear shelf liner
Total cost: 100 to 200 dollars depending on how nice you go on the containers.
Step 1: Empty the Pantry Completely
Same as any organization project — you can't design a system around things you can't see. Pull everything out and group by category as you go.
While the pantry is empty, vacuum and wipe the shelves. Add clear shelf liner — protects the wood, makes spills easy to clean.
Step 2: Toss Expired and Duplicates
Most pantries have 20 to 40 percent waste:
- Anything past expiration goes (when in doubt, toss)
- Duplicates of opened items (consolidate two half-eaten boxes of crackers into one)
- "I might use this someday" items you've had over a year (donate or toss)
- Tools and gadgets that don't belong in the pantry (move them to where they're used)
Put everything else into category groups: snacks, baking, breakfast, canned goods, pasta, etc.
Step 3: Plan Your Zones
Where things go matters more than how they're stored. Put frequently-used items at eye level, less-used items high or low.
A standard layout:
- Eye level: snacks, breakfast cereal, coffee/tea
- Above eye level: baking supplies, infrequent items
- Counter level: appliances if pantry has counter space
- Below counter: canned goods (heavy), pasta, rice
- Bottom shelves: bulk items, paper goods, beverage cases
Step 4: Use Pull-Out Bins for Each Category
This is the deep-shelf game-changer. Instead of stacking small items on a deep shelf, put them inside a stackable pull-out bin. When you need an item, pull the entire bin forward (or out completely), grab what you need, and slide it back.
A bin that fits the shelf depth lets you see and grab what's at the back of the bin without digging through the front.
Group bins by category:
- "Snacks" bin
- "Breakfast" bin
- "Baking" bin
- "Asian cooking" bin (if that's a frequent style)
- "Soup and broth" bin
Label each bin so anyone in the household puts things back in the right place.
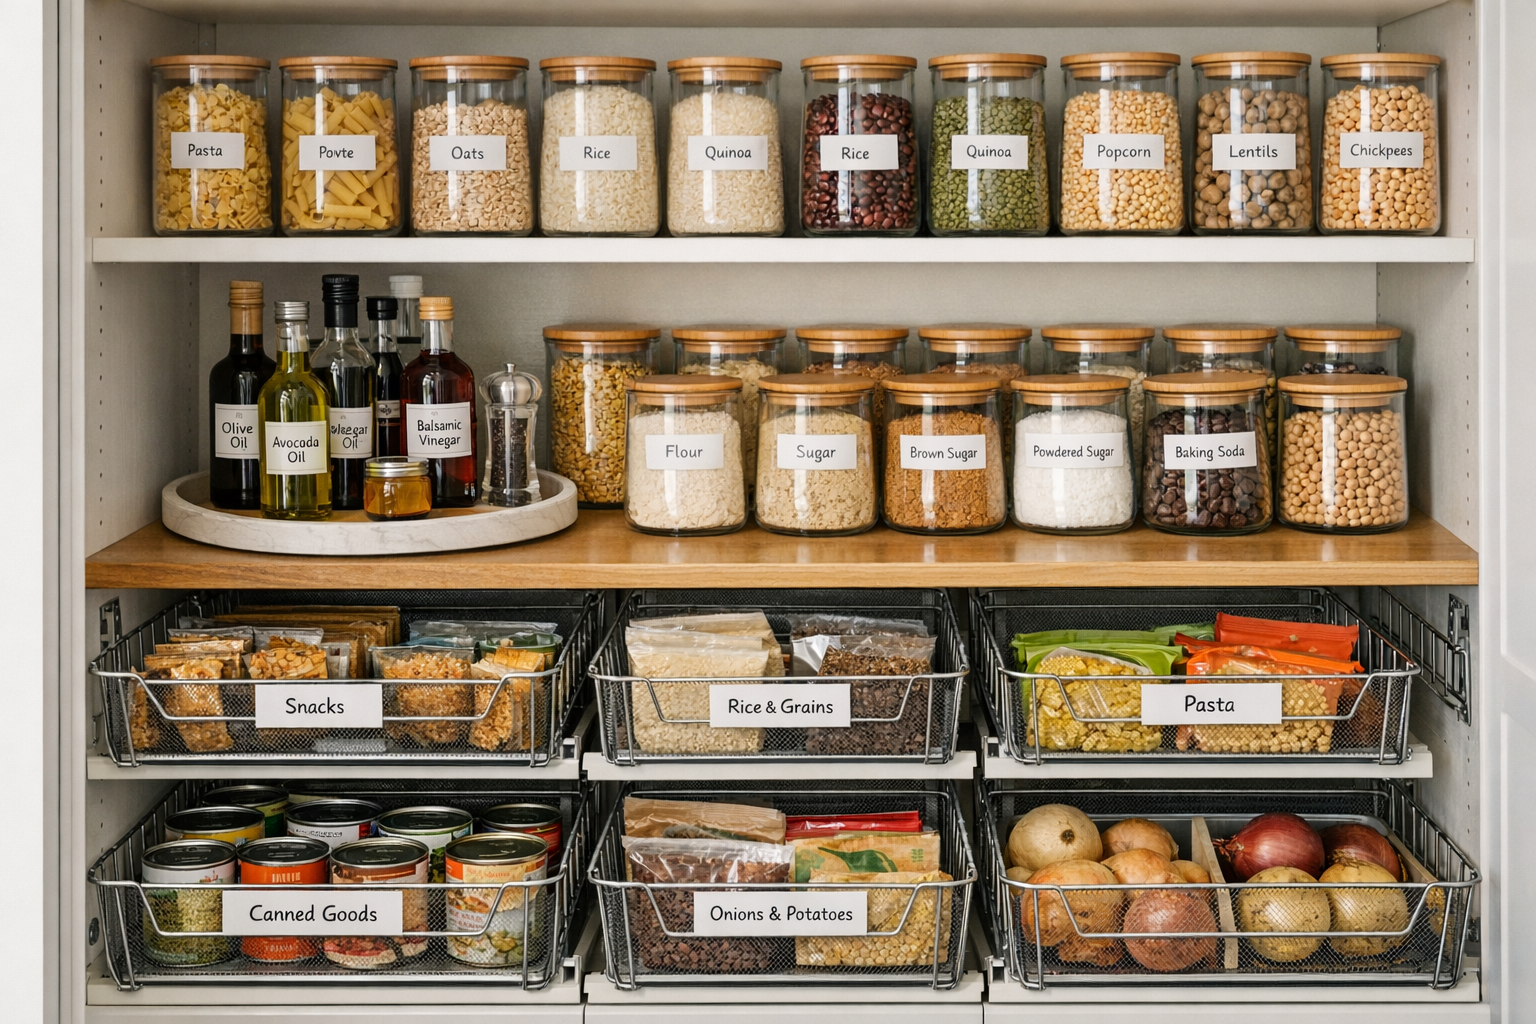
Step 5: Lazy Susans for Bottles and Jars
For oils, vinegars, sauces, and condiments — anything tall and bottle-shaped — a lazy Susan turntable is dramatically better than a row of bottles. Spin to find what you need instead of moving bottles around.
A 14 to 16 inch lazy Susan fits most standard pantry shelves. For deeper shelves, two stacked lazy Susans (one in front of the other) cover more bottles.
Step 6: Tiered Risers for Cans
Canned goods get lost on deep shelves because they all look the same from the front. A 3-tier expandable shelf riser lets you see the labels of cans in the back row.
Group cans by type: tomatoes together, beans together, soups together. Easier to inventory and easier to grab what you need.
Step 7: Decant Staples Into Airtight Containers
Bags of rice, pasta, flour, sugar, and oats look messy and don't stack well. Decanting them into matched airtight containers is a small one-time effort that pays off:
- See exactly how much you have
- Containers stack neatly
- Bugs can't get in (a real issue with grain bags)
- Looks better
A set of OXO Pop containers or any matched airtight container set in a few standard sizes works. Label each container with the contents and the expiration date from the original bag.
Step 8: Label Everything
Labels are the system that holds organization together. Without labels, the kid puts the cereal in the snack bin and you're back to chaos in a month.
A label maker makes professional-looking labels in seconds. For temporary labels, chalk markers on chalkboard labels wipe off and rewrite easily.
Label every bin, every container, and the front edge of each shelf with what category lives there.
Step 9: 5-Minute Weekly Check
Sustainability is the hard part. Once a week (Sunday before the grocery run is a natural time):
- Pull each bin forward briefly, check what's in the back
- Move older items to the front of bins (FIFO — first in, first out)
- Note anything running low on the grocery list
- Toss anything visibly expired or stale
5 minutes a week prevents the gradual decay that wrecks every pantry organization.
Common Mistakes
- Overcrowding bins. A bin should be 2/3 full max. Stuffed bins defeat the purpose — you can't see anything inside.
- Mismatched container sizes. A jumble of different containers looks messy and stacks badly. Pick one or two sizes and stick with them.
- No system for kids. If kids put things in the wrong bin, the system breaks. Use picture labels for younger kids.
Frequently Asked Questions
Should I use clear bins or solid white bins?
Clear bins for things you grab visually (snacks, cans). Solid bins for messy or visually unappealing things (open bags of chips, kids' cereal boxes). Mix both based on category.
What's the best size for pantry storage containers?
For most pantries, a few sizes cover most needs:
- 1 quart for spices, baking soda, baking powder
- 2 quart for sugar, flour, rice
- 4 quart for cereal, dog food, large bulk items
A graduated set of OXO Pop containers gives you all the standard sizes in one purchase.
How do I organize a pantry with no shelves?
A freestanding pantry shelving unit works in a closet or corner. Wire shelving is much more flexible than wood — you can adjust shelf height to fit different containers.
Should I unload food from original packaging?
For dry staples (rice, flour, oats, pasta) yes — they last longer and look better in airtight containers. For boxed snacks and kid cereals, leaving them in the box and grouping in a bin is fine — easier than decanting and the boxes have nutrition info.
Final Thoughts
Deep pantry shelves don't need to be the place food goes to die. Pull-out bins, lazy Susans, and tiered risers eliminate the back-row blackhole. Add labels, do a 5-minute weekly check, and a deep narrow pantry holds twice as much organized food as a shallow disorganized one.
Get weekly home tips that actually work
Join thousands of homeowners getting practical cleaning hacks, DIY fixes, and money-saving tips every week. Free, and you can unsubscribe anytime.

Written by
Priya PatelKitchen & Lifestyle Writer
Priya Patel is a former restaurant pastry chef turned home-cooking obsessive. She writes about meal prep, kitchen organization, and the small appliances actually worth your counter space. Priya tests recipes and gadgets out of a tiny Brooklyn galley kitchen, so she has strong opinions about what earns its footprint.
Recommended Products
Looking for specific product recommendations? Check out our tested picks.
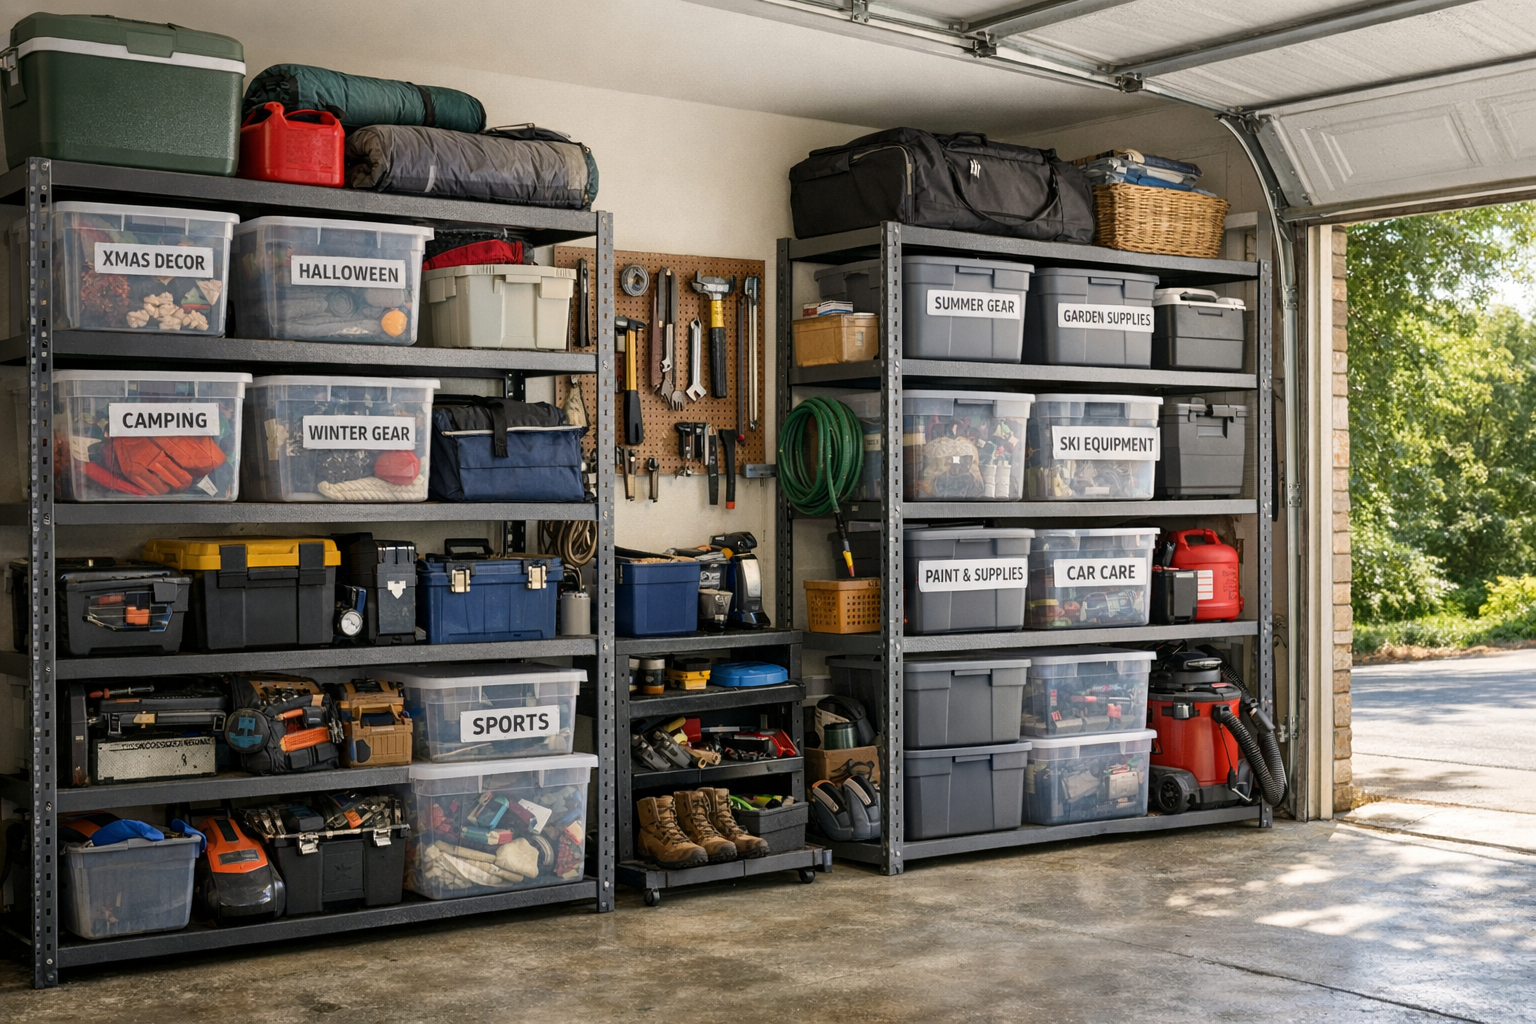
Best Garage Shelving Systems (2026 Tested)
Wire shelving, freestanding steel, wall-mounted, and overhead — we tested the garage shelving systems that hold real weight without sagging.
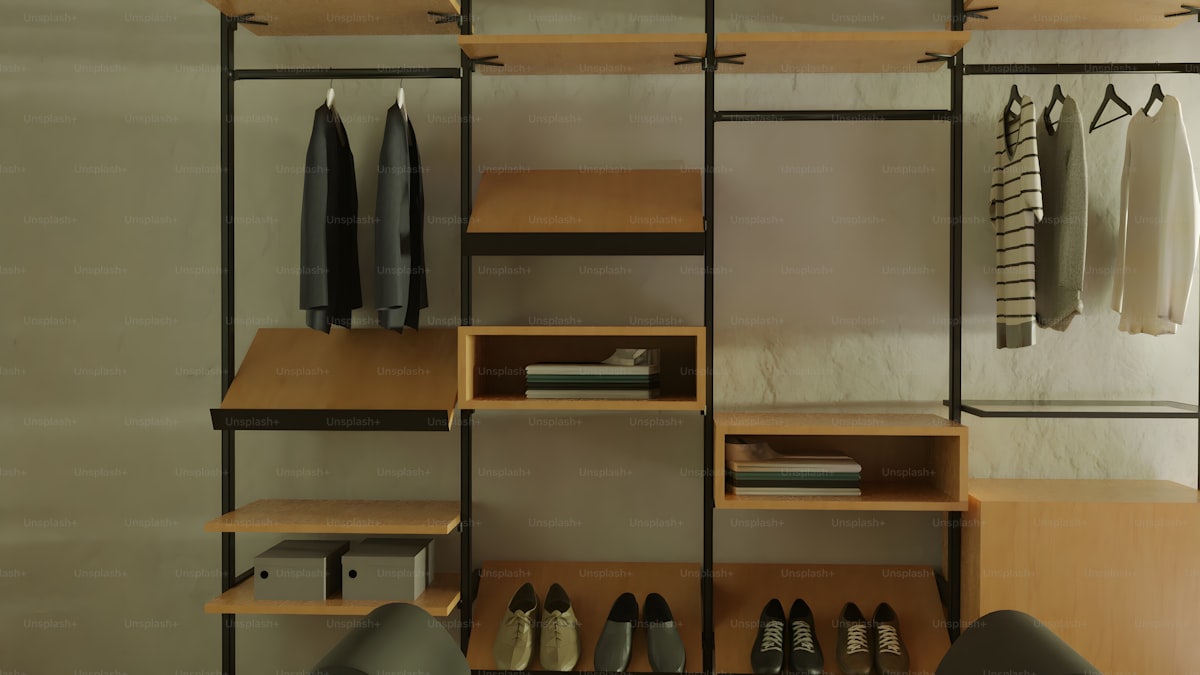
5 Best Closet Organizer Systems Under $100 (2026)
Transform your cluttered closet without spending a fortune. We compared the top closet organizer systems under $100 — here are the 5 best for different closet sizes and needs.
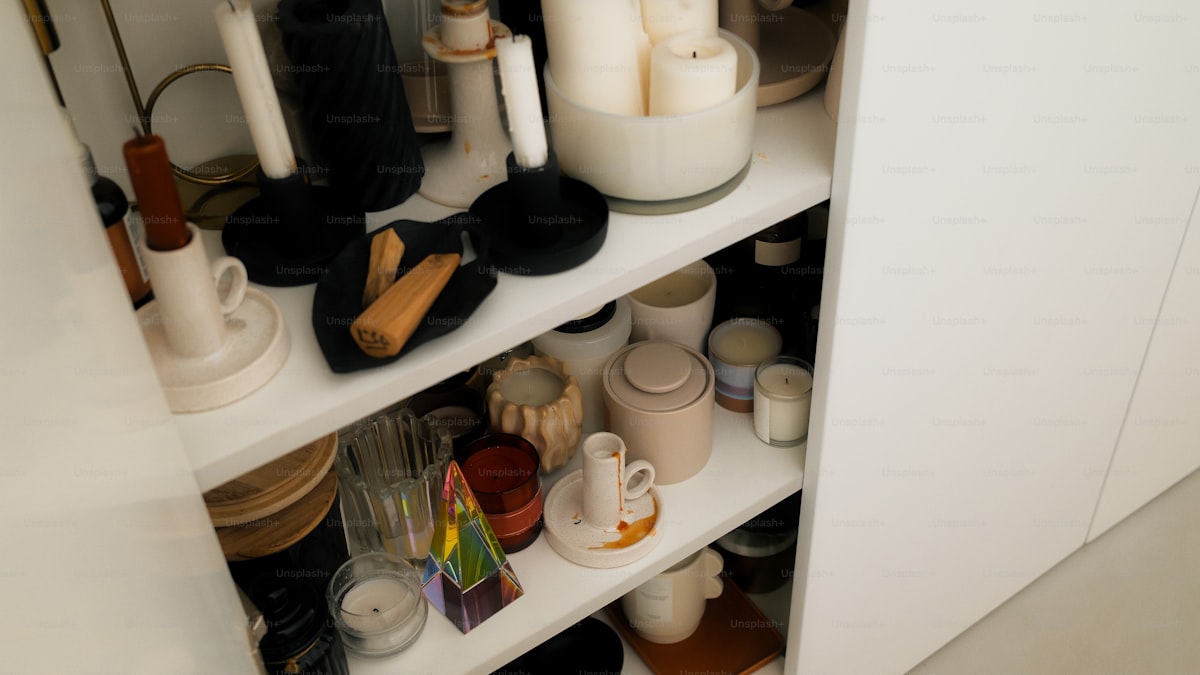
Best Storage Bins and Organizers for Every Room (2026)
The best storage bins, baskets, and organizers for closets, pantries, bathrooms, and garages. Practical picks at every price point to get your home organized.
Related Articles
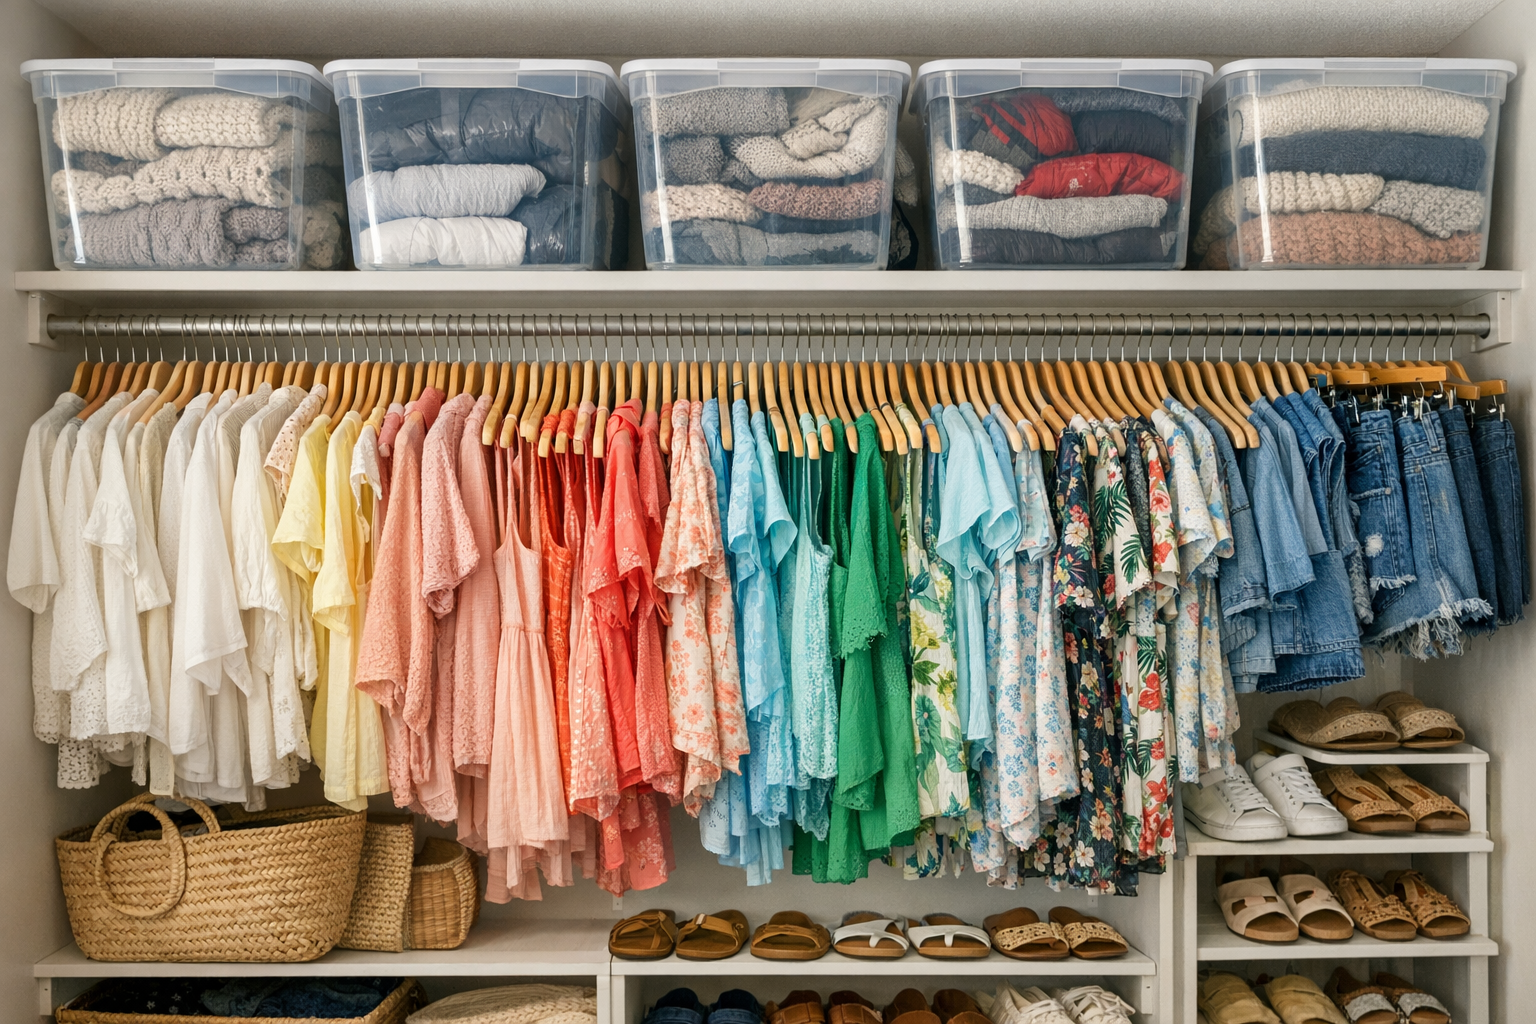
How to Swap Winter and Summer Wardrobes (And Cut Your Closet in Half)
The seasonal wardrobe swap is the highest-leverage closet declutter you can do. Here's the system that takes 90 minutes and dramatically simplifies dressing for months.
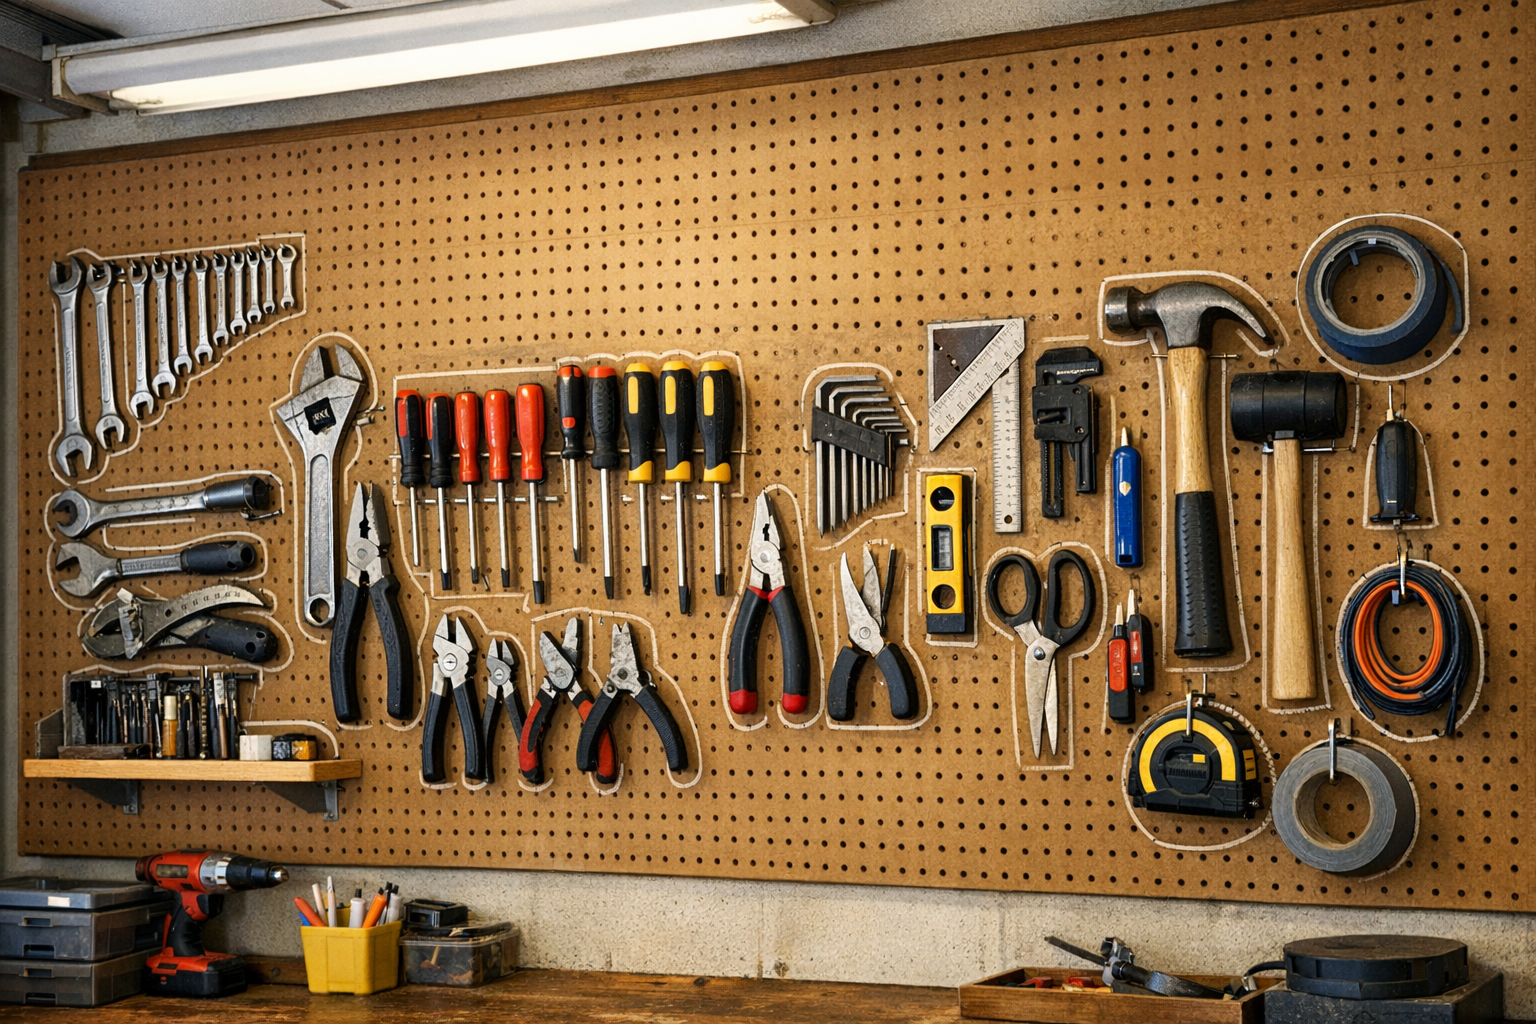
How to Set Up Garage Pegboard Zones (Pro Mechanic Style)
A pegboard wall keeps every tool in its own spot. Here's the zone-based layout pro mechanics use — adapted for home garages.
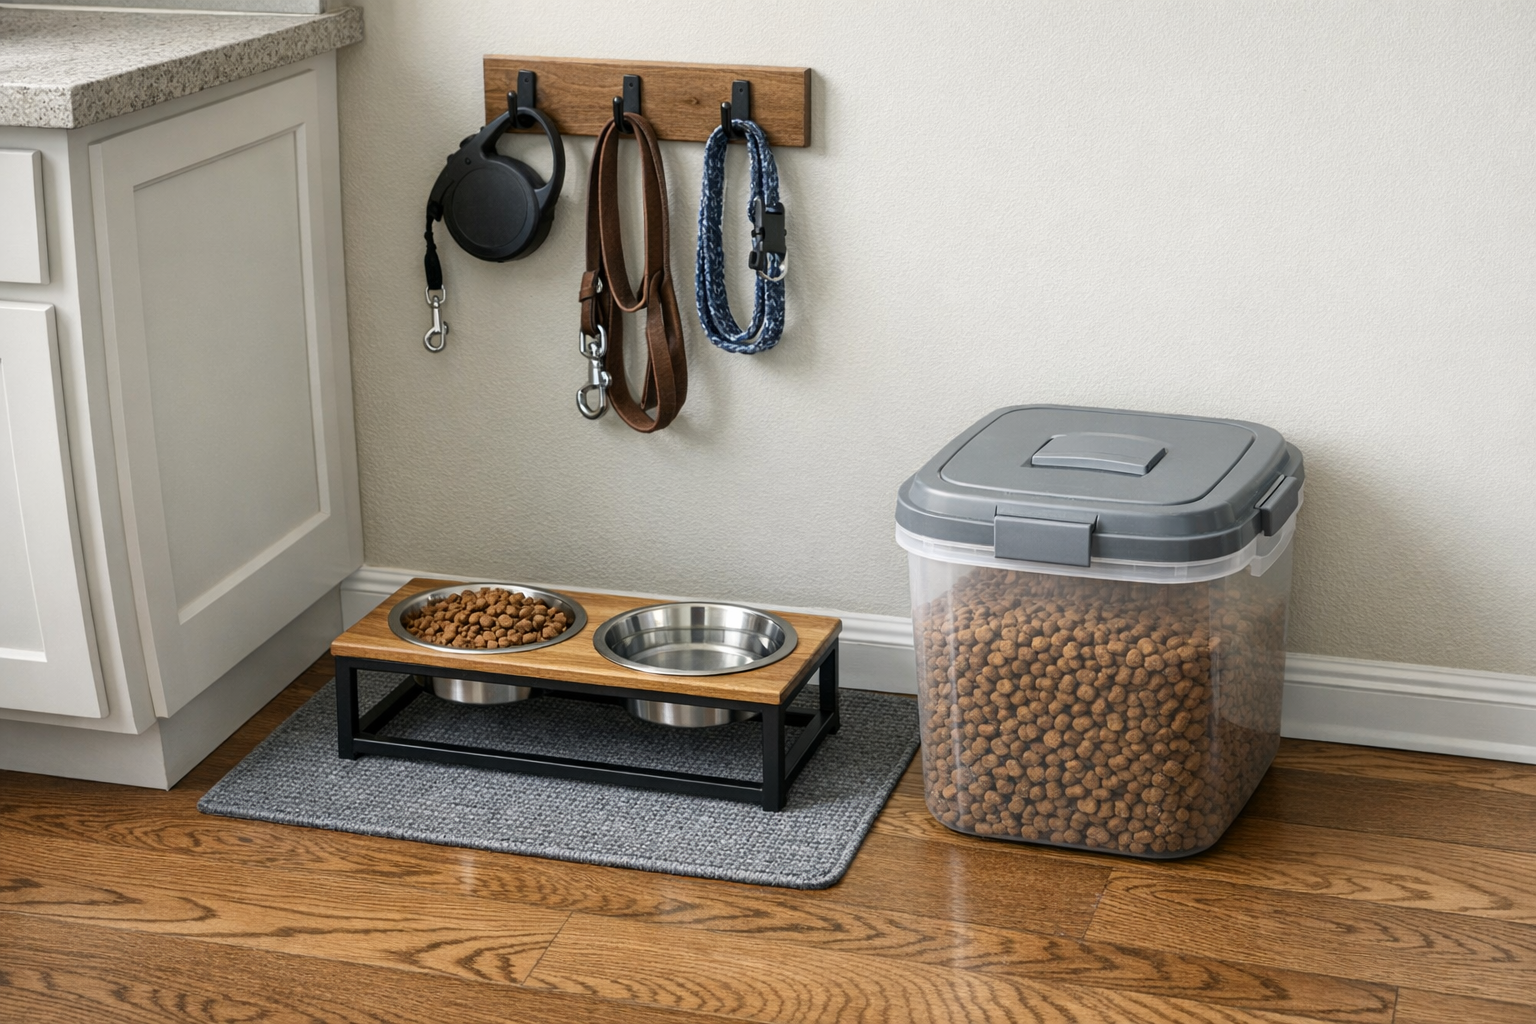
How to Organize Pet Supplies and Build a Tidy Feeding Station
Stop tripping over kibble bags and digging through a chaotic pet drawer. A simple feeding station system that works for one pet or five.

Organize Your Mudroom for the Spring Transition (Small Spaces Welcome)
Pack away winter gear and set up for spring without buying new furniture. A small-space-friendly system that handles muddy boots, rain jackets, and hauling sports gear.