How to Set Up Garage Pegboard Zones (Pro Mechanic Style)
This article may contain affiliate links. If you make a purchase through these links, we may earn a small commission at no extra cost to you. Learn more
Quick Answer
How to Set Up Garage Pegboard Zones (Pro Mechanic Style)
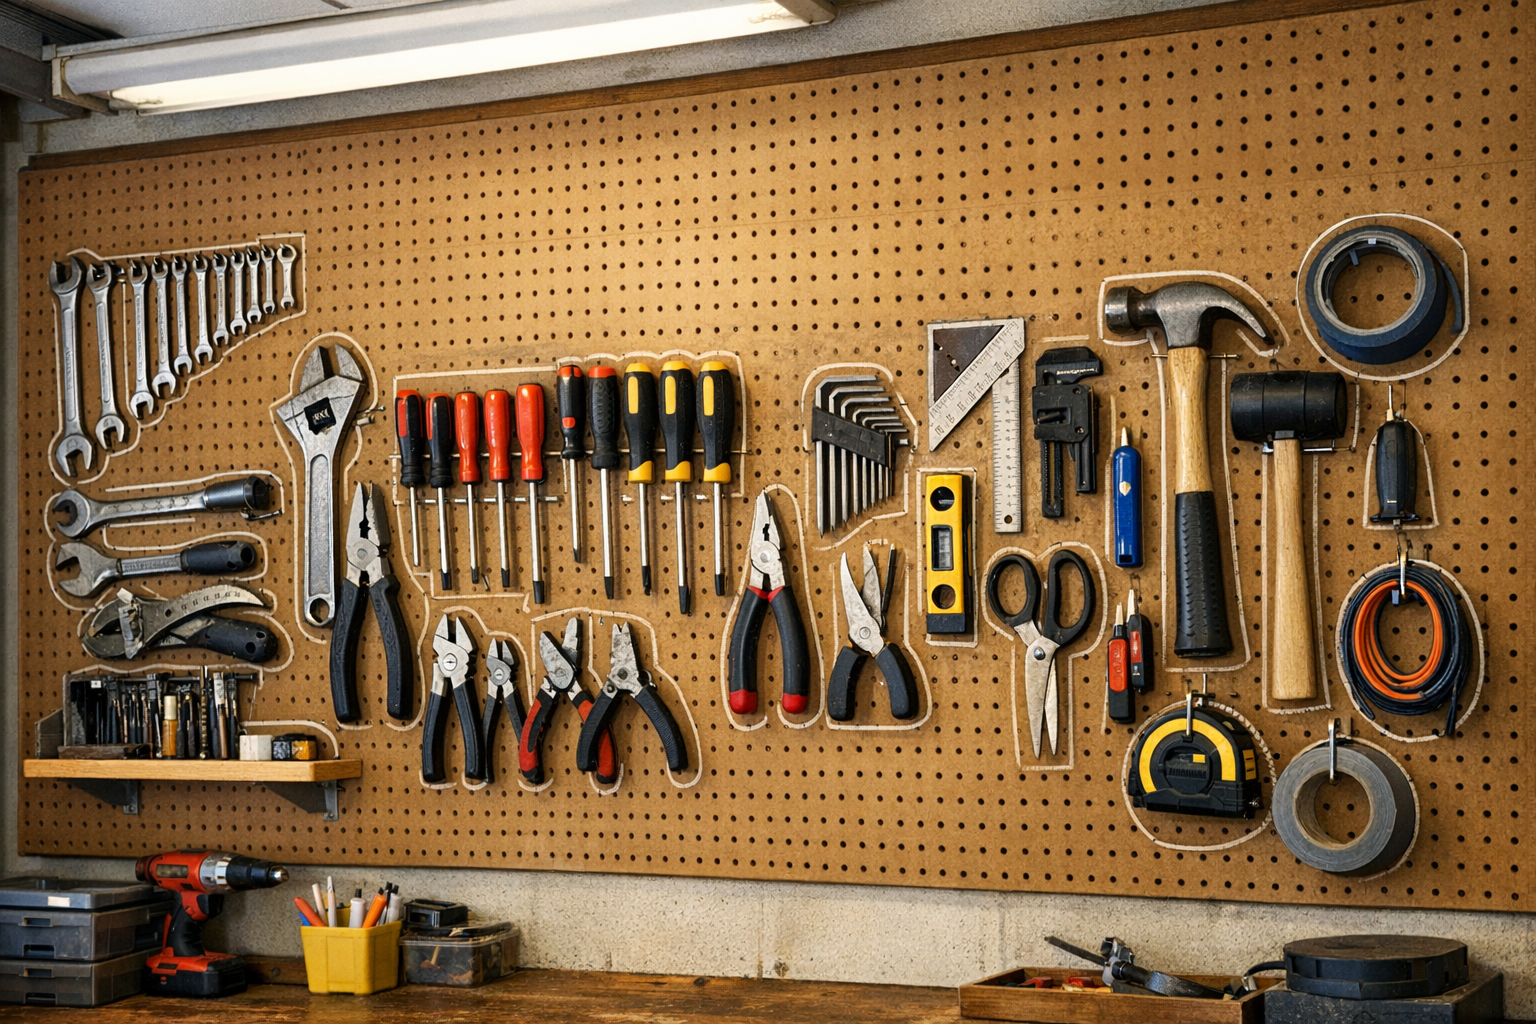
Divide the pegboard into 4 to 6 zones by category: hand tools, power tools, garden tools, automotive, painting, and miscellaneous. Use the densest hooks on the most-used tools. Trace the outline of each tool with a marker so you and anyone else knows where it goes back. A 4 by 8 foot pegboard wall holds 100+ tools in less floor space than 2 toolboxes.
A garage pegboard wall is the most underrated organization upgrade. One Saturday and 100 to 200 dollars buys you a tool wall that holds everything visible, accessible, and reset to its place.
The trick is zoning. Random pegboard with random hooks ends up just as messy as a drawer. Pegboard with planned zones stays organized for years.
Why Pegboard Beats Toolboxes for Most Home Garages
Toolboxes hide tools. Drawers slow you down. Pegboard puts everything in plain sight at the height you actually use it.
Trade-offs:
- Pegboard exposes everything — looks chaotic if not organized
- Hooks can dislodge if bumped (use locking hooks for heavy items)
- Less secure than a locked toolbox
For most home garages where security isn't an issue, the speed of a pegboard wall outweighs the downsides.
What You'll Need
For a 4 by 8 foot wall installation:
- 2 sheets of 1/4 inch pegboard — sold in 4 by 4 or 4 by 8 foot panels
- A pegboard hook assortment kit (100+ pieces)
- 1x2 furring strips for spacing the pegboard off the wall
- Drywall anchors and screws
- A few pegboard bins for small items
- A pencil and marker
- A drill with a Phillips bit
For tools that mount specifically:
- Garden tool wall hooks for shovels and rakes
- Power tool wall hangers for cordless tools
- Magnetic tool strip for screwdrivers and small steel tools
Step 1: Pick the Right Wall
Your pegboard wall should be:
- Open and accessible (not behind parked cars or stored stuff)
- At least 8 feet wide ideally
- Near where you actually do work (not in the corner you never go to)
- Lit well — add a LED shop light above if dim
The wall behind a workbench is the obvious choice if you have one.
Step 2: Mount the Pegboard
Pegboard needs to sit at least 1/2 inch off the wall so you can insert hooks from the back. Use 1x2 furring strips screwed into the wall studs as spacers.
Standard layout:
- 1x2 strips horizontally at the top, middle, and bottom of the panel
- Screw the pegboard to the strips with deck screws
- Use drywall anchors only as a last resort — anchor into studs whenever possible
For a finished look, pre-paint the pegboard before installation. White or light gray is the most common — makes tools easier to see.
Step 3: Plan Your Zones
This is the step that makes pegboard succeed long-term. Stand back and divide the wall into zones with chalk or painters tape:
- Hand tools (hammers, screwdrivers, pliers, wrenches) — eye level
- Power tools (drill, sander, jigsaw) — chest level, easy to grab
- Measurement tools (tape measures, levels, squares) — within reach of workbench
- Garden tools (small ones — pruners, trowels) — separate area
- Automotive (wrench sets, tire gauge, etc.) — its own zone
- Painting and finishing — top corner, less frequently used
- Miscellaneous — small parts bins
Group like with like. Don't scatter screwdrivers across the whole board.
Step 4: Mount Tools Strategically
Within each zone, organize from most-used to least-used. Put your favorite hammer in the dead-center of the hand tools zone where you can grab it without thinking.
For each tool:
- Hold it on the pegboard where you want it
- Mark the hook position with a pencil
- Insert the hook
- Hang the tool
- Trace the outline of the tool with a marker
The traced outlines are the secret to long-term organization. When you (or anyone else) puts a tool back, the empty outline tells you exactly where it goes.
Step 5: Use Bins for Small Loose Parts
Loose hardware (screws, nuts, washers) doesn't hang on hooks. Pegboard bins clip onto the pegboard and hold these.
Better for fine sorting: a parts organizer cabinet with drawers sitting on a shelf below the pegboard. Each drawer labeled with what's inside.
Step 6: Add a Magnetic Strip for Steel Tools
A magnetic tool holder strip mounted along the bottom of the pegboard wall holds:
- Screwdrivers
- Wrenches
- Pliers
- Razor blade tools
Steel tools snap onto it instantly. No hooks to fiddle with. Great for the tools you grab most often.
Step 7: Label Zones (Optional but Helps)
If multiple people use the garage, label each zone:
- "Hand Tools"
- "Power Tools"
- "Automotive"
- "Garden"
A label maker makes professional-looking zone labels.
Common Mistakes
- Buying hooks before planning. You'll buy the wrong sizes. Hang your tools, plan, then buy specific hooks.
- Cramming too much into a small space. Leave breathing room — looks better and easier to use.
- Putting heavy power tools on regular hooks. Use locking pegboard hooks for anything over a few pounds.
- Pegboard mounted flat against the wall. Hooks won't go in. Always use spacers.
Modular Pegboard Alternatives
If you don't want to install pegboard, modular wall systems offer the same flexibility:
- Slatwall panels — heavier-duty than pegboard, can hold larger items
- Track-based wall storage — modular, adjustable
- French cleat system (DIY) — wood strips at 45-degree angle hold custom-made tool holders
For most home garages, basic pegboard is the cheapest and most flexible option.
Frequently Asked Questions
What thickness pegboard do I need?
1/4 inch standard pegboard handles most home tools. If you're hanging heavy items (multiple cordless drills, chainsaws), step up to 3/8 inch metal pegboard or a slatwall system.
How much weight can pegboard hold?
Standard 1/4 inch hardboard pegboard holds about 5 to 10 pounds per hook. Metal pegboard holds 20+ pounds per hook. Distribute weight — don't put 5 heavy tools on adjacent hooks.
Can I install pegboard over drywall?
Yes — use furring strips behind the pegboard to create the air gap needed for hooks. Mount through drywall into studs, not just into drywall.
How do I stop pegboard hooks from falling out when I grab a tool?
Use locking pegboard hooks — they have a small tab that catches behind the pegboard. Standard hooks pop out easily; locking hooks stay put.
Final Thoughts
A planned pegboard wall transforms how the garage feels to work in. Tools live in obvious places, you find them in seconds, and everything resets visually when you're done. Spend an hour planning zones before you mount a single hook — that's what separates a great pegboard from a chaotic one.
Get weekly home tips that actually work
Join thousands of homeowners getting practical cleaning hacks, DIY fixes, and money-saving tips every week. Free, and you can unsubscribe anytime.

Written by
Marcus ChenDIY & Home Repair Editor
Marcus Chen spent fifteen years as a licensed general contractor in the Pacific Northwest before joining Practical Home Guides full time. He specializes in plumbing, electrical, and weekend warrior projects that save homeowners thousands. Marcus has personally tested every tool he recommends in his own century-old fixer-upper.
Recommended Products
Looking for specific product recommendations? Check out our tested picks.
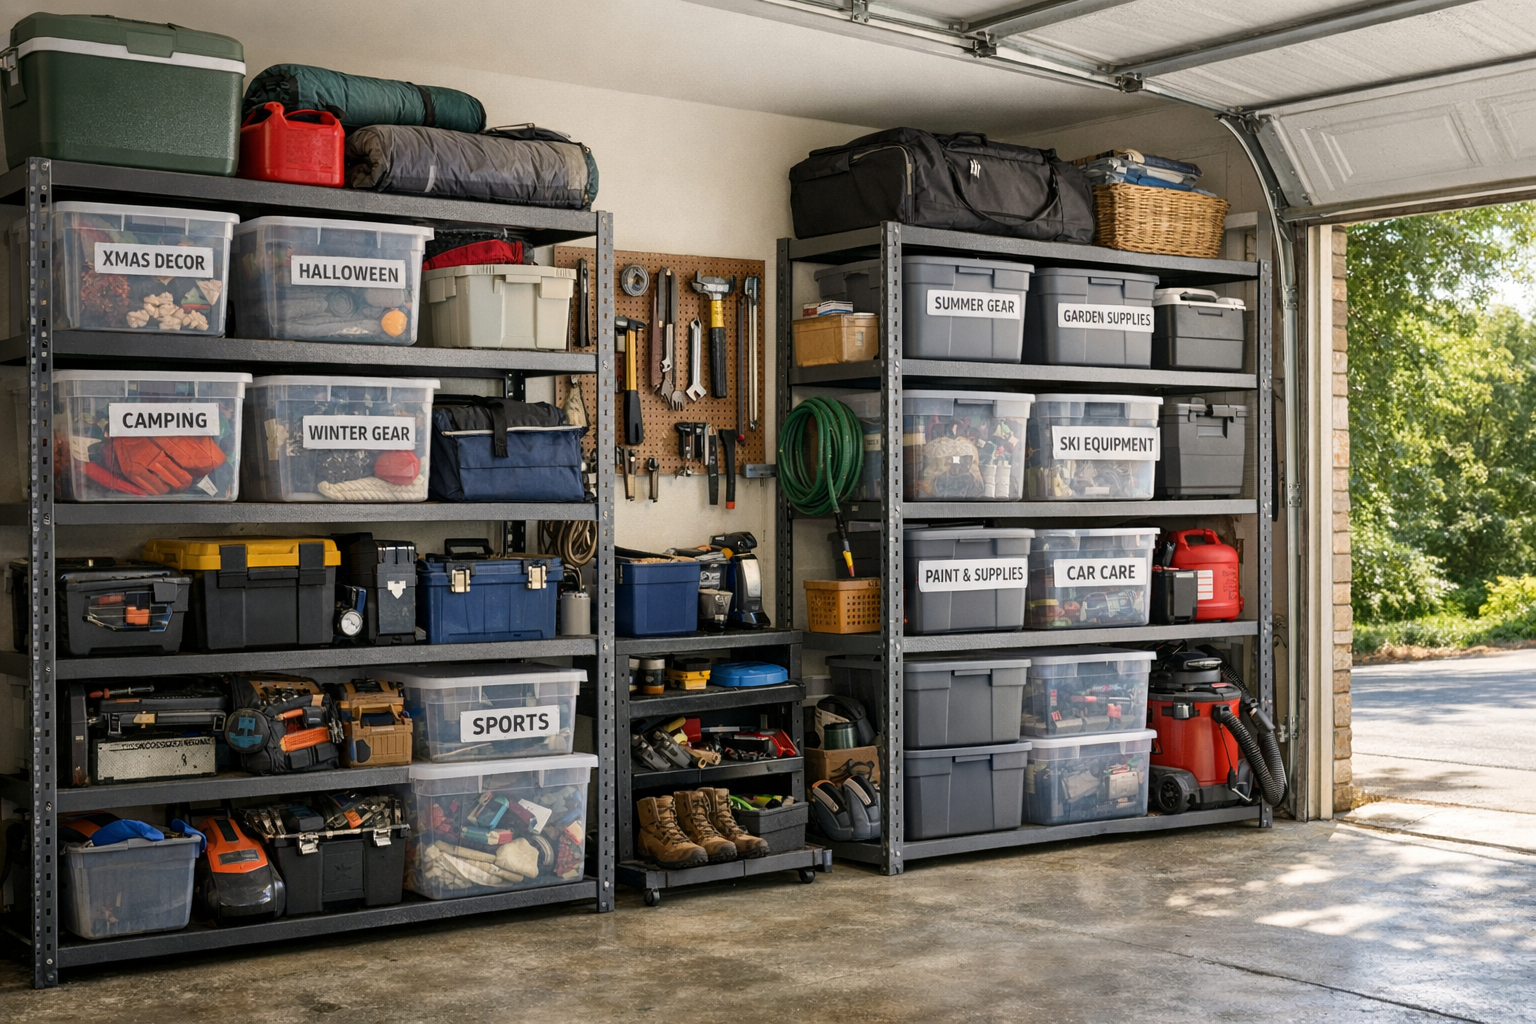
Best Garage Shelving Systems (2026 Tested)
Wire shelving, freestanding steel, wall-mounted, and overhead — we tested the garage shelving systems that hold real weight without sagging.
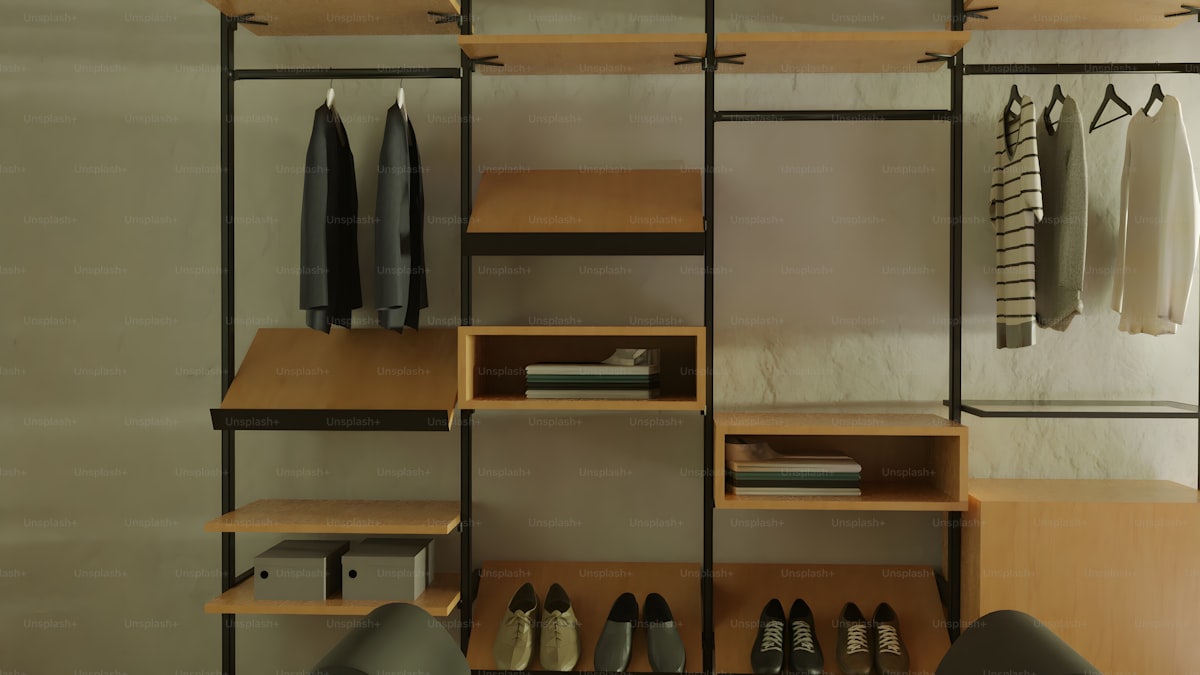
5 Best Closet Organizer Systems Under $100 (2026)
Transform your cluttered closet without spending a fortune. We compared the top closet organizer systems under $100 — here are the 5 best for different closet sizes and needs.
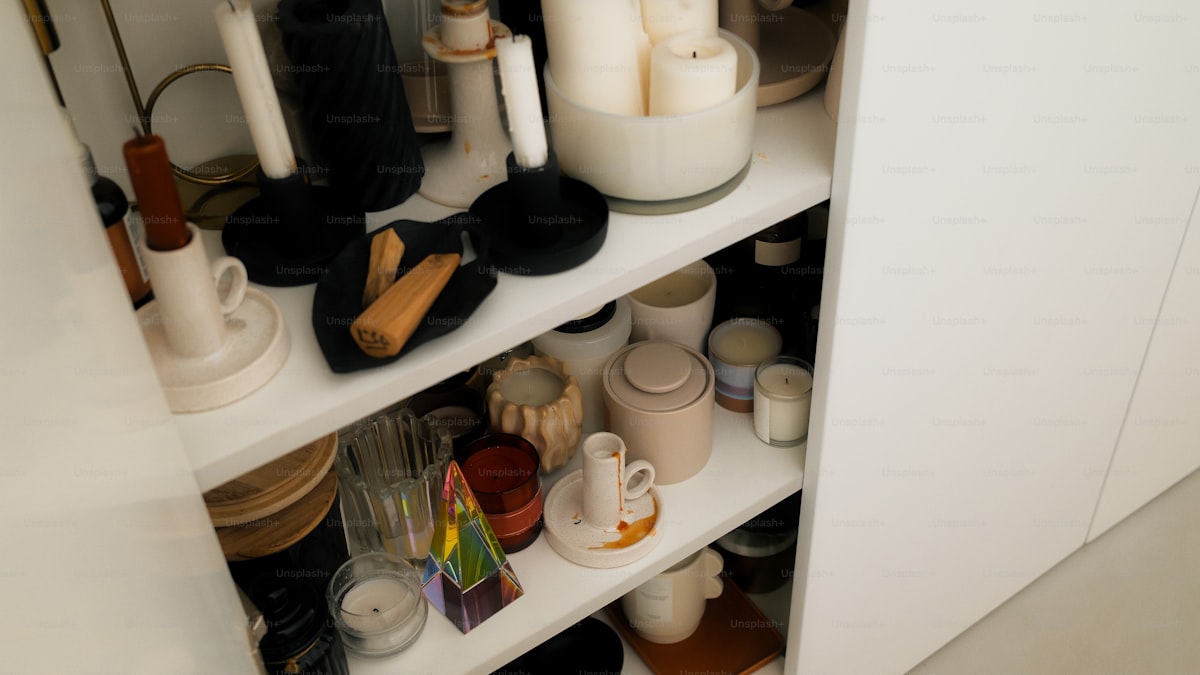
Best Storage Bins and Organizers for Every Room (2026)
The best storage bins, baskets, and organizers for closets, pantries, bathrooms, and garages. Practical picks at every price point to get your home organized.
Related Articles
How to Swap Winter and Summer Wardrobes (And Cut Your Closet in Half)
The seasonal wardrobe swap is the highest-leverage closet declutter you can do. Here's the system that takes 90 minutes and dramatically simplifies dressing for months.
How to Organize Deep Pantry Shelves Without Wasting Food
Deep pantry shelves are where food goes to be forgotten. Here's the system that keeps everything visible and rotated — even on 24-inch deep shelves.
How to Organize Pet Supplies and Build a Tidy Feeding Station
Stop tripping over kibble bags and digging through a chaotic pet drawer. A simple feeding station system that works for one pet or five.

Organize Your Mudroom for the Spring Transition (Small Spaces Welcome)
Pack away winter gear and set up for spring without buying new furniture. A small-space-friendly system that handles muddy boots, rain jackets, and hauling sports gear.