How to Organize a Garden Shed for Spring (Step-by-Step)
This article may contain affiliate links. If you make a purchase through these links, we may earn a small commission at no extra cost to you. Learn more
Quick Answer
How to Organize a Garden Shed for Spring (Step-by-Step)
Empty the shed, then organize into four zones: power tools (with charging station), hand tools (on a vertical wall), bulk supplies (clear bins on shelves), and seasonal items (overhead). Use pegboard, wall hooks, and clear bins so you can see everything at a glance.
If you opened your shed this weekend and a rake fell on your foot, this guide is for you. A shed reorganization sounds like a one-day project but most people give up halfway because they don't have a system. Here's the system.
The whole job takes a Saturday if you stay disciplined. Worst case, two half-days.
Why Sheds Get So Bad So Fast
Sheds drift toward chaos because of one thing: stuff goes in but never goes out. The fix is a one-time hard reset where everything comes out, then a system that makes it obvious where things go back.
The other problem is vertical space. Most sheds use 30 percent of their cubic footage and pile everything else on the floor. Fix that and even a small shed holds twice as much.
What You'll Need
- A box of contractor trash bags (you'll throw a lot away)
- A pegboard panel set with hooks
- A few heavy-duty wall hooks for big tools
- 4 to 6 clear stackable storage bins
- A roll of painters tape and a Sharpie for labeling
If you don't have shelving, add a couple of steel wire shelving units — they're cheap, they hold up to damp, and you can move them.
Step 1: Empty It Completely
This is the hardest step and the one people skip. Pull every single thing out onto the lawn or driveway. Group it as you go: tools, chemicals, hoses, bulk supplies, sports gear, etc.
You can't design a system around things you can't see. Empty completely.
Step 2: Sort Into Four Piles
- Keep — used in the last 2 years
- Donate or sell — works fine but you don't use it
- Throw away — broken, rusted, expired (yes, fertilizer expires)
- Move out of the shed — belongs in the garage, attic, or basement
Be ruthless. The half-empty bottle of pesticide from 2019 is not coming back into the shed.
Step 3: Sweep, Wipe, and Repair the Empty Shed
While the shed is empty, sweep it out, wipe down the walls, and check for leaks or rotting wood. Patch a hole with exterior caulk or replace a panel before you move stuff back in. You will never get to it once it's full again.
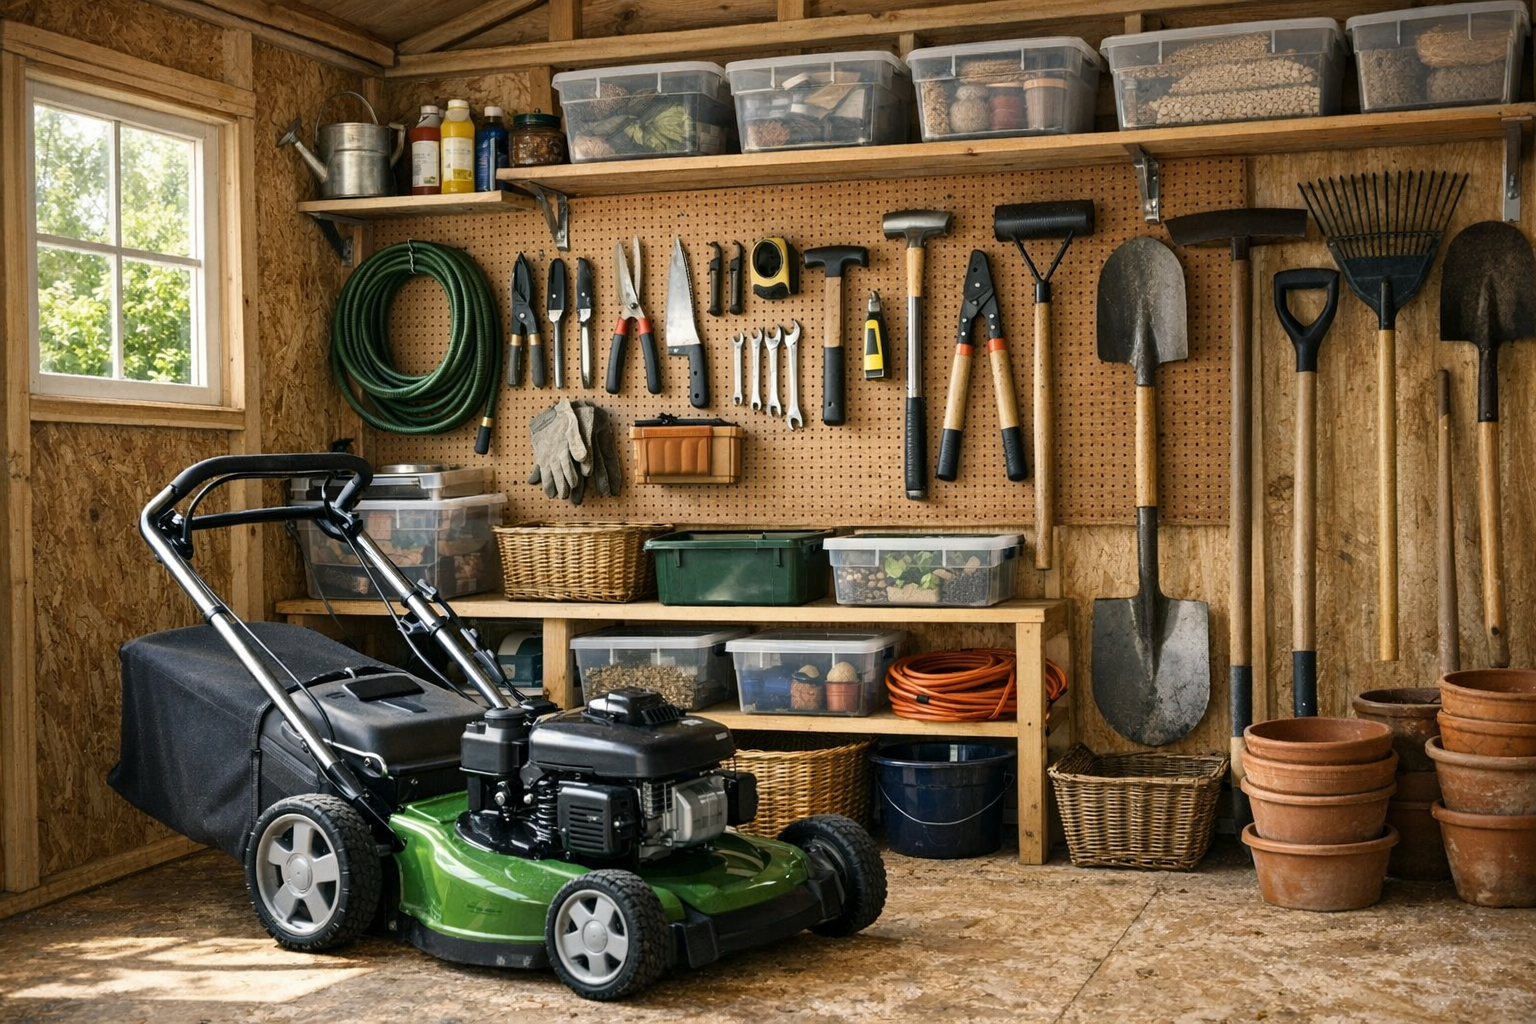
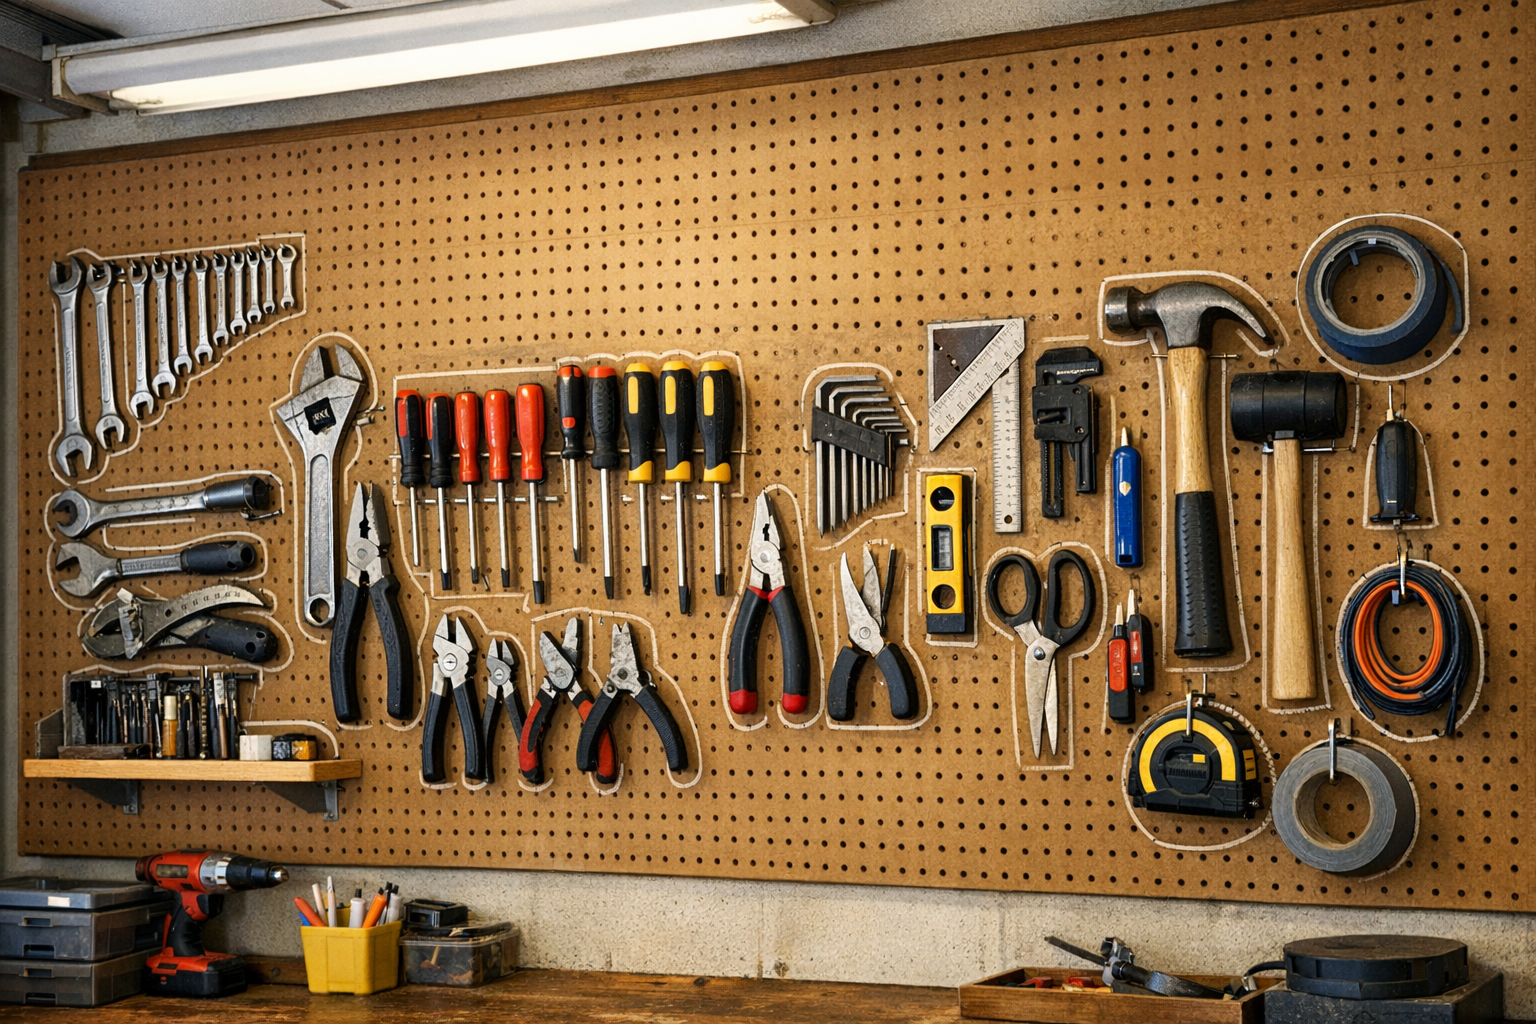
Step 4: Mount the Pegboard Wall
Pegboard is the magic ingredient. Mount it on the wall furthest from the door, at chest to overhead height. Hang every hand tool with a hook or a hanger arm. Trace each tool with a Sharpie so you (and your spouse, kids, neighbor) know where it goes back.
This sounds extra. It is the single biggest reason shed organization holds up over time.
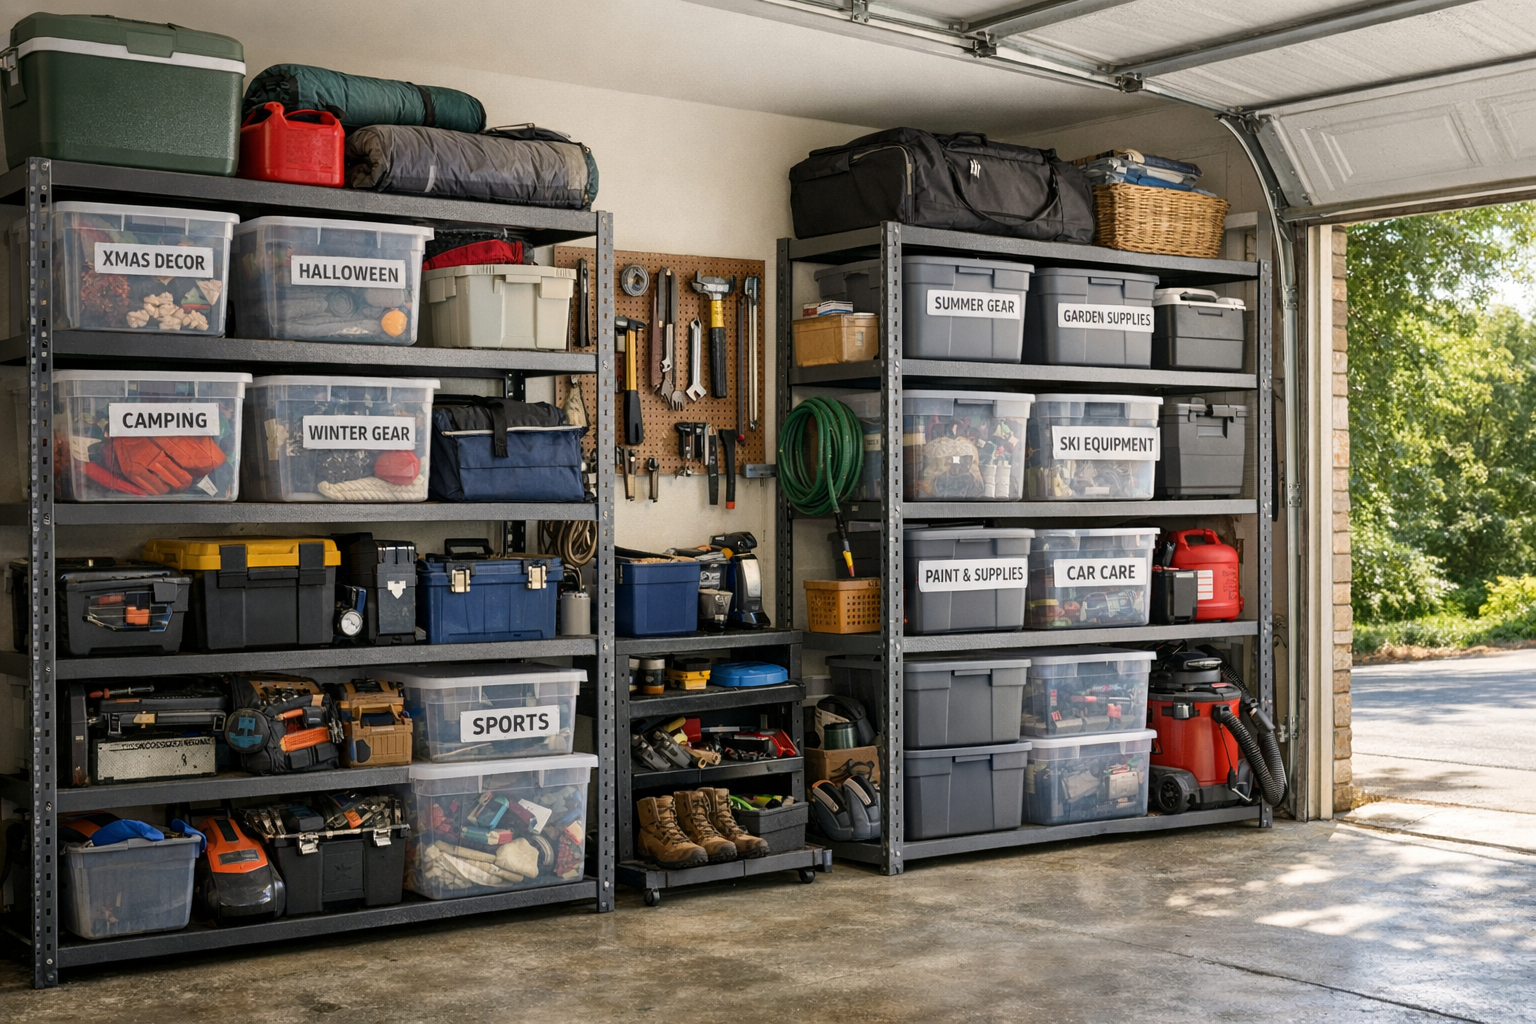
Step 5: Use the Walls, Not the Floor
The floor is for things on wheels and nothing else. Mower, wheelbarrow, leaf bag holder. Everything else goes on a wall, a shelf, or overhead.
- Long tools (rake, shovel, broom, edger) — wall hooks at chest height
- Hoses — coiled on a wall-mounted hose hanger
- Bulk supplies (potting soil, mulch, fertilizer) — bottom shelf in clear bins
- Sprayers, gloves, twine, plant tags — top shelf in a single bin per category
Step 6: Build a Power Tool Charging Zone
If you own cordless tools, set up one place where every battery charges. Mount a power strip with surge protection on the wall, line up your chargers, and put dead batteries on the strip the moment you walk in. Live batteries go on the tools.
This single habit doubles the working life of your batteries because they aren't sitting flat for months.
Step 7: Label Everything
Take 10 minutes with painters tape and a Sharpie. Label every bin and every shelf. The label is for whoever uses the shed when you're not there — kids, spouse, mother-in-law watching the dog. They will reset things to where the labels say.
Common Mistakes That Wreck Shed Organization in a Month
- Storing chemicals in damaged or unlabeled containers. Fertilizer turns into rocks. Pesticide labels rot off. Replace containers or throw them out.
- Buying organizers before you sort. You'll buy the wrong sizes. Sort, then measure, then buy.
- No designated "incoming" spot. When you finish a project, you need somewhere to set things down. Build a small landing shelf inside the door.
Frequently Asked Questions
How do I keep mice out of the shed?
Steel wool stuffed into any gap larger than a quarter inch. Mice can't chew through it. Then keep food (bird seed, pet food, fertilizer pellets) in airtight metal storage bins — never in the original paper bags.
Can I store gas-powered tools in an unheated shed?
Yes, with one rule: drain the fuel or run the tank dry before winter. Gas left in carburetors gums up and ruins them. A bottle of fuel stabilizer is the alternative.
How do I organize a tiny shed?
Go vertical and use the door. Mount pegboard on the inside of the shed door, hang flat tools (saws, hand pruners, garden gloves on clips). Use a vertical bike hook to hang the wheelbarrow against the wall.
What's the best way to store long-handled tools?
A wall-mounted tool rack with spring-loaded grips — they hold rake, shovel, and broom handles upright in 2 inches of wall space. Far better than leaning them in a corner.
Final Thoughts
A shed organization system survives one season only if it makes the right thing the easy thing. Hooks beat bins. Bins beat piles. Vertical beats horizontal. Get those three right and the shed stays organized through the busiest yard-work months.
Get weekly home tips that actually work
Join thousands of homeowners getting practical cleaning hacks, DIY fixes, and money-saving tips every week. Free, and you can unsubscribe anytime.

Written by
Marcus ChenDIY & Home Repair Editor
Marcus Chen spent fifteen years as a licensed general contractor in the Pacific Northwest before joining Practical Home Guides full time. He specializes in plumbing, electrical, and weekend warrior projects that save homeowners thousands. Marcus has personally tested every tool he recommends in his own century-old fixer-upper.
Recommended Products
Looking for specific product recommendations? Check out our tested picks.
Best Garage Shelving Systems (2026 Tested)
Wire shelving, freestanding steel, wall-mounted, and overhead — we tested the garage shelving systems that hold real weight without sagging.

5 Best Closet Organizer Systems Under $100 (2026)
Transform your cluttered closet without spending a fortune. We compared the top closet organizer systems under $100 — here are the 5 best for different closet sizes and needs.
Best Storage Bins and Organizers for Every Room (2026)
The best storage bins, baskets, and organizers for closets, pantries, bathrooms, and garages. Practical picks at every price point to get your home organized.
Related Articles
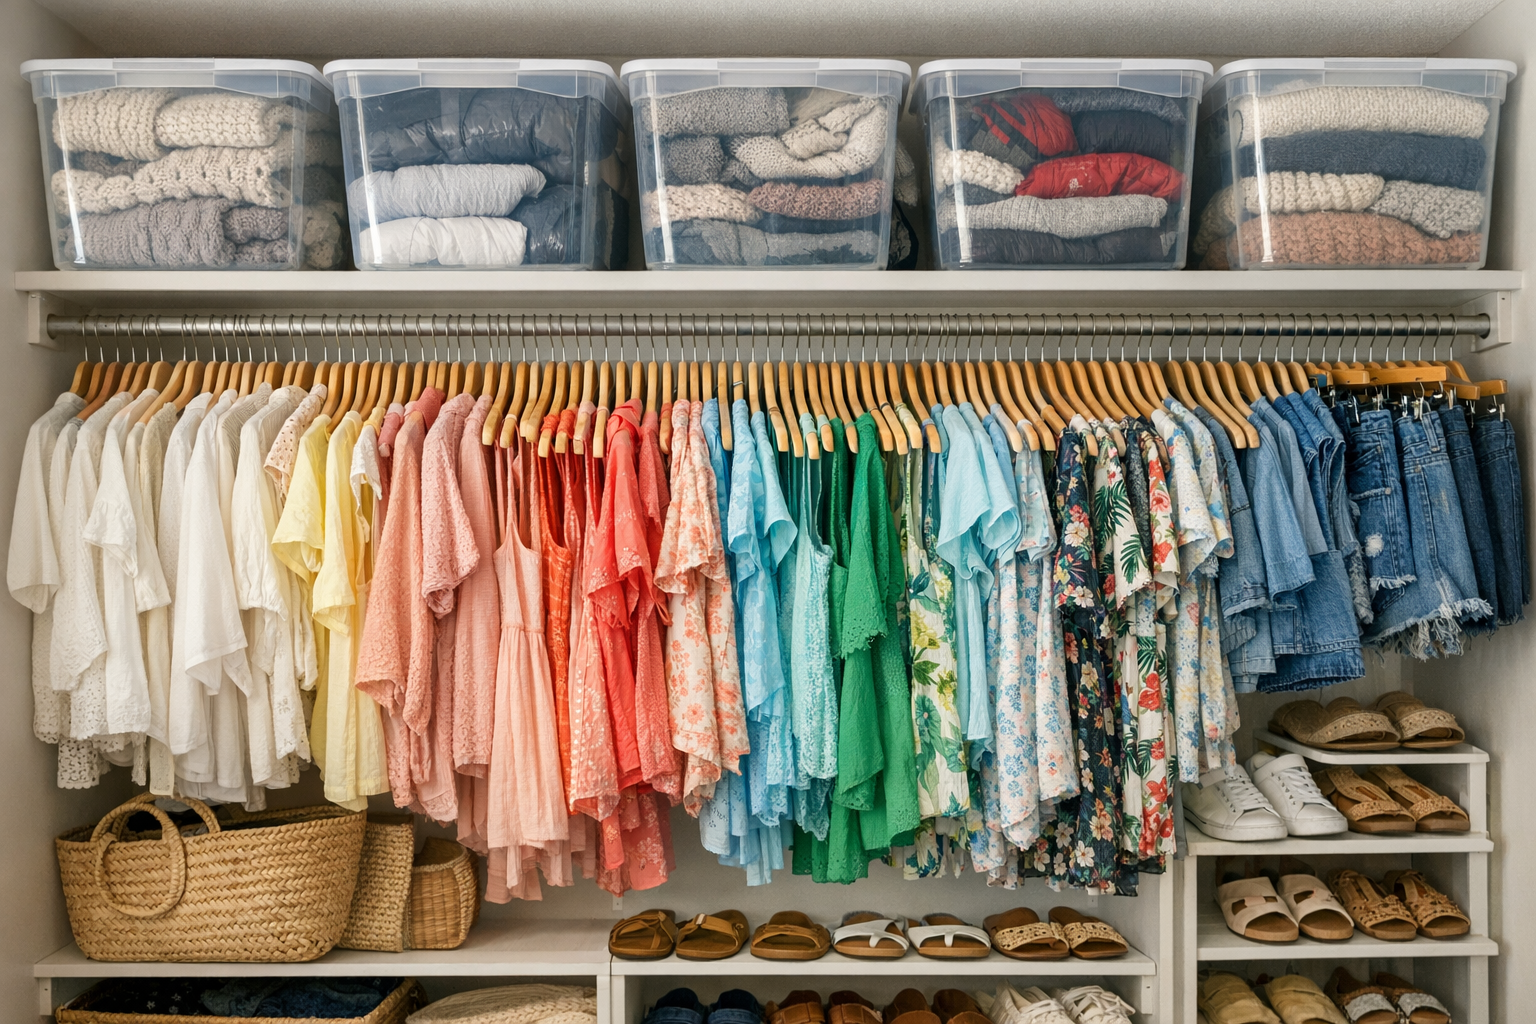
How to Swap Winter and Summer Wardrobes (And Cut Your Closet in Half)
The seasonal wardrobe swap is the highest-leverage closet declutter you can do. Here's the system that takes 90 minutes and dramatically simplifies dressing for months.
How to Set Up Garage Pegboard Zones (Pro Mechanic Style)
A pegboard wall keeps every tool in its own spot. Here's the zone-based layout pro mechanics use — adapted for home garages.
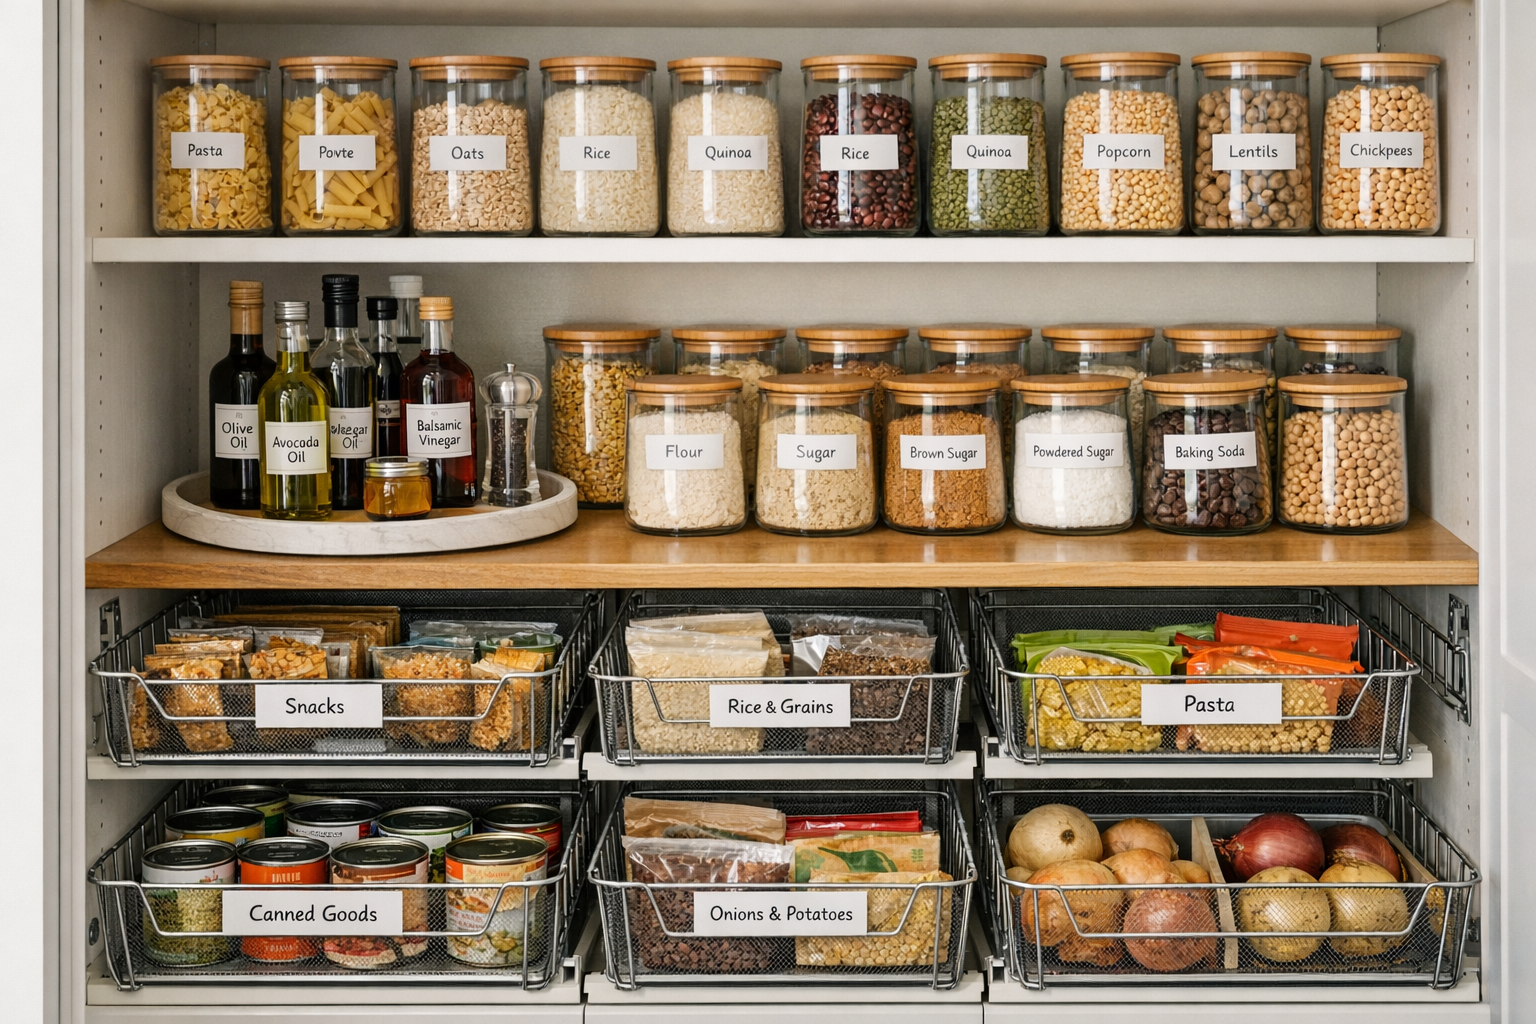
How to Organize Deep Pantry Shelves Without Wasting Food
Deep pantry shelves are where food goes to be forgotten. Here's the system that keeps everything visible and rotated — even on 24-inch deep shelves.
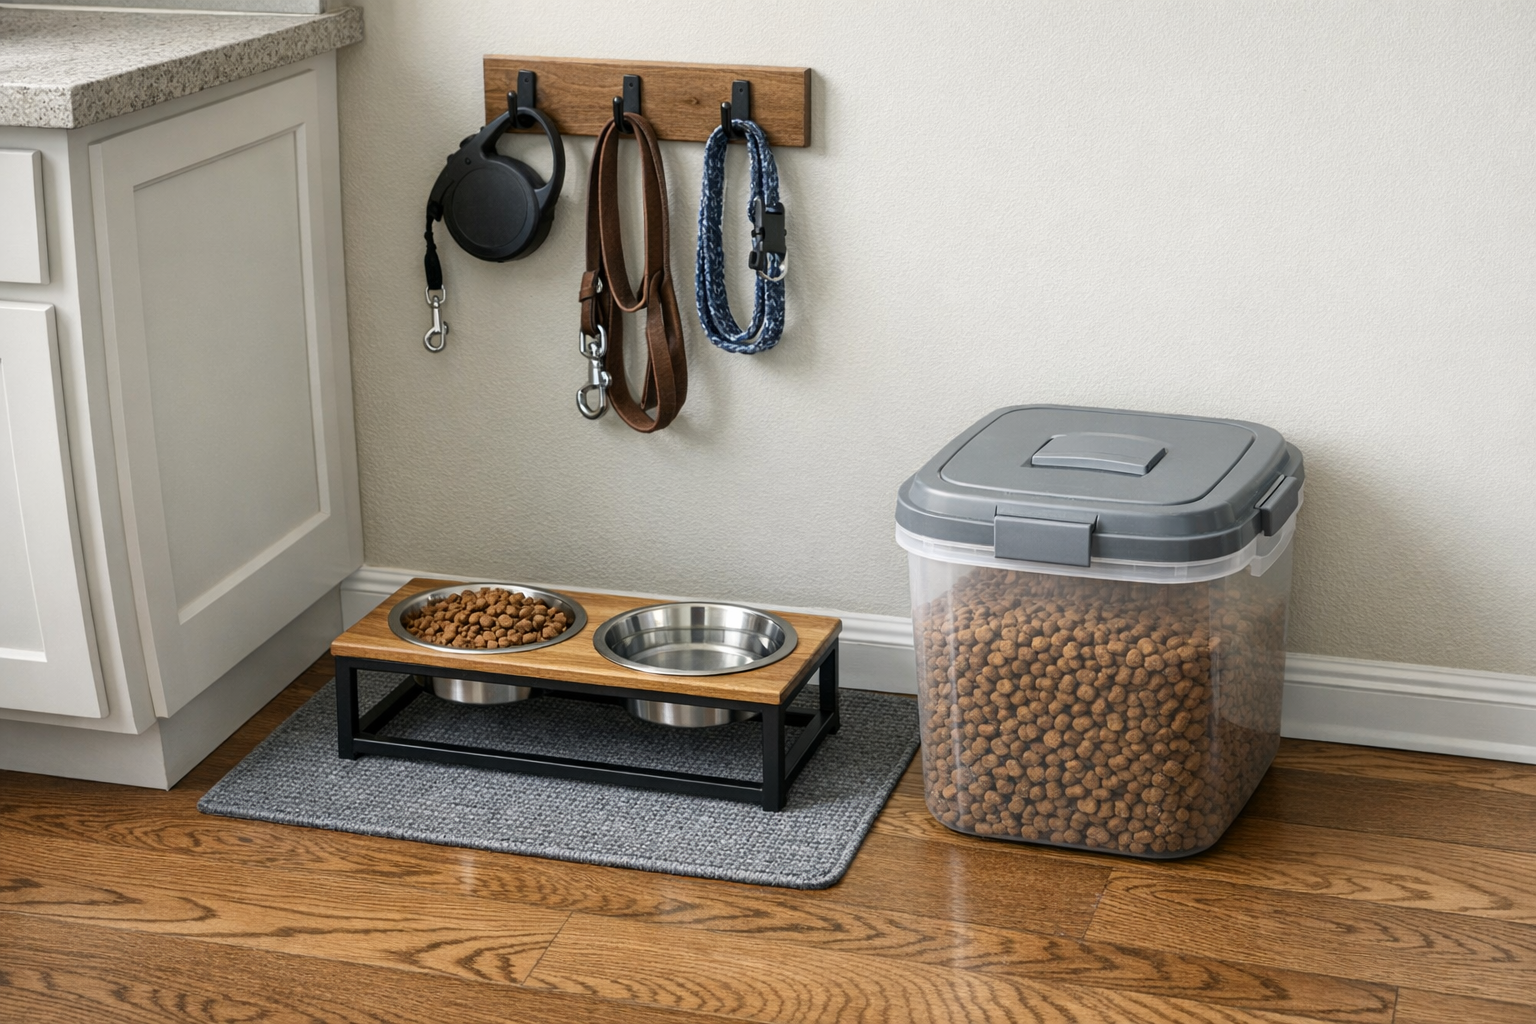
How to Organize Pet Supplies and Build a Tidy Feeding Station
Stop tripping over kibble bags and digging through a chaotic pet drawer. A simple feeding station system that works for one pet or five.