How to Clean Your Oven Without the Self-Clean Feature
Last updated: February 7, 2026

How to Clean Your Oven Without the Self-Clean Feature
Let's be honest — nobody enjoys cleaning the oven. It's one of those chores that keeps getting pushed to the bottom of the to-do list until you preheat for dinner and get hit with a wave of smoke and the unmistakable smell of last month's lasagna bubbling on the oven floor. We've all been there.
Maybe your oven doesn't have a self-clean feature. Maybe it does, but you've heard the horror stories about blown fuses, cracked door glass, or the acrid fumes that fill the entire house during a self-clean cycle. Either way, you're here because you want to get your oven genuinely clean without relying on that button — and without buying a cabinet full of harsh chemical sprays.
Good news: you absolutely can. With a few pantry staples, a bit of patience, and about 30 minutes of hands-on work, we'll walk you through getting your oven spotless using a natural method that actually works. No toxic fumes, no extreme heat, and no risk to your appliance. Just a clean oven you can feel good about cooking in again.

Why We Skip the Self-Clean Feature (and You Might Want To)
Before we dive into the how-to, let's quickly address why so many people avoid the self-clean cycle in the first place. Understanding the downsides helps you feel confident that the manual method is not just a fallback — it's often the better choice.
The extreme temperatures can damage components. A self-clean cycle heats your oven to roughly 900 degrees Fahrenheit. That's intense enough to incinerate food residue into ash, but it also stresses door gaskets, heating elements, and electronic control boards. Repair technicians commonly see blown fuses and failed control panels immediately after self-clean cycles.
The fumes are genuinely unpleasant. During a self-clean cycle, all that burned-on grease and food turns into carbon-heavy smoke. It can trigger smoke detectors, irritate lungs and eyes, and is especially concerning if you have pets — birds in particular are extremely sensitive to the fumes produced.
It takes hours and heats up your house. A typical self-clean cycle runs three to five hours. During that time, your kitchen becomes a sauna. In summer months especially, that's the last thing you want.
It can lock you out of your oven. The door locks automatically during the cycle and often stays locked until the oven cools completely. If the lock mechanism fails (which happens more often than you'd think), you're stuck with an oven you can't open until a technician comes out.
The baking soda and vinegar method we're about to cover avoids every single one of these problems. It's gentle, effective, and completely under your control.
What You'll Need
One of the best parts of this cleaning method is that the supply list is short, cheap, and probably already sitting in your kitchen. Here's everything:
- Baking soda — About half a cup. This is the real workhorse. It's a mild abrasive that dissolves grease and lifts baked-on food without scratching surfaces.
- White distilled vinegar — Enough to fill a spray bottle. The acetic acid reacts with baking soda residue and cuts through any remaining grease.
- Dish soap — Just a few drops for the racks.
- A spray bottle — For applying the vinegar evenly.
- A damp cloth or sponge — For wiping everything down.
- Rubber gloves — Optional, but they keep your hands clean and give you a better grip.
- A plastic or silicone spatula — For scraping up thick paste residue without scratching enamel.
- Old towels or newspapers — To protect the floor in front of your oven.
That's it. No commercial oven cleaners with warning labels longer than the instructions. If you've recently deep cleaned your dishwasher, you'll recognize the baking soda and vinegar combination — it's the same proven duo, just applied differently.
Step-by-Step: How to Clean Your Oven Naturally
Follow these steps in order and you'll end up with a dramatically cleaner oven. The total hands-on time is around 30 minutes, but the baking soda paste needs to sit overnight, so plan to start this the evening before you want a clean oven.
Step 1: Remove the Oven Racks and Loose Debris
Start by pulling out the oven racks and setting them aside — we'll clean those separately. Remove any loose debris from the oven floor: crumbs, charred bits, large pieces of food. You can use a handheld vacuum or just sweep them out with a dry cloth. Getting rid of the loose stuff first means your baking soda paste can work directly on the stubborn, baked-on grime instead of wasting its power on debris that would wipe away easily on its own.
While the racks are out, take a look at the heating elements. If you have an exposed bottom element, be careful not to get paste on it during the next step. If your oven has a hidden bottom element (under a metal plate on the oven floor), you can clean right over that plate without worry.
Step 2: Make and Apply the Baking Soda Paste
In a small bowl, mix about half a cup of baking soda with two to three tablespoons of water. Stir until you get a spreadable paste — it should be thick enough to cling to vertical surfaces but not so dry that it crumbles. Adjust the water as needed. The consistency of thick frosting is what you're going for.
Put on your rubber gloves and spread the paste over every interior surface of the oven: the floor, the back wall, the sides, the inside of the door, and the ceiling. Pay extra attention to areas with visible grease buildup or dark, baked-on spots. Apply a thicker layer in those trouble zones.
Avoid coating the heating elements directly and skip any bare metal areas around the thermostat probe. Everything else is fair game. As you spread the paste, you'll notice it turns brown in the grimiest spots — that's the baking soda already starting to react with the grease. This is a good sign.
Step 3: Let It Sit Overnight
Close the oven door and walk away. The baking soda paste needs at least 12 hours to work its way through the layers of baked-on grease and food residue. Overnight is ideal. During this time, the alkaline baking soda slowly breaks down the carbonized grime, loosening it from the enamel surface so you can wipe it away with minimal scrubbing.
We know waiting is the hardest part, but trust the process. This is where the real cleaning happens, and rushing this step means you'll end up scrubbing much harder later. Go enjoy your evening, plan tomorrow's meal in your freshly cleaned oven, and let chemistry do the heavy lifting.

Step 4: Clean the Oven Racks While You Wait
While the paste is working inside the oven, put those racks to soak. Fill your bathtub or a large utility sink with hot water, add a few generous squirts of dish soap, and submerge the racks completely. If your tub is too small, you can also lay old towels down, place the racks on top, and drizzle them with dish soap and hot water.
Let the racks soak for several hours or overnight alongside the oven interior. The hot soapy water loosens baked-on grease and food residue. After soaking, scrub the racks with a sponge or a brush — most of the grime should come off with very little effort. For stubborn spots, sprinkle a bit of baking soda directly on the rack and scrub in small circles.
Rinse the racks thoroughly, dry them, and set them aside until the oven interior is ready. This is the same principle behind removing tough buildup from shower doors — a good long soak does most of the work for you.
Step 5: Wipe Out the Baking Soda Paste
The next morning (or after at least 12 hours), open the oven door. You'll see the baking soda paste has dried and darkened considerably, especially in the greasiest areas. This is exactly what you want.
Dampen a cloth or sponge with warm water and start wiping out the paste. Work in sections, rinsing your cloth frequently. For thick deposits, use a plastic or silicone spatula to gently scrape the paste away before wiping. Avoid metal scrapers — they can scratch the enamel coating inside your oven.
Take your time with this step. Some areas, particularly the oven floor and the back wall near the vent, will require several passes. Keep wiping until no more brown residue comes off on your cloth. If you hit a particularly stubborn spot that the paste didn't fully dissolve, apply a fresh dab of baking soda paste, wait another hour, then wipe again.
Step 6: Spray with Vinegar and Do a Final Wipe
Fill your spray bottle with undiluted white vinegar and mist the entire interior of the oven. Everywhere you see traces of white baking soda residue, give it an extra spray. The vinegar reacts with the leftover baking soda — you'll see gentle fizzing wherever they meet. This reaction lifts any remaining residue and cuts through the last traces of grease.
Let the vinegar sit for a few minutes, then do a final wipe-down with a clean, damp cloth. Repeat until the interior surfaces are completely clean and free of any white residue. Your oven should now look dramatically different — lighter, cleaner, and free of the dark, crusty buildup that was there before.
Step 7: Reassemble and Admire Your Work
Slide the clean, dry oven racks back into position. Give the exterior of the oven door a quick wipe with a damp cloth and a drop of dish soap, paying attention to the handle and any crevices around the edges. If you have a stainless steel front panel, wipe in the direction of the grain for a streak-free finish.
Close the door, step back, and take a look. The difference is usually pretty dramatic. We recommend running the oven empty at 300 degrees for about 15 minutes afterward to burn off any faint baking soda residue and make sure everything smells clean for your next meal.
Tips for Tackling Extra-Stubborn Spots
Sometimes certain areas need a little extra attention, especially if it's been a while since your last deep clean. Here are some targeted approaches for the toughest spots.
The oven door glass. Baked-on splatters on the glass are some of the most visible and annoying stains. Make a thicker baking soda paste and apply it directly to the glass. Let it sit for 30 minutes, then wipe clean. For the space between the double glass panes (if your oven door has them), check your manual — some doors can be partially disassembled for cleaning.
The oven floor. This is where drips and spills accumulate, creating thick layers of carbonized residue. If the standard overnight treatment doesn't get everything, apply a second round of paste specifically to the floor and let it sit another six to eight hours. Patience beats elbow grease every time.
The area around the hinges and door seal. These crevices collect grease that never sees a cleaning cloth. Use an old toothbrush dipped in your baking soda paste to scrub these tight spots. The same technique works beautifully for cleaning grout without heavy scrubbing — a small brush gets into places a sponge simply can't reach.
How Often Should You Clean Your Oven?
A full deep clean every three to four months is a solid guideline for most households. If you cook frequently, especially if you roast meats, bake casseroles, or make anything that tends to bubble over, you might want to bump that up to every two months.
Between deep cleans, a few simple habits keep your oven in much better shape:
- Wipe up spills as soon as the oven cools. Fresh spills come off with a damp cloth in seconds. Baked-on spills take hours of soaking. The math is clear.
- Use a baking sheet or oven liner on the bottom rack. Catching drips before they hit the oven floor is the single most effective prevention measure.
- Do a quick vinegar spray and wipe every month. A five-minute once-over prevents light grease buildup from becoming the thick, carbonized grime that requires the full overnight treatment.
- Check the door seal periodically. A worn or damaged seal lets heat escape and can allow grease to seep into areas that are very difficult to clean.
Staying on top of oven maintenance is part of a broader kitchen care routine. If you've been seasoning your cast iron skillets and keeping your appliances in shape, adding a regular oven clean fits right into that rhythm.
Common Mistakes to Avoid
Even with a simple method like this, there are a few missteps that can make the process less effective or create unnecessary problems.
Skipping the overnight wait. We get it — you want results now. But wiping the paste off after just an hour or two means you'll need to scrub much harder, and some spots simply won't budge. Give the baking soda its full 12 hours.
Using steel wool or metal scrapers. These will scratch the enamel coating inside your oven, making it rougher and more prone to trapping future grease. Stick to soft cloths, sponges, and plastic spatulas.
Getting paste on the heating elements. Baking soda residue on an exposed heating element can smoke and smell when you next use the oven. If some paste accidentally gets on the element, carefully wipe it off with a damp cloth.
Spraying vinegar before removing the paste. Apply the vinegar after you've wiped out the bulk of the baking soda. If you spray vinegar onto a thick layer of paste, the fizzing reaction uses up both ingredients before either one can do its job on the remaining grime.
Using the oven immediately without a burn-off cycle. Always run the oven empty at a moderate temperature for 15 minutes after cleaning. This ensures any trace amounts of baking soda residue are fully evaporated before food goes in.
Frequently Asked Questions
Is baking soda safe for all oven types?
Yes, baking soda is safe for virtually every type of home oven interior, including standard enamel, porcelain-coated, and stainless steel. It's a mild abrasive that cleans effectively without scratching or damaging these surfaces. The only caution is to avoid packing it directly onto exposed heating elements or the temperature probe. If you have a specialty oven with an unusual interior coating, a quick check of your owner's manual is always a good idea, but for the vast majority of ovens, baking soda is completely safe.
How long does the baking soda paste need to sit?
We recommend a minimum of 12 hours for the best results, which is why starting the process in the evening and wiping it down the next morning works so well. If your oven is only lightly soiled, you can get away with six to eight hours. For an oven that hasn't been cleaned in a very long time — think heavy, dark, caked-on buildup — consider leaving the paste for a full 24 hours. The longer it sits, the more effectively it dissolves the baked-on residue, and the less scrubbing you'll need to do.
Can I use this method on a gas oven?
Absolutely. The baking soda and vinegar method works just as well on gas ovens as it does on electric ones. The only extra consideration is to avoid getting paste into the gas valve openings or the igniter at the bottom of the oven. These components are usually easy to spot and work around. Cover them with a small piece of aluminum foil before applying the paste if you want extra protection. Remove the foil before using the oven again.
What if my oven still smells after cleaning?
A faint odor on the first use after cleaning is normal — it's just trace amounts of baking soda or loosened residue burning off. Run the oven empty at 350 degrees for 20 minutes with a window cracked, and the smell should disappear. If a persistent odor remains after that, check the areas that are easy to miss: the space between the oven door glass panes, the channel around the door seal, and the bottom drawer or broiler compartment underneath. These hidden zones can harbor grease that the main cleaning didn't reach.
How is this different from using commercial oven cleaners?
Commercial oven cleaners typically rely on sodium hydroxide (lye) or other strong caustic chemicals that dissolve grease quickly but come with significant drawbacks. They produce harsh fumes that require heavy ventilation, can irritate skin and eyes on contact, and leave behind chemical residues that need thorough rinsing. The baking soda method takes longer because it's gentler, but it produces zero fumes, uses completely food-safe ingredients, and achieves comparable results. You also avoid the risk of chemical damage to oven gaskets, finishes, and sensitive electronic components that some commercial products can cause over time.
A Clean Oven Makes Everything Better
There's something deeply satisfying about opening your oven door and seeing a clean, bright interior instead of a landscape of charred drips and mysterious dark splotches. Food tastes better when it's not sharing the oven with the ghost of every meal that came before it. Your kitchen smells better. And you're not sending up a smoke signal every time you preheat.
The baking soda and vinegar method is proof that effective cleaning doesn't require expensive products, extreme temperatures, or harsh chemicals. A box of baking soda, a bottle of vinegar, and a little patience are all it takes. Once you see the results for yourself, you'll wonder why you ever put this chore off.
Work it into your regular kitchen maintenance routine — every three to four months, or whenever you notice buildup starting to form — and your oven will stay in great shape year-round. Your future self, standing in front of a spotless oven with a casserole ready to go in, will thank you.
Now go check the inside of your oven. We both know it's been a while.
Get weekly home tips that actually work
Join thousands of homeowners getting practical cleaning hacks, DIY fixes, and money-saving tips every week. Free, and you can unsubscribe anytime.

Written by
Beth SullivanFounder & Editor-in-Chief
Beth Sullivan is the founder of Practical Home Guides. With over a decade of hands-on experience tackling every home challenge imaginable, she started this site to share the practical, no-nonsense solutions she wishes she had found years ago. When she's not testing cleaning hacks or organizing pantries, you'll find her in the garden or working on her next DIY project.
Recommended Products
Looking for specific product recommendations? Check out our tested picks.
Best Cordless Stick Vacuums (2026 Buyer's Guide)
We tested cordless stick vacuums on hardwood, carpet, pet hair, and stairs. Here are the picks worth the price for every home and budget in 2026.
Best Pressure Washers for Home Use (2026 Buyer's Guide)
We tested electric and gas pressure washers for siding, decks, driveways, and patio furniture. Here are the best picks for every budget and home size.
Best Self-Emptying Robot Vacuums (2026 Tested)
Self-emptying robot vacuums let you forget about the dust bin for weeks. We tested the top models on hardwood, carpet, pet hair, and floor plans.

5 Best Steam Mops for Tile Floors (2026)
We tested the top steam mops for tile, grout, and hard floors. Here are the 5 best picks with honest pros, cons, and who each one is best for.

7 Best Robot Vacuums Under $300 (2026)
We compared the top robot vacuums under $300 for pet hair, hardwood floors, and carpet. Here are the 7 best picks with pros, cons, and who each is best for.
Related Articles
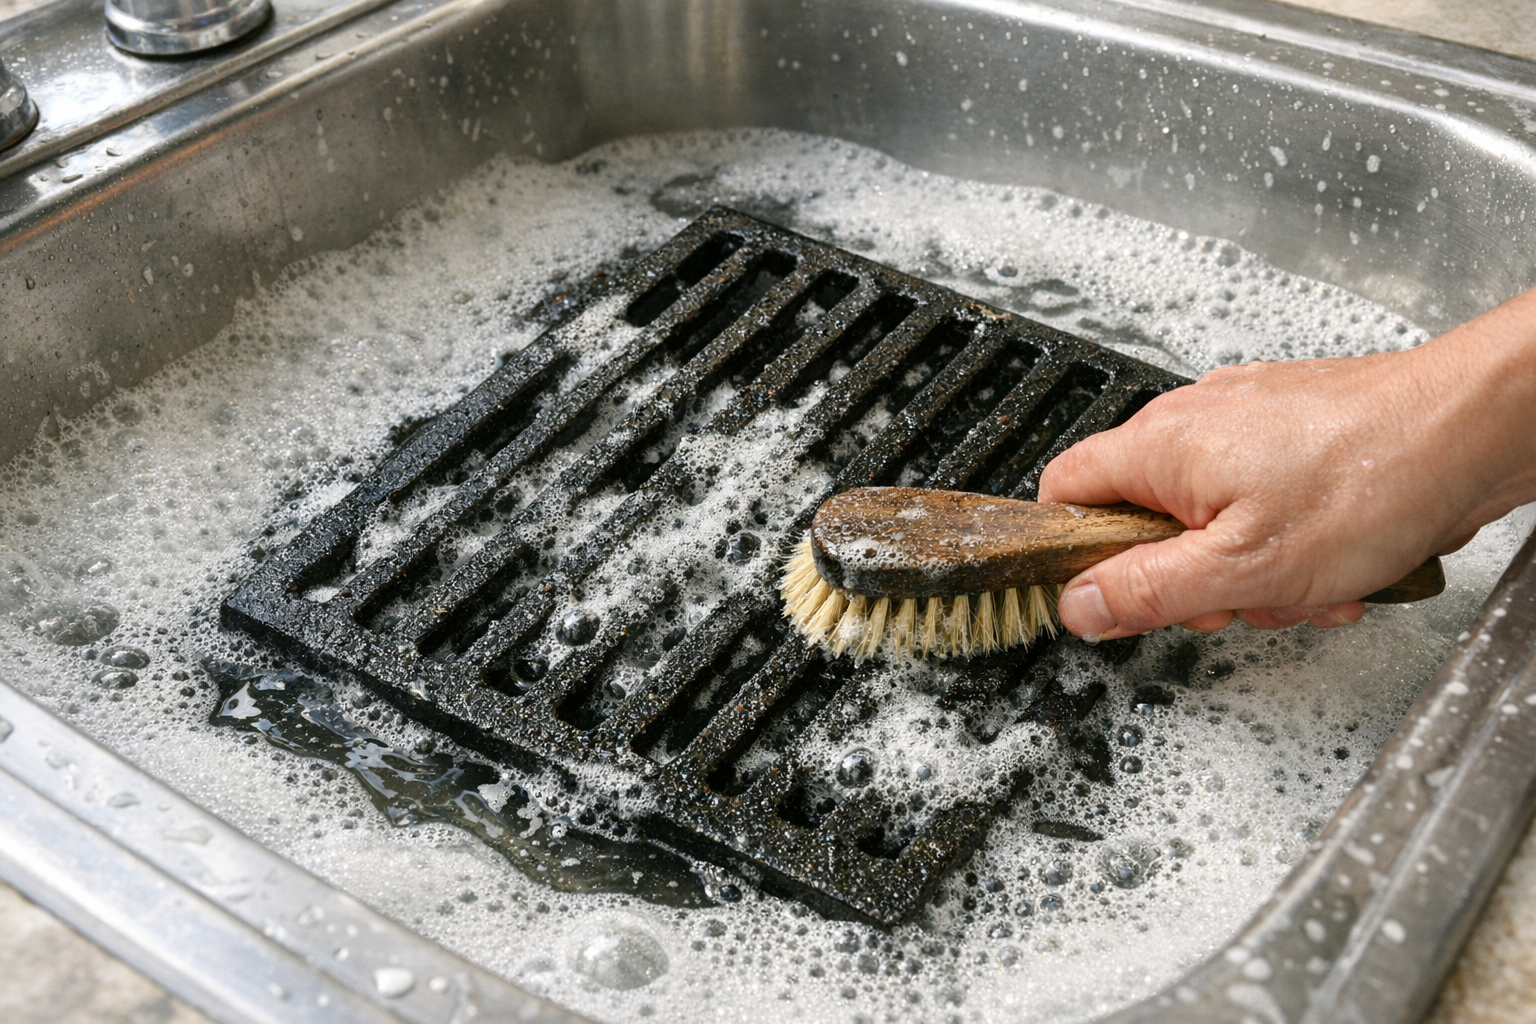
How to Remove Rust From Grill Grates (Without Replacing Them)
Rusted grill grates can be revived if rust is surface-only. Here's the safe restoration method that gets cast iron and steel grates back to cooking-ready.
How to Remove Grass Stains From Clothes (Even After Drying)
Grass stains are protein and chlorophyll bonded into fabric. Here's the order of treatments that gets them out — even on jeans that already went through the dryer.

How to Refresh Outdoor Rugs Without Replacing Them
Before you toss that faded, grimy outdoor rug, try this simple revival routine. Most polypropylene outdoor rugs come back like new with 30 minutes of work.

How to Deep Clean Window Screens (The Bathtub Method)
Window screens accumulate a winter's worth of dust, pollen, and grime. The bathtub method gets them all clean in one shot — cleaner than cleaning them individually.