How to Fix a Hole in a Screen Door (DIY Patch Guide)
Last updated: February 7, 2026
This article may contain affiliate links. If you make a purchase through these links, we may earn a small commission at no extra cost to you. Learn more
A hole in your screen door is one of those small problems that quickly turns into a big annoyance. One day it is a tiny tear you barely notice, and the next day you are swatting mosquitoes in the kitchen and wondering how flies keep getting inside. The good news is that fixing a screen door is one of the simplest, cheapest, and most satisfying DIY repairs you can do at home.
Whether we are talking about a small puncture from a pet claw, a rip from a wayward tree branch, or a full-blown gash from years of wear and tear, this guide walks you through every repair method step by step. No special skills required, and most repairs take under 30 minutes.

Why You Should Fix a Screen Door Hole Right Away
It is tempting to ignore a small hole in your screen, especially when the weather is cool and bugs are not an issue. But putting off this repair leads to bigger problems down the road.
Small tears grow over time. Wind, temperature changes, and regular use stress the screen material, causing a tiny rip to expand into something much harder to fix. The longer you wait, the more likely you will need to replace the entire screen panel instead of just patching it.
Beyond the bugs, an open hole lets in dust, pollen, and debris that affect your indoor air quality. If you have been working on ways to save money on your electric bill, a damaged screen also undermines your efforts by allowing conditioned air to escape and outdoor heat or cold to seep in through the open door behind it.
Fixing a hole now takes five minutes and costs a couple of dollars. Replacing an entire screen later costs $20-50 in materials or $100 or more if you hire someone. The math is pretty straightforward.
Assess the Damage First
Before you grab any tools, take a close look at the hole and the condition of the screen around it. The size and location of the damage determine which repair method works best.
Small holes and tears (under 3 inches): These are punctures, small rips, or narrow slits. They are the easiest to fix and usually just need a simple adhesive patch or a few stitches with screen repair thread.
Medium holes (3 to 6 inches): These tears are too large for a simple adhesive patch but do not require replacing the full screen. A screen repair patch kit works perfectly here.
Large holes or widespread damage (over 6 inches): When the damage is extensive, or the surrounding screen material is brittle and deteriorating, it is more efficient to replace the entire screen panel. We will cover when and how to make that call later in this guide.
Also check the frame itself. If the frame is bent, cracked, or the spline channel is damaged, you may need to address those issues before any screen repair will hold properly.
What You Will Need
The materials for screen door repair are inexpensive and available at any hardware store. Here is what to gather based on your repair type.
For small holes and tears:
- Screen repair patches (adhesive-backed, available in rolls or pre-cut squares)
- Scissors
- Rubbing alcohol or soap and water for cleaning
For medium holes:
- Fiberglass or aluminum screen patch material (slightly larger than the hole)
- Scissors or tin snips
- Clear adhesive or screen repair glue
- Alternatively, a needle and screen-compatible thread (nylon or polyester)
For full screen replacement:
- New screen mesh (fiberglass or aluminum, sold by the roll)
- Spline roller tool
- New spline cord (match the diameter of your existing spline)
- Utility knife
- Flathead screwdriver
A basic patch repair kit runs about $5-10 at any hardware store. A full replacement kit with screen mesh, spline, and roller costs around $15-30, depending on the size of your door.
Method 1: Adhesive Patch for Small Holes (Under 3 Inches)
This is the fastest and simplest repair. Adhesive screen patches come pre-cut or in rolls, and they work on both fiberglass and aluminum screens. The whole process takes about five minutes.
Step 1: Clean the area. Wipe down the screen around the hole with rubbing alcohol or soapy water to remove dust, dirt, and oils. The patch needs a clean surface to stick properly. Let it dry completely.
Step 2: Trim ragged edges. If the hole has loose or frayed strands of screen material poking out, carefully trim them with scissors so the surface is as flat as possible. This helps the patch adhere evenly.
Step 3: Cut the patch to size. Cut your adhesive patch so it extends at least half an inch beyond the hole on all sides. A round or oval patch tends to hold better than a square one because there are no corners to peel up.
Step 4: Apply the patch. Peel the backing off the adhesive patch and press it firmly over the hole from the outside of the screen. Start from the center and smooth outward to eliminate air bubbles. Press firmly along all edges.
Step 5: Reinforce from the inside. For extra durability, apply a second patch on the interior side of the screen, directly over the first. This sandwich method creates a much stronger repair that resists peeling in wind.
Step 6: Let it cure. Give the adhesive 24 hours to fully bond before putting stress on the repaired area. Avoid opening and closing the door aggressively during this time.
This method works beautifully for pet claw punctures, small accidental tears, and any damage under about three inches. If you have pets that tend to scratch at screens, you might also want to look into ways to pet-proof your home to prevent repeat damage.
Method 2: Screen Patch Kit for Medium Holes (3 to 6 Inches)
When the hole is too large for a simple adhesive patch, a screen patch made from actual screen material provides a stronger, more durable repair. This method takes about 15 to 20 minutes.
Step 1: Cut a patch from screen material. Cut a piece of screen mesh about two inches larger than the hole on all sides. If you are using fiberglass screen, regular scissors work fine. For aluminum screen, use tin snips.
Step 2: Unravel the edges. Pull out two or three strands from each edge of the patch to create small wire-like extensions. These strands will serve as anchors when you press the patch into the existing screen. If you are using fiberglass, you can skip this step and use adhesive instead.
Step 3: Bend the edge strands. For aluminum patches, bend the unraveled edge strands at a 90-degree angle so they point downward, like tiny hooks.
Step 4: Position and press the patch. Place the patch over the hole from the outside, aligning it so the bent strands face the interior of the screen. Press firmly so the bent strands push through the existing screen mesh. On the inside, use your finger or a flathead screwdriver to fold the strands flat against the screen, locking the patch in place.
Step 5: Apply adhesive for extra hold. Run a thin bead of clear screen repair adhesive or waterproof super glue around the edges of the patch where it meets the existing screen. This seals the seam and prevents the patch from lifting in wind or rain.
Step 6: Let it set. Allow the adhesive to dry for at least two hours before using the door normally.
This method produces a repair that is nearly invisible from a few feet away and can last for years. The technique is similar in spirit to the mesh-patch approach used when you patch a hole in drywall, just adapted for screen material.

Method 3: Full Screen Replacement for Large Damage
When the damage is too extensive for patching, or the screen material itself is old, brittle, and falling apart, replacing the entire screen panel is the better investment. It sounds more intimidating than it actually is. Most people finish the job in under an hour.
Step 1: Remove the old spline. The screen is held in the frame by a rubber cord called a spline that sits in a channel around the frame's perimeter. Use a flathead screwdriver to pry up one end of the spline and pull it out all the way around. The old screen will come out with it.
Step 2: Clean the spline channel. Wipe out the channel with a damp cloth to remove dirt and old spline fragments. A clean channel helps the new spline seat properly.
Step 3: Lay the new screen over the frame. Unroll your new screen material over the frame, leaving about two inches of overhang on all sides. Make sure the screen lies flat and the mesh lines are parallel to the frame edges.
Step 4: Start with one long side. Lay the new spline cord over the screen where it covers the channel on one long side of the frame. Using the convex wheel of your spline roller, press the spline and screen into the channel. Work slowly and keep tension on the screen as you go.
Step 5: Do the opposite long side. Pull the screen taut across the frame and repeat the spline process on the opposite long side. Keeping even tension prevents sagging and wrinkles.
Step 6: Finish the short sides. Repeat the process on both short sides, pulling the screen taut as you work. Adjust as needed to keep the mesh straight and wrinkle-free.
Step 7: Trim the excess. Using a sharp utility knife, trim the excess screen material along the outside edge of the spline channel. Angle the blade slightly toward the frame to get a clean, close cut.
Step 8: Inspect and adjust. Look over the finished screen for any wrinkles, loose spots, or areas where the spline is not fully seated. Press any problem areas back into the channel with the roller.
A full replacement gives you a screen that looks and performs like new. If you find yourself doing this regularly, consider upgrading to pet-resistant or heavy-duty screen material, which costs a bit more but holds up significantly better over time.
Choosing the Right Screen Material
Not all screen mesh is the same, and picking the right material makes a real difference in how long your repair lasts.
Fiberglass screen is the most common and affordable option. It does not dent or crease, comes in multiple colors, and is easy to work with. However, it is less durable than metal options and can be punctured more easily by pets or sharp objects.
Aluminum screen is more durable than fiberglass and resists tearing from pets and impacts. It can dent if pushed hard enough, but it holds its shape well and lasts longer. It costs slightly more but is worth it for high-traffic doors.
Pet-resistant screen is a heavy-duty option made from thicker vinyl-coated polyester. It is specifically designed to withstand scratching, clawing, and pushing from dogs and cats. If your screen door damage was caused by a pet, this material will save you from repeating the same repair every few months.
Solar screen blocks a portion of UV rays and heat, making it a good choice for south- or west-facing doors in hot climates. It reduces visibility slightly but helps with energy efficiency.
For most homes, standard fiberglass screen is perfectly fine. If you have active pets or kids who lean on the door, step up to aluminum or pet-resistant mesh.
Tips for a Long-Lasting Repair
A good repair should last years if you take a few extra precautions. First, always clean the area thoroughly before applying any patch or adhesive. Dirt and oils prevent adhesives from bonding properly and are the number one reason patches fail.
Second, do your repair on a warm, dry day. Most adhesives bond better in moderate temperatures and low humidity. Cold weather makes adhesives brittle, and humidity prevents proper curing.
Third, reinforce your patch from both sides whenever possible. A single-sided patch can peel up in wind, but a two-sided repair holds firm even in strong gusts.
Finally, address the cause of the damage. If a pet scratched through the screen, consider adding a pet door or training the animal to wait. If a tree branch poked through, trim the vegetation near the door. Preventing the problem from recurring is just as important as the repair itself. This same principle applies to many home repairs, whether you are fixing a squeaky door or tackling a leaky faucet.
Frequently Asked Questions
Can I use tape to fix a hole in a screen door?
Clear packing tape or duct tape will cover a hole temporarily, but it is not a real fix. Tape adhesive breaks down in sunlight and heat, usually within a few weeks, leaving a sticky residue on your screen. It also looks bad and blocks airflow. For a temporary overnight fix, tape is fine, but plan on using an actual screen patch or repair kit within a day or two. Adhesive screen patches cost just a few dollars and hold up dramatically better than any household tape.
How long does a screen door patch last?
A properly applied adhesive patch on a small hole typically lasts one to three years, depending on weather exposure and how much the door is used. A screen-material patch with bent wire anchors and adhesive can last five years or more. A full screen replacement lasts seven to fifteen years with fiberglass mesh and even longer with aluminum. The quality of the initial repair and how well you maintain the door both affect longevity significantly.
Should I repair or replace the whole screen?
As a general rule, patch the screen if the hole is under six inches and the surrounding mesh is still in good condition. Replace the full screen if there are multiple holes, if the mesh is brittle or discolored from age, or if the total damaged area exceeds about one square foot. Replacement is also the smarter choice when patches would overlap each other or when appearance matters, like on a front entrance. A full replacement costs $15-30 in materials and takes under an hour.
What is the best screen material for homes with pets?
Pet-resistant screen made from vinyl-coated polyester is the best option for homes with dogs or cats. It is roughly seven times stronger than standard fiberglass screen and resists clawing, scratching, and pushing without tearing. Most major hardware stores carry it in standard door sizes. It costs about twice as much as regular fiberglass screen, but the investment pays for itself quickly if you have been replacing or patching screens repeatedly. Pair it with a pet door for the best long-term solution.
Can I fix a screen door hole without removing the door?
Absolutely. Most screen door repairs can be done with the door still in place on its hinges. For adhesive patches and screen-material patches, you simply work on the door while it hangs in the frame. The only time you need to remove the door is for a full screen replacement, and even then, many people find it easier to lay the door flat on sawhorses or a table for the re-screening process. Removing a screen door is usually just a matter of lifting it off the track or pulling the hinge pins, so it only adds a couple of minutes to the project.
Get weekly home tips that actually work
Join thousands of homeowners getting practical cleaning hacks, DIY fixes, and money-saving tips every week. Free, and you can unsubscribe anytime.

Written by
Beth SullivanFounder & Editor-in-Chief
Beth Sullivan is the founder of Practical Home Guides. With over a decade of hands-on experience tackling every home challenge imaginable, she started this site to share the practical, no-nonsense solutions she wishes she had found years ago. When she's not testing cleaning hacks or organizing pantries, you'll find her in the garden or working on her next DIY project.
Recommended Products
Looking for specific product recommendations? Check out our tested picks.

Best Cordless String Trimmers (2026 Tested)
Battery-powered string trimmers have caught up to gas. We tested the top models on bermuda, fescue, and overgrown areas to find the picks worth your money.

Best Basement Dehumidifiers (2026 Buyer's Guide)
Damp basements destroy stored items, grow mold, and stink. We tested dehumidifiers for capacity, durability, and energy use to find the picks worth the money.

Best Wet/Dry Shop Vacs (2026 Tested)
Whether you need to clean a flooded basement, dust the garage, or pick up workshop debris, here are the wet/dry shop vacs worth the money.

Best Electric Leaf Blowers (2026 Buyer's Guide)
Cordless and corded electric leaf blowers tested for power, runtime, and noise. Our picks for small yards, large yards, and pro-grade home use.

Best Cordless Lawn Mowers (2026 Spring Buyer's Guide)
Battery-powered mowers have caught up to gas. We tested the top cordless mowers on grass length, slopes, and runtime to find the picks worth your money.

5 Best Cordless Drills for Homeowners (2026)
Find the right cordless drill for home projects without overspending. We compared the top drills for DIYers — here are the 5 best for everyday home use.

Best Home Tool Kits for Beginners (2026)
The best home tool kits for new homeowners and renters. We compare 6 tool sets from basic to comprehensive, so you can handle common repairs without calling a handyman.
Related Articles

How to Paint a Front Door (Pro-Quality Result in One Afternoon)
A fresh-painted front door is the highest-impact curb appeal upgrade. Here's the step-by-step that gets a smooth pro finish in 4 hours — no peeling, no brush marks.
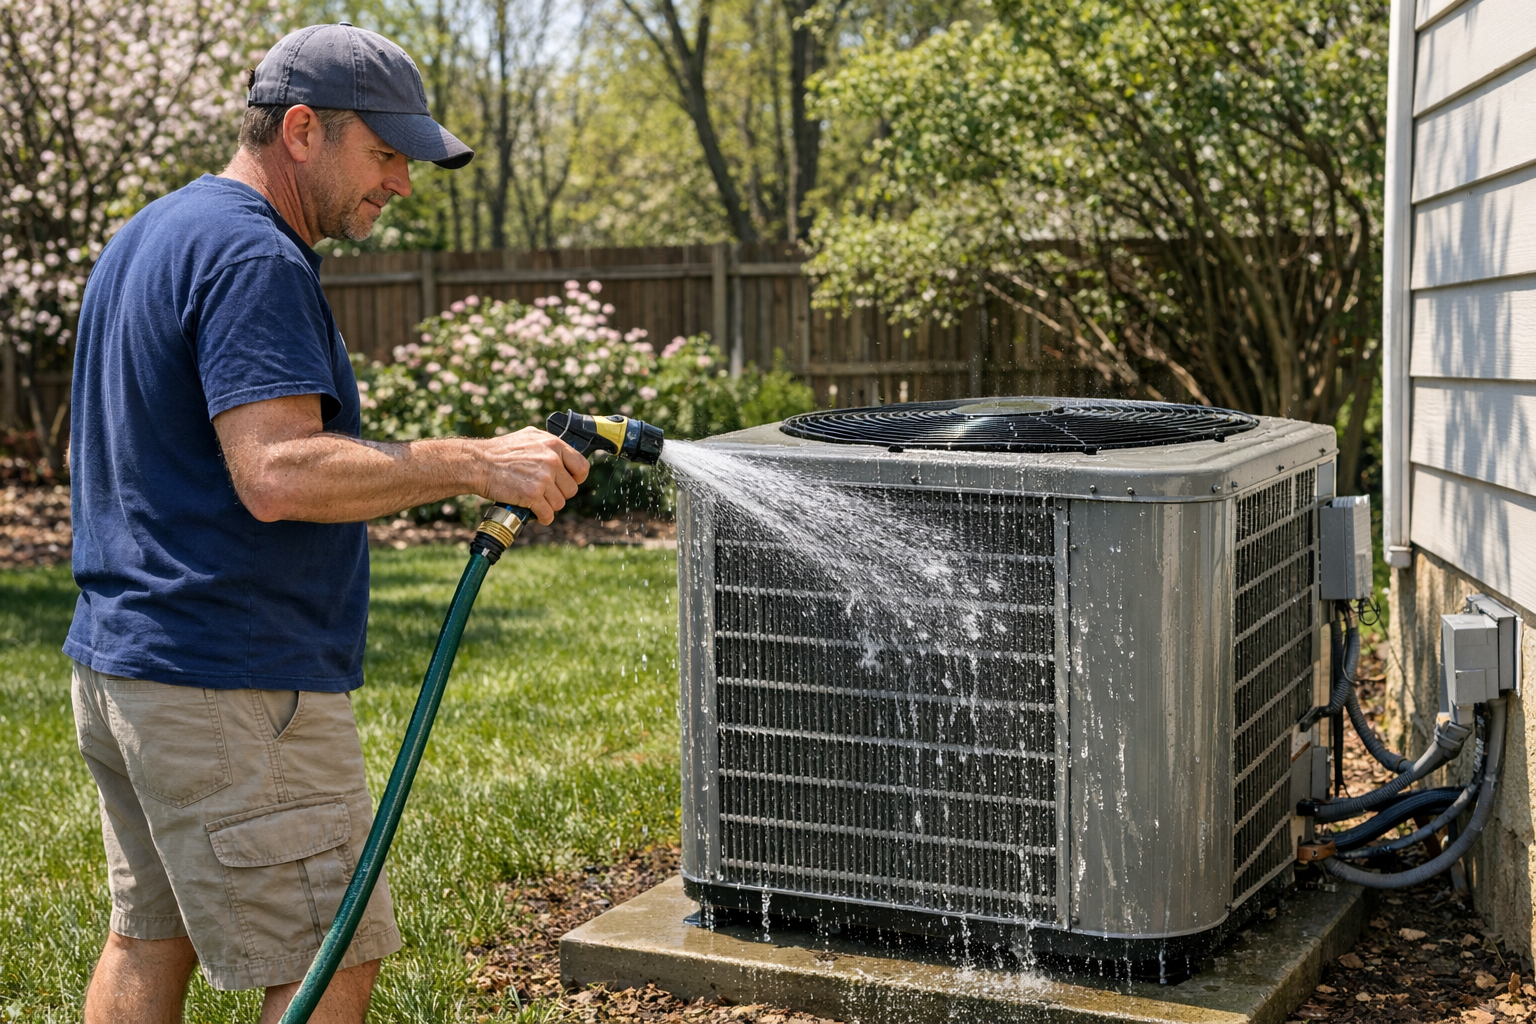
How to Prevent Summer AC Breakdowns (April Tune-Up Checklist)
Most AC failures happen in the first 90F week. A 30-minute April tune-up prevents 80 percent of those breakdowns and extends the unit's life by years.
Best Cordless String Trimmers (2026 Tested)
Battery-powered string trimmers have caught up to gas. We tested the top models on bermuda, fescue, and overgrown areas to find the picks worth your money.
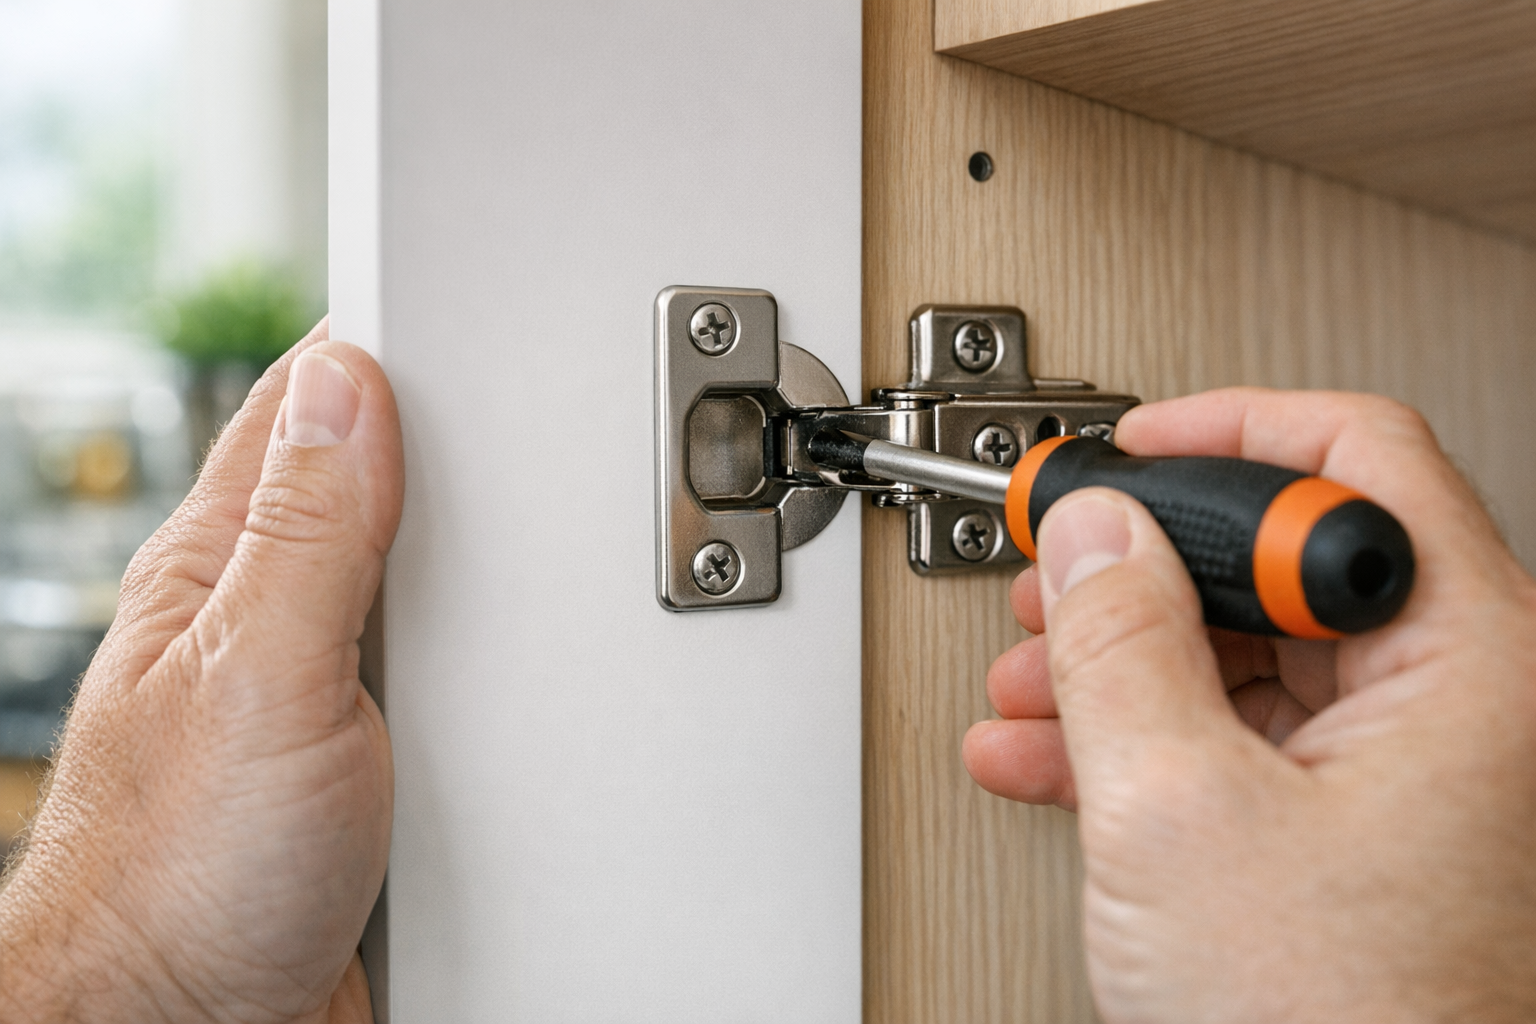
How to Fix Sticky Kitchen Cabinet Doors (Without Replacing Hardware)
Cabinet doors that bind, rub, or won't close all the way are almost always a hinge adjustment problem. Here's the 10-minute fix.