How to Repair a Cracked or Chipped Tile Without Replacing It
This article may contain affiliate links. If you make a purchase through these links, we may earn a small commission at no extra cost to you. Learn more
Quick Answer
How to Repair a Cracked or Chipped Tile Without Replacing It
For hairline cracks, apply clear epoxy or porcelain filler directly into the crack and wipe smooth. For small chips, use a two-part epoxy tile repair kit matched to your tile color, fill the chip, let it cure 24 hours, then sand smooth with fine-grit sandpaper. Both repairs cost under $15 and take less than an hour of active work.
A cracked or chipped tile doesn't mean you need to rip out the whole floor or call in an expensive contractor. Most tile damage — from hairline cracks to small chips to shallow surface scratches — can be repaired at home for under $15 with materials from any hardware store.
The repair won't be invisible on close inspection, but it will be functional, waterproof, and far less noticeable than the damage itself. And it'll save you the $200-$500 that a professional tile repair typically costs. If you're comfortable with basic DIY projects like patching drywall or caulking a bathtub, you can absolutely handle this one.
Assess the Damage First
Not all tile damage is the same, and the repair method depends on what you're dealing with.
Hairline Crack (No Missing Pieces)
A thin crack across the tile surface with no chips or missing material. This is the easiest to fix — you're essentially filling and sealing the crack.
Small Chip (Missing a Piece)
A small piece of the tile surface has broken away, leaving a shallow divot. This requires filling the chip with a color-matched compound.
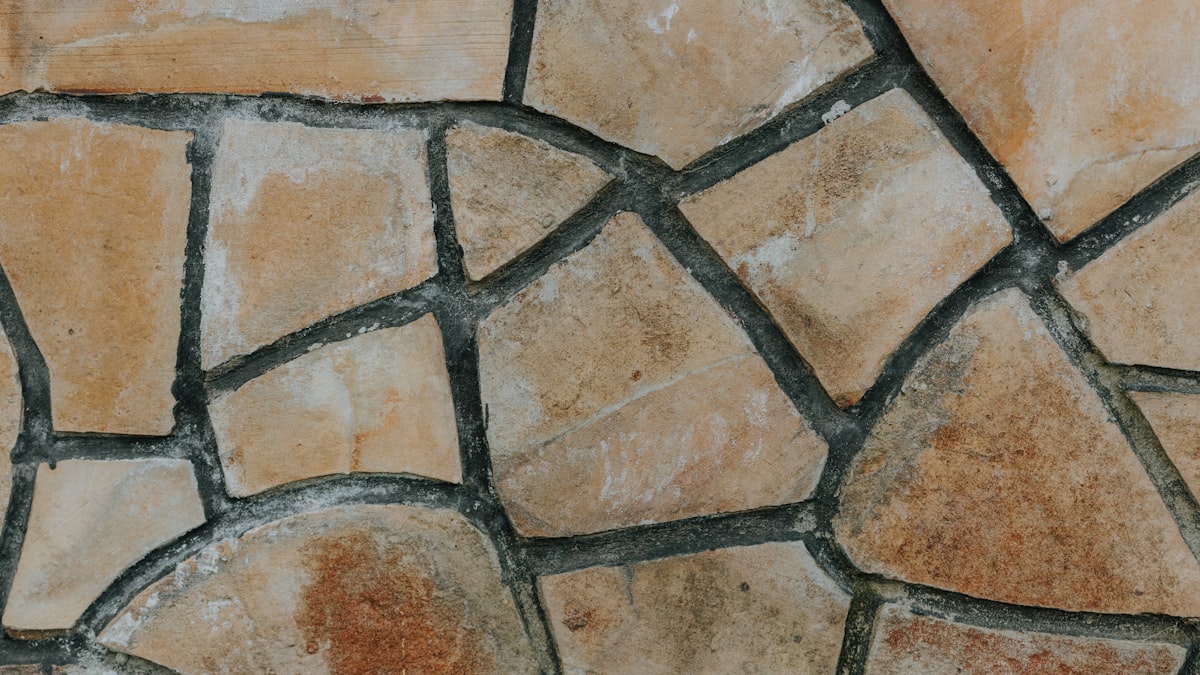
Large Crack or Multiple Cracks
If the tile is cracked into multiple pieces, is loose, or the crack runs through the entire tile thickness, replacement is usually the better option. A badly cracked tile can let water seep underneath, leading to subfloor damage and mold.
When to Replace Instead of Repair
- The crack extends through the full thickness of the tile
- The tile is loose or hollow-sounding when tapped
- Multiple tiles in the same area are cracked (may indicate a subfloor issue)
- The damage is in a high-moisture area and the crack could let water through
- You have spare matching tiles available
What You'll Need
For Hairline Cracks
- Clear epoxy or porcelain crack filler
- Clean cloth or paper towels
- Rubbing alcohol (for cleaning)
- Painter's tape (optional)
For Chips
- Two-part epoxy tile repair kit (available in multi-color kits for color matching)
- Fine-grit sandpaper (400-600 grit)
- Rubbing alcohol
- Small putty knife or craft stick
- Painter's tape
- Touch-up paint or nail polish (for color matching, if needed)
You can find complete tile repair kits at Home Depot, Lowe's, or Amazon for $8-15. Brands like MagicEzy, Porc-A-Fix, and Red Devil all make reliable products.
How to Fix a Hairline Crack
Step 1: Clean the Area
Wipe the cracked area with rubbing alcohol to remove any dirt, soap residue, or grease. The repair material needs a clean surface to bond properly. Let it dry completely.
Step 2: Apply the Filler
For clear epoxy:
- Mix the two-part epoxy according to the package directions (usually equal parts)
- Apply a thin line of epoxy directly into the crack using a toothpick or the applicator tip
- Press the epoxy into the crack and wipe away any excess with a damp cloth
- Let it cure for the time specified on the product (usually 24 hours)
For porcelain crack filler:
- Squeeze the filler directly into the crack
- Smooth it with a damp finger or cloth
- Wipe away excess immediately
- Allow to dry for 24 hours
Step 3: Seal (Optional)
For floor tiles or tiles in wet areas, apply a thin coat of clear tile sealer over the repair to add waterproofing and durability. This is especially important in bathrooms and kitchens.
How to Fix a Chipped Tile
Step 1: Clean and Prepare
- Clean the chipped area with rubbing alcohol
- Remove any loose fragments from the chip
- If the chip is in a smooth glazed tile, lightly roughen the inside of the chip with sandpaper to help the filler adhere
- Place painter's tape around the chip to protect the surrounding tile surface
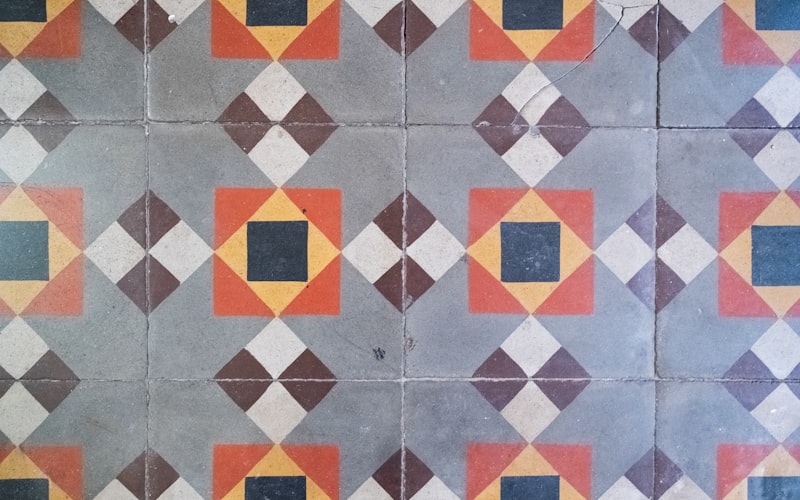
Step 2: Color Match
This is the trickiest part. Options for matching your tile color:
- Tile repair kits come with multiple color compounds you can mix together
- Porcelain touch-up paint (like Porc-A-Fix) is available in common tile colors
- Nail polish in a matching shade works surprisingly well for small chips
- Acrylic paint mixed to match, sealed with clear epoxy on top
If your tile is white, this is easy — most repair kits include white. For colored or patterned tiles, you may need to blend colors. Test your mix on a piece of cardboard first.
Step 3: Fill the Chip
- Mix your two-part epoxy according to directions
- If color matching, mix in your color compound or paint
- Apply the mixture to the chip using a small putty knife, craft stick, or toothpick
- Slightly overfill the chip — you'll sand it flush later
- Smooth the surface as much as possible while the filler is wet
- Remove the painter's tape before the filler sets
Step 4: Let It Cure
Allow the filler to cure completely — usually 24 hours for full hardness. Don't touch, step on, or get the repair wet during this time.
Step 5: Sand Smooth
Once fully cured:
- Gently sand the filled area with 400-grit sandpaper using light, circular motions
- Stop sanding when the filler is flush with the surrounding tile surface
- Switch to 600-grit sandpaper for a smoother finish
- Wipe away sanding dust with a damp cloth
Step 6: Seal and Finish
Apply a thin coat of clear urethane, clear nail polish, or tile sealer over the repair. This adds shine (matching the glazed tile surface), provides waterproofing, and protects the filler from wear.
Fixing Cracked Grout Between Tiles
While you're repairing tiles, check the grout lines too. Cracked or crumbling grout is even more common than tile damage and is just as easy to fix.
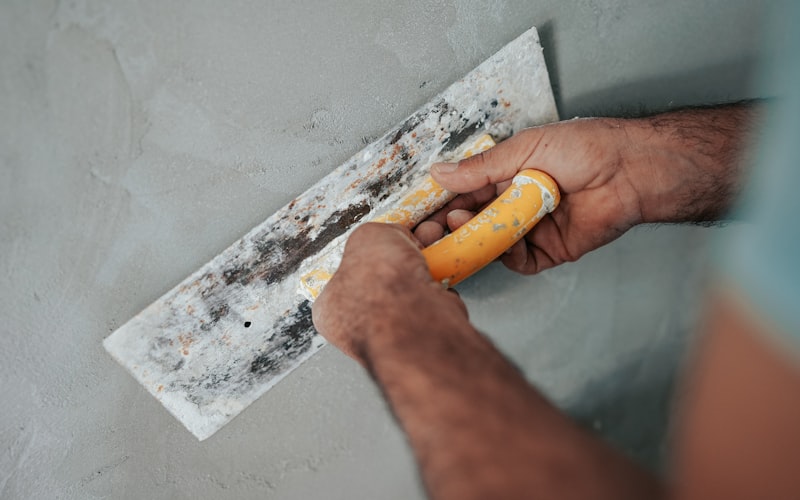
Quick Grout Repair
- Remove loose or crumbling grout with a grout saw or flathead screwdriver
- Vacuum the debris from the joint
- Apply new grout with a grout float, pressing it firmly into the joint
- Wipe away excess with a damp sponge after 15-20 minutes
- Let it cure for 24-48 hours before getting it wet
For a deeper dive into grout maintenance, check out our guide on how to clean grout without scrubbing.
Preventing Future Tile Damage
Common Causes of Cracked Tiles
- Dropping heavy objects: The number one cause of chipped tiles, especially in kitchens
- Subfloor movement: Settling foundations or inadequate subfloor support cause stress cracks
- Improper installation: Tiles installed without enough adhesive develop hollow spots that crack under pressure
- Temperature changes: Extreme temperature fluctuations can cause tiles to expand and contract
Prevention Tips
- Place rubber mats in areas where you frequently handle heavy objects (kitchen near the stove, workshop areas)
- Use felt pads under heavy furniture legs
- Don't drag heavy appliances across tile floors — use furniture sliders
- Keep spare tiles from your original installation in case you ever need a full replacement
- Maintain grout lines to prevent water from getting under tiles
Frequently Asked Questions
Can I repair tile in a shower or wet area?
Yes, but waterproofing is critical. Use waterproof epoxy (not regular wood filler or spackling), and seal the repair with a waterproof sealer once it's cured. Check the repair periodically to make sure the seal is holding. If the crack goes all the way through the tile in a shower, replacement is safer to prevent water damage behind the wall.
Will the repair match my tile perfectly?
Honestly, most repairs are visible on close inspection, especially on colored or patterned tiles. However, from normal standing distance, a well-done repair blends in remarkably well. White and neutral-colored tiles are easiest to match. The repair is always less noticeable than the crack or chip itself.
How long does a tile repair last?
A properly done epoxy repair can last years, even on floor tiles with regular foot traffic. The key is allowing full cure time (24 hours minimum) and applying a protective sealer. High-traffic areas or frequently wet areas may need the sealer reapplied annually.
Can I use super glue to fix a cracked tile?
Super glue (cyanoacrylate) can work as a temporary fix for hairline cracks — it's thin enough to wick into the crack and it dries clear. However, it's not waterproof, it yellows over time, and it's more brittle than epoxy. For a lasting repair, use proper tile repair epoxy.
My tile is cracked but I can't find a matching replacement. What should I do?
If you can't find a matching tile and the crack is minor, a good epoxy repair is your best bet. For more severe damage, consider: checking with the original installer or builder for spare tiles, searching discontinued tile databases online, or taking a piece of the broken tile to a tile shop for the closest match. As a last resort, you can replace the damaged tile with a decorative accent tile for an intentional design element.
Most cracked and chipped tiles are simple fixes that anyone can handle in under an hour of active work. The hardest part is waiting for the epoxy to cure. For more easy DIY repairs around the house, check out our guides on fixing a squeaky door, fixing a stuck window, and unclogging a drain without chemicals.
Get weekly home tips that actually work
Join thousands of homeowners getting practical cleaning hacks, DIY fixes, and money-saving tips every week. Free, and you can unsubscribe anytime.

Written by
Beth SullivanFounder & Editor-in-Chief
Beth Sullivan is the founder of Practical Home Guides. With over a decade of hands-on experience tackling every home challenge imaginable, she started this site to share the practical, no-nonsense solutions she wishes she had found years ago. When she's not testing cleaning hacks or organizing pantries, you'll find her in the garden or working on her next DIY project.
Recommended Products
Looking for specific product recommendations? Check out our tested picks.

Best Cordless String Trimmers (2026 Tested)
Battery-powered string trimmers have caught up to gas. We tested the top models on bermuda, fescue, and overgrown areas to find the picks worth your money.

Best Basement Dehumidifiers (2026 Buyer's Guide)
Damp basements destroy stored items, grow mold, and stink. We tested dehumidifiers for capacity, durability, and energy use to find the picks worth the money.

Best Wet/Dry Shop Vacs (2026 Tested)
Whether you need to clean a flooded basement, dust the garage, or pick up workshop debris, here are the wet/dry shop vacs worth the money.

Best Electric Leaf Blowers (2026 Buyer's Guide)
Cordless and corded electric leaf blowers tested for power, runtime, and noise. Our picks for small yards, large yards, and pro-grade home use.

Best Cordless Lawn Mowers (2026 Spring Buyer's Guide)
Battery-powered mowers have caught up to gas. We tested the top cordless mowers on grass length, slopes, and runtime to find the picks worth your money.

5 Best Cordless Drills for Homeowners (2026)
Find the right cordless drill for home projects without overspending. We compared the top drills for DIYers — here are the 5 best for everyday home use.

Best Home Tool Kits for Beginners (2026)
The best home tool kits for new homeowners and renters. We compare 6 tool sets from basic to comprehensive, so you can handle common repairs without calling a handyman.
Related Articles

How to Paint a Front Door (Pro-Quality Result in One Afternoon)
A fresh-painted front door is the highest-impact curb appeal upgrade. Here's the step-by-step that gets a smooth pro finish in 4 hours — no peeling, no brush marks.
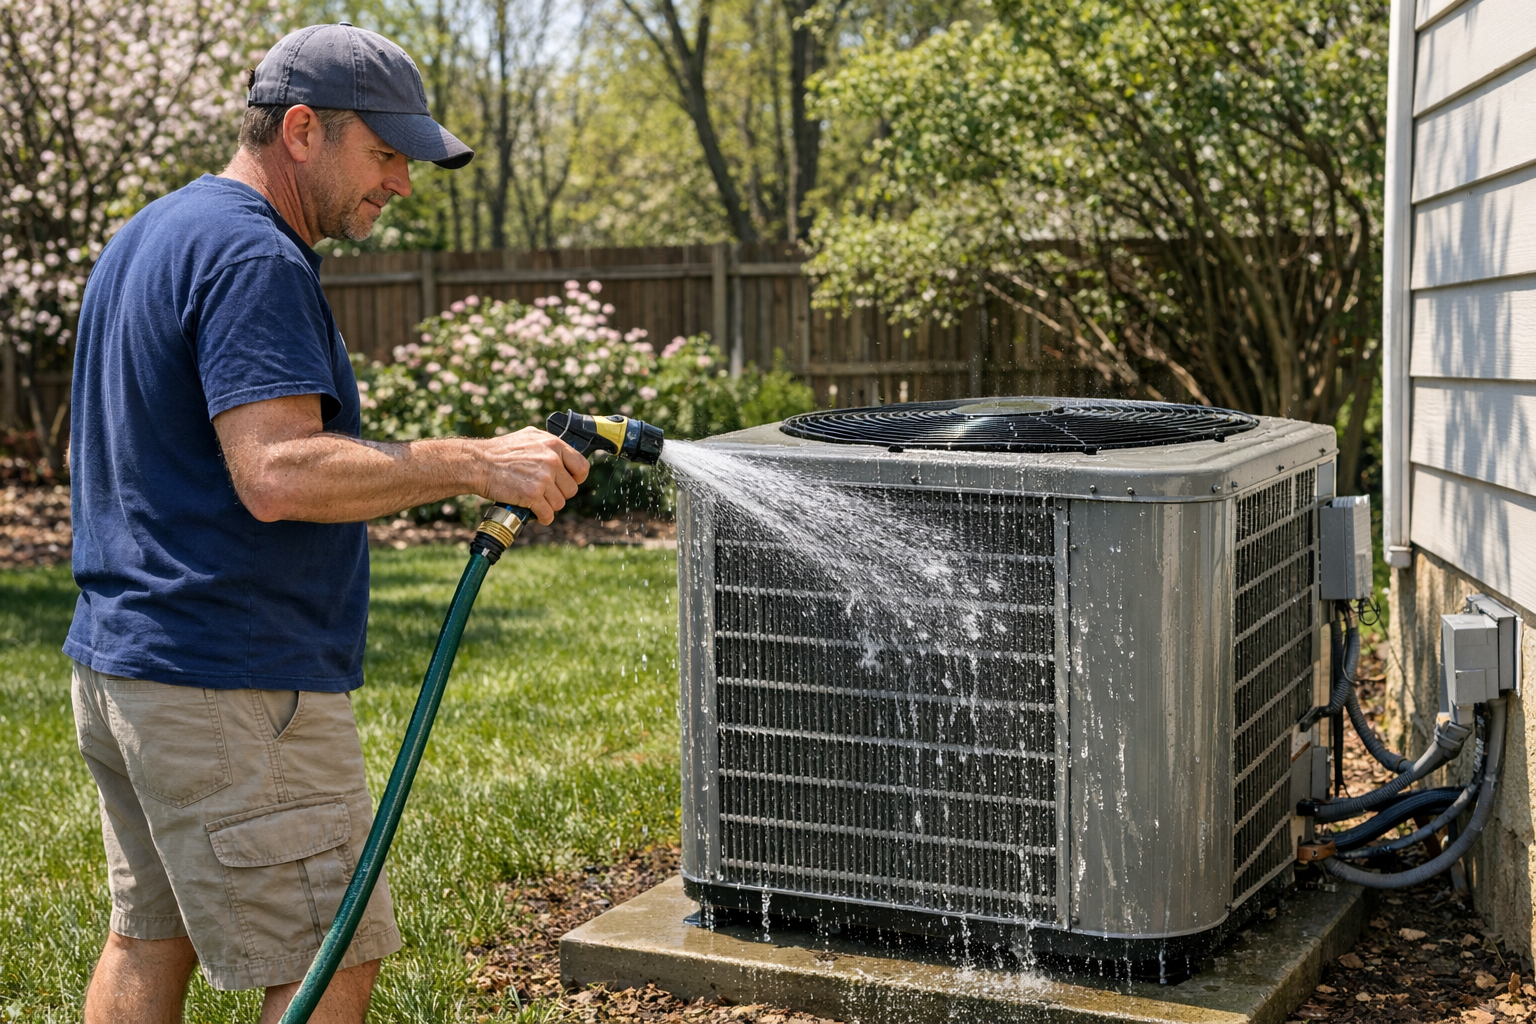
How to Prevent Summer AC Breakdowns (April Tune-Up Checklist)
Most AC failures happen in the first 90F week. A 30-minute April tune-up prevents 80 percent of those breakdowns and extends the unit's life by years.
Best Cordless String Trimmers (2026 Tested)
Battery-powered string trimmers have caught up to gas. We tested the top models on bermuda, fescue, and overgrown areas to find the picks worth your money.
How to Fix Sticky Kitchen Cabinet Doors (Without Replacing Hardware)
Cabinet doors that bind, rub, or won't close all the way are almost always a hinge adjustment problem. Here's the 10-minute fix.