How to Caulk a Bathtub Like a Pro (Step-by-Step)
Last updated: February 7, 2026
This article may contain affiliate links. If you make a purchase through these links, we may earn a small commission at no extra cost to you. Learn more

Few bathroom projects are as satisfying as replacing old, grimy caulk with a clean, fresh bead around your bathtub. Cracked, discolored, or peeling caulk isn't just an eyesore---it's an open invitation for water to seep behind your tub surround, rotting subfloors, spawning mold, and creating damage that costs hundreds or even thousands of dollars to repair. The good news is that recaulking a bathtub is one of the simplest and most affordable DIY fixes you can tackle, and it takes less than an hour of active work.
In this guide, we'll walk you through the entire process from start to finish---stripping the old caulk, prepping the surface, laying down a perfect bead, and smoothing it like a seasoned contractor. Whether this is your first time picking up a caulk gun or you've tried before and ended up with a lumpy mess, we've got you covered.

Why Recaulking Your Bathtub Matters
Caulk serves as a flexible, waterproof seal between your bathtub and the surrounding wall or tile. Every time you take a shower or fill the tub, water splashes against that joint. When the caulk is intact, the water runs harmlessly back into the tub. When the caulk is cracked, missing, or pulling away from the surface, water finds its way behind the walls.
Even a tiny gap in the caulk line can allow moisture to wick into the wall cavity behind your tub surround. Over time, that trapped moisture leads to mold growth on studs and drywall, softened subfloor material, and eventually structural damage. We've seen homeowners ignore a small caulk gap for a year only to discover a full-blown mold problem on the bathroom ceiling that required professional remediation.
Beyond water damage prevention, fresh caulk simply makes your bathroom look cleaner and more polished. If you've spent time getting your bathroom sparkling---maybe you've already tackled removing soap scum from your shower doors or cleaned your grout without scrubbing---a new caulk line is the finishing touch that ties everything together.
The cost is minimal too. A tube of quality silicone caulk runs $5-10, and the few extra tools you need won't set you back more than another $10-15. Compare that to the $150-$300 a handyman would charge for the same job, and you can see why this is a DIY no-brainer.
Choosing the Right Caulk
Not all caulk is created equal, and choosing the wrong type is one of the most common mistakes we see beginners make. For bathtub applications, you need a product that's waterproof, flexible, and mold-resistant.
Silicone Caulk
Pure silicone caulk is the gold standard for bathtub sealing. It's 100% waterproof, stays flexible for years, resists mold and mildew, and adheres well to tile, porcelain, fiberglass, and acrylic surfaces. The main downside is that silicone can be trickier to apply smoothly and cannot be painted over.
Look for products labeled "kitchen and bath" silicone, which contain added fungicides to resist mold growth. Brands like GE, DAP, and Gorilla all make excellent options. We recommend choosing a color that matches your tub or tile---white and clear are the most popular.
Silicone-Latex Hybrid (Siliconized Acrylic)
Siliconized acrylic caulk combines the easy application of latex with some of the waterproofing benefits of silicone. It's easier to smooth, cleans up with water, and can be painted. However, it's less durable and less waterproof than pure silicone, so it's better suited for low-splash areas rather than the primary tub-to-wall joint.
What to Avoid
Standard acrylic latex caulk (painter's caulk) should never be used around a bathtub. It's not waterproof and will break down quickly in a wet environment. Also avoid any caulk that doesn't specifically say "kitchen and bath" or "tub and tile" on the label.
Tools and Materials You'll Need
Gather everything before you start so you won't need to make a mid-project trip to the hardware store. Here's your complete supply list.
For removing old caulk:
- Caulk remover softening gel (optional but helpful)
- Utility knife or razor blade scraper
- Plastic putty knife or 5-in-1 painter's tool
- Needle-nose pliers or tweezers
For applying new caulk:
- Tube of 100% silicone kitchen and bath caulk
- Caulk gun (a dripless model is worth the extra few dollars)
- Blue painter's tape
- Denatured alcohol or rubbing alcohol and clean rags
- A bowl of warm soapy water
- A caulk finishing tool or your fingertip
- Paper towels
Most of these items are probably already in your garage or under the kitchen sink. The total cost for everything, including the caulk, runs about $15-25 if you're starting from scratch.
Step 1: Remove the Old Caulk Completely
This is the most tedious part of the job, but it's also the most important. New caulk will not adhere properly over old caulk remnants, so every trace of the old bead needs to come off.
Soften the Old Caulk
If the old caulk is silicone-based (it will feel rubbery rather than hard and chalky), apply a caulk remover gel along the entire bead. Products like DAP Caulk-Be-Gone or 3M Caulk Remover dissolve the bond between the silicone and the surface, making removal dramatically easier. Apply generously, let it sit for the time recommended on the label (usually 2-3 hours), and you'll save yourself a lot of scraping.
For acrylic latex caulk that's hardened and cracked, softening gel usually isn't necessary---it tends to come off in chunks with a utility knife.
Scrape and Pull
Using a utility knife, score along both edges of the caulk bead where it meets the tub and wall surfaces. Angle the blade to get underneath the caulk and separate it from the surface. Once you've broken the bond on both sides, grip the loosened end with your fingers or needle-nose pliers and pull. With silicone caulk that's been softened, you can often pull long strips away in one satisfying motion.
Use a plastic putty knife or 5-in-1 tool to scrape away any remaining residue. Avoid using metal scrapers on acrylic or fiberglass tub surfaces, as they can scratch permanently. On tile or porcelain, a razor blade scraper works well for stubborn bits.
Clean the Joint Thoroughly
Once all visible caulk is removed, clean the joint with denatured alcohol or rubbing alcohol on a clean rag. This removes any remaining silicone residue, soap scum, and oils that could prevent the new caulk from bonding. Wipe both the tub edge and the wall surface along the entire joint.
Let the area dry completely---at least 30 minutes, or longer if the gap behind the old caulk was damp. If you notice any mold in the joint, spray it with a mold-killing bathroom cleaner and scrub with an old toothbrush before drying.
Step 2: Tape Off Your Lines
This is the step that separates a professional-looking caulk job from a messy one. Painter's tape creates crisp, straight edges and prevents caulk from getting smeared onto surfaces where it doesn't belong.
Apply a strip of blue painter's tape along the tub edge, about 1/8 inch from the wall. Apply a second strip along the wall, about 1/8 inch from the tub. You're creating a channel between the two strips of tape that's roughly 1/4 inch wide---this is where your caulk bead will sit.
Press the tape down firmly so caulk doesn't bleed underneath. Run your fingernail or the edge of a plastic putty knife along the tape edges nearest the joint to create a tight seal.
Take your time here. Straight, even tape lines guarantee straight, even caulk lines. If a section of tape isn't perfectly straight, peel it up and reapply---it takes seconds and makes a noticeable difference in the finished result.
Step 3: Fill the Tub With Water
Here's a pro tip that most DIY guides skip. Before you apply caulk, fill your bathtub with water---yes, fill it all the way to its normal operating level. The weight of the water causes the tub to settle slightly on its supports, opening the gap between the tub and wall to its widest point.
If you apply caulk with an empty tub, the gap is at its narrowest. Then, the first time someone takes a bath and the tub sinks under the weight of the water, the caulk stretches and can pull away from the surface. By caulking with the tub full, the bead is applied in the expanded position and compresses slightly when the tub is empty---much better than being stretched apart.
This step is especially important for acrylic and fiberglass tubs, which flex more than cast iron or steel tubs under load.
Step 4: Apply the Caulk Bead
Now for the main event. Load your caulk tube into the caulk gun and cut the tip at a 45-degree angle. Start with a smaller opening than you think you need---about 1/8 inch. You can always cut more off to widen the bead, but you can't make the opening smaller.
Puncture the inner seal with the rod on your caulk gun or a long nail, then set the tube into the gun.
Laying Down the Bead
Hold the caulk gun at a 45-degree angle to the joint, with the cut tip pointing into the gap between the tub and wall. Apply steady, even pressure on the trigger as you draw the gun along the joint at a consistent speed. Move slowly enough that caulk fills the entire gap, but not so slowly that you get excessive buildup.
Work in manageable sections---about 3-4 feet at a time if you're new to caulking. This gives you time to smooth each section before it starts to skin over. Silicone caulk begins to form a surface skin within 5-10 minutes, so don't lay down the entire tub's worth of caulk before you start smoothing.
Keep the bead as consistent as possible. If you get a thin spot, go back over it immediately with a little more caulk. If you get a thick glob, that's fine---you'll smooth it out in the next step.
Step 5: Smooth the Bead
This is where beginners struggle and pros shine. Smoothing the caulk creates that perfect concave profile that looks clean and sheds water properly.
The Finger Method
Dip your fingertip in the bowl of warm soapy water (dish soap works perfectly). The soapy water acts as a release agent that prevents the caulk from sticking to your skin. Starting at one end, press your finger lightly into the caulk bead and draw it along the joint in one smooth, unbroken motion. Maintain light, consistent pressure---you're shaping the caulk, not removing it.
Wipe the excess caulk off your finger onto a paper towel, re-dip in soapy water, and do the next section. Each stroke should overlap the previous one slightly for a seamless transition.
Using a Caulk Finishing Tool
If you'd rather not use your finger, caulk finishing tools (also called caulk smoothers or profilers) work well. These inexpensive plastic tools have different-sized profiles cut into them. Choose the profile that matches the width of your bead and draw the tool along the joint just as you would your finger.
The key to either method is one continuous motion per section. Stopping and restarting creates visible ridges and divots. If you mess up a section, scrape it off immediately and reapply rather than trying to patch over it.
Step 6: Remove the Tape and Let It Cure
Here's a critical timing detail: remove the painter's tape while the caulk is still wet. If you wait until the caulk dries, pulling the tape will tear the caulk and ruin your clean lines.
Pull the tape away at a 45-degree angle, peeling it back over itself. Move steadily and don't rush. If any small strings of caulk lift with the tape, smooth them down immediately with a damp finger.
Curing Time
Silicone caulk skins over in about 30 minutes but takes 24 hours to fully cure. During this curing period, do not use the bathtub or shower. Water exposure before the caulk has cured will compromise the bond and may cause the caulk to peel away within weeks.
After 24 hours, drain the water you used to weight the tub. Your new caulk line is now fully cured, waterproof, and ready for regular use.
If you used siliconized acrylic caulk, check the manufacturer's instructions---some formulations allow water exposure after just 12 hours.
Common Caulking Mistakes (And How to Avoid Them)
Even experienced DIYers make mistakes when caulking. Here are the most common pitfalls and how to steer clear of them.
Cutting the tip too large. Start with a small opening and test on cardboard before applying to your tub. You can always cut more, but you can't un-cut.
Moving too fast or too slow. Too fast leaves gaps and thin spots. Too slow creates thick globs that are hard to smooth. Practice your speed on a piece of tape on a table to find the right pace.
Applying caulk over old caulk. New caulk doesn't bond well to old caulk. Always strip the old bead completely and clean the surfaces before applying fresh caulk.
Skipping the tape. Taping takes five extra minutes and makes the difference between amateur and professional results. Don't skip it.
Using the tub too soon. We know it's tempting, but using the tub or shower before the caulk has fully cured (24 hours for silicone) will compromise the seal. Plan your caulking for a day when you have access to another bathroom, or caulk in the evening and wait until the following evening to shower.
How Often Should You Recaulk?
Under normal conditions, a quality silicone caulk job should last 5-10 years. However, several factors can shorten that lifespan, including heavy daily use, hard water mineral deposits, harsh chemical cleaners, and houses that settle or shift.
We recommend inspecting your bathtub caulk every six months during your regular bathroom deep cleaning. Look for any cracks, peeling edges, discoloration, or mold spots. Catching a small failure early means you can patch just that section rather than redoing the entire tub.
If your caulk is discoloring or developing mold despite being intact, a mildew-killing bathroom spray can extend its life. Regular cleaning helps too---keeping your bathroom surfaces free of soap scum and mineral buildup reduces the conditions that break caulk down. Our guide on removing soap scum from shower doors has tips that apply equally well to caulk lines.
Other Bathroom Projects to Tackle This Weekend
Once you've mastered caulking, you've proven that you can handle precise, detail-oriented DIY work. That opens the door to plenty of other satisfying bathroom improvements. If your faucet has been dripping, our guide on how to fix a leaky faucet uses the same basic skill set---patience, the right tools, and following a clear process. And if your bathroom is feeling cramped and cluttered, check out our bathroom storage ideas for small spaces to make the most of every square inch.
The confidence you build with small wins like recaulking compounds over time. Before you know it, you'll be patching drywall and taking on projects you never thought you could handle.
Frequently Asked Questions
Can I caulk over existing caulk instead of removing it?
We strongly advise against it. New caulk does not bond reliably to old caulk, especially silicone over silicone. Even if it seems to stick initially, the new layer will peel away within a few months, leaving you right back where you started---or worse, with water trapped between the two layers. Always remove old caulk completely, clean the surfaces, and apply fresh caulk to bare substrate for a seal that lasts.
How long does bathtub caulk need to dry before I can shower?
For 100% silicone caulk, you need to wait a full 24 hours before exposing it to water. Silicone forms a surface skin within 30 minutes, but the interior of the bead takes much longer to fully cure. Siliconized acrylic (latex-silicone hybrid) caulk may cure faster---some products allow water contact after 12 hours. Always check the instructions on your specific product. If in doubt, wait the full 24 hours. Rushing this step is the most common reason new caulk fails prematurely.
What's the best way to get a smooth, even caulk line?
Three things make the biggest difference: tape, soapy water, and a single continuous stroke. Apply painter's tape on both sides of the joint to create clean edges. Dip your smoothing tool (finger or caulk profiler) in warm, soapy water before each pass so the caulk doesn't stick and drag. Then smooth each section in one long, unbroken motion at consistent pressure. If you lift your finger or tool mid-stroke, you'll create a visible ridge. Practice on a piece of tape on your workbench first if you're nervous.
Should I use silicone or latex caulk for my bathtub?
For the primary seal between the tub and wall, always use 100% silicone caulk labeled for kitchen and bath use. Silicone is fully waterproof, stays flexible as the tub shifts under weight, and contains fungicides that resist mold. Latex and acrylic caulk are not waterproof enough for constant water exposure and will break down within a year or two in a tub surround. The only advantage of latex-based products is easier cleanup, but that convenience isn't worth the shorter lifespan in a wet environment.
My new caulk keeps getting moldy. How do I prevent this?
Mold on caulk is usually caused by excess moisture that never fully dries between uses. Make sure your bathroom has adequate ventilation---run the exhaust fan during showers and for at least 20 minutes afterward. Wipe down the caulk line with a dry towel after showering if mold is a recurring problem. When you apply new caulk, choose a product with built-in mildew resistance (most "kitchen and bath" silicones include this). You can also spray caulk lines weekly with a diluted white vinegar solution to inhibit mold growth without damaging the silicone.
Final Thoughts
Recaulking a bathtub is one of those rare home improvement projects where the effort-to-impact ratio is incredibly high. In under an hour of active work and about $10 in materials, you can prevent thousands of dollars in water damage, eliminate mold-friendly conditions, and give your bathroom a polished, well-maintained look.
The keys to a professional result are thorough removal of old caulk, clean and dry surfaces, painter's tape for crisp lines, and patience during the 24-hour cure time. Follow the steps we've laid out in this guide and you'll end up with a caulk line that looks like a contractor did it---except you'll know you did it yourself, in your own bathroom, on a Saturday afternoon.
Now grab that caulk gun and get to work. Your bathtub will thank you.
Get weekly home tips that actually work
Join thousands of homeowners getting practical cleaning hacks, DIY fixes, and money-saving tips every week. Free, and you can unsubscribe anytime.

Written by
Beth SullivanFounder & Editor-in-Chief
Beth Sullivan is the founder of Practical Home Guides. With over a decade of hands-on experience tackling every home challenge imaginable, she started this site to share the practical, no-nonsense solutions she wishes she had found years ago. When she's not testing cleaning hacks or organizing pantries, you'll find her in the garden or working on her next DIY project.
Recommended Products
Looking for specific product recommendations? Check out our tested picks.

Best Cordless String Trimmers (2026 Tested)
Battery-powered string trimmers have caught up to gas. We tested the top models on bermuda, fescue, and overgrown areas to find the picks worth your money.

Best Basement Dehumidifiers (2026 Buyer's Guide)
Damp basements destroy stored items, grow mold, and stink. We tested dehumidifiers for capacity, durability, and energy use to find the picks worth the money.

Best Wet/Dry Shop Vacs (2026 Tested)
Whether you need to clean a flooded basement, dust the garage, or pick up workshop debris, here are the wet/dry shop vacs worth the money.

Best Electric Leaf Blowers (2026 Buyer's Guide)
Cordless and corded electric leaf blowers tested for power, runtime, and noise. Our picks for small yards, large yards, and pro-grade home use.

Best Cordless Lawn Mowers (2026 Spring Buyer's Guide)
Battery-powered mowers have caught up to gas. We tested the top cordless mowers on grass length, slopes, and runtime to find the picks worth your money.

5 Best Cordless Drills for Homeowners (2026)
Find the right cordless drill for home projects without overspending. We compared the top drills for DIYers — here are the 5 best for everyday home use.

Best Home Tool Kits for Beginners (2026)
The best home tool kits for new homeowners and renters. We compare 6 tool sets from basic to comprehensive, so you can handle common repairs without calling a handyman.
Related Articles

How to Paint a Front Door (Pro-Quality Result in One Afternoon)
A fresh-painted front door is the highest-impact curb appeal upgrade. Here's the step-by-step that gets a smooth pro finish in 4 hours — no peeling, no brush marks.
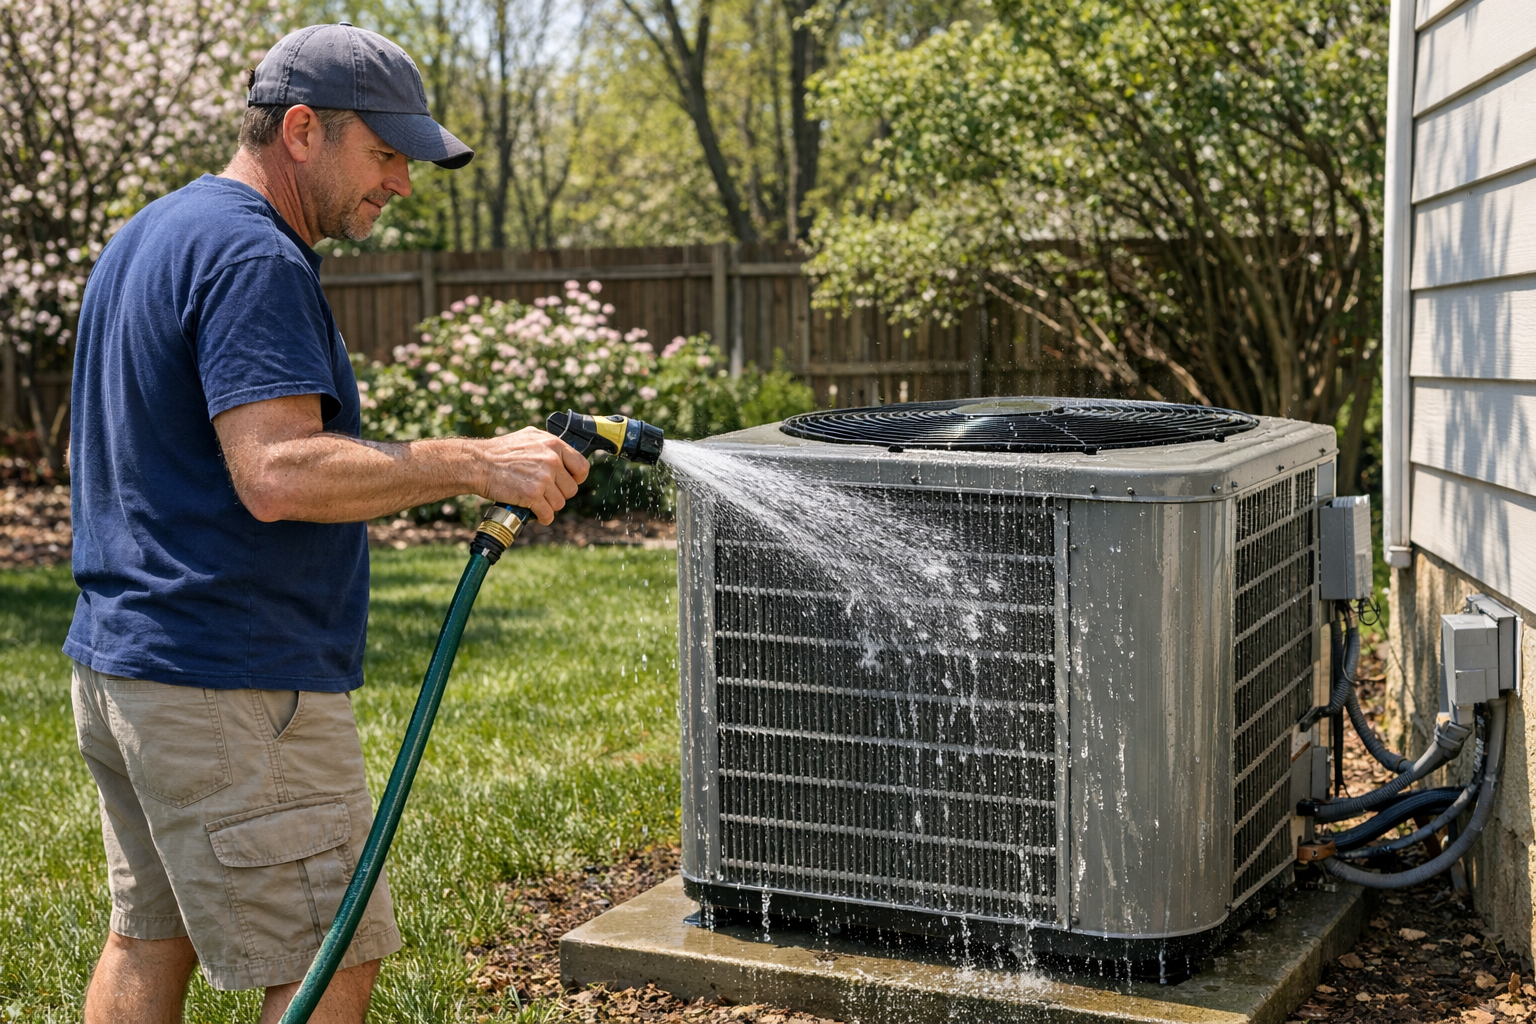
How to Prevent Summer AC Breakdowns (April Tune-Up Checklist)
Most AC failures happen in the first 90F week. A 30-minute April tune-up prevents 80 percent of those breakdowns and extends the unit's life by years.
Best Cordless String Trimmers (2026 Tested)
Battery-powered string trimmers have caught up to gas. We tested the top models on bermuda, fescue, and overgrown areas to find the picks worth your money.
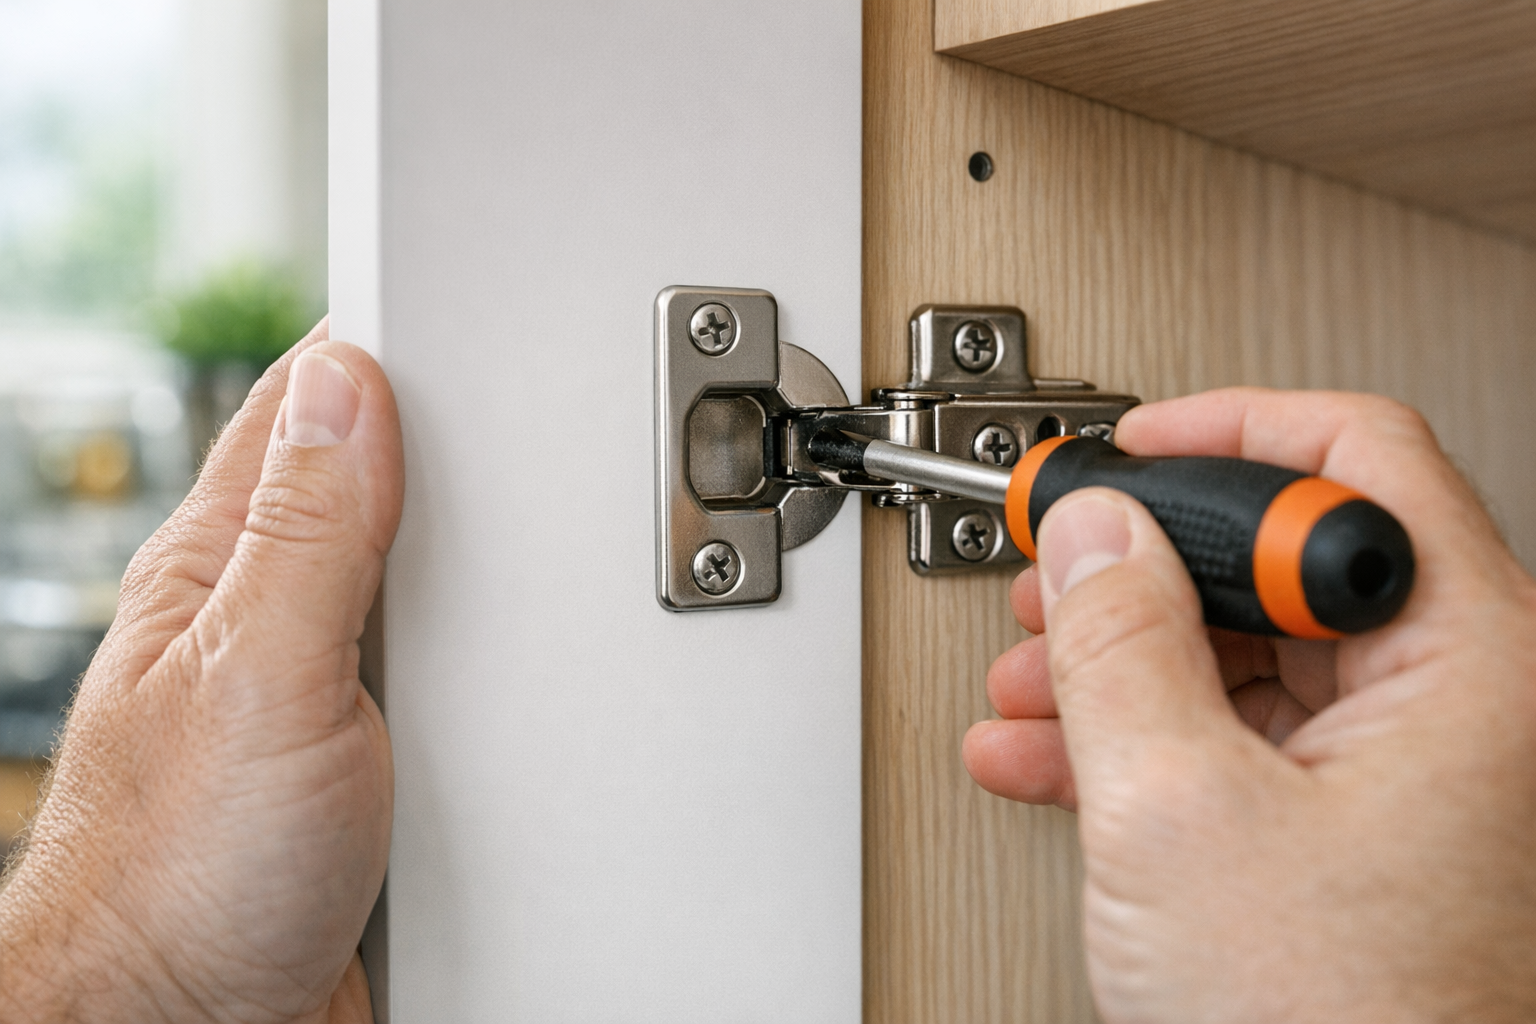
How to Fix Sticky Kitchen Cabinet Doors (Without Replacing Hardware)
Cabinet doors that bind, rub, or won't close all the way are almost always a hinge adjustment problem. Here's the 10-minute fix.