How to Remove Mold from Your Bathroom Ceiling Safely
Last updated: February 7, 2026
This article may contain affiliate links. If you make a purchase through these links, we may earn a small commission at no extra cost to you. Learn more
Spotting dark patches of mold creeping across your bathroom ceiling is enough to make your stomach drop. It looks terrible, it can smell musty, and if left unchecked, it can pose real health risks for your household. The problem is far more common than most people realize, and the warm, humid environment of a bathroom makes the ceiling a prime target.
The reassuring part is that most bathroom ceiling mold can be removed safely and effectively with supplies you probably already have at home. We'll walk you through exactly how to do it, step by step, and show you how to keep it from returning.

Why Mold Grows on Bathroom Ceilings
Before you grab a sponge and start scrubbing, it helps to understand what you're dealing with. Mold is a type of fungus that thrives in damp, warm, poorly ventilated spaces. Your bathroom ceiling checks all three boxes.
Every time you take a hot shower or bath, steam rises to the ceiling and condenses on the surface. If that moisture doesn't dry quickly enough, mold spores, which are naturally present in the air, land on the damp surface and begin to colonize. Within days, you can go from a few tiny specks to a spreading patch of black, green, or gray fuzz.
Bathrooms without exhaust fans or windows are especially vulnerable. But even well-ventilated bathrooms can develop ceiling mold if the fan is underpowered, the ducting is clogged, or the ceiling paint isn't moisture-resistant. If your home has a persistent musty smell that you can't quite track down, hidden mold on bathroom ceilings or behind walls is often the culprit.
Assessing the Mold Before You Start
Not all mold situations call for the same approach. Take a few minutes to evaluate what you're working with before diving into the removal process.
Small patches of surface mold, anything under about 10 square feet, are generally safe to handle yourself. This covers the vast majority of bathroom ceiling mold situations. The mold is typically growing on the surface of the paint rather than deep into the building material.
If the mold covers a larger area, if the ceiling feels soft or spongy when you press on it, or if you suspect the mold has penetrated behind the drywall, it's time to call a professional mold remediation company. Disturbing a large mold colony without proper containment can release a massive number of spores into the air and spread the problem throughout your home.
Also take note of the color. While color alone doesn't determine toxicity, black mold on a bathroom ceiling is worth treating with extra caution. Wear proper protective equipment regardless of the mold's appearance.
Safety Gear You'll Need
Mold removal isn't particularly dangerous when done correctly, but skipping safety precautions is a mistake. Mold spores become airborne when disturbed, and inhaling them can cause respiratory irritation, allergic reactions, and other health issues, especially for people with asthma or compromised immune systems.
Here's what to wear before you begin:
- Safety goggles that seal around your eyes to prevent spores from contacting them
- An N95 respirator mask (not a basic dust mask) to filter out airborne mold spores
- Rubber gloves that extend to at least the mid-forearm
- Old clothing that covers your arms and legs, which you can wash in hot water afterward
Ventilation is equally important. Open a window if your bathroom has one, and turn on the exhaust fan. If the bathroom has neither, consider placing a box fan in the doorway pointing outward to direct airborne spores away from the rest of your home.
Method 1: White Vinegar Solution
White vinegar is a surprisingly effective mold killer. Studies have shown that vinegar can kill approximately 82% of mold species, making it a strong first-line option for bathroom ceiling mold.
Pour undiluted white vinegar into a spray bottle. Don't water it down for mold removal; you want full-strength vinegar for maximum effectiveness.
Spray the moldy area generously, saturating the entire affected section and extending a few inches beyond the visible mold border. Mold often extends slightly beyond what you can see, so treating the surrounding area prevents it from bouncing back.
Let the vinegar sit for at least one hour. This dwell time is critical. The acetic acid needs time to penetrate the mold structure and kill the roots, not just the surface growth.
After the hour has passed, use a damp cloth or sponge to wipe away the mold. Work from the outside edges toward the center to avoid spreading spores to clean areas. Rinse your cloth frequently in a bucket of clean water.
Follow up with a second application of vinegar and let it air dry. This second pass catches anything you missed and provides an additional layer of protection against regrowth.
Method 2: Hydrogen Peroxide Treatment
Hydrogen peroxide is another excellent option, particularly if you're sensitive to the smell of vinegar or if the vinegar method didn't fully resolve the problem. It's antifungal, antiviral, and antibacterial.
Use standard 3% hydrogen peroxide, the kind available at any pharmacy or grocery store. Pour it into a dark-colored spray bottle, since hydrogen peroxide breaks down when exposed to light.
Spray the moldy ceiling thoroughly and let it sit for at least 10 to 15 minutes. You'll notice fizzing and bubbling as the peroxide reacts with the mold, which is a good sign that it's working.
Scrub gently with a soft-bristled brush to remove the dead mold, then wipe the area clean with a damp cloth. Let the ceiling dry completely before assessing whether a second application is needed.
One advantage of hydrogen peroxide over vinegar is that it has a mild bleaching effect, which can help remove the staining that mold leaves behind on lighter-colored ceilings. This saves you from needing to repaint in many cases.
Method 3: Baking Soda Paste
For stubborn mold that has been established for a while, baking soda offers gentle abrasive cleaning combined with antifungal properties. This method works especially well when combined with vinegar.
Mix one quarter cup of baking soda with enough water to form a thick, spreadable paste. The consistency should be similar to peanut butter so it adheres to the ceiling without dripping.
Apply the paste directly to the mold using a sponge or putty knife. Working overhead can be awkward, so take your time and use a sturdy step stool or ladder to get close enough to the ceiling to work comfortably.
Let the paste sit for 15 to 20 minutes, then spray vinegar directly over the baking soda. The fizzing reaction helps lift the mold from the surface. Wipe everything away with a clean damp cloth, then rinse the area with plain water.
This combination approach is particularly effective because the baking soda physically dislodges the mold while the vinegar kills it chemically. If you also have grimy tile in the same bathroom, this same one-two punch works brilliantly for cleaning grout without scrubbing.
Method 4: Bleach Solution (Use with Caution)
Bleach is the most aggressive household option for mold removal. It kills mold on contact and eliminates staining. However, it should be used carefully and only when other methods haven't fully worked.
Mix one cup of bleach with one gallon of water. Never use bleach undiluted on your ceiling, and absolutely never mix bleach with vinegar, ammonia, or any other cleaning product. These combinations create toxic gases that can cause serious harm.
Apply the solution with a sponge or spray bottle, saturating the affected area. Let it sit for 10 to 15 minutes while keeping the bathroom well ventilated. The fumes from bleach are irritating even in a diluted solution, so your N95 mask and open window are especially important here.
Wipe clean with a damp cloth and allow the ceiling to dry thoroughly. Bleach is effective on non-porous surfaces like painted drywall and tile, but it doesn't penetrate porous materials well. If the mold has grown into unpainted drywall or wood, bleach may kill the surface mold while leaving roots alive underneath.
Step-by-Step: The Complete Removal Process
Now that you know your cleaning options, here's the full process from start to finish.
Step 1: Prepare the room. Remove towels, bath mats, and any personal items from the bathroom. Lay down old towels or a drop cloth on the floor beneath the work area to catch drips. Close the bathroom door to prevent spores from drifting into other rooms.
Step 2: Gear up. Put on your goggles, N95 mask, rubber gloves, and old long-sleeved clothing. Turn on the exhaust fan and open any windows.
Step 3: Dry dust the area. If the mold is visibly fuzzy or thick, gently wipe away the loose surface growth with a dry microfiber cloth first. Seal this cloth in a plastic bag and throw it away. This step prevents heavy mold from becoming a paste when you apply liquid cleaner.
Step 4: Apply your chosen cleaning solution. Spray or apply generously, covering the entire affected area plus a buffer zone of several inches beyond the visible mold.
Step 5: Let the solution dwell. Allow the recommended contact time for your chosen method. Don't rush this step. The dwell time is what makes the difference between a temporary fix and a lasting solution.
Step 6: Wipe and scrub. Remove the dead mold with a damp cloth or soft brush. Dispose of used cloths in a sealed plastic bag.
Step 7: Rinse and dry. Wipe the area with clean water to remove any cleaning residue, then allow the ceiling to dry completely. Point a fan at the ceiling to speed up drying if needed.
Step 8: Inspect and repeat. Once dry, examine the area closely. If mold staining or residual growth remains, apply a second treatment using the same method or switch to a stronger option.
Preventing Mold from Coming Back
Removing existing mold is only half the battle. Without addressing the underlying moisture problem, the mold will return, often within weeks.
Improve Bathroom Ventilation
Ventilation is the single most important factor in preventing bathroom ceiling mold. Your exhaust fan should be rated for the size of your bathroom and should run during every shower and for at least 20 to 30 minutes afterward.
If your fan is weak, noisy, or old, replacing it is one of the best investments you can make. A properly sized exhaust fan that vents to the outside, not into the attic, removes moisture before it can settle on the ceiling. Running the fan does add slightly to your electricity usage, but the cost is minimal. If you're looking for ways to balance that out, we have practical ideas for saving money on your electric bill elsewhere in your home.
If your bathroom doesn't have an exhaust fan, open the window during and after showers. Even a small gap makes a significant difference in reducing humidity.
Use Mold-Resistant Paint
After removing mold and letting the ceiling dry completely, consider repainting with a mold-resistant bathroom paint. These paints contain antimicrobial additives that actively discourage mold growth on the surface.
Primer matters too. Apply a mold-blocking primer before your top coat, especially if the ceiling previously had significant mold growth. This creates a barrier that makes it much harder for mold to re-establish itself.
Control Humidity Levels
Ideally, bathroom humidity should drop below 50% within 30 minutes of your shower ending. A simple humidity gauge (hygrometer) costs just a few dollars and tells you exactly whether your ventilation is keeping up.
If humidity remains high despite running your exhaust fan, consider a small dehumidifier for the bathroom. Keeping the bathroom door open after showers also helps moisture dissipate into the larger home where it's more easily managed.
Wipe Down Surfaces Regularly
Make it a habit to wipe down the ceiling above your shower area once a week with a dry microfiber cloth on a long-handled mop. This takes just a minute and removes condensation before it can feed mold growth.
While you're maintaining your bathroom, keeping soap scum off your shower doors is another task that gets easier with regular attention. Our guide on removing soap scum from shower doors pairs well with a ceiling mold prevention routine for a comprehensive bathroom care approach.
Fix Leaks Promptly
Sometimes ceiling mold isn't caused by shower steam at all. A slow roof leak or leaking pipe from the floor above can saturate the ceiling from behind, creating a persistent moisture source that no amount of ventilation will fix.
If mold keeps returning in the same spot despite good ventilation, investigate the possibility of a hidden leak. Water stains, bubbling paint, or a soft spot in the ceiling are telltale signs that moisture is coming from above rather than below.
When to Replace the Ceiling Drywall
In some cases, cleaning alone won't solve the problem. If the drywall has been saturated repeatedly, the mold may have colonized deep within the gypsum core where surface treatments can't reach.
Signs that replacement is necessary include drywall that stays soft after drying, visible warping or sagging, mold that returns within days of cleaning, or a persistent musty odor even after thorough treatment.
Cutting out and replacing a section of drywall is a manageable DIY project for a small area. You'll want to cut well beyond the visible mold, at least 12 inches past the last sign of growth. Seal the removed material in plastic bags for disposal, and treat the surrounding framing with a fungicidal solution before installing new drywall.
For larger areas or if you're uncomfortable with the work, a contractor can handle the job. Make sure any underlying leak or ventilation issue is resolved before new drywall goes in, or you'll end up right back where you started.
Keeping Your Entire Bathroom Fresh and Clean
Mold prevention fits into a broader bathroom maintenance strategy. When you're already up on a step stool cleaning the ceiling, it's a natural time to tackle the rest of the room too.
Pay attention to the grout between your tiles, caulking around the tub, and the area behind the toilet, all of which are common spots for mold to develop. Bathroom storage solutions for small spaces can also help by keeping clutter off surfaces where moisture gets trapped.
Even the drain deserves attention. A slow drain means water sits longer in the shower or tub, increasing humidity and giving mold more time to feed. Keeping drains clear is a simple maintenance task, and you can learn how to unclog a drain without chemicals to handle it naturally.
Frequently Asked Questions
Is bathroom ceiling mold dangerous to my health?
Bathroom ceiling mold can affect your health, particularly if you have allergies, asthma, or a weakened immune system. Exposure to mold spores can cause symptoms ranging from sneezing and congestion to skin irritation and difficulty breathing. Most healthy adults can handle brief exposure without serious effects, but prolonged exposure in a poorly ventilated bathroom increases risks for everyone. That's why prompt removal and proper protective equipment are important regardless of who lives in your home.
Can I just paint over the mold instead of removing it?
Painting over mold is one of the worst things you can do. The mold is still alive underneath the paint and will continue growing, eventually pushing through the new paint layer and creating an even bigger problem. You must kill and remove the mold completely before repainting. Once the ceiling is clean and fully dry, applying a mold-blocking primer followed by mold-resistant paint is the correct approach and will give you a lasting, clean surface.
How long does it take for mold to grow back after removal?
If the underlying moisture problem isn't addressed, mold can begin regrowing within 24 to 48 hours of removal. Visible colonies typically reappear within one to two weeks in a consistently humid environment. However, if you improve ventilation, maintain low humidity, and use mold-resistant paint, your ceiling can stay mold-free indefinitely. The key is breaking the moisture cycle rather than just treating the symptoms.
What's the difference between mold and mildew on a bathroom ceiling?
Mildew is actually a type of mold, specifically a surface-level fungus that typically appears as flat, powdery patches of white or gray. What people commonly call "mold" tends to be darker, fuzzy, and more deeply rooted in the surface. For practical purposes, the removal methods are the same for both. Mildew is generally easier to clean because it stays on the surface, while darker mold may have penetrated further into the paint or drywall and could require more aggressive treatment or material replacement.
Should I hire a professional, or can I handle mold removal myself?
For bathroom ceiling mold patches smaller than about 10 square feet (roughly a 3-by-3-foot area), DIY removal is perfectly safe and effective when you use proper protective gear and follow the methods outlined above. Call a professional if the mold covers a larger area, if you see signs of structural damage like sagging or soft drywall, if the mold keeps returning despite your best efforts, or if anyone in your household has serious mold allergies or respiratory conditions. Professional remediation typically costs between $500 and $3,000 depending on the extent of the problem, but it includes containment, air filtration, and thorough testing that DIY methods can't match.
Get weekly home tips that actually work
Join thousands of homeowners getting practical cleaning hacks, DIY fixes, and money-saving tips every week. Free, and you can unsubscribe anytime.

Written by
Beth SullivanFounder & Editor-in-Chief
Beth Sullivan is the founder of Practical Home Guides. With over a decade of hands-on experience tackling every home challenge imaginable, she started this site to share the practical, no-nonsense solutions she wishes she had found years ago. When she's not testing cleaning hacks or organizing pantries, you'll find her in the garden or working on her next DIY project.
Recommended Products
Looking for specific product recommendations? Check out our tested picks.
Best Cordless Stick Vacuums (2026 Buyer's Guide)
We tested cordless stick vacuums on hardwood, carpet, pet hair, and stairs. Here are the picks worth the price for every home and budget in 2026.
Best Pressure Washers for Home Use (2026 Buyer's Guide)
We tested electric and gas pressure washers for siding, decks, driveways, and patio furniture. Here are the best picks for every budget and home size.
Best Self-Emptying Robot Vacuums (2026 Tested)
Self-emptying robot vacuums let you forget about the dust bin for weeks. We tested the top models on hardwood, carpet, pet hair, and floor plans.
5 Best Steam Mops for Tile Floors (2026)
We tested the top steam mops for tile, grout, and hard floors. Here are the 5 best picks with honest pros, cons, and who each one is best for.
7 Best Robot Vacuums Under $300 (2026)
We compared the top robot vacuums under $300 for pet hair, hardwood floors, and carpet. Here are the 7 best picks with pros, cons, and who each is best for.
Related Articles
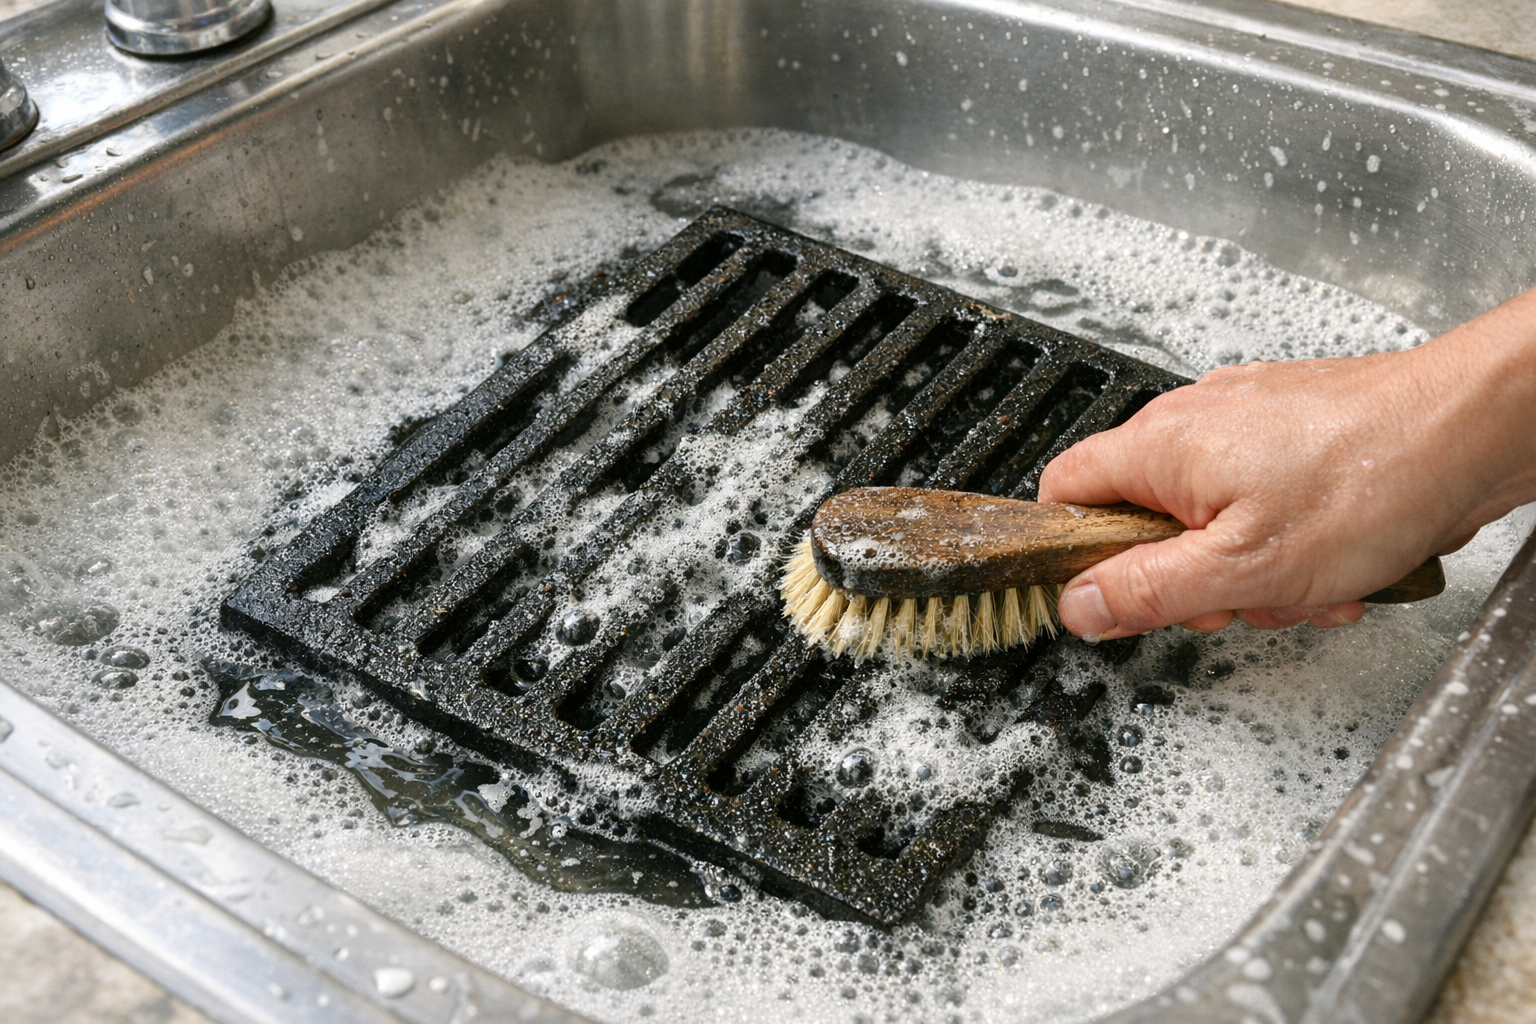
How to Remove Rust From Grill Grates (Without Replacing Them)
Rusted grill grates can be revived if rust is surface-only. Here's the safe restoration method that gets cast iron and steel grates back to cooking-ready.
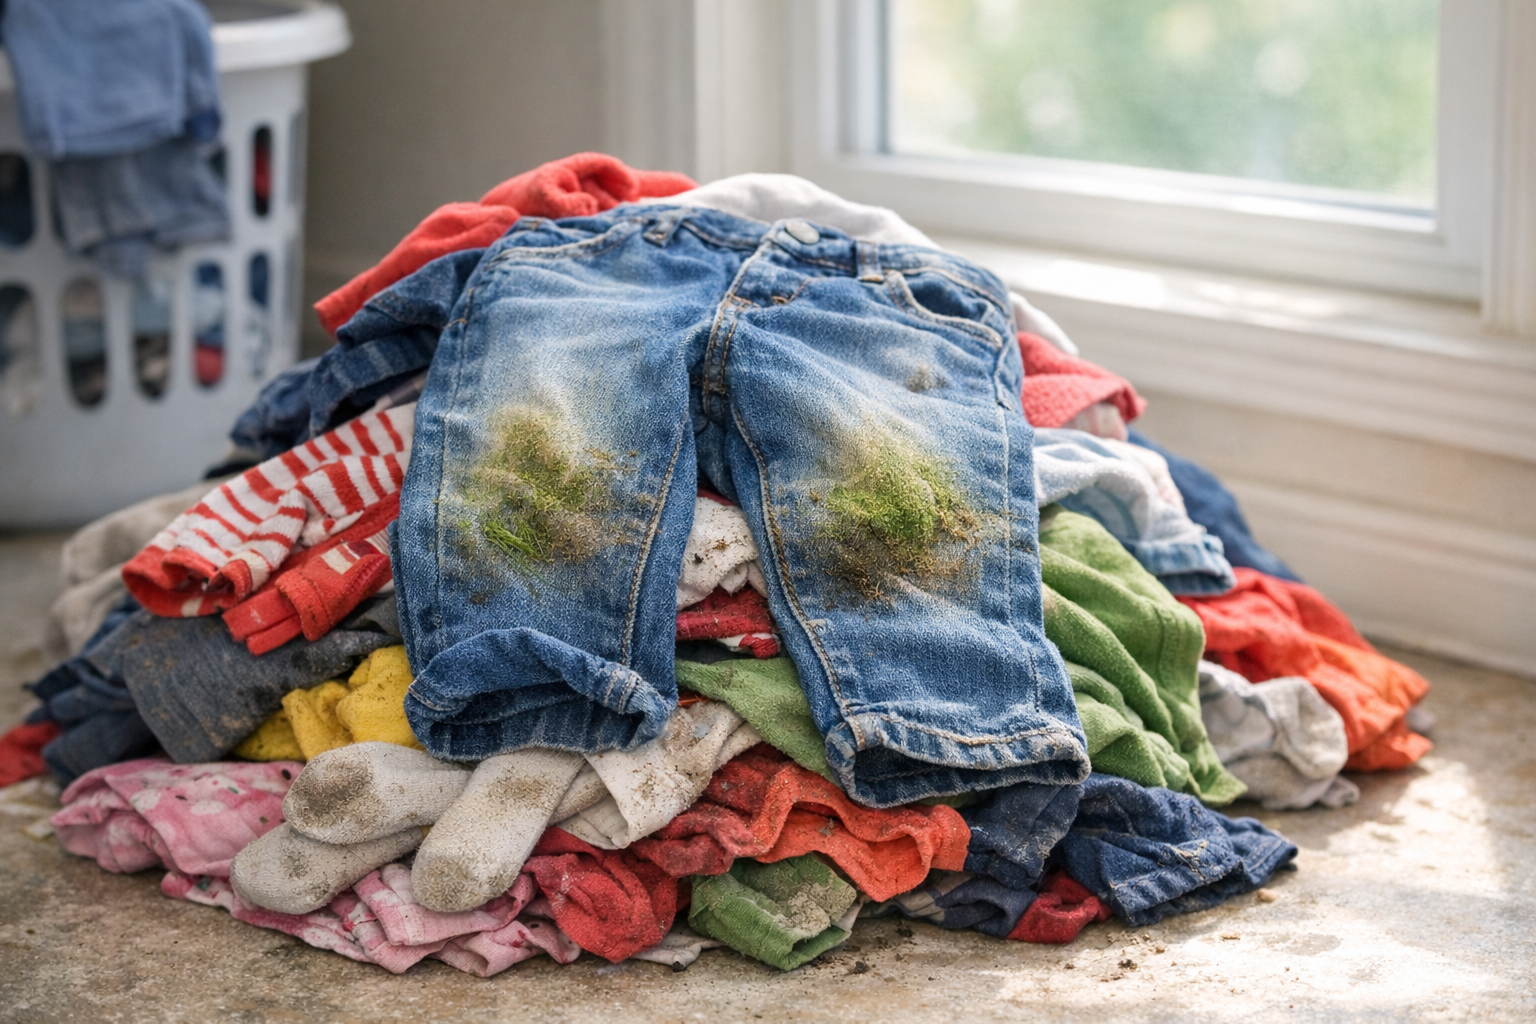
How to Remove Grass Stains From Clothes (Even After Drying)
Grass stains are protein and chlorophyll bonded into fabric. Here's the order of treatments that gets them out — even on jeans that already went through the dryer.

How to Refresh Outdoor Rugs Without Replacing Them
Before you toss that faded, grimy outdoor rug, try this simple revival routine. Most polypropylene outdoor rugs come back like new with 30 minutes of work.

How to Deep Clean Window Screens (The Bathtub Method)
Window screens accumulate a winter's worth of dust, pollen, and grime. The bathtub method gets them all clean in one shot — cleaner than cleaning them individually.