How to Fix a Leaky Outdoor Spigot in 20 Minutes
This article may contain affiliate links. If you make a purchase through these links, we may earn a small commission at no extra cost to you. Learn more
Quick Answer
How to Fix a Leaky Outdoor Spigot in 20 Minutes
Most leaky outdoor spigots are fixed by either tightening the packing nut behind the handle (for handle leaks) or replacing the rubber washer at the valve seat (for spout drips). Both take 20 minutes with a pipe wrench, screwdriver, and a 2 dollar washer kit.
A dripping outdoor spigot is the easiest plumbing repair in the entire house — and it's also the one homeowners most often pay 150 dollars to a plumber for. Don't do that. The fix is a 2 dollar part and 20 minutes.
I just walked my neighbor through this last weekend, and the whole job was done before her coffee got cold. Here's exactly how.
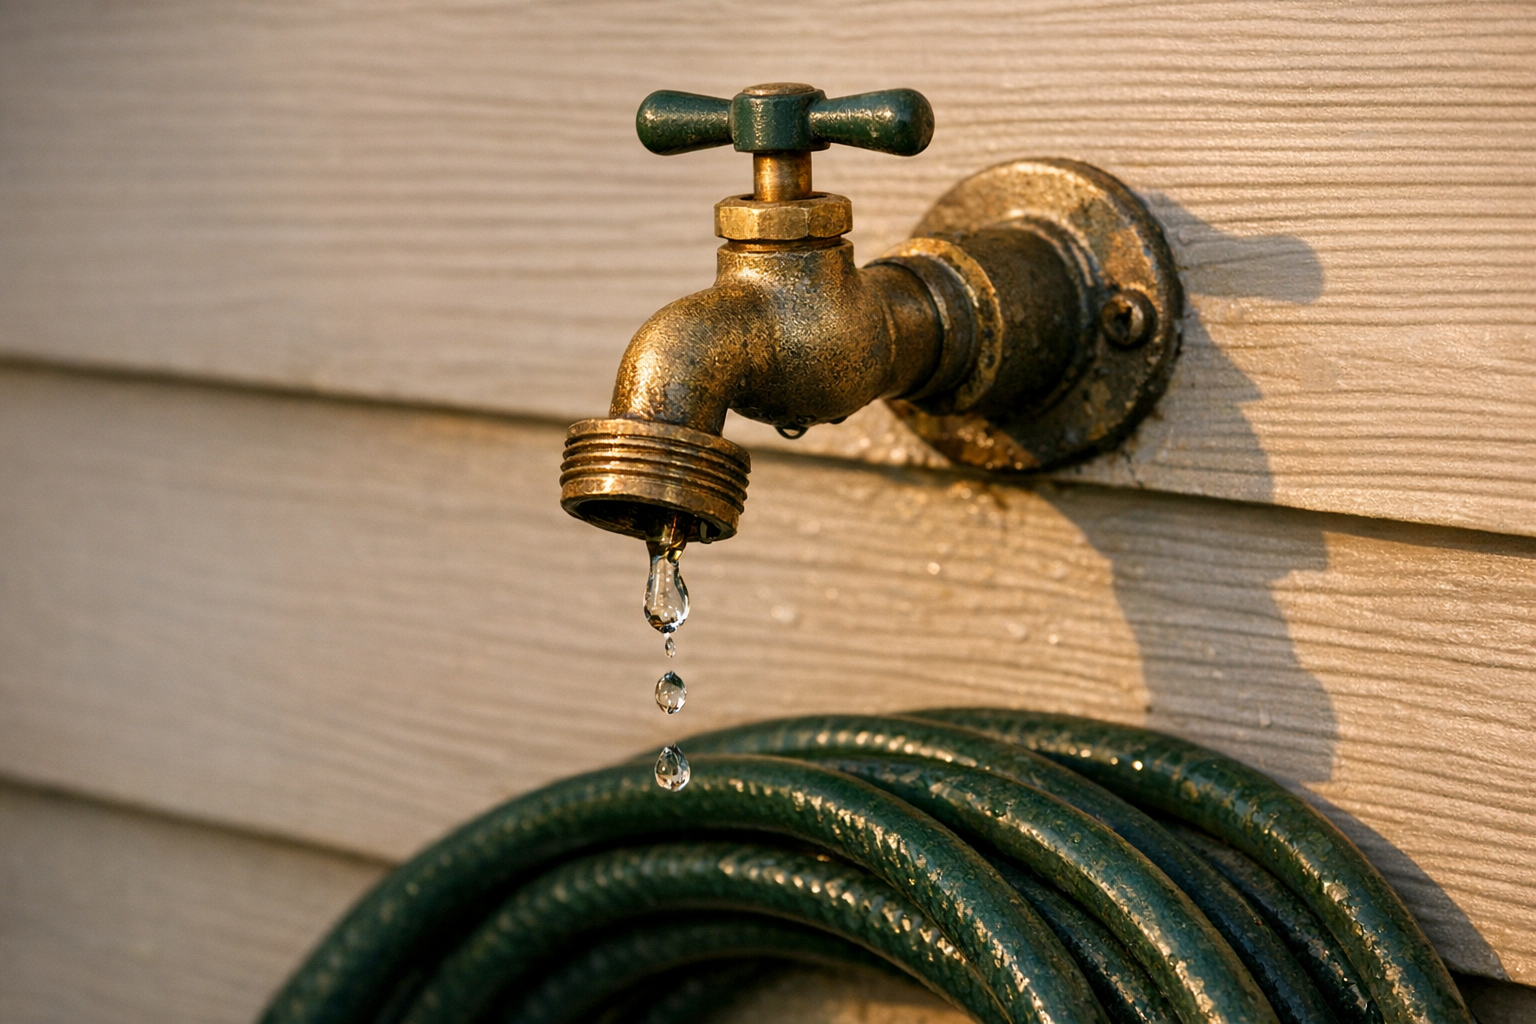
Figure Out Which Kind of Leak You Have
There are two failure points on a standard hose bib (also called a sillcock):
- The spout drips even when the handle is fully closed. This is a worn rubber washer at the valve seat. Replace the washer.
- Water seeps from behind the handle when the spigot is on. This is a loose or worn packing nut. Tighten it, or replace the packing washer.
Sometimes you have both. Fix them at the same time while you're in there.
What You'll Need
- A pipe wrench or large adjustable wrench
- A standard Phillips screwdriver
- A faucet washer assortment kit (under 8 dollars, lasts forever)
- A roll of PTFE plumber's tape
- A small bowl to catch parts
If your spigot is more than 20 years old and looks corroded, it may be easier to swap the whole thing for a new frost-free hose bib. That's a slightly bigger job, but still under an hour.
Step 1: Shut Off the Water
Find the shutoff valve for the outdoor line. It's usually inside the house on the wall directly behind the spigot, often in a basement or crawlspace. Close it, then open the outdoor spigot to drain the line.
If you can't find a shutoff, turn off your home's main water supply at the meter or whole-house shutoff. Better safe than soaked.
Step 2: Remove the Handle
Unscrew the screw in the center of the handle (Phillips head). Pull the handle straight off. If it's stuck from corrosion, gently rock it side to side — don't pry it.
Step 3: Loosen the Packing Nut
Behind the handle is a hex-shaped packing nut. Use your wrench to turn it counterclockwise. Once it's free, unscrew it the rest of the way by hand and pull out the entire valve stem.
Step 4: Replace the Washer
At the bottom of the valve stem is a brass screw holding a small rubber washer. Unscrew it. The old washer will probably look flattened or chewed. Match it to a new one in your kit (size matters — they're not all the same).
Drop the new washer in, replace the brass screw, and snug it down. Don't overtighten — you'll crack the washer.
Step 5: Re-Wrap and Reassemble
Wrap two layers of PTFE tape clockwise around the threads of the packing nut. This is also a good time to inspect the packing washer (the smaller one near the handle). If yours is brittle or torn, replace that too.
Slide the valve stem back in. Hand-tighten the packing nut, then snug it with the wrench another quarter to half turn. Don't crank it — overtightening causes the leak you're trying to fix.
Replace the handle and screw.
Step 6: Turn the Water Back On and Test
Close the spigot first. Slowly open the indoor shutoff. Then open the outdoor spigot to make sure water flows, and close it again to confirm the drip is gone.
If you still see a slow drip, the new washer needs to seat. Open and close the spigot firmly a few times. If it's still leaking after that, the valve seat itself is pitted and needs to be reground (with a valve seat dresser) or you need a new spigot.
How Much Water Are You Actually Wasting?
A spigot dripping once per second wastes about 5 gallons a day, or 150 gallons a month. That's roughly 5 to 15 dollars a year on your water bill — but in winter, that drip can also freeze inside the wall and cause hundreds of dollars in pipe damage. Fix it now.
Frequently Asked Questions
Why is my outdoor spigot dripping only when the hose is connected?
The hose is putting back-pressure on a worn washer. Replace the washer the same way described above. It's the same fix.
Should I install a frost-free spigot?
Yes, if your existing spigot freezes in winter or if you live anywhere that gets below freezing. Frost-free spigots have a long stem that closes the water flow inside your heated wall, so the exposed pipe drains and can't freeze.
How often do outdoor spigot washers need to be replaced?
Every 5 to 10 years for normal use. Hard water and heavy use shorten that. If yours is dripping, replace it now and check it again in 5 years.
What size washer do I need?
Bring the old washer to the hardware store or buy an assortment kit (under 8 dollars) so you have every common size on hand. The most common sizes for outdoor spigots are 1/2-inch and 9/16-inch.
Final Thoughts
This is the kind of fix that takes 20 minutes the first time and 5 minutes after you've done it once. Add a faucet washer kit to your toolbox — you'll use it for every leaking faucet inside the house too.
Get weekly home tips that actually work
Join thousands of homeowners getting practical cleaning hacks, DIY fixes, and money-saving tips every week. Free, and you can unsubscribe anytime.

Written by
Marcus ChenDIY & Home Repair Editor
Marcus Chen spent fifteen years as a licensed general contractor in the Pacific Northwest before joining Practical Home Guides full time. He specializes in plumbing, electrical, and weekend warrior projects that save homeowners thousands. Marcus has personally tested every tool he recommends in his own century-old fixer-upper.
Recommended Products
Looking for specific product recommendations? Check out our tested picks.

Best Cordless String Trimmers (2026 Tested)
Battery-powered string trimmers have caught up to gas. We tested the top models on bermuda, fescue, and overgrown areas to find the picks worth your money.

Best Basement Dehumidifiers (2026 Buyer's Guide)
Damp basements destroy stored items, grow mold, and stink. We tested dehumidifiers for capacity, durability, and energy use to find the picks worth the money.

Best Wet/Dry Shop Vacs (2026 Tested)
Whether you need to clean a flooded basement, dust the garage, or pick up workshop debris, here are the wet/dry shop vacs worth the money.

Best Electric Leaf Blowers (2026 Buyer's Guide)
Cordless and corded electric leaf blowers tested for power, runtime, and noise. Our picks for small yards, large yards, and pro-grade home use.

Best Cordless Lawn Mowers (2026 Spring Buyer's Guide)
Battery-powered mowers have caught up to gas. We tested the top cordless mowers on grass length, slopes, and runtime to find the picks worth your money.

5 Best Cordless Drills for Homeowners (2026)
Find the right cordless drill for home projects without overspending. We compared the top drills for DIYers — here are the 5 best for everyday home use.

Best Home Tool Kits for Beginners (2026)
The best home tool kits for new homeowners and renters. We compare 6 tool sets from basic to comprehensive, so you can handle common repairs without calling a handyman.
Related Articles

How to Paint a Front Door (Pro-Quality Result in One Afternoon)
A fresh-painted front door is the highest-impact curb appeal upgrade. Here's the step-by-step that gets a smooth pro finish in 4 hours — no peeling, no brush marks.
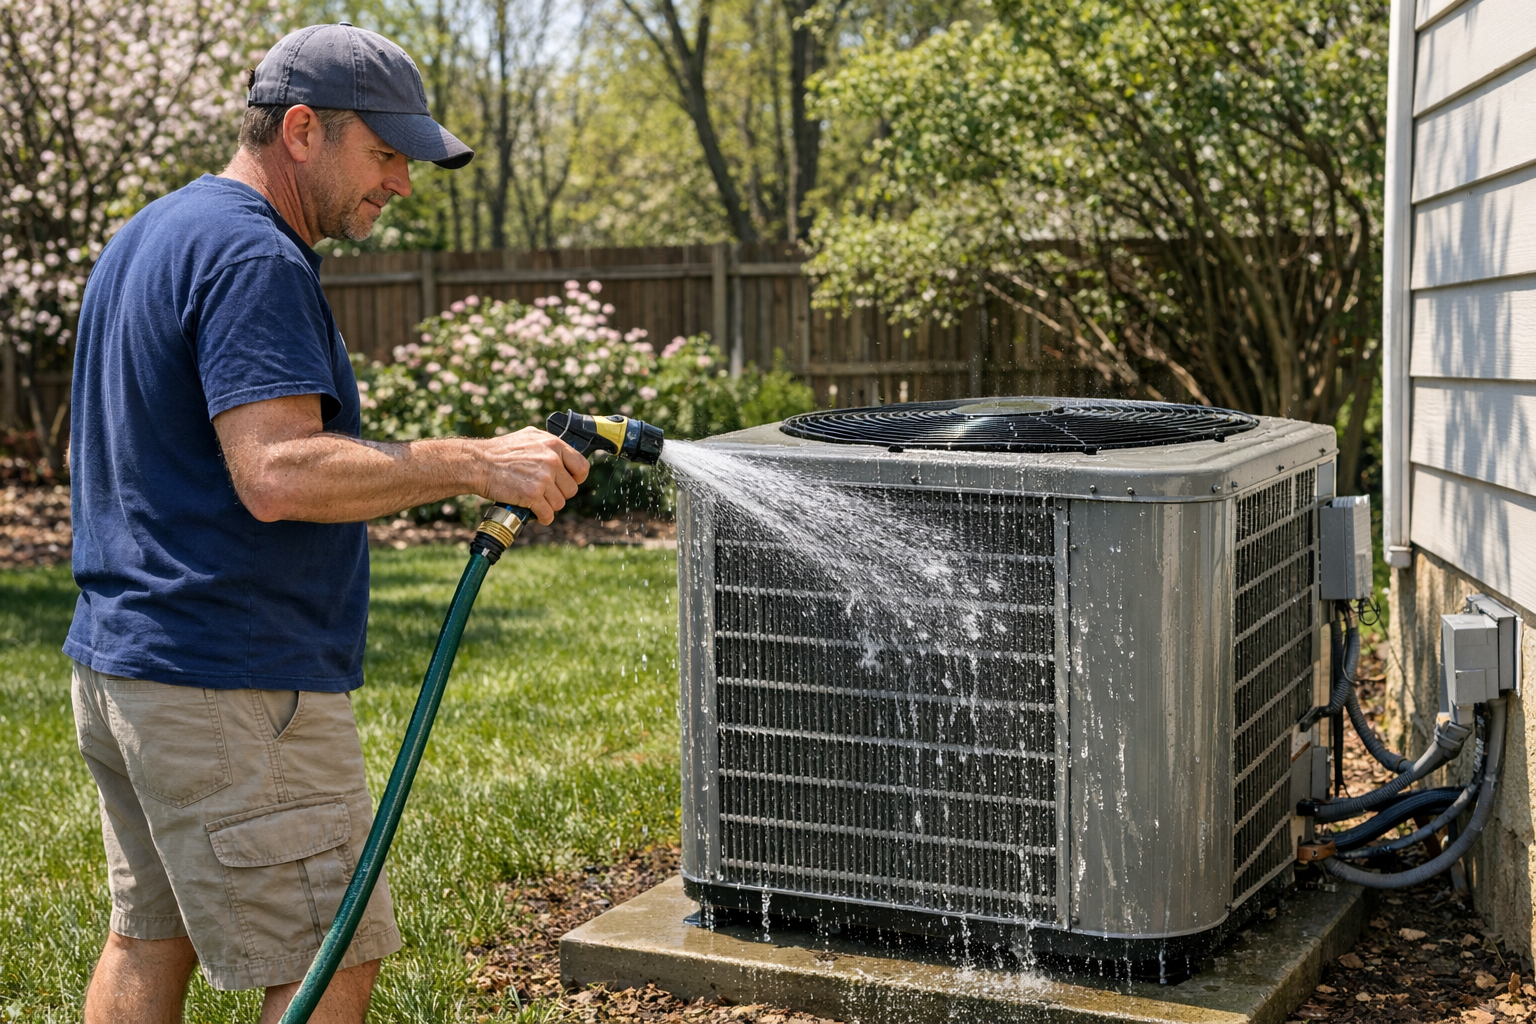
How to Prevent Summer AC Breakdowns (April Tune-Up Checklist)
Most AC failures happen in the first 90F week. A 30-minute April tune-up prevents 80 percent of those breakdowns and extends the unit's life by years.
Best Cordless String Trimmers (2026 Tested)
Battery-powered string trimmers have caught up to gas. We tested the top models on bermuda, fescue, and overgrown areas to find the picks worth your money.
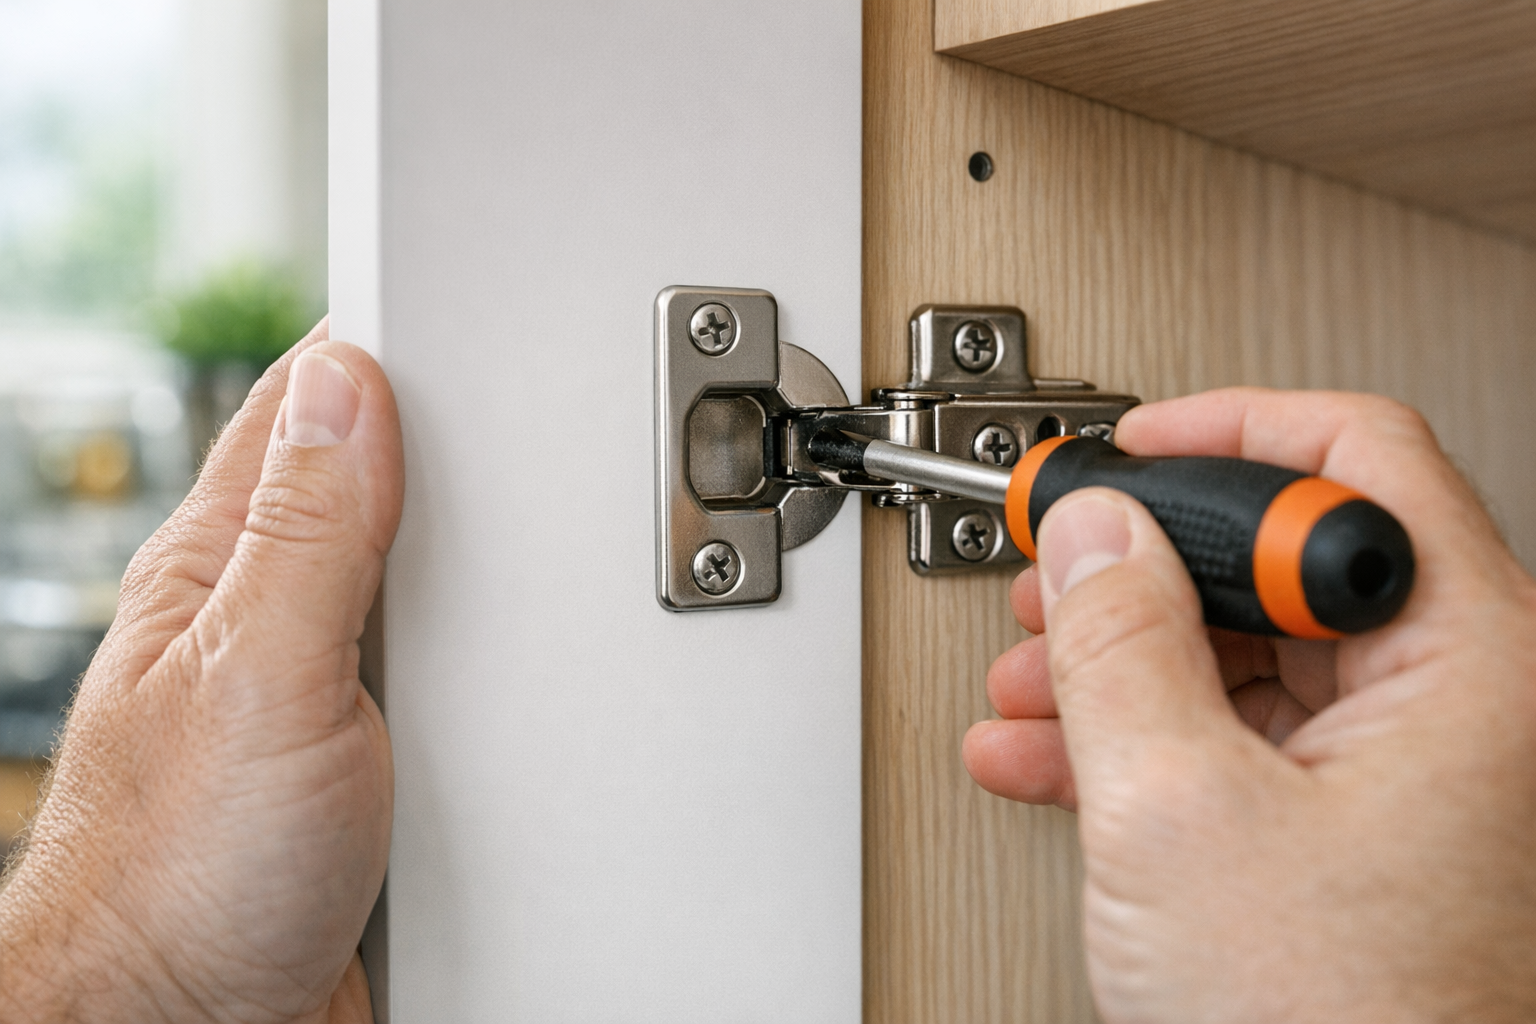
How to Fix Sticky Kitchen Cabinet Doors (Without Replacing Hardware)
Cabinet doors that bind, rub, or won't close all the way are almost always a hinge adjustment problem. Here's the 10-minute fix.