How to Paint a Front Door (Pro-Quality Result in One Afternoon)
This article may contain affiliate links. If you make a purchase through these links, we may earn a small commission at no extra cost to you. Learn more
Quick Answer
How to Paint a Front Door (Pro-Quality Result in One Afternoon)
Remove hardware, sand smooth, prime any bare or stained spots, then apply two coats of exterior gloss or semi-gloss paint with a foam roller and angle brush combo. Use a paint specifically formulated for doors. Total time: 4 hours including dry time. Results last 8 to 12 years.
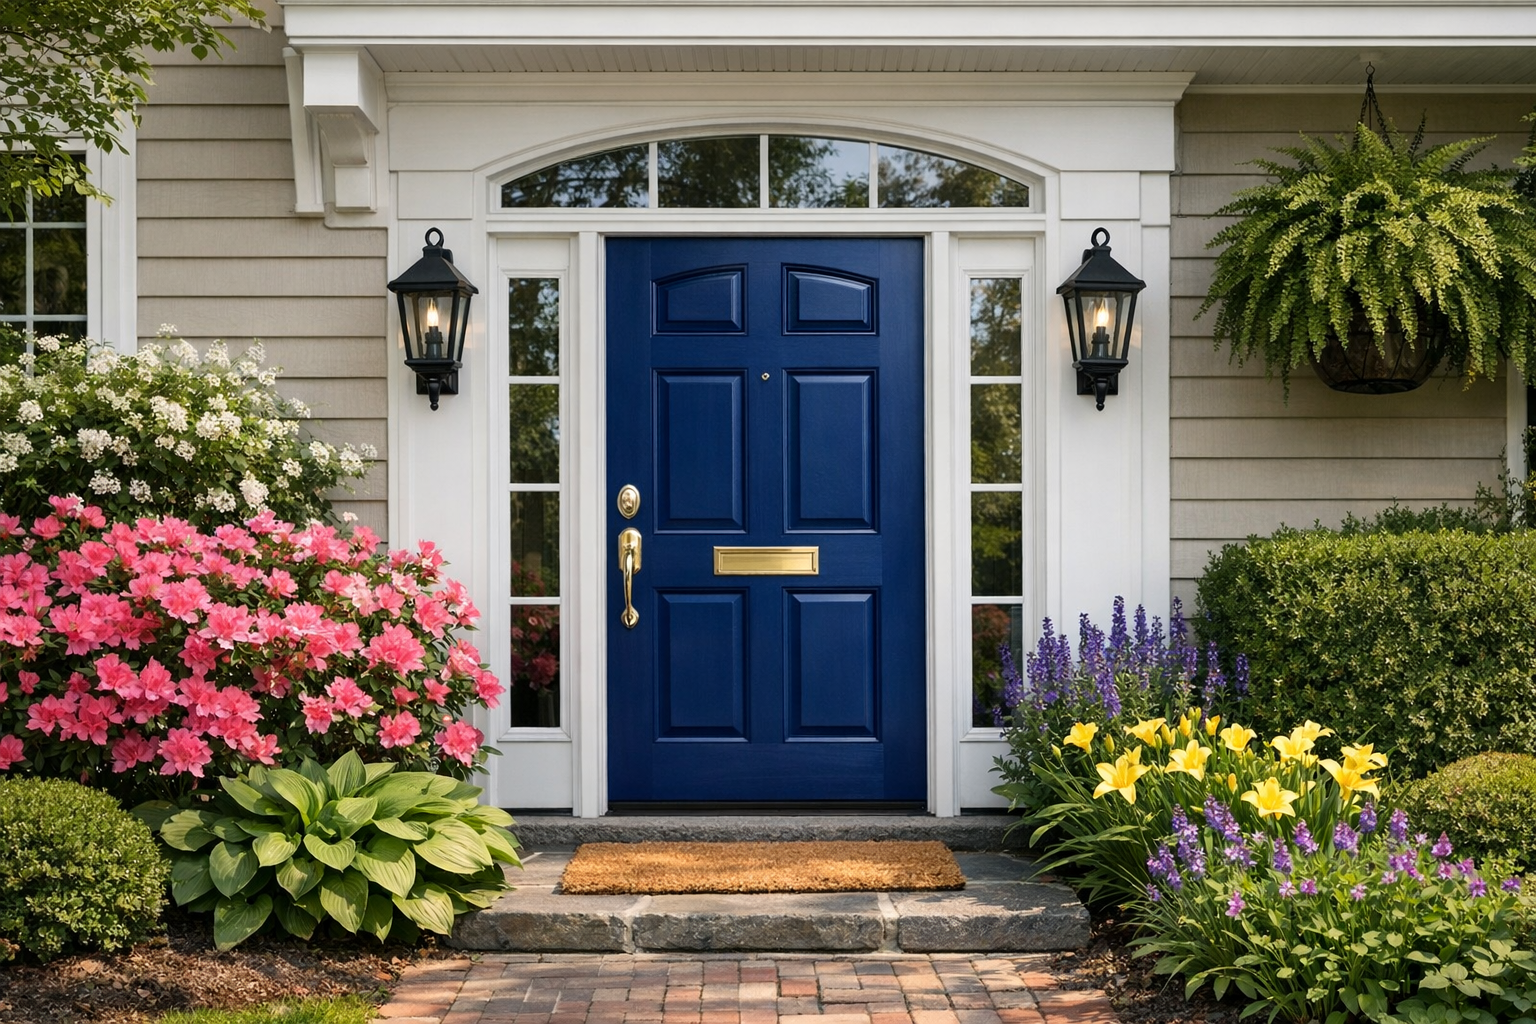
A freshly painted front door is the single highest-impact curb appeal upgrade for under 50 dollars. The difference between a tired faded door and a crisp new one is dramatic — and the project is genuinely DIY in one afternoon.
Here's the routine that produces pro-quality results.
Why Most DIY Door Paint Jobs Look Bad
Three common mistakes:
- Skipping prep — paint over old grime, dings, or peeling paint, fails within months
- Wrong paint — interior paint or generic exterior paint, fades and peels
- Wrong tools — cheap brush, no foam roller, brush marks everywhere
Address all three and you get a result that lasts a decade.
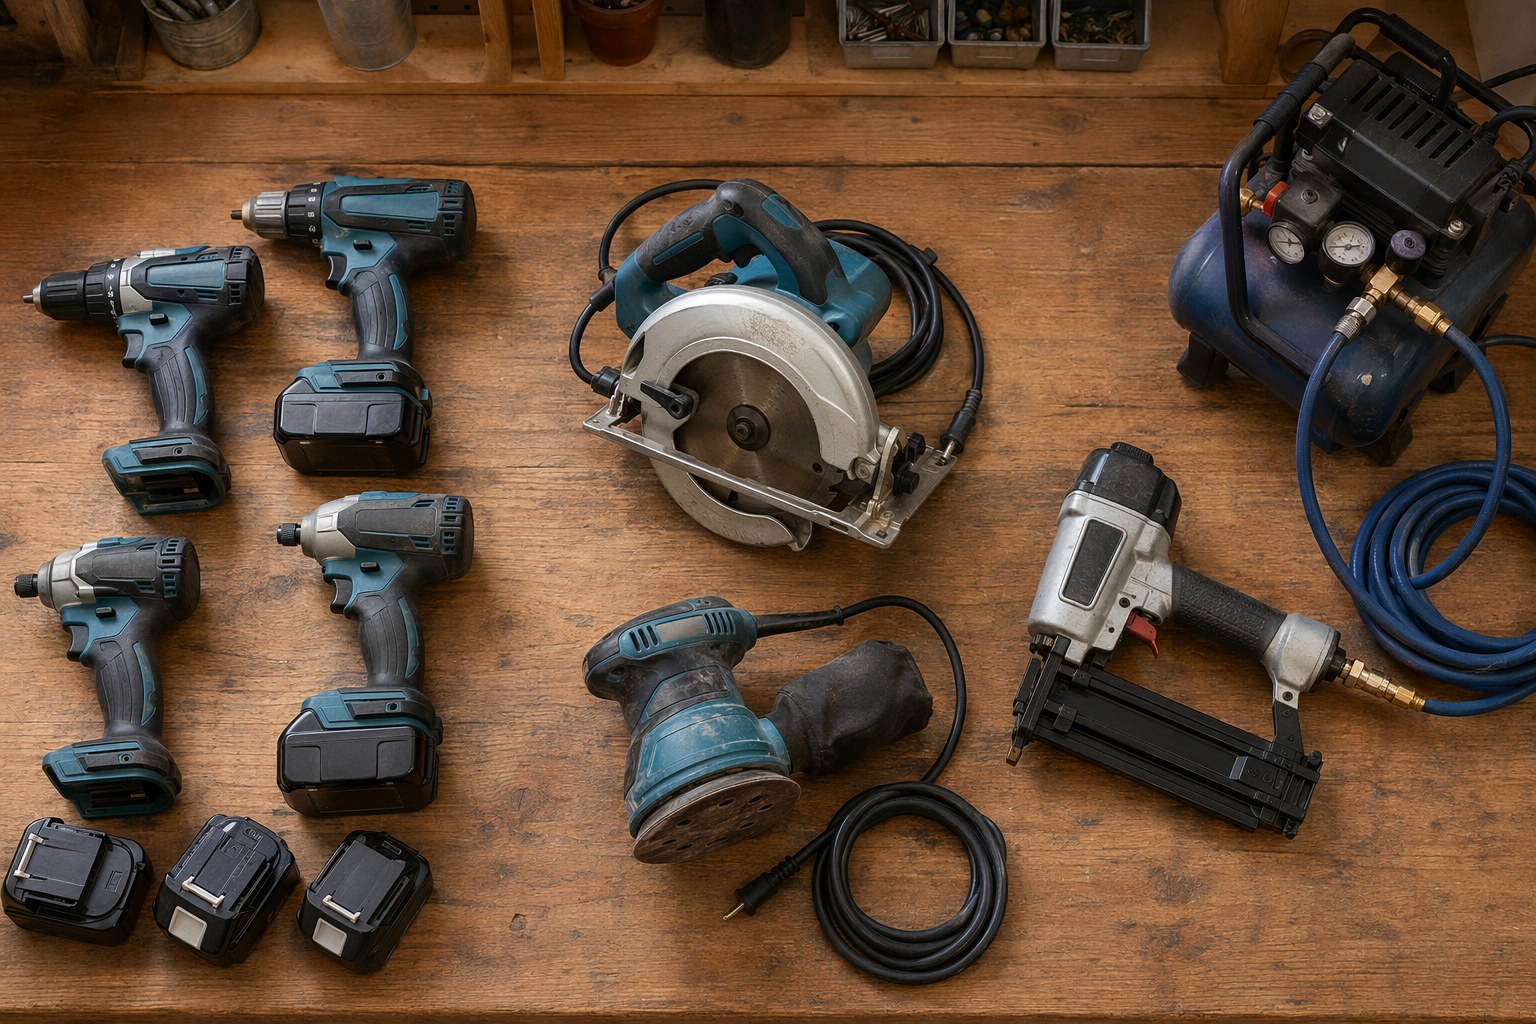
What You'll Need
- A quart of premium exterior door and trim paint (Sherwin-Williams Emerald or Benjamin Moore Aura — both around 60 dollars/quart)
- Stain-blocking exterior primer for any bare or stained areas
- A 4-inch high-density foam roller
- A 2-inch angled paint brush
- A painters tape (FrogTape works best for clean lines)
- A paint tray
- 220-grit sandpaper
- A drop cloth or paper rosin paper
- A microfiber cloth and TSP cleaner or dish soap
- A screwdriver
Step 1: Pick the Right Day
Not too cold (paint won't cure), not too hot (paint dries too fast and shows brush marks), not too wet (paint takes forever to dry).
Ideal: 60 to 80F, low humidity, no rain in the 24-hour forecast.
Step 2: Remove the Door (Optional but Recommended)
You can paint a door in place. The pro result comes from removing the door, laying it flat, and painting horizontally.
To remove:
- Tap the hinge pins out from below with a hammer and nail set
- Lift the door off the hinges
- Lay across two sawhorses
If removing isn't realistic, painting in place works — just expect more brush marks and drips.
Step 3: Remove Hardware
Take off:
- Door knob and deadbolt (or tape and bag in place)
- Strike plates
- Kick plate
- Door knocker, peephole hardware
- Weatherstripping if loose
A few extra minutes here makes the painting much faster. Lay hardware on a labeled paper bag so you can reinstall correctly.
Step 4: Clean the Door
Wash with warm water and dish soap (or TSP cleaner for heavily dirty doors). Rinse and let dry completely.
Pay special attention to areas around the door knob, the bottom (kicked dirt), and around any weather-exposed areas.
Step 5: Sand for Adhesion
Lightly sand the entire door with 220-grit sandpaper. You're not stripping paint — you're scuffing the surface so the new paint bonds.
Sand any drips, runs, or rough spots smooth. Wipe dust off with a microfiber cloth.
For doors with heavy peeling paint, scrape off all loose paint with a paint scraper before sanding.
Step 6: Prime Bare Spots
Wherever you've sanded down to bare wood or metal, apply a small amount of exterior primer. Let dry per the can directions (usually 1 to 2 hours).
For previously painted doors in good shape, primer over the entire door isn't necessary — modern self-priming paints bond well.
Step 7: Cut In With Brush
Tape off any windows, hardware you didn't remove, and the hinges.
With the angled brush, paint the panel edges and recesses first. Brushes get into corners and grooves that rollers miss.
For a 6-panel door:
- Paint each panel center first (with the foam roller)
- Then the recessed edges with the brush
- Then the rails (horizontal sections)
- Then the stiles (vertical sections)
Step 8: Roll Smooth Sections
Use the foam roller on flat panel sections and the rails/stiles. Foam rollers leave a much smoother finish than nap rollers — no stipple texture.
Roll in one direction, then go back over the area lightly with no pressure to even out the strokes (called "tipping off").
Step 9: Wait — and Apply Second Coat
Most exterior paints need 4 to 6 hours of drying before a second coat. Don't rush this — the second coat over partially dry paint pulls up the first coat in chunks.
Sand lightly between coats with 320-grit sandpaper for the smoothest finish.
Two coats is the minimum. For dark colors over light (or vice versa), three coats may be needed.
Step 10: Reinstall Hardware
Once the final coat is fully dry (24 hours minimum):
- Reinstall hinges if door was removed
- Replace knob, deadbolt, strike plates
- Replace kick plate, knocker, peephole
Color Tips
The most timeless front door colors:
- Black — classic, hides dirt
- Navy blue — popular, friendly, works with most house colors
- Forest green — Old World feel, pairs with brick
- Burgundy or wine red — striking, works with cream or yellow houses
- Charcoal gray — modern, low-key
Skip extreme bright colors unless the rest of your house supports them. Trendy colors date fast.
Common Mistakes
- Painting in direct sun. Paint dries too fast, brush marks appear. Paint shaded side first or wait until evening.
- Cheap paint. Premium paint genuinely lasts 3-5x longer. Don't economize on this.
- Skipping primer on bare wood. Tannins bleed through paint and create stains.
- Reinstalling hardware too soon. Wait 24 hours minimum, ideally 48.
Frequently Asked Questions
How often should I repaint my front door?
Premium paint lasts 8 to 12 years on a south-facing door. Cheaper paints, 3 to 5. Repaint when you see fading, chalking, or chips appearing.
Can I paint over a stained wood door?
Yes, with proper prep. Sand, apply stain-blocking primer, then paint normally. Without primer, tannins bleed through every coat.
What about fiberglass and metal doors?
Same process. Use a primer designed for the surface (most modern primers work on both). The paint and brush technique is identical.
Should I paint the inside and outside the same color?
Often the inside is one color (matched to interior trim) and the outside is the accent color. Paint each side as a separate project — the door's two faces almost never need the same color.
Final Thoughts
A freshly painted front door is the best 50-dollar curb appeal investment. Premium paint, proper prep, foam roller, and patience — that's the formula. Plan it for an afternoon when weather cooperates and you'll have a pro-quality result that lasts a decade.
Get weekly home tips that actually work
Join thousands of homeowners getting practical cleaning hacks, DIY fixes, and money-saving tips every week. Free, and you can unsubscribe anytime.

Written by
Marcus ChenDIY & Home Repair Editor
Marcus Chen spent fifteen years as a licensed general contractor in the Pacific Northwest before joining Practical Home Guides full time. He specializes in plumbing, electrical, and weekend warrior projects that save homeowners thousands. Marcus has personally tested every tool he recommends in his own century-old fixer-upper.
Recommended Products
Looking for specific product recommendations? Check out our tested picks.

Best Cordless String Trimmers (2026 Tested)
Battery-powered string trimmers have caught up to gas. We tested the top models on bermuda, fescue, and overgrown areas to find the picks worth your money.

Best Basement Dehumidifiers (2026 Buyer's Guide)
Damp basements destroy stored items, grow mold, and stink. We tested dehumidifiers for capacity, durability, and energy use to find the picks worth the money.

Best Wet/Dry Shop Vacs (2026 Tested)
Whether you need to clean a flooded basement, dust the garage, or pick up workshop debris, here are the wet/dry shop vacs worth the money.

Best Electric Leaf Blowers (2026 Buyer's Guide)
Cordless and corded electric leaf blowers tested for power, runtime, and noise. Our picks for small yards, large yards, and pro-grade home use.

Best Cordless Lawn Mowers (2026 Spring Buyer's Guide)
Battery-powered mowers have caught up to gas. We tested the top cordless mowers on grass length, slopes, and runtime to find the picks worth your money.

5 Best Cordless Drills for Homeowners (2026)
Find the right cordless drill for home projects without overspending. We compared the top drills for DIYers — here are the 5 best for everyday home use.

Best Home Tool Kits for Beginners (2026)
The best home tool kits for new homeowners and renters. We compare 6 tool sets from basic to comprehensive, so you can handle common repairs without calling a handyman.
Related Articles
Cordless vs. Corded vs. Pneumatic: The Homeowner's Tool System Buying Guide
Cordless, corded, or pneumatic? A homeowner's guide to choosing a power tool ecosystem (DeWalt, Milwaukee, Makita, Ryobi) with a starter-to-advanced path.
End-of-May Home Audit: Fix 5 Summer Safety Issues Before June Heat
A contractor's final spring safety audit. Five critical ventilation, electrical, plumbing, and cooling checks to fix before extreme June heat hits your home.
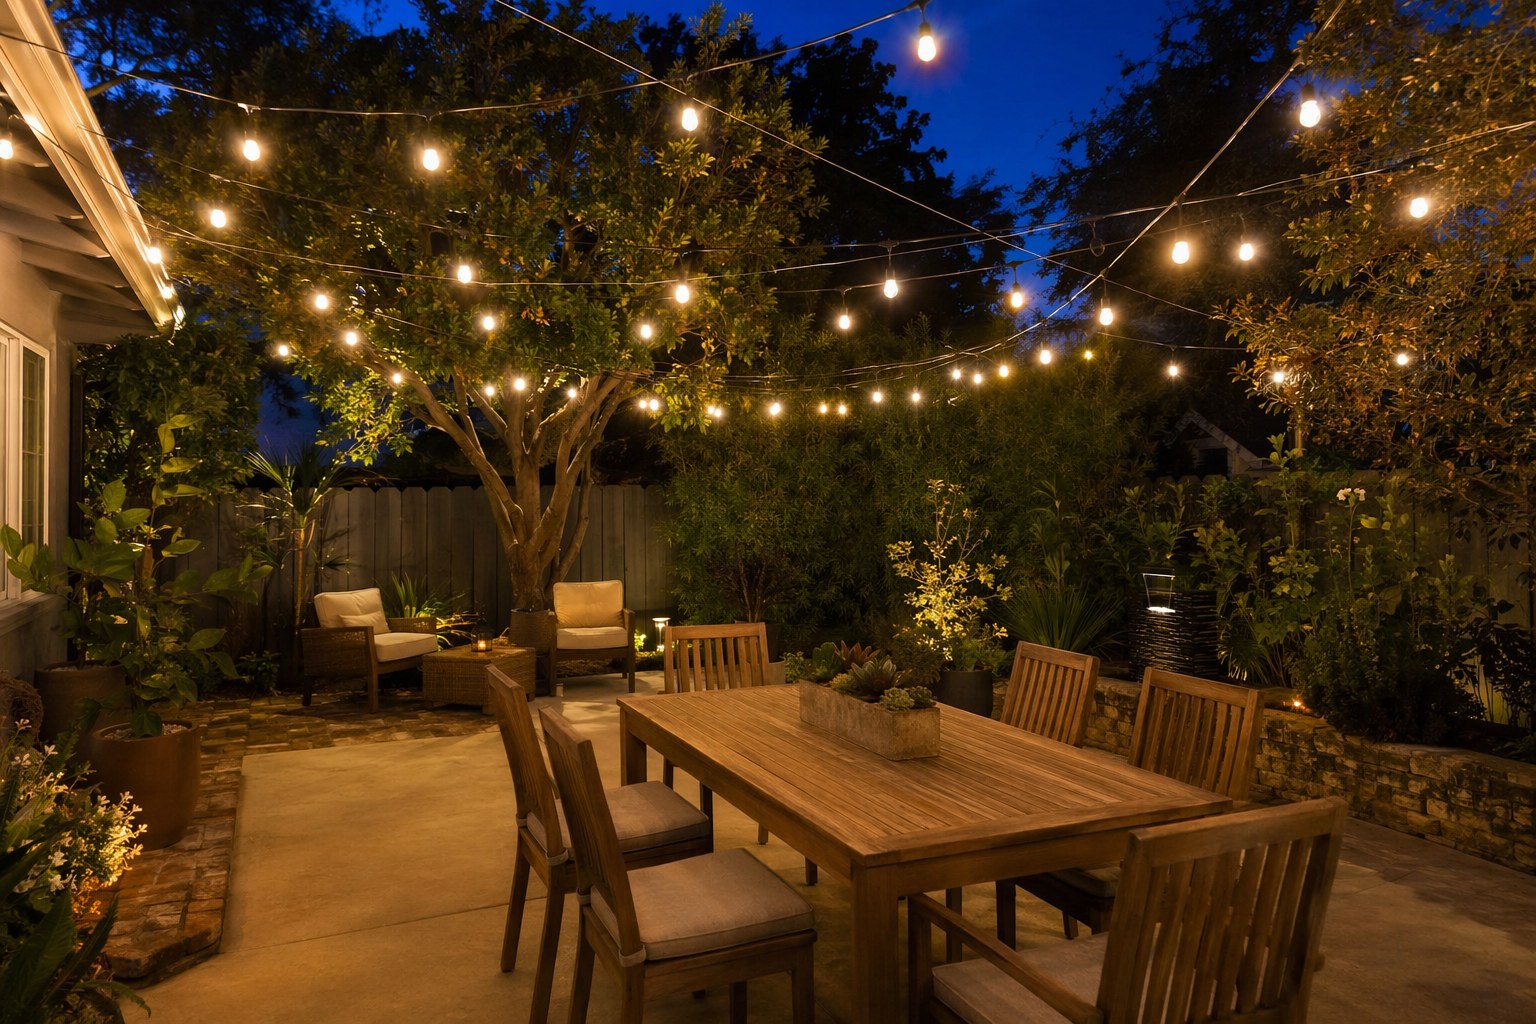
Backyard Lighting Design: Create Ambiance for Summer Evenings
An electrician's guide to safe backyard lighting design. Layer string lights, path lights, and uplighting in zones for ambiance plus task lighting that lasts.
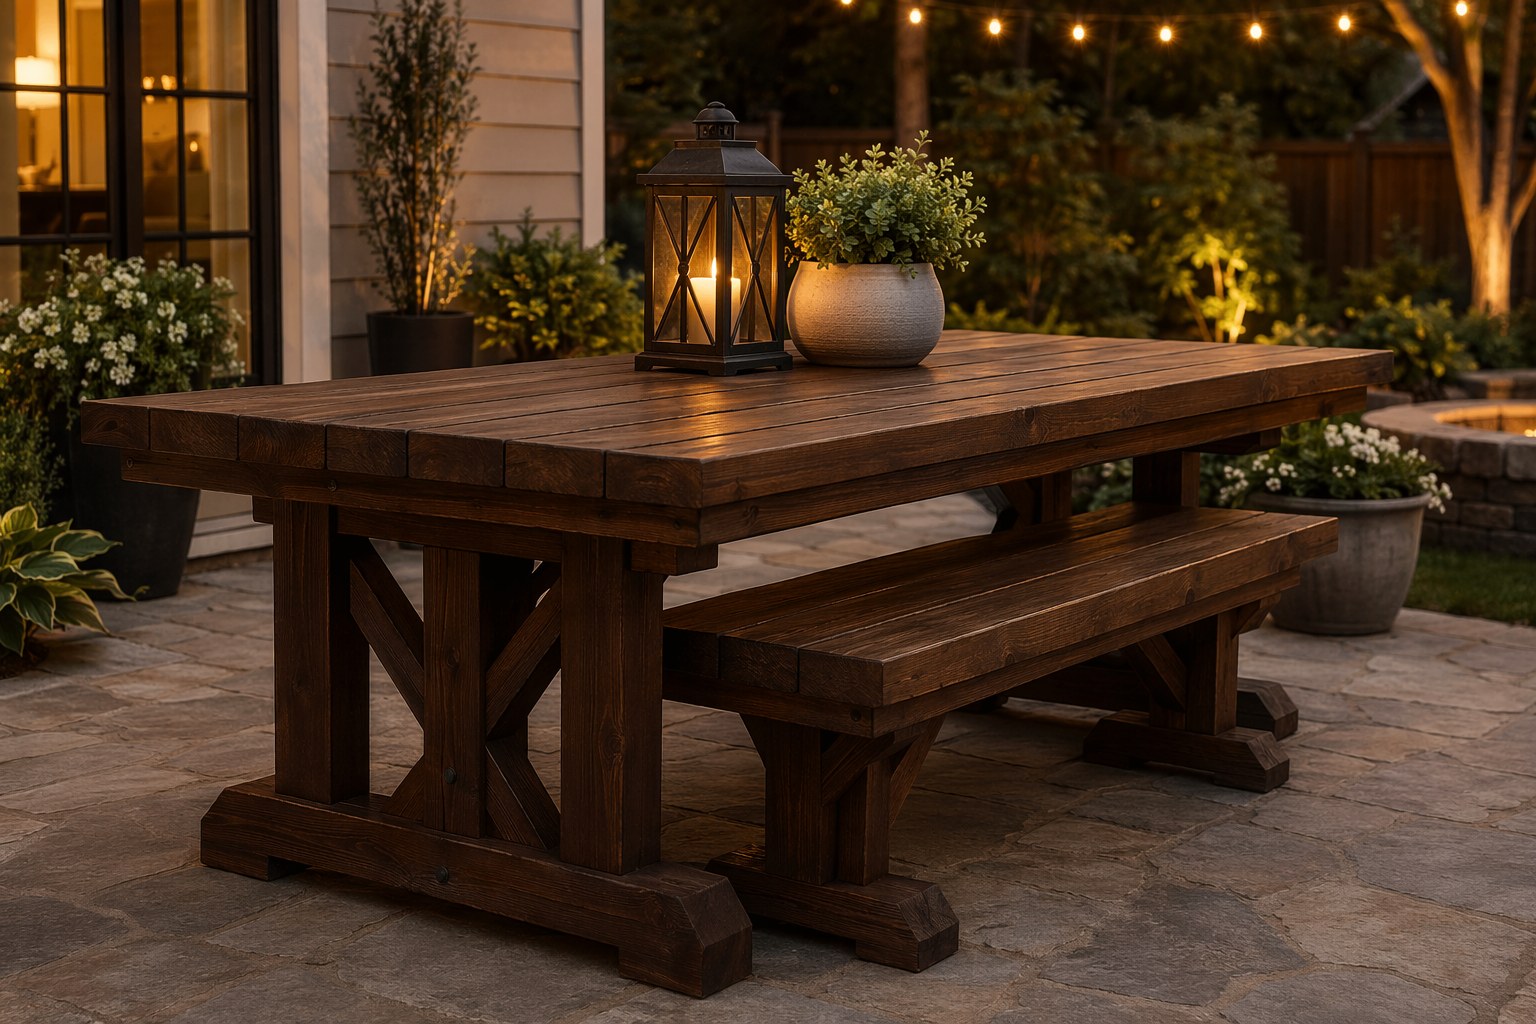
Budget Outdoor Dining: Building a Patio Table & Bench Setup
A carpenter's plans for a sturdy 2x4 outdoor dining table and bench set that seats 8, costs about 300 dollars in materials, and lasts 20 years.