How to Repair Cracks in a Concrete Driveway (DIY Guide)
This article may contain affiliate links. If you make a purchase through these links, we may earn a small commission at no extra cost to you. Learn more
Quick Answer
How to Repair Cracks in a Concrete Driveway (DIY Guide)
Match the product to the crack: hairline cracks (under 1/8 inch) seal with concrete crack sealer; medium cracks (1/8 to 1/2 inch) fill with self-leveling crack filler; wide cracks (over 1/2 inch) need backer rod plus concrete patch. Clean and dry the crack first, fill, smooth, and cure. Cost: 15 to 50 dollars total.
Concrete driveways crack. It's not a question of if — it's when. Freeze-thaw cycles, tree roots, settling, and time all conspire against the slab. The good news: 95 percent of driveway cracks are perfectly DIY-fixable in an afternoon for under 50 dollars.
The trick is matching the product to the crack size. Use the wrong filler, and you'll be back out there next year doing it again.
Why Repair Cracks at All?
A cracked driveway looks bad, but the bigger problem is water. Water seeps into the crack, freezes, expands, and widens the crack every winter. Once water reaches the soil under the slab, you can get washouts that lift and break sections of concrete — a far more expensive repair.
Sealing cracks early is what makes a driveway last 50 years instead of 25.
What You'll Need
- A wire brush for cleaning out the crack
- A shop vacuum or stiff broom
- Garden hose with pressure nozzle
- Crack repair product based on size (see below)
- A concrete margin trowel or putty knife
- Heavy-duty work gloves
- For wide cracks: foam backer rod
Match the Product to the Crack
This is where most DIY driveway repairs go wrong. The wrong product won't bond, won't flex with the slab, and pops out within a year.
Hairline cracks (under 1/8 inch wide)
Use a polyurethane concrete crack sealer in a caulking tube. Self-leveling versions work best on horizontal surfaces.
Medium cracks (1/8 inch to 1/2 inch wide)
Use a self-leveling concrete crack filler. It pours into the crack and levels itself flat.
Wide cracks (over 1/2 inch wide)
Stuff a foam backer rod into the crack first, then fill with trowel-grade concrete patching compound. The backer rod gives the patch something to bond to and prevents you from filling 4 inches deep with material.
Major cracks (over 1 inch wide, or sections heaving)
Pull and replace that section. Patches over 1 inch wide rarely hold long-term. If the slab is broken into pieces or shifting, you're in pro territory.
Step 1: Pick the Right Day
Concrete repair products need a dry surface and 24 to 48 hours of dry weather to cure. Check the forecast. Spring afternoons in the 50 to 80F range are ideal.
Don't repair concrete in direct sun on a hot day — it cures too fast and cracks again.
Step 2: Clean the Crack Thoroughly
This is the step that determines whether the repair lasts 1 year or 10. Filler bonds to clean concrete, not dirt.
- Brush the crack out with a wire brush
- Vacuum or sweep all debris out
- Hose the crack out with a strong stream of water (a pressure washer works great here, but isn't required)
- Let the crack dry completely — at least 24 hours of dry weather
If the crack has plant roots or grass, dig them out fully. Anything organic in the crack will rot and create a void under the patch.
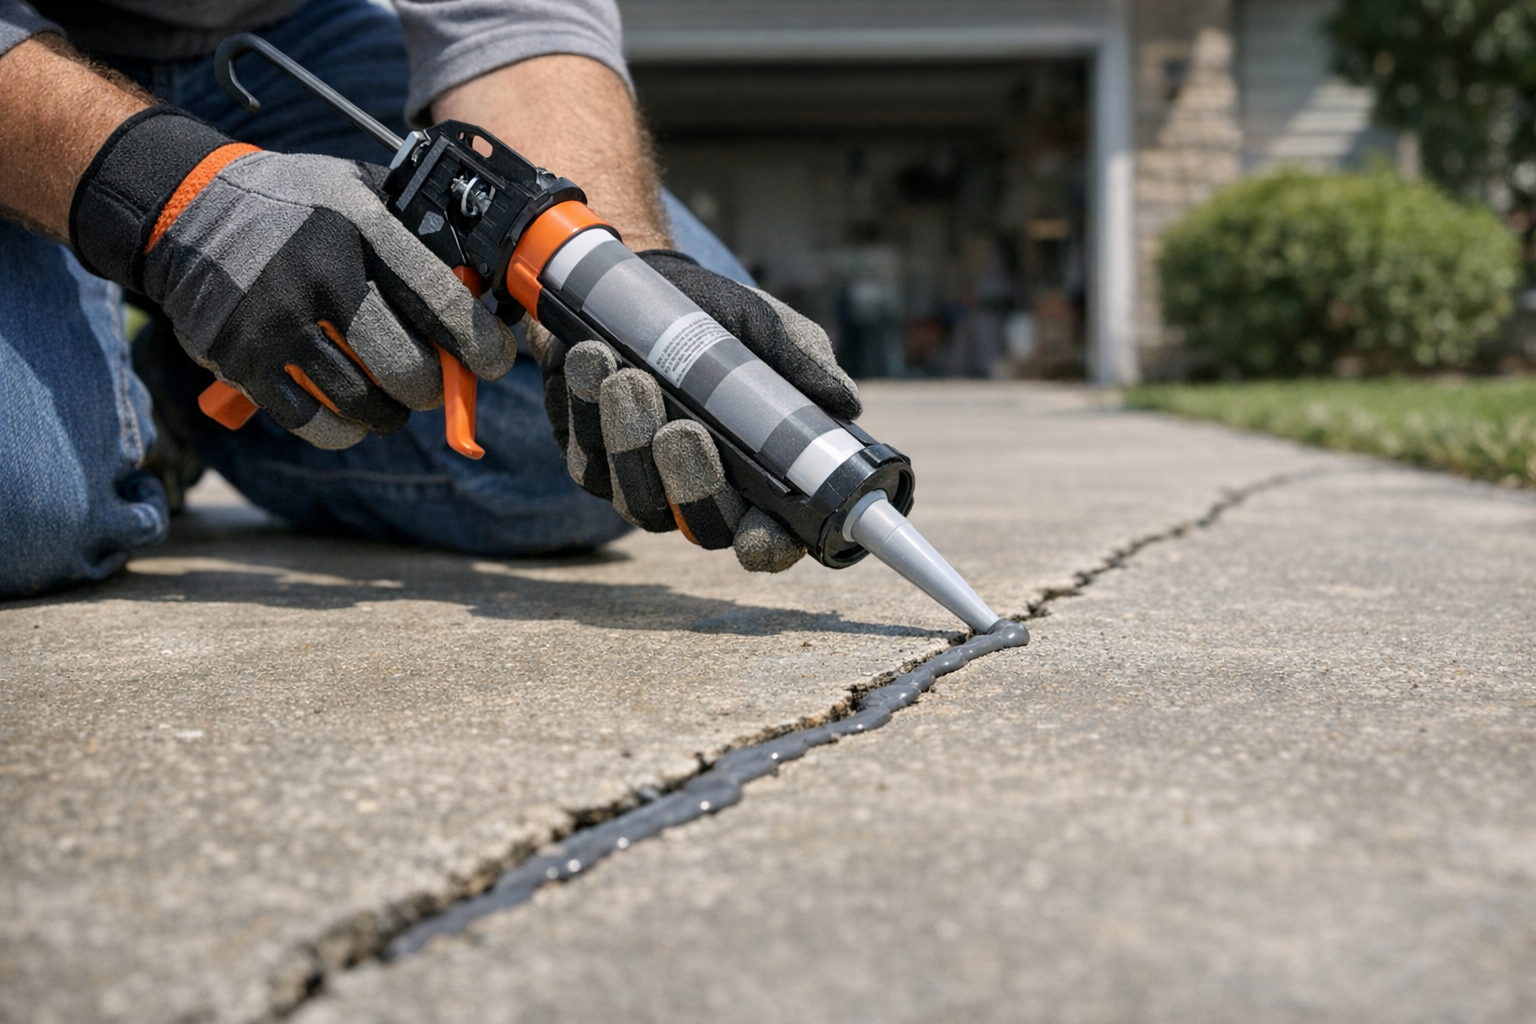
Step 3 (For Hairline Cracks): Apply Crack Sealer
Cut the tube tip at a 30-degree angle, slightly smaller than the crack width. Load it in a caulking gun.
Run a slow steady bead along the crack, keeping the tip just inside the crack opening. Smooth it with a wet finger or a foam smoothing tool.
Let cure 24 hours. Some sealers will accept foot traffic in 4 hours but not vehicle traffic.
Step 4 (For Medium Cracks): Pour Self-Leveling Filler
Self-leveling fillers do the work for you. Pour from the bottle directly into the crack, slightly overfilling. The filler settles into the crack and levels itself.
If the crack is deep (more than an inch), fill in two passes — first pass settles overnight, second pass tops it off.
Don't try to spread it with a trowel. It's designed to flow on its own.
Step 5 (For Wide Cracks): Backer Rod + Patch
Push foam backer rod into the crack with a screwdriver until it sits about 1/4 inch below the surface. The backer rod size should be slightly larger than the crack width — that lets it compress and stay in place.
Trowel concrete patching compound on top, slightly overfilling. Smooth with a wet trowel. Then dampen the surface lightly and cover with plastic sheeting for 24 hours — slow curing prevents new cracks.
Step 6: Cure and Seal
After the patch has cured (check product instructions, usually 24 to 72 hours), apply a concrete sealer to the entire driveway. A silane/siloxane water repellent sealer is the longest-lasting option. It penetrates the surface instead of just coating it, so it doesn't peel or fade.
Sealing the whole driveway every 3 to 5 years is the single most important thing you can do to prevent future cracks.
Common Mistakes That Make Crack Repairs Fail
- Filling damp cracks. Filler can't bond to wet concrete. Wait until it's been dry for 48 hours.
- Skipping the cleanout. Loose dirt in the crack is the most common cause of failed patches.
- Using regular caulk or cheap concrete patch. It won't flex with the slab. Polyurethane sealer or vinyl-fortified concrete patch is what you need.
- Filling deep cracks without backer rod. Concrete patch shrinks as it cures. A 4-inch deep patch shrinks dramatically and pulls away from the sides.
Frequently Asked Questions
How long does a concrete crack repair last?
Done correctly with the right product, 5 to 10 years. With sealing every few years on top, the patch can outlast the surrounding concrete. Quick caulk-style repairs without proper cleanout typically last 1 to 2 years.
Should I repair driveway cracks before or after sealing?
Always before. Sealer alone won't bridge a crack. Repair first, let cure, then seal the whole driveway.
Why are large parts of my driveway cracking everywhere?
That's a sign of foundation problems — usually poor base prep when the driveway was poured, washouts under the slab, or tree roots. Fix the underlying issue (often by hiring a contractor for slab jacking or replacement) rather than just patching.
Can I drive on a freshly repaired crack?
Walk traffic in 4 hours, vehicle traffic in 24 to 72 hours depending on the product. Always check the label.
Final Thoughts
Crack repair on concrete is one of the highest-ROI DIY jobs in home maintenance. An afternoon and 30 dollars worth of materials adds years to a driveway. Do it the first season you see cracks — they only get worse with time.
Get weekly home tips that actually work
Join thousands of homeowners getting practical cleaning hacks, DIY fixes, and money-saving tips every week. Free, and you can unsubscribe anytime.

Written by
Marcus ChenDIY & Home Repair Editor
Marcus Chen spent fifteen years as a licensed general contractor in the Pacific Northwest before joining Practical Home Guides full time. He specializes in plumbing, electrical, and weekend warrior projects that save homeowners thousands. Marcus has personally tested every tool he recommends in his own century-old fixer-upper.
Recommended Products
Looking for specific product recommendations? Check out our tested picks.

Best Cordless String Trimmers (2026 Tested)
Battery-powered string trimmers have caught up to gas. We tested the top models on bermuda, fescue, and overgrown areas to find the picks worth your money.

Best Basement Dehumidifiers (2026 Buyer's Guide)
Damp basements destroy stored items, grow mold, and stink. We tested dehumidifiers for capacity, durability, and energy use to find the picks worth the money.

Best Wet/Dry Shop Vacs (2026 Tested)
Whether you need to clean a flooded basement, dust the garage, or pick up workshop debris, here are the wet/dry shop vacs worth the money.

Best Electric Leaf Blowers (2026 Buyer's Guide)
Cordless and corded electric leaf blowers tested for power, runtime, and noise. Our picks for small yards, large yards, and pro-grade home use.

Best Cordless Lawn Mowers (2026 Spring Buyer's Guide)
Battery-powered mowers have caught up to gas. We tested the top cordless mowers on grass length, slopes, and runtime to find the picks worth your money.

5 Best Cordless Drills for Homeowners (2026)
Find the right cordless drill for home projects without overspending. We compared the top drills for DIYers — here are the 5 best for everyday home use.

Best Home Tool Kits for Beginners (2026)
The best home tool kits for new homeowners and renters. We compare 6 tool sets from basic to comprehensive, so you can handle common repairs without calling a handyman.
Related Articles

How to Paint a Front Door (Pro-Quality Result in One Afternoon)
A fresh-painted front door is the highest-impact curb appeal upgrade. Here's the step-by-step that gets a smooth pro finish in 4 hours — no peeling, no brush marks.
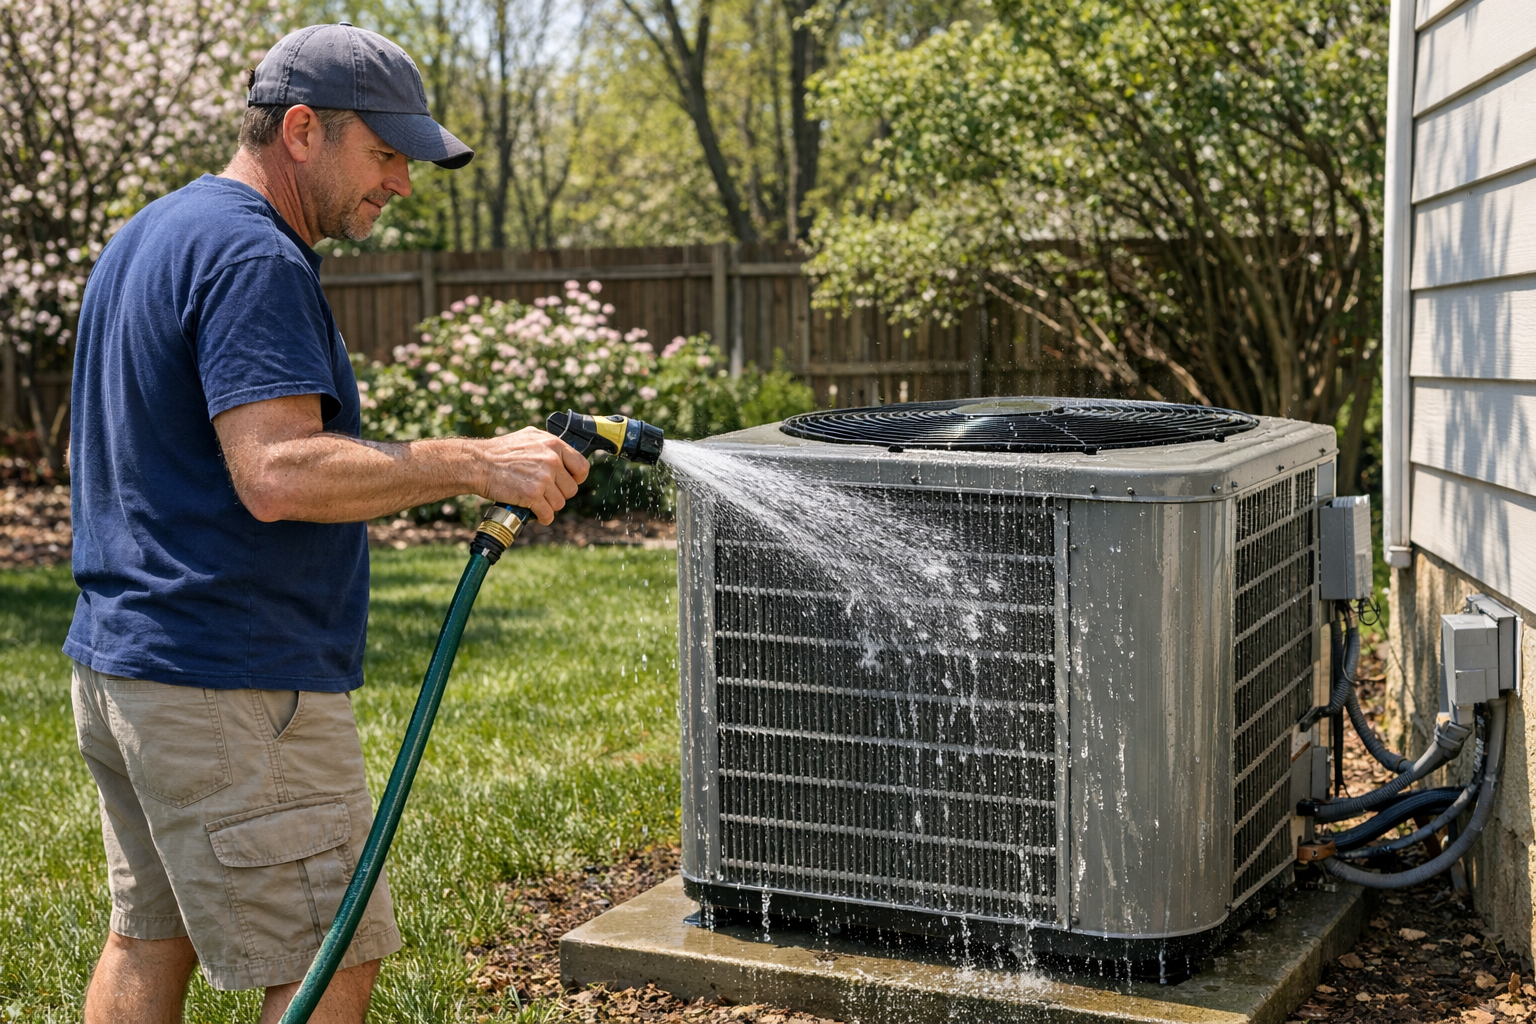
How to Prevent Summer AC Breakdowns (April Tune-Up Checklist)
Most AC failures happen in the first 90F week. A 30-minute April tune-up prevents 80 percent of those breakdowns and extends the unit's life by years.
Best Cordless String Trimmers (2026 Tested)
Battery-powered string trimmers have caught up to gas. We tested the top models on bermuda, fescue, and overgrown areas to find the picks worth your money.
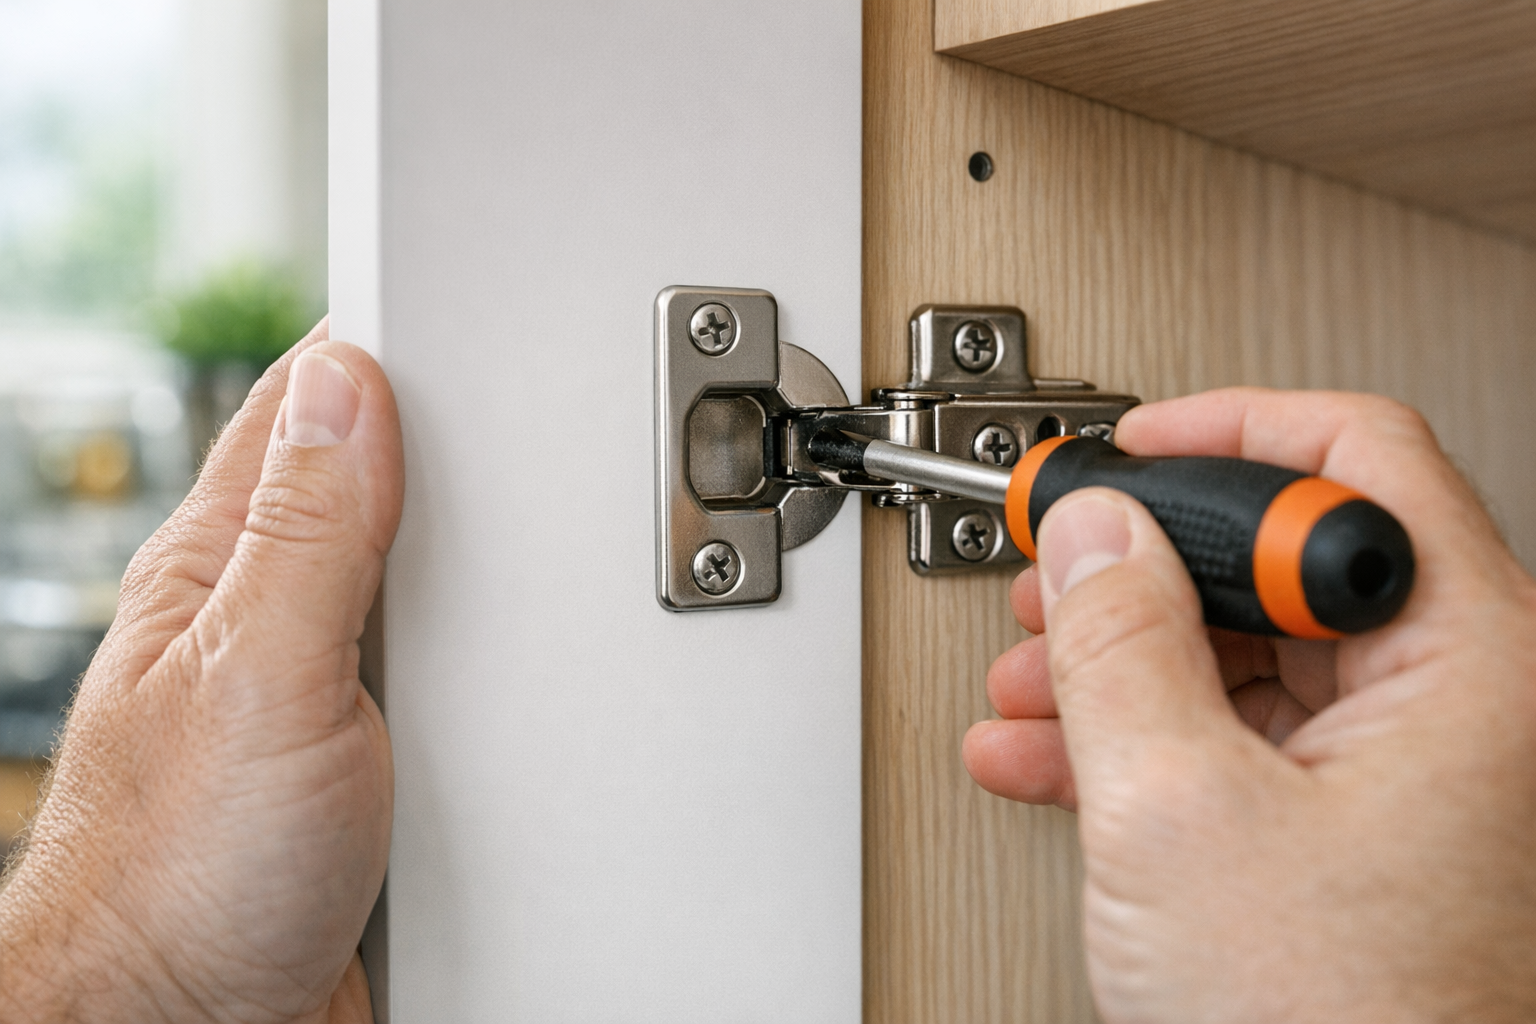
How to Fix Sticky Kitchen Cabinet Doors (Without Replacing Hardware)
Cabinet doors that bind, rub, or won't close all the way are almost always a hinge adjustment problem. Here's the 10-minute fix.