How to Unclog a Bathroom Sink by Cleaning the P-Trap
This article may contain affiliate links. If you make a purchase through these links, we may earn a small commission at no extra cost to you. Learn more
Quick Answer
How to Unclog a Bathroom Sink by Cleaning the P-Trap
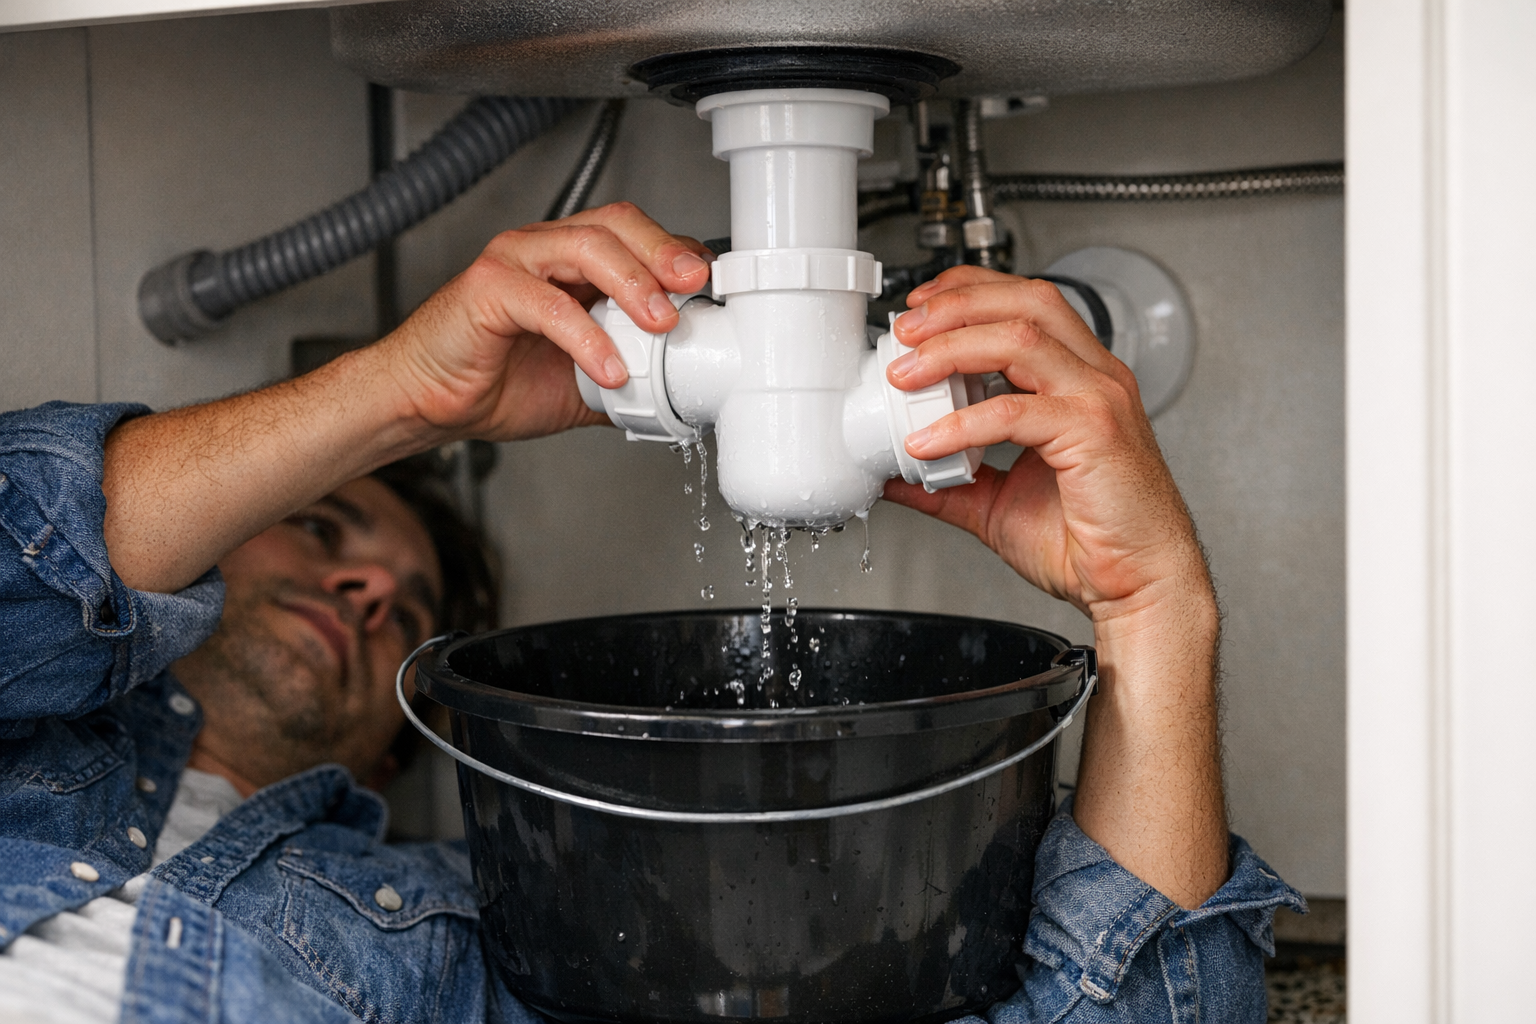
Place a bucket under the sink, unscrew the slip nuts on either end of the P-trap (the U-shaped pipe), pull it down, dump the contents into the bucket, scrub the inside with a brush, and reassemble. Total time: 15 minutes. Works on 95 percent of bathroom sink clogs.
A slow bathroom sink is almost always a P-trap clog. Hair, soap scum, and toothpaste residue collect in the U-shaped pipe under the sink. You can spend 20 dollars on chemical drain cleaner that may or may not work, or you can spend 15 minutes physically removing the clog. The DIY method always wins.
Here's the exact process. No experience required.
Why P-Traps Clog
The P-trap (the U-bend under the sink) is designed to hold a small amount of water at all times — that water blocks sewer gas from coming up into your house. The trade-off is that it also catches everything that goes down: hair, soap scum, dental floss, and small dropped objects.
Over a year or two, the inside of the trap gets coated with a slimy buildup that narrows the opening until water won't flow through.
What You'll Need
- A bucket or shallow bowl (at least 1-quart capacity)
- A pair of adjustable channel-lock pliers — most P-traps are hand-tight, but pliers help if they're stuck
- An old toothbrush or drain cleaning brush
- Rubber gloves (you'll thank yourself)
- A flashlight
- A roll of paper towels
If your trap nuts are corroded or cracked, pick up a replacement P-trap kit — about 10 dollars, includes the trap and slip nuts.
Step 1: Clear Out Under the Sink
Pull everything out of the cabinet. Lay down a towel — there will be drips.
Get a bucket positioned directly under the P-trap.
Step 2: Identify the Slip Nuts
The P-trap has two large nuts:
- One where it connects to the sink drain pipe coming down from the basin
- One where it connects to the wall pipe (the curved part going into the wall)
These are usually plastic on modern installations, metal on older ones. Both should hand-unscrew.
Step 3: Loosen the Slip Nuts
Turn each slip nut counterclockwise (looking up at it from below).
Hand-tight is usually enough to start them. If they're stuck, give them a quarter turn with channel-lock pliers — gently. Plastic nuts crack if you crank too hard.
Loosen both nuts but don't remove them yet.
Step 4: Remove the P-Trap
Once both nuts are loose, gently lower the P-trap. Water (and gunk) will pour out — that's why the bucket is there.
Slide the trap out of both connections. Set it in the bucket.
Step 5: Clean Out the Trap
Empty the trap into the bucket. Run the brush through both ends of the trap and through the curve. The buildup is usually a black-gray slime.
Run the trap under the bathroom sink (or another sink) with hot water until the inside is clear. A few drops of dish soap help cut soap scum.
Step 6: Check the Pipes Above and Below
Shine a flashlight up into the drain pipe coming from the sink, and into the wall pipe. If you see clogs in either, push a bent wire hanger or drain snake up to clear them.
For really stubborn clogs further down the line, a zip-it drain cleaning tool (a long plastic strip with barbs) pulls out hair clogs from the basin drain in seconds.
Step 7: Reassemble
Slide the P-trap back into both connections. Hand-tighten both slip nuts.
Important: make sure the rubber or plastic slip joint washers are seated properly. They go between the nut and the joint to seal the connection.
Once both nuts are hand-tight, give each one another quarter to half turn with the pliers. Don't crank — overtightening cracks plastic and crushes the washers.
Step 8: Test
Put the bucket back under the trap (just in case). Run water in the sink for 30 seconds. Look for any drips at the slip nuts.
If you see a slow drip, tighten that nut another quarter turn. If it still drips, the washer is probably not seated correctly — disassemble and check.
If everything is dry after a minute of running water, you're done. Pull the bucket and put your stuff back in the cabinet.
When the P-Trap Wasn't the Problem
If the sink is still slow after cleaning the P-trap, the clog is further down the line. Two options:
- Use a hand drain snake. A 25-foot hand snake reaches through the wall pipe to the main drain. Crank it through the clog, then run hot water for a couple of minutes.
- Try an enzyme drain cleaner. Slow buildup in long pipes responds well to enzyme-based drain treatment used over several days. Avoid harsh chemical drain openers — they damage older pipes and only work on partial clogs.
For total clogs that snaking can't clear, it's time to call a plumber.
Prevention
The P-trap will clog again eventually, but you can stretch the time between cleanings:
- Use a pop-up drain hair catcher — catches the hair before it hits the trap
- Pour a kettle of hot water down the drain weekly
- Run an enzyme treatment monthly
- Don't pour grease, paint, or chemicals down the bathroom sink
Frequently Asked Questions
Why does my bathroom sink smell bad even after cleaning the trap?
If the smell persists, the issue might be the overflow opening (the small hole near the top of the sink basin). Pour a half cup of bleach down it, let sit 5 minutes, then flush with water. Or use a foaming overflow cleaner.
Should I use Drano or Liquid Plumr?
Avoid them as a first choice. Chemical drain cleaners damage older pipes (especially galvanized steel and old PVC), can ruin plastic P-traps, and only work on partial clogs. Manual cleaning is faster and safer.
Can I use a plunger on a bathroom sink?
Yes, but block the overflow opening first with a damp rag or your finger — otherwise the suction escapes through the overflow. Use a small bathroom sink plunger, not a toilet plunger.
What if my P-trap is rusted shut?
Old metal traps sometimes seize from corrosion. Replace the entire trap with a new plastic P-trap replacement kit. A new trap is 8 to 12 dollars. Cut the old one out with a hacksaw if necessary — you're replacing it anyway.
Final Thoughts
P-trap cleaning is the most useful 15-minute plumbing skill you can have. Once you've done it once, you'll never call a plumber for a slow drain again. Add a hair catcher to every bathroom sink and the cleaning interval stretches from twice a year to once every 2 years.
Get weekly home tips that actually work
Join thousands of homeowners getting practical cleaning hacks, DIY fixes, and money-saving tips every week. Free, and you can unsubscribe anytime.

Written by
Marcus ChenDIY & Home Repair Editor
Marcus Chen spent fifteen years as a licensed general contractor in the Pacific Northwest before joining Practical Home Guides full time. He specializes in plumbing, electrical, and weekend warrior projects that save homeowners thousands. Marcus has personally tested every tool he recommends in his own century-old fixer-upper.
Recommended Products
Looking for specific product recommendations? Check out our tested picks.

Best Cordless String Trimmers (2026 Tested)
Battery-powered string trimmers have caught up to gas. We tested the top models on bermuda, fescue, and overgrown areas to find the picks worth your money.

Best Basement Dehumidifiers (2026 Buyer's Guide)
Damp basements destroy stored items, grow mold, and stink. We tested dehumidifiers for capacity, durability, and energy use to find the picks worth the money.

Best Wet/Dry Shop Vacs (2026 Tested)
Whether you need to clean a flooded basement, dust the garage, or pick up workshop debris, here are the wet/dry shop vacs worth the money.

Best Electric Leaf Blowers (2026 Buyer's Guide)
Cordless and corded electric leaf blowers tested for power, runtime, and noise. Our picks for small yards, large yards, and pro-grade home use.

Best Cordless Lawn Mowers (2026 Spring Buyer's Guide)
Battery-powered mowers have caught up to gas. We tested the top cordless mowers on grass length, slopes, and runtime to find the picks worth your money.

5 Best Cordless Drills for Homeowners (2026)
Find the right cordless drill for home projects without overspending. We compared the top drills for DIYers — here are the 5 best for everyday home use.

Best Home Tool Kits for Beginners (2026)
The best home tool kits for new homeowners and renters. We compare 6 tool sets from basic to comprehensive, so you can handle common repairs without calling a handyman.
Related Articles

How to Paint a Front Door (Pro-Quality Result in One Afternoon)
A fresh-painted front door is the highest-impact curb appeal upgrade. Here's the step-by-step that gets a smooth pro finish in 4 hours — no peeling, no brush marks.
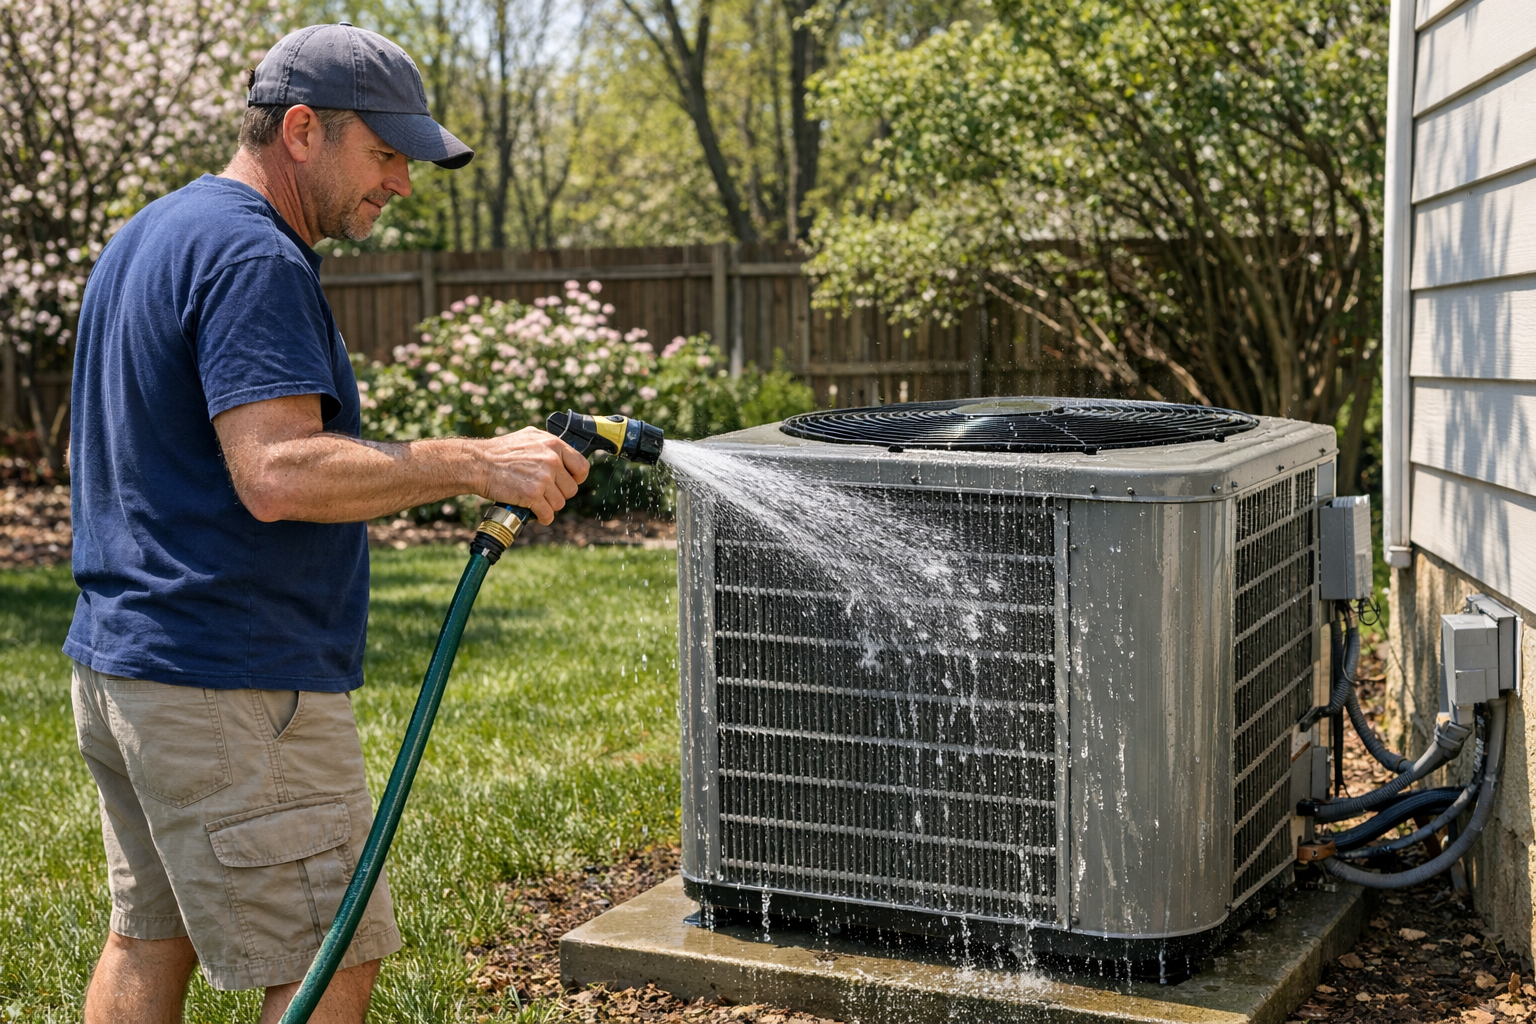
How to Prevent Summer AC Breakdowns (April Tune-Up Checklist)
Most AC failures happen in the first 90F week. A 30-minute April tune-up prevents 80 percent of those breakdowns and extends the unit's life by years.
Best Cordless String Trimmers (2026 Tested)
Battery-powered string trimmers have caught up to gas. We tested the top models on bermuda, fescue, and overgrown areas to find the picks worth your money.
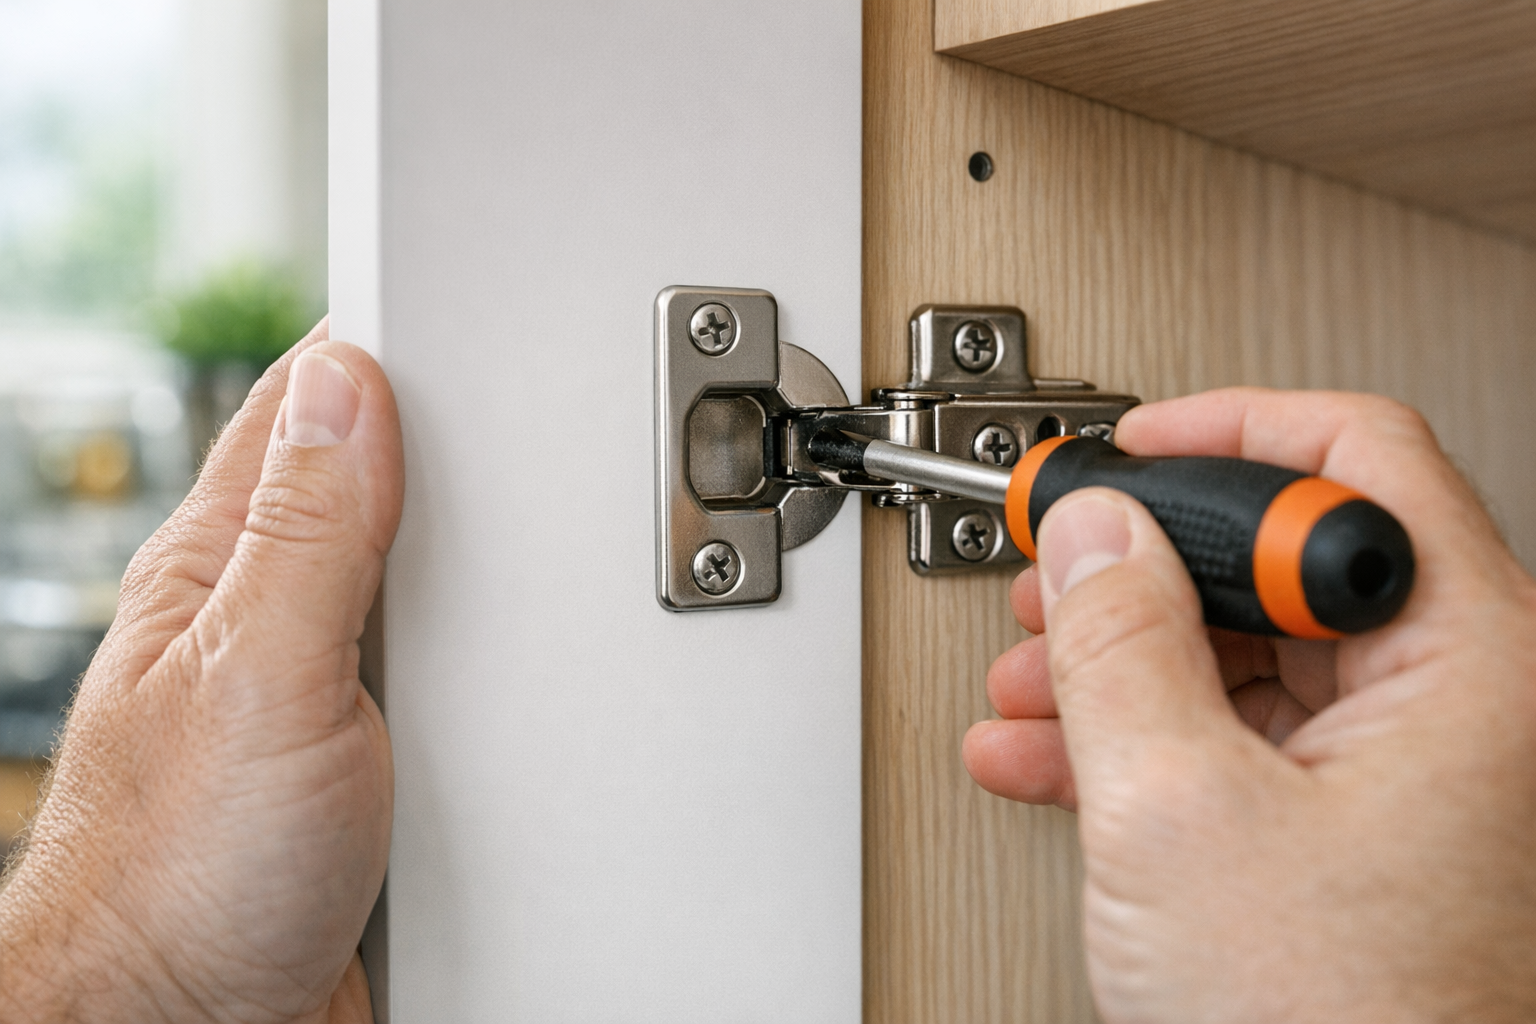
How to Fix Sticky Kitchen Cabinet Doors (Without Replacing Hardware)
Cabinet doors that bind, rub, or won't close all the way are almost always a hinge adjustment problem. Here's the 10-minute fix.