How to Build a Raised Garden Bed on a Budget
This article may contain affiliate links. If you make a purchase through these links, we may earn a small commission at no extra cost to you. Learn more
Quick Answer
How to Build a Raised Garden Bed on a Budget
The cheapest way to build a raised garden bed is with untreated pine or cedar boards (2x6 or 2x10), four corner stakes, and deck screws. A basic 4x8-foot bed costs $30-50 in lumber. Cut two 8-foot boards and two 4-foot boards, screw them to corner stakes, set the frame on level ground, and fill with a mix of topsoil, compost, and peat moss. The whole project takes about an hour.
A raised garden bed is one of the best investments you can make in your yard. It solves drainage problems, keeps weeds under control, and gives you perfect soil from day one. The catch? Pre-made raised bed kits often cost $100 to $200 or more, which is absurd when you consider what you are actually buying: four boards screwed together.
The truth is, you can build a perfectly functional raised bed for under $50 in about an hour, even if you have never built anything in your life. All you need is some lumber, a handful of screws, and a drill. If you have been thinking about starting a vegetable garden in your backyard, a raised bed is the easiest and most forgiving way to begin.
Why Build a Raised Bed in the First Place?
Before you spend a Saturday afternoon building, it helps to understand why raised beds outperform in-ground gardening for most people.
First, soil control. If your native soil is heavy clay, sandy, rocky, or contaminated (common in older neighborhoods), a raised bed lets you start completely fresh with the ideal growing medium. No testing, no amending, no fighting against what nature gave you.
Second, drainage. Raised beds drain better than flat ground because gravity pulls water down and out of the elevated soil profile. Soggy roots are the number one killer of vegetable gardens, and raised beds nearly eliminate that risk.
Third, fewer weeds. When you fill a raised bed with clean soil and line the bottom with landscape fabric, you start with zero weed seeds. Compare that to breaking new ground in a lawn, where dormant weed seeds wake up the moment you disturb the soil.
Finally, accessibility. Even a 10-inch-tall bed reduces bending significantly. For anyone with back or knee issues, that difference is a game-changer.
Choosing the Right Size and Location
Before buying a single board, figure out where your bed will go and how big it should be.
Location
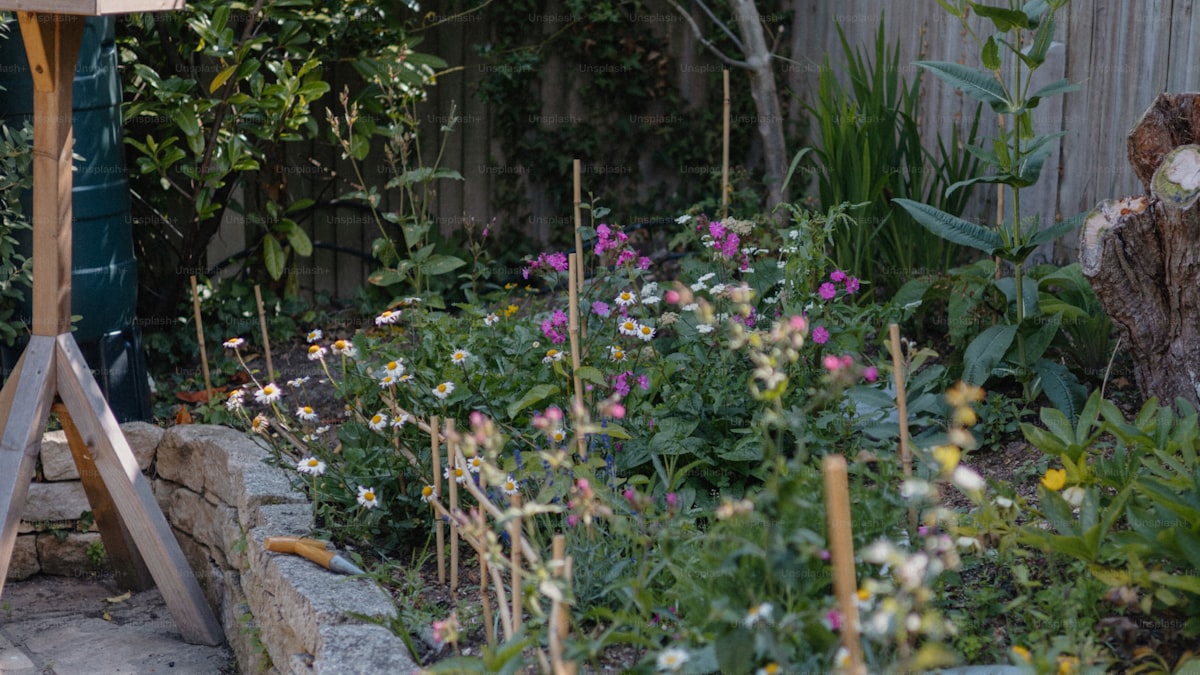
Pick a spot that gets at least six to eight hours of direct sunlight daily. Most vegetables are sun-loving plants, and shade is the single most common reason gardens underperform. South-facing areas are ideal in most parts of the country.
Make sure the spot is relatively level. A slight slope is manageable, but a steep grade means shimming one side of the frame, which adds complexity. Also consider access to water. Dragging a hose across the entire yard every evening gets old fast.
Size
A 4x8-foot bed is the standard for good reason. You can reach the center from either side without stepping into the bed (which compacts the soil), and 8 feet matches standard lumber lengths, so you get zero waste from your cuts.
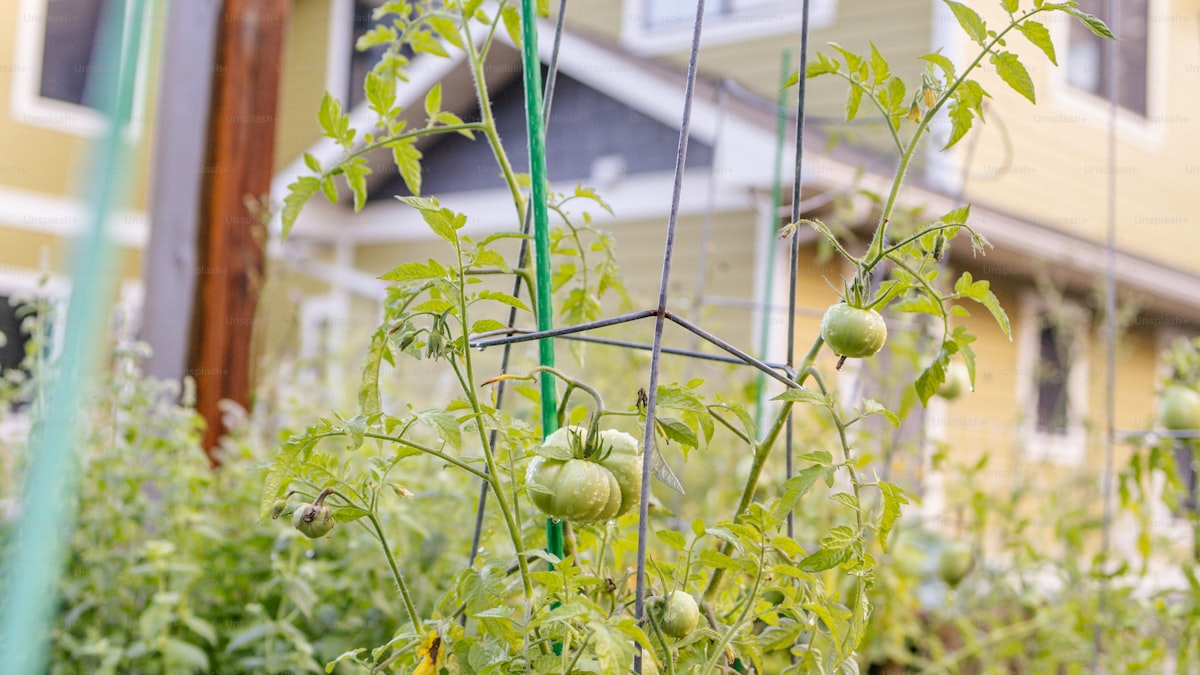
For height, 6 to 12 inches is the sweet spot. A single 2x6 board gives you about 5.5 inches of depth, which is fine for lettuce, herbs, and shallow-rooted crops. Stack two 2x6 boards or use a 2x10 for about 9.5 inches, which accommodates tomatoes, peppers, carrots, and just about anything else.
If you are working with a smaller yard, a 4x4-foot bed is a great starting point. It holds a surprising amount of food and costs half as much to build and fill.
Materials List and Cost Breakdown
Here is everything you need for a basic 4x8-foot raised bed, one board tall (approximately 10 inches using 2x10 lumber).
Lumber:
- 2 untreated boards, 2x10x8 feet (long sides) -- approximately $10 to $14 each
- 2 untreated boards, 2x10x4 feet (short sides, or buy one 8-foot board and cut it in half) -- approximately $10 to $14 for the full board
- 4 corner stakes, 2x2x12 inches (cut from a single 2x2x8 or use scrap wood) -- approximately $3 to $5
Hardware:
- 16 to 20 exterior deck screws, 3 inches long -- approximately $5 to $8
Optional but recommended:
- Landscape fabric or cardboard for the bottom -- free to $10
- Raised bed corner brackets if you want to skip the corner stakes -- approximately $12 to $20
Total lumber and hardware cost: $30 to $50
The soil to fill the bed is a separate expense, which we will cover below. But the structure itself is remarkably cheap.
Picking the Right Wood
The type of lumber you choose affects how long your bed lasts, how much it costs, and whether it is safe for growing food.
Cedar
Cedar is the gold standard for raised beds. It is naturally rot-resistant and can last 10 to 15 years outdoors without any treatment. It also looks beautiful as it weathers to a silvery gray. The downside is cost -- cedar boards run two to three times more than pine. If your budget allows, it is worth the investment.
Untreated Pine or Fir
Pine and Douglas fir are the cheapest options at most home improvement stores. They work perfectly well, but untreated softwood will begin to rot in two to four years depending on your climate. For a budget build, that is an acceptable trade-off. You can always rebuild when the boards eventually give out.
What About Pressure-Treated Lumber?
Modern pressure-treated lumber (ACQ treated, which replaced the older CCA/arsenic-based treatment around 2004) is widely considered safe for raised beds by most extension services. However, many gardeners prefer to avoid it, especially for growing food. If the idea of chemical-treated wood touching your vegetable soil bothers you, skip it and stick with untreated pine or cedar. There is no reason to lose sleep over it when safe alternatives exist.
Avoid These
Do not use railroad ties, old pallets marked with "MB" (methyl bromide treated), or any painted or stained wood of unknown origin. These can leach harmful chemicals into your soil and your food.
Step-by-Step Build Instructions
This is genuinely a one-hour project. If you have a drill and a tape measure, you can do this.
What You Need
- Drill or impact driver
- 3-inch exterior deck screws
- Tape measure
- Speed square or carpenter's square (helpful but not essential)
- Saw (if cutting boards to length -- many lumber yards will cut for free)
- Level (optional)
Building the Frame
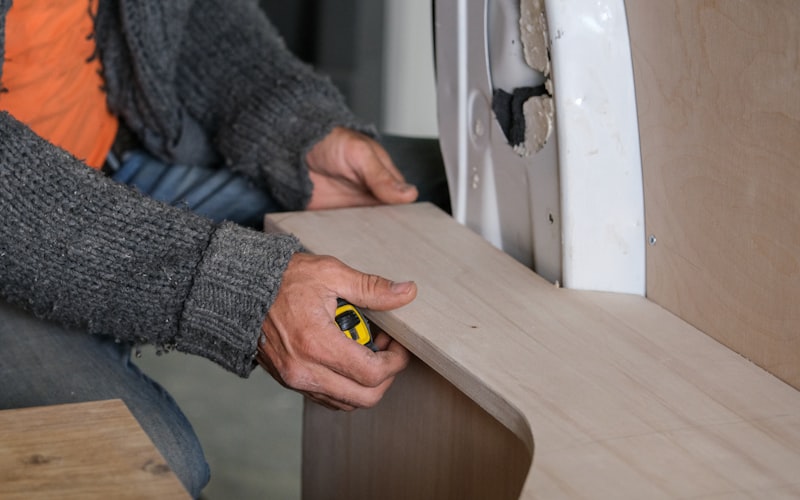
Step 1: Cut your lumber. You need two 8-foot boards for the long sides and two 4-foot boards for the short sides. If you bought an 8-foot board for the short sides, cut it exactly in half. Cut your four corner stakes to about 12 inches long.
Step 2: Stand a corner stake vertically on a flat surface. Butt the end of an 8-foot board against it so the top of the board is flush with the top of the stake. The stake will extend below the board -- this part drives into the ground later. Pre-drill, then drive two screws through the board and into the stake.
Step 3: Attach a 4-foot board to the same corner stake, forming a 90-degree angle. Use your square to check the angle if you have one, but eyeballing it works too. Pre-drill and drive two screws.
Step 4: Repeat at the other three corners. You will find it easiest to assemble two L-shaped halves first, then connect them into a rectangle.
Step 5: Set the completed frame in its final position. Push the corner stakes into the soil so the frame sits flat on the ground. Use a level across the top if you want it perfectly even -- adjust by pressing stakes deeper or adding soil beneath the low side.
That is it. You have a raised bed.
If you would rather skip the corner stakes entirely, metal raised bed corner brackets make assembly even simpler. You just slide the boards into the brackets and tighten the bolts.
Drainage and Weed Barrier
Before filling your bed, address what goes on the bottom.
If you are building on top of grass, lay a layer of cardboard (free from any moving-supply store or recycling bin) over the ground inside the frame. This smothers the grass and breaks down over a few months, adding organic matter to the soil. Cardboard works just as well as landscape fabric for this purpose and costs nothing.
Alternatively, a sheet of landscape fabric provides a longer-lasting weed barrier. Cut it slightly larger than the bed and staple it to the inside of the boards.
Do not line the bottom with plastic sheeting. Plastic traps water and prevents drainage, which defeats one of the main advantages of a raised bed. You want water to pass through freely.
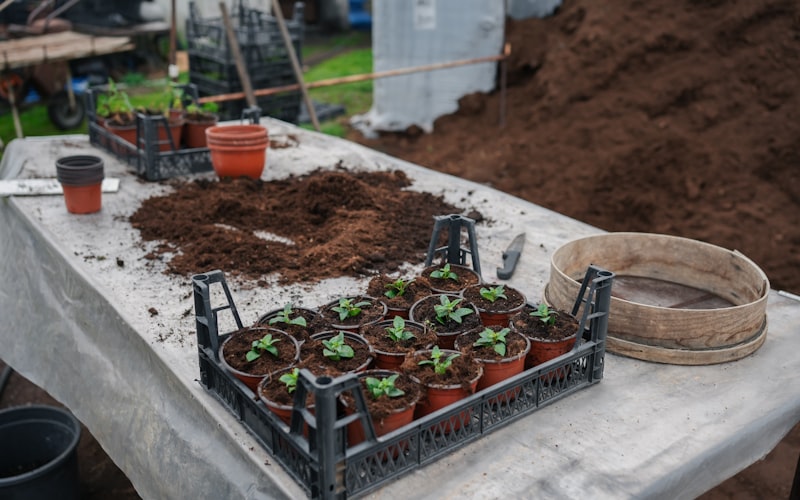
The Soil Mix (This Is What Actually Matters)
You can build the most beautiful raised bed in the neighborhood, but if you fill it with cheap topsoil, your plants will struggle. The soil mix is the single most important part of this entire project.
The Classic Recipe
A proven ratio that works for nearly every vegetable and herb:
- 50% topsoil -- provides bulk and mineral content
- 30% compost -- supplies nutrients, beneficial microbes, and moisture retention
- 20% peat moss or coconut coir -- lightens the mix and improves drainage
For a 4x8-foot bed that is 10 inches deep, you need roughly 27 cubic feet of soil mix. That is about one cubic yard, which most garden centers sell by the scoop for $30 to $50. Buying bagged soil from a hardware store costs significantly more, so buy in bulk if possible.
If you are already composting at home, you can offset a good portion of that compost cost with your own supply.
Testing Your Soil
Once your bed is filled and has settled for a few days, consider running a basic soil test. A garden soil test kit costs around $10 to $15 and tells you your pH and basic nutrient levels. Most vegetables prefer a pH between 6.0 and 7.0. Knowing your starting point saves you from guessing about amendments later.
Alternative Budget Materials
Wood is not the only option. If you want to save even more or repurpose materials you already have, consider these alternatives.
Cinder blocks: Stack concrete blocks in a rectangle and you have an instant raised bed with zero fasteners required. The hollow cores can even be filled with soil to grow herbs. Cost is roughly $1 to $2 per block.
Galvanized stock tanks: Metal livestock watering troughs make attractive, durable raised beds. Drill drainage holes in the bottom. A 2x4-foot tank runs about $50 to $80, but it lasts decades. They heat up in direct sun though, so line the inside with rigid foam insulation in hot climates.
Stacked stone or brick: If you have leftover stone, brick, or urbanite (broken concrete), stack it into a low wall. No mortar needed for beds under 18 inches tall. Free if you already have the material.
Pallets: Only use pallets stamped "HT" (heat treated). Disassemble them for free lumber. The wood is rough and thin, but it works for a season or two. Avoid pallets marked "MB" or those with unknown treatment history.
What to Plant First
Your raised bed is built and filled. Now what goes in it?
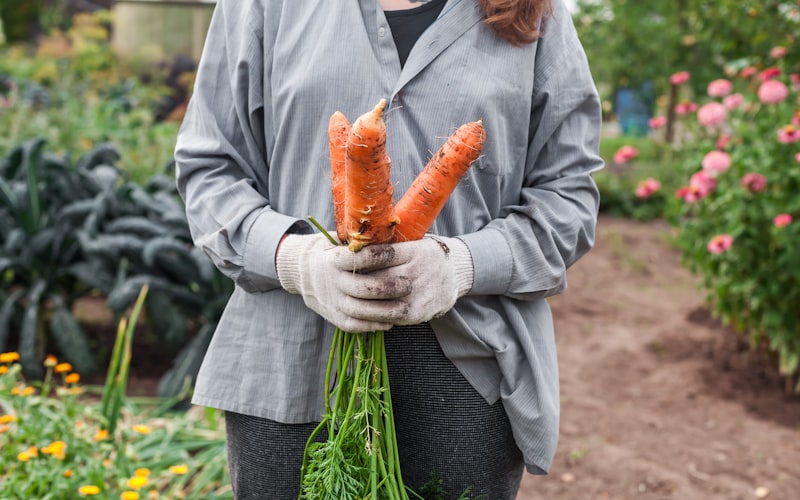
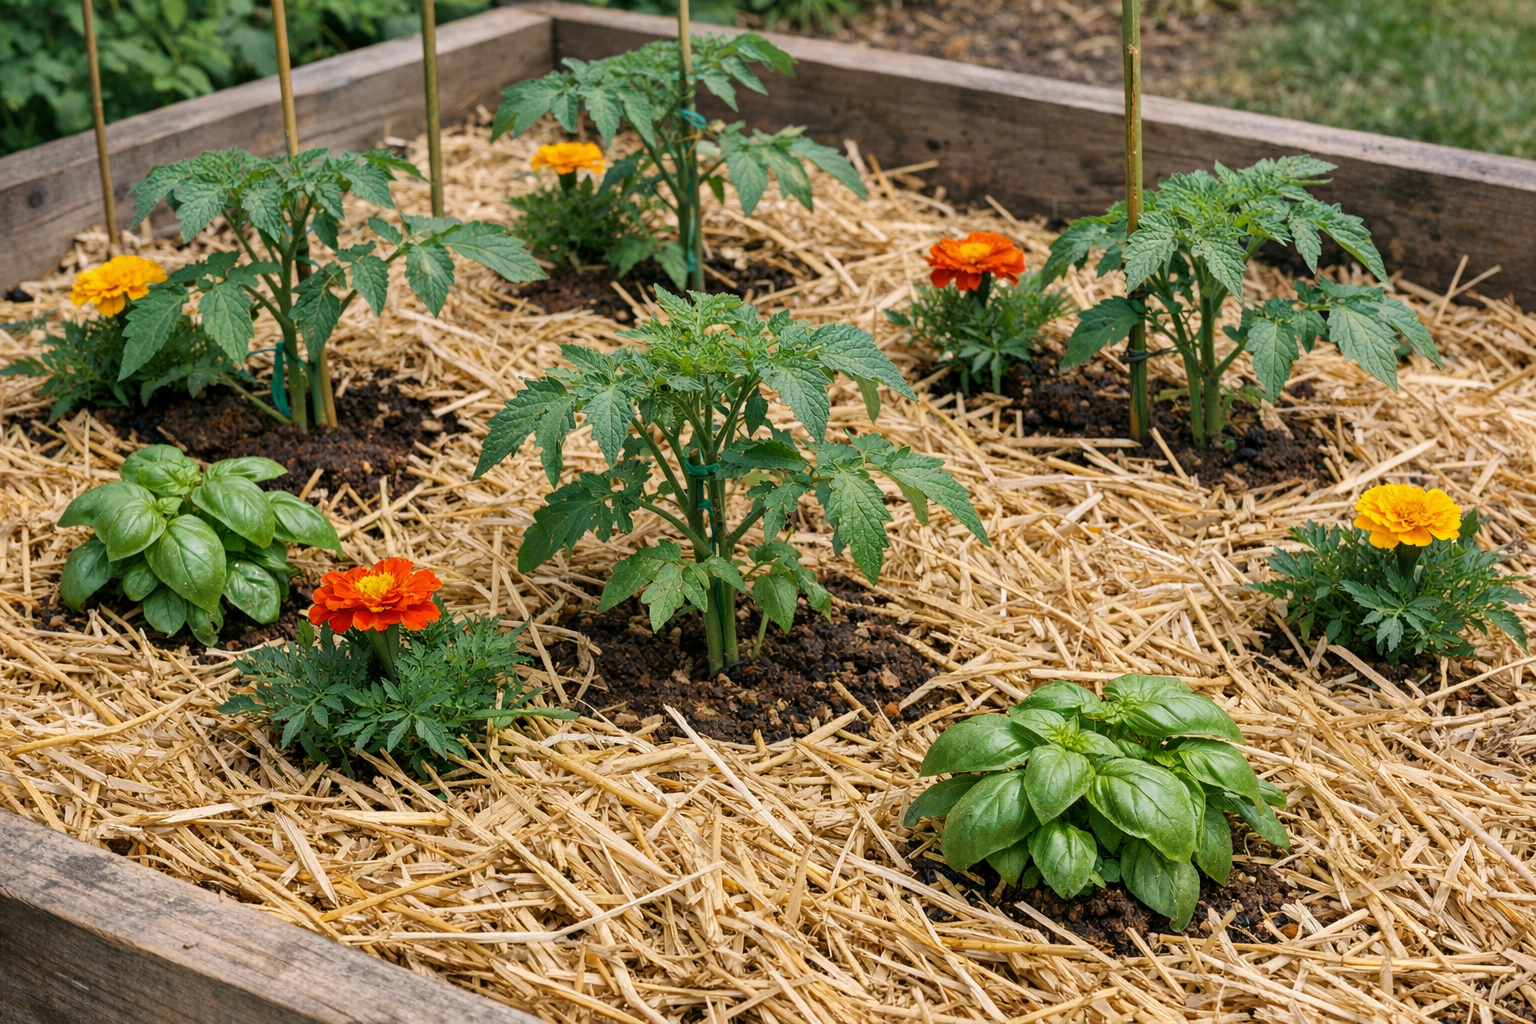
If you are planting in spring, start with a mix of easy, productive crops. Lettuce, radishes, and spinach tolerate cool weather and grow fast, giving you a harvest within 30 to 45 days. Follow those with warm-season staples like tomatoes, peppers, cucumbers, and bush beans once nighttime temperatures stay above 50 degrees Fahrenheit.
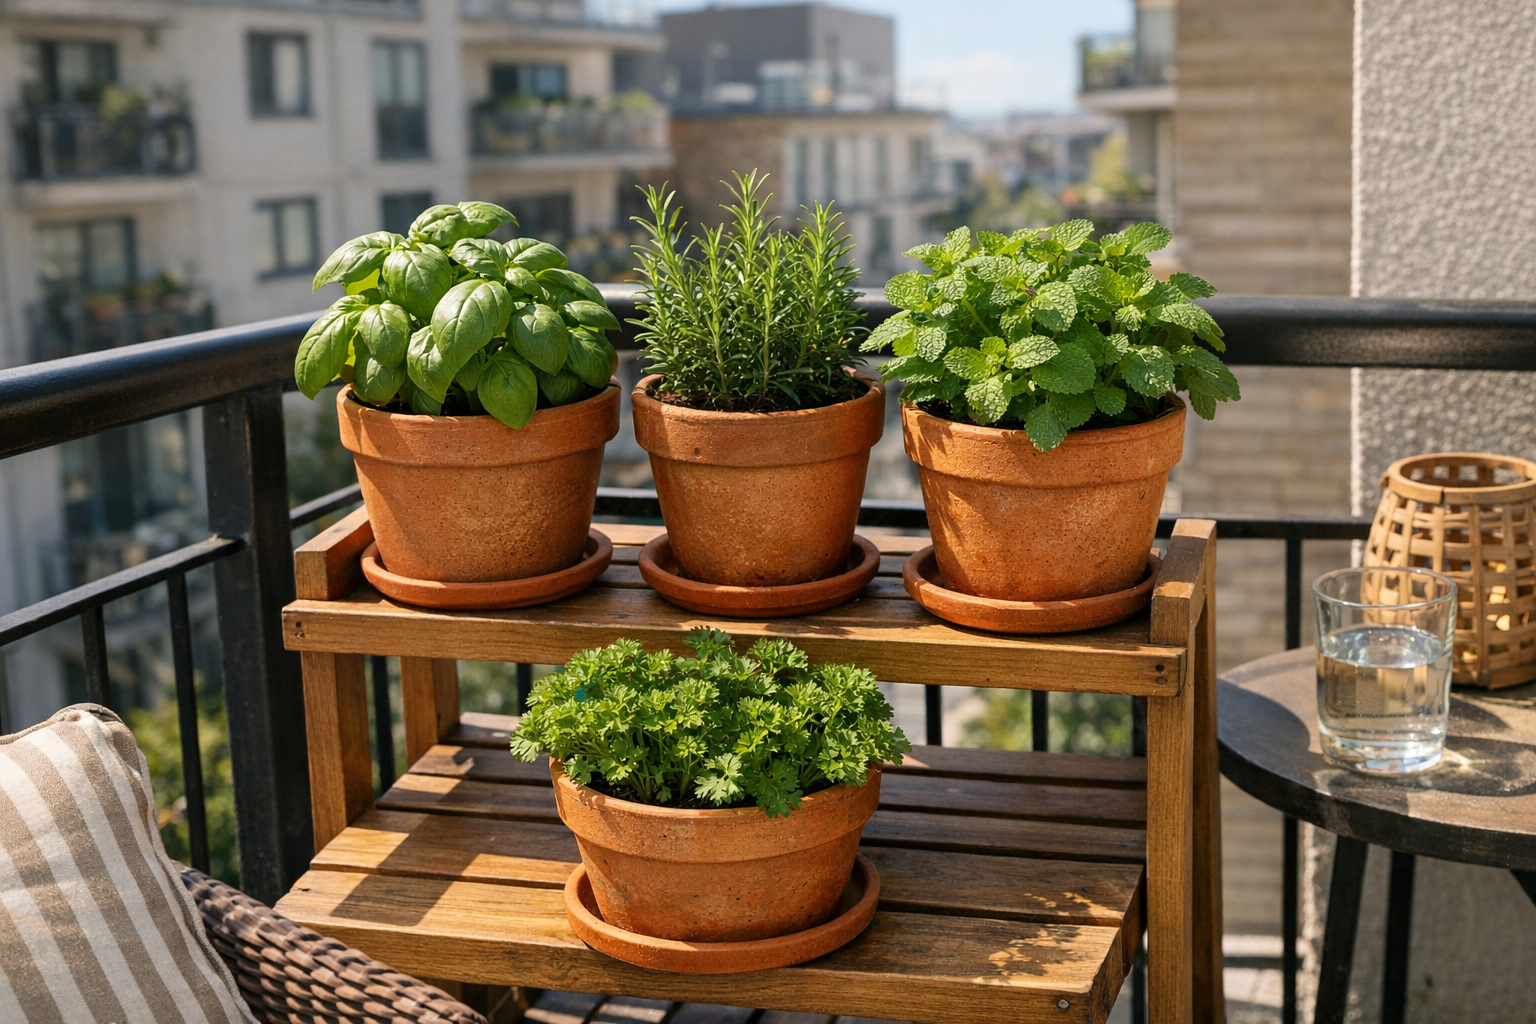
Herbs are a perfect addition to any raised bed. Basil, parsley, and cilantro take up little space and save you a surprising amount at the grocery store over a season.
If you want to get a jump on the season, starting seeds indoors a few weeks before your last frost date gives you transplant-ready seedlings right when your bed is prepped. And if you are working with limited space, growing tomatoes in pots alongside your raised bed maximizes your harvest area.
A garden hand tools set with a trowel, cultivator, and pruners covers all the basic planting and maintenance tasks you will need.
Common Mistakes Beginners Make
Building a raised bed is simple, but a few common errors can undermine your results.
Making the bed too wide. If you cannot comfortably reach the center from the side, you will step into the bed to weed and harvest, compacting the soil you worked so hard to keep loose. Keep the width at 4 feet or less.
Skimping on soil depth. A bed that is only 4 or 5 inches deep limits what you can grow. Tomatoes, carrots, and peppers need at least 8 to 10 inches of root space. Build taller or mound your soil a couple of inches above the frame.
Using garden soil instead of a proper mix. Native garden soil compacts in raised beds, drains poorly, and often carries weed seeds and diseases. Always use a blended mix of topsoil, compost, and an aerating amendment like peat moss or perlite.
Forgetting to water. Raised beds dry out faster than in-ground gardens because they are exposed to air on all sides. During hot weather, you may need to water daily. Mulching the soil surface with two to three inches of straw or shredded leaves cuts evaporation dramatically.
Placing the bed in shade. That spot under the big oak tree might look nice, but your vegetables need full sun. Do not compromise on light.
Frequently Asked Questions
How long will a budget raised bed last?
Untreated pine or fir typically lasts two to four years before the wood begins to soften and rot. Cedar lasts 10 to 15 years. You can extend the life of any wood bed by lining the inside with plastic sheeting (sides only, not the bottom) to reduce wood-to-soil contact. When a pine bed eventually rots, the replacement boards cost the same $30 to $50, which still works out cheaper per year than a pre-made kit. Many gardeners simply plan on rebuilding every few years and consider it a minor maintenance task.
How deep should a raised garden bed be?
For most vegetables, 8 to 12 inches of soil depth is ideal. Shallow-rooted crops like lettuce, herbs, and radishes grow fine in 6 inches, but tomatoes, peppers, carrots, and squash benefit from at least 10 inches. If you are building over concrete, a patio, or severely compacted soil where roots cannot penetrate below the frame, aim for the full 12 inches. If the bed sits on decent ground, roots will grow through the bottom into the native soil below, so even a 6-inch frame can work for most crops.
Do I need to line the bottom of a raised bed?
Lining the bottom is optional but helpful. Cardboard or landscape fabric prevents grass and weeds from growing up into your bed, which saves you significant weeding effort in the first season. Cardboard decomposes within a few months and is free. Landscape fabric lasts longer but can impede root penetration into the soil below. Never use solid plastic on the bottom because it traps water and causes root rot. If your bed sits on clean, weed-free ground, you can skip the liner entirely.
Is it cheaper to build or buy a raised garden bed?
Building is almost always cheaper. A basic 4x8-foot bed costs $30 to $50 in lumber and hardware when you build it yourself. Comparable pre-made cedar kits retail for $100 to $250, and plastic or composite kits run even higher. The only scenario where buying makes sense is if you have zero tools and no interest in assembling anything. Even then, metal corner brackets make DIY assembly so simple that most people can handle it. The savings add up quickly if you plan to build multiple beds.
Get Building
A raised garden bed does not need to be complicated or expensive. Four boards, some screws, and an hour of your time are all that stand between you and a garden that produces fresh vegetables for years to come.
Start with one 4x8-foot bed this season. Fill it with a good soil mix, plant a few easy crops, and see what happens. You will almost certainly want a second bed by next spring, and now you know exactly how to build one.
The hardest part of any gardening project is getting started. The lumber is cheap, the build is simple, and the payoff -- fresh tomatoes, crisp lettuce, herbs whenever you want them -- is enormous. So grab your drill, head to the lumber yard, and build yourself a garden.
Get weekly home tips that actually work
Join thousands of homeowners getting practical cleaning hacks, DIY fixes, and money-saving tips every week. Free, and you can unsubscribe anytime.

Written by
Beth SullivanFounder & Editor-in-Chief
Beth Sullivan is the founder of Practical Home Guides. With over a decade of hands-on experience tackling every home challenge imaginable, she started this site to share the practical, no-nonsense solutions she wishes she had found years ago. When she's not testing cleaning hacks or organizing pantries, you'll find her in the garden or working on her next DIY project.
Recommended Products
Looking for specific product recommendations? Check out our tested picks.
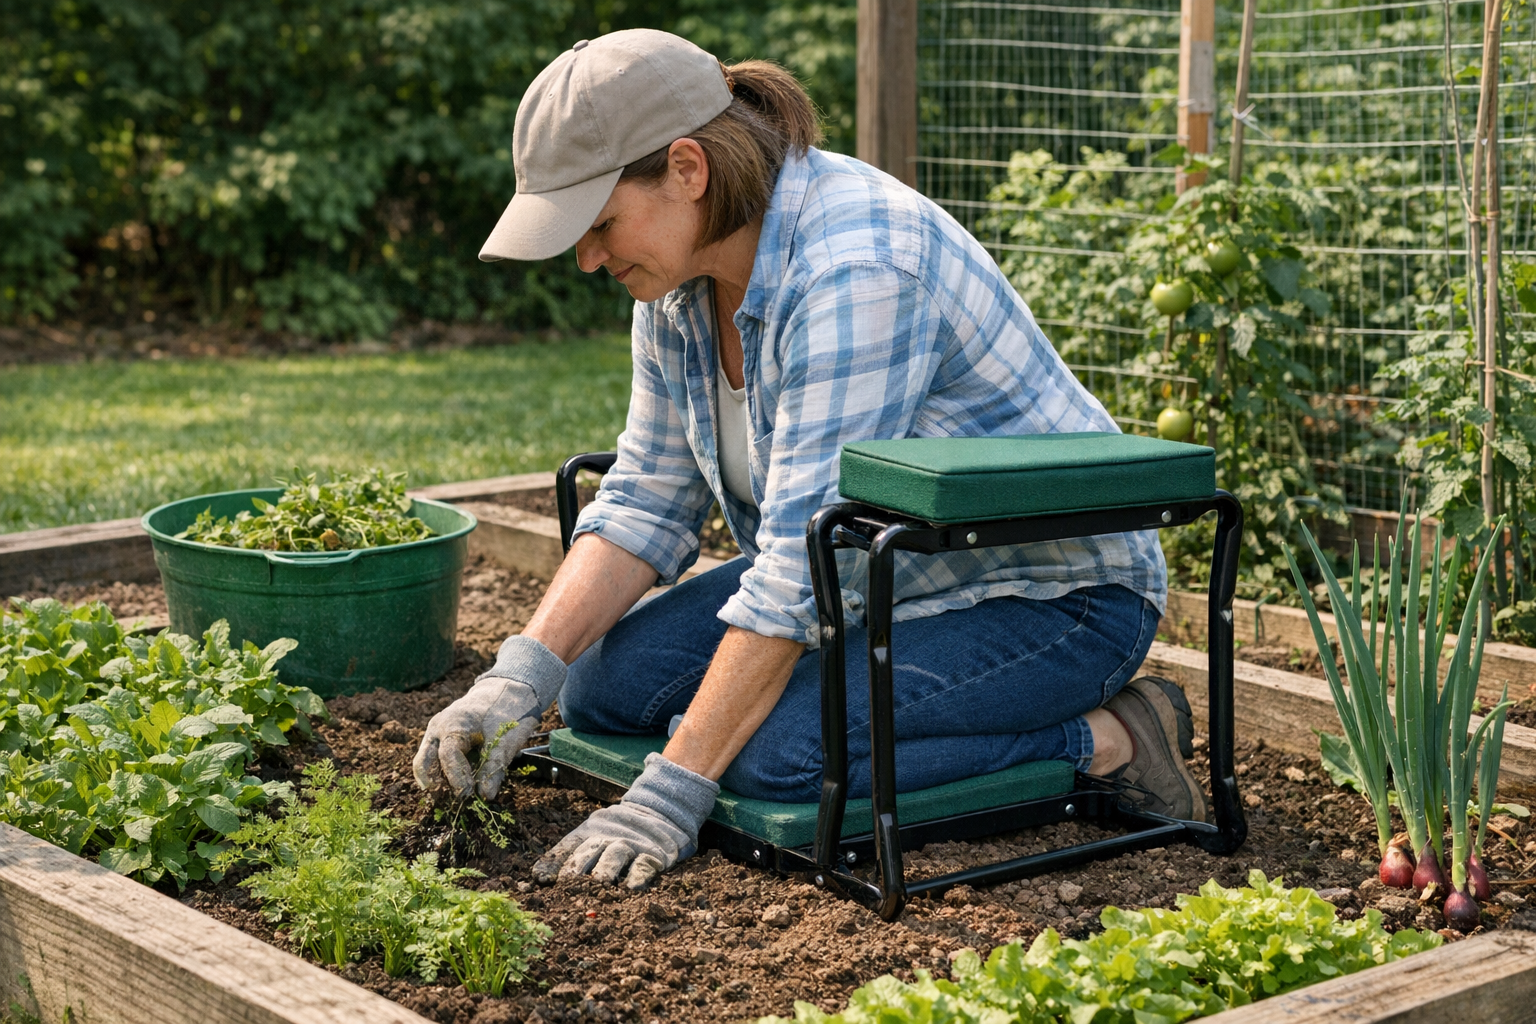
Best Garden Kneelers and Seats (2026 Tested)
Gardening shouldn't wreck your knees and back. We tested kneelers, foldable seats, and rolling carts to find the picks worth the price.
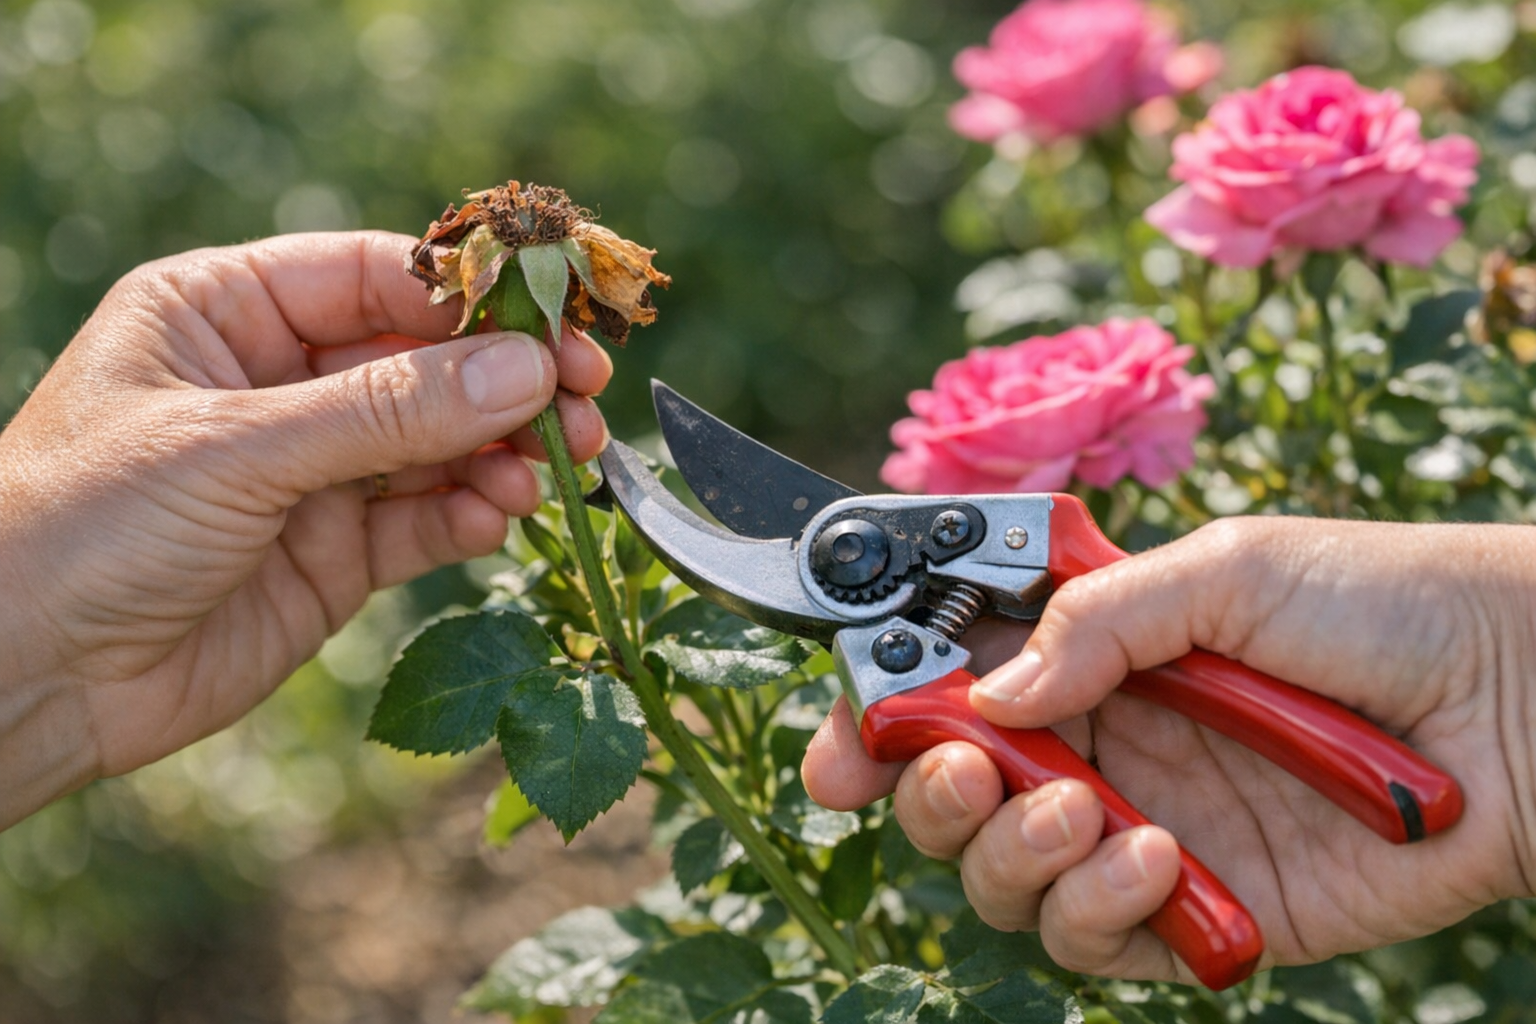
Best Pruning Shears for Gardeners (2026 Guide)
We tested bypass and anvil pruning shears across roses, fruit trees, perennials, and tomato vines. Here are the picks worth your money — and the one to avoid.
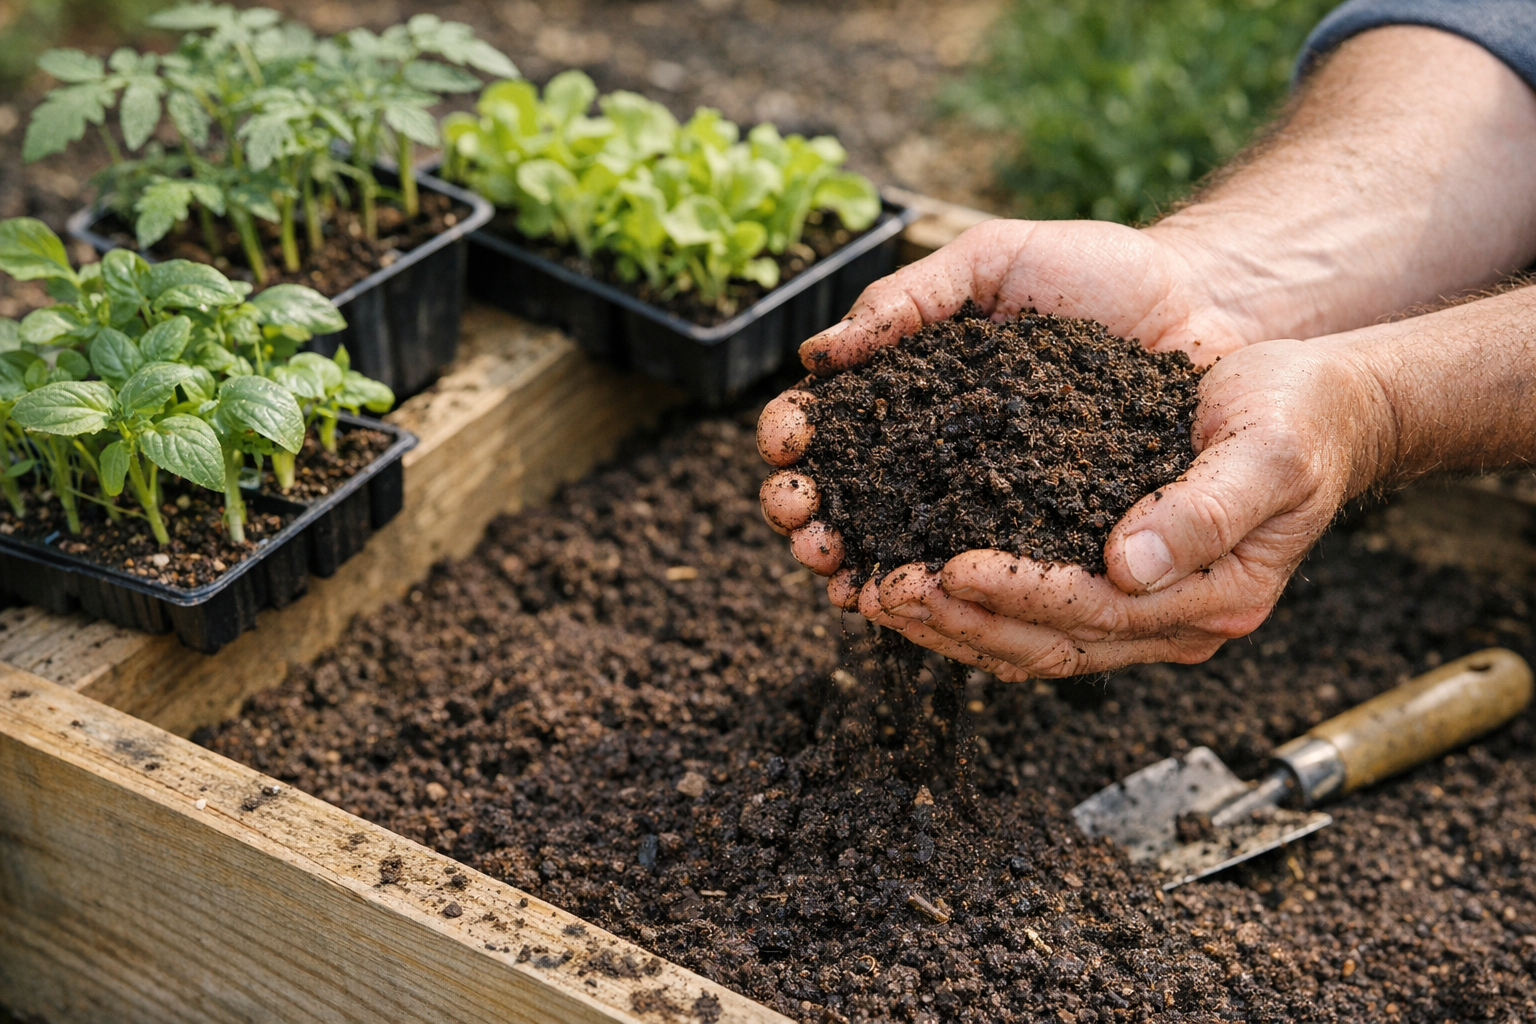
Best Raised Bed Soil Mixes (2026 Buyer's Guide)
Bagged soil for raised beds is a minefield. We tested the top brands for vegetable yield, drainage, and value to find the soil mixes that actually grow food.
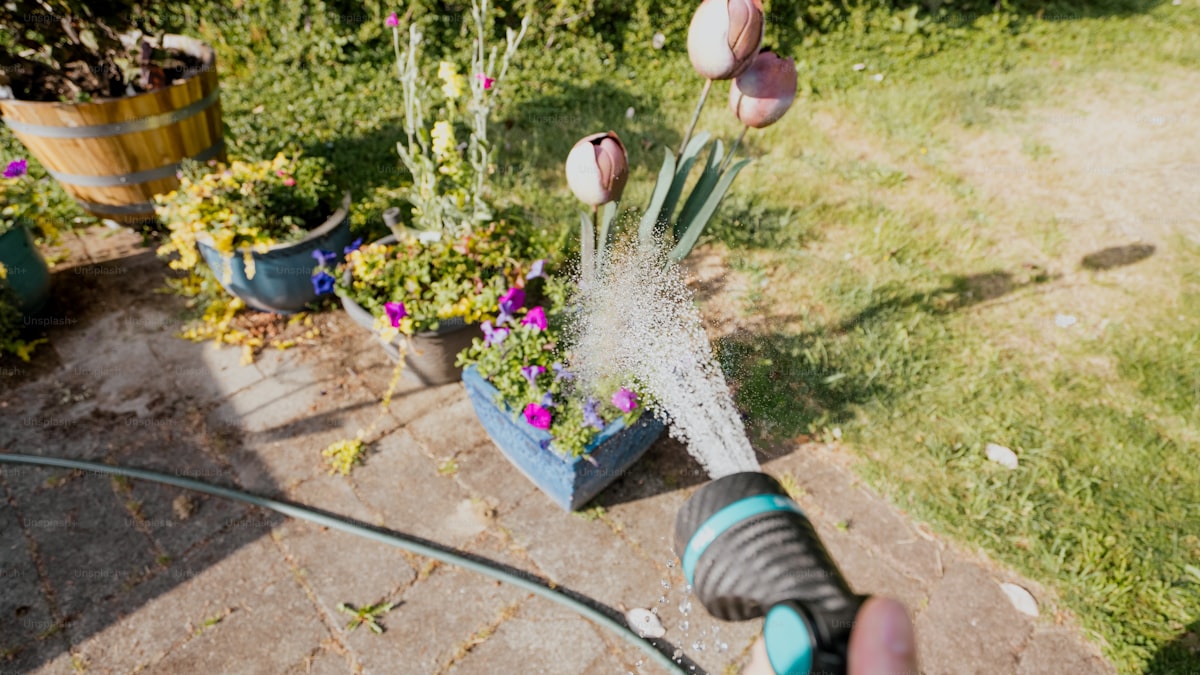
5 Best Garden Hose Nozzles and Sprayers (2026)
Find the perfect garden hose nozzle for watering plants, washing cars, and cleaning patios. We compared the top sprayers — here are the 5 best for every job.
Best Raised Garden Bed Kits You Can Order Online (2026)
The best raised garden bed kits for beginners and experienced gardeners. We compare wood, metal, and composite options with honest reviews and setup tips.
Related Articles
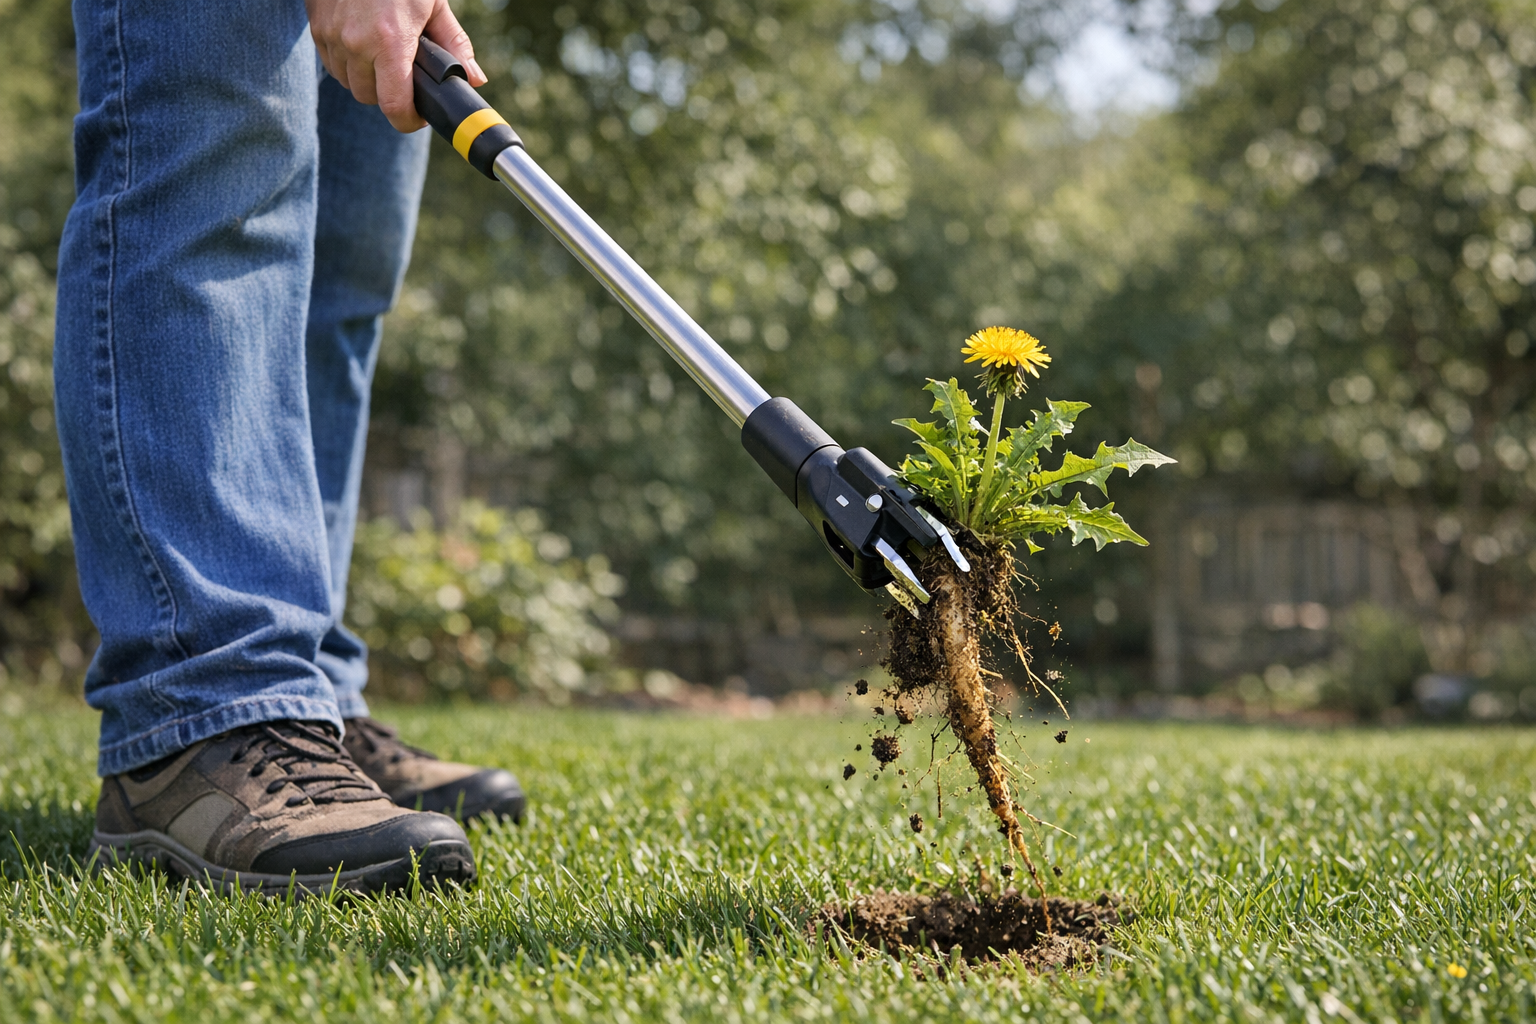
How to Get Rid of Dandelions Naturally (Without Killing the Lawn)
Dandelions are stubborn but beatable without chemical herbicides. Here's the 3-pronged natural approach that works long-term — and the tools that make it easy.
When to Plant Warm-Weather Annuals (And Which Are Easiest)
Tomato, pepper, basil, marigold — all are warm-weather plants that hate cold soil. Here's how to time the transplant for the longest possible harvest.
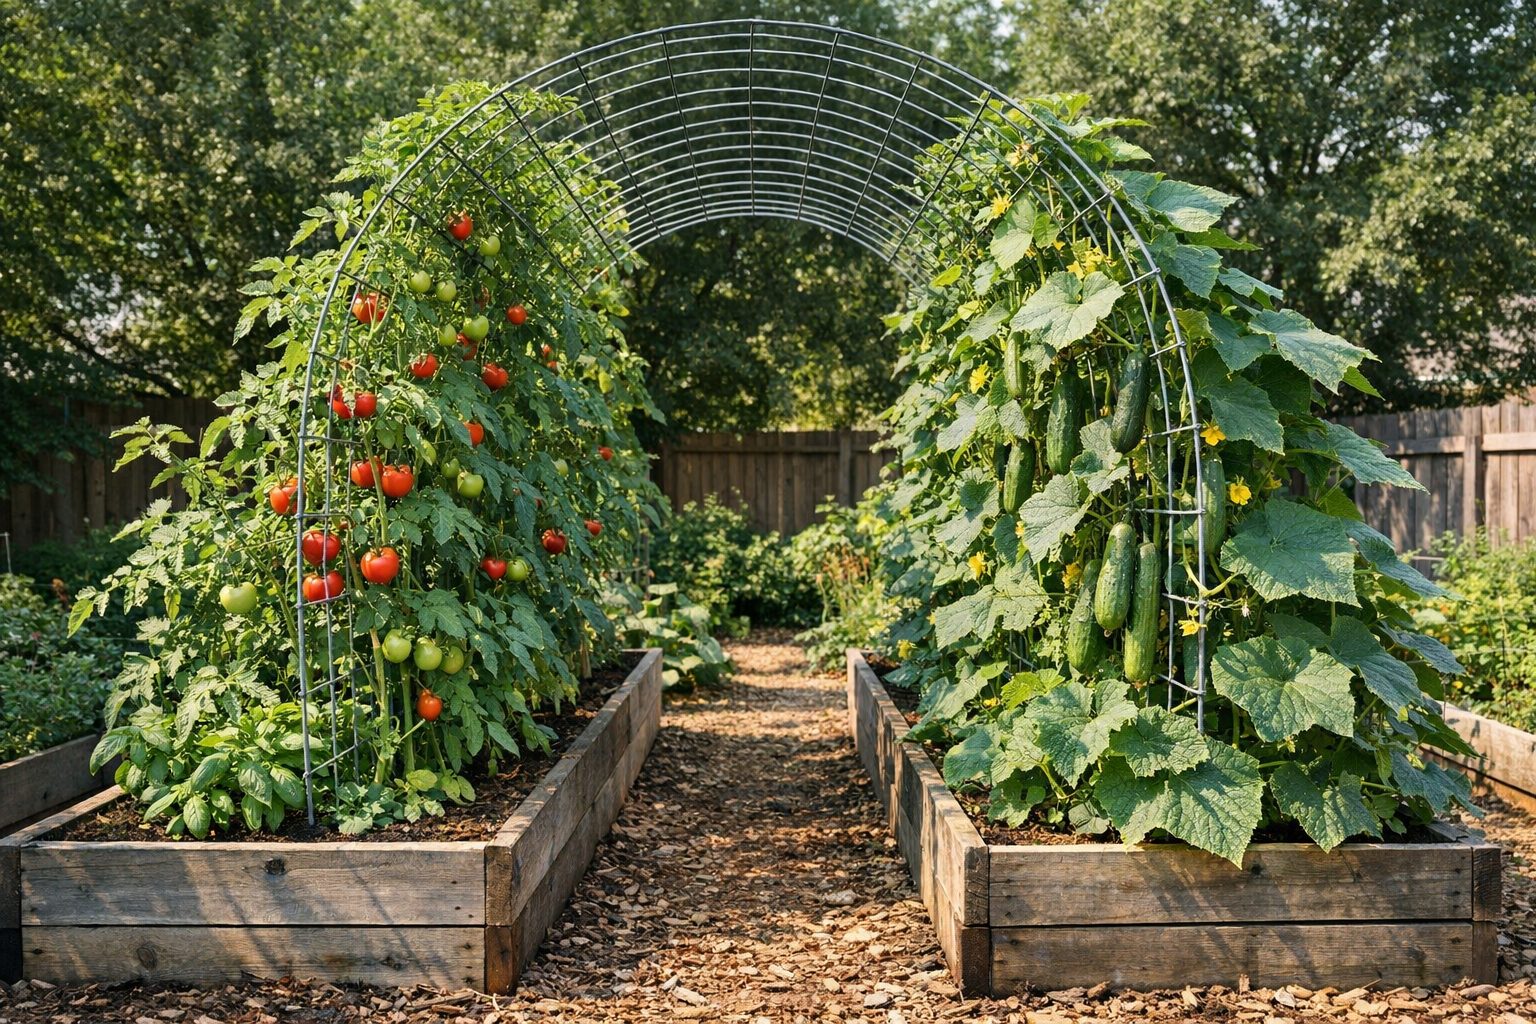
How to Build a DIY Garden Trellis for Climbing Vegetables
A sturdy trellis doubles your garden's yield per square foot. Here's how to build three easy styles using cheap materials in under an hour each.
How to Start a Container Herb Garden on a Balcony
Fresh herbs all summer from a small apartment balcony or porch — even with limited sun. Picks for the easiest herbs, the right pots, and the soil that actually works.