How to Start Seeds Indoors for a Thriving Spring Garden
This article may contain affiliate links. If you make a purchase through these links, we may earn a small commission at no extra cost to you. Learn more
Quick Answer
How to Start Seeds Indoors for a Thriving Spring Garden
Start seeds indoors 6-10 weeks before your last frost date. Use seed starting mix (not potting soil) in small containers, keep soil moist and warm (65-80°F), and provide 14-16 hours of light once seedlings emerge. Harden off seedlings over 7-10 days before transplanting outdoors. A basic setup costs under $30 and gives you dozens of transplants for the price of a few seed packets.
How to Start Seeds Indoors for a Thriving Spring Garden
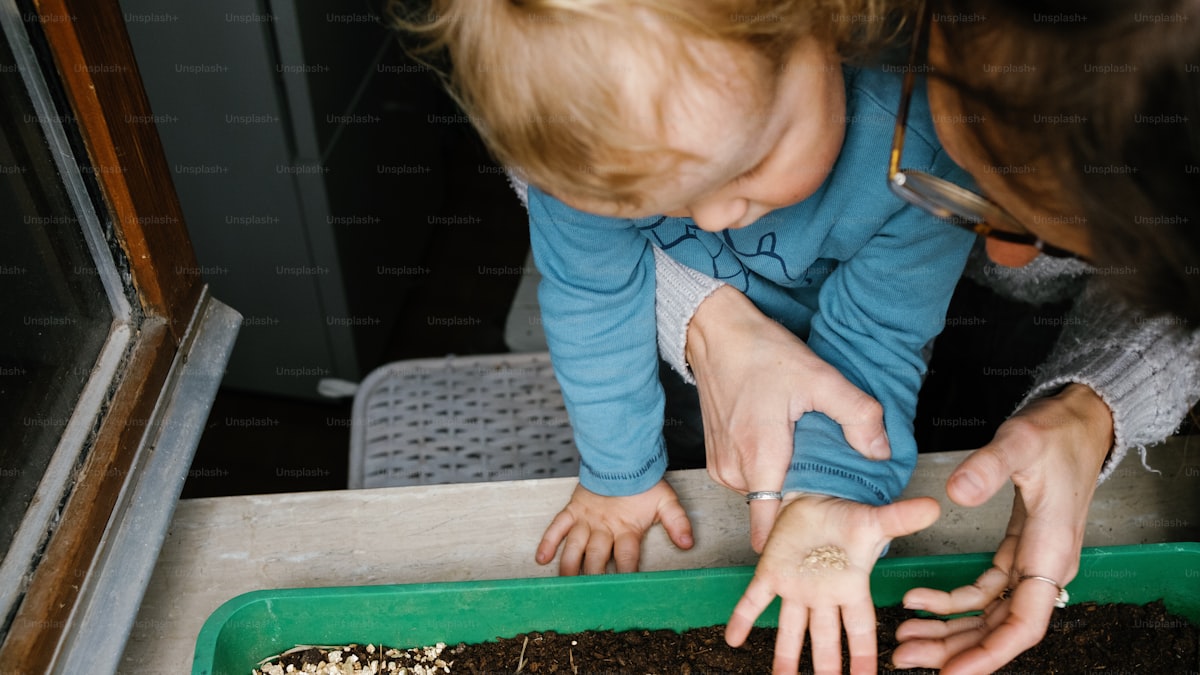
February might feel like the dead of winter, but for gardeners, it's one of the most exciting months of the year. This is when you start seeds indoors, weeks before the last frost, so that by the time warm weather arrives, you've got strong, healthy transplants ready to go in the ground.
Starting seeds indoors gives you a massive head start on the growing season. Instead of waiting until May to plant tiny seeds in cold soil, you can transplant vigorous 6-8 week old seedlings that hit the ground running.
It's also dramatically cheaper than buying transplants from a nursery. A packet of seeds costs $2-4 and gives you dozens of plants. The same number of nursery transplants would cost $30-60. If you're already growing a vegetable garden or even a windowsill herb garden, starting from seed opens up hundreds of varieties you'd never find at a local garden center.
When to Start Seeds Indoors
Timing is everything. Start too early and your seedlings will be leggy and root-bound by transplant time. Start too late and you lose the advantage of an indoor head start.
The magic formula: Count backward from your last expected frost date.
Your last frost date is the average date of the last spring frost in your area. You can find yours by searching your zip code on the USDA Plant Hardiness Zone Map or by asking your local garden center.
Timing Chart by Vegetable
| Vegetable | Start Indoors (Weeks Before Last Frost) |
|---|---|
| Onions | 10-12 weeks |
| Peppers | 8-10 weeks |
| Eggplant | 8-10 weeks |
| Tomatoes | 6-8 weeks |
| Broccoli | 6-8 weeks |
| Cabbage | 6-8 weeks |
| Cauliflower | 6-8 weeks |
| Kale | 6-8 weeks |
| Lettuce | 4-6 weeks |
| Cucumbers | 3-4 weeks |
| Squash | 3-4 weeks |
| Melons | 3-4 weeks |
Timing Chart for Popular Flowers
| Flower | Start Indoors (Weeks Before Last Frost) |
|---|---|
| Geraniums | 10-12 weeks |
| Impatiens | 10-12 weeks |
| Petunias | 10-12 weeks |
| Snapdragons | 8-10 weeks |
| Marigolds | 6-8 weeks |
| Zinnias | 4-6 weeks |
| Sunflowers | 3-4 weeks |
For example, if your last frost date is May 1, start tomatoes and peppers in early to mid-March, and start cucumbers and squash in early April.
What You Need to Get Started
The good news is that seed starting doesn't require fancy equipment. Here's what you actually need, along with what's nice to have but not essential.
Essential Supplies
Seed starting mix ($5-8 per bag) — This is NOT regular potting soil. Seed starting mix is finer, lighter, and sterile, which prevents the damping-off disease that kills seedlings. It also drains better, which is critical for tiny roots.
Containers ($3-10) — You have lots of options:
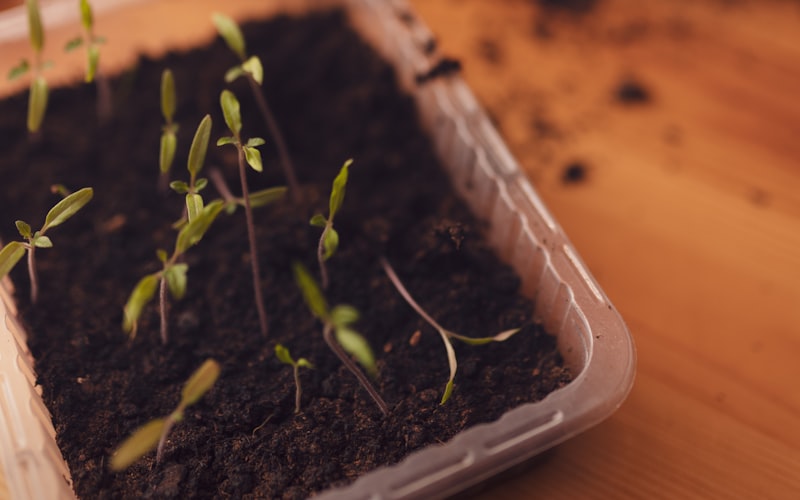
- Plastic seed starting trays (cell packs) are the most common and cost-effective
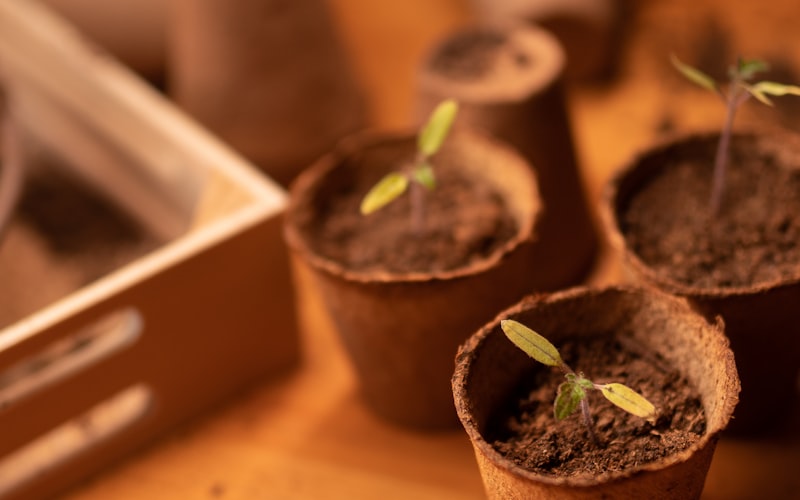
- Peat pots or coconut coir pots that can be planted directly in the ground
- Recycled containers like yogurt cups, egg cartons, or plastic food containers (poke drainage holes in the bottom)
A warm spot — Seeds need soil temperatures of 65-80°F to germinate. The top of a refrigerator, a shelf near a heating vent, or a sunny windowsill usually works.
Water — A spray bottle for gentle watering without displacing seeds.
Recommended (But Not Essential)
Seed starting heat mat ($15-25) — These thin mats go under your trays and maintain consistent soil temperature, which dramatically speeds up germination. If your house runs cool, this is the single best upgrade.
Grow lights ($20-40) — A simple LED shop light hung 2-3 inches above your seedlings provides far better light than a windowsill, resulting in stockier, stronger plants. More on this below.
Humidity dome ($3-5) — A clear plastic cover that fits over your seed tray, creating a mini greenhouse that retains moisture during germination. A piece of plastic wrap works as a free alternative.
Plant labels ($2-5) — Because you will absolutely forget which tray is tomatoes and which is peppers. Popsicle sticks and a permanent marker work fine.
Step-by-Step: Starting Your Seeds
Step 1: Moisten Your Seed Starting Mix
Dump your seed starting mix into a large bowl or bucket and add warm water gradually, mixing with your hands. The goal is an evenly moist consistency — like a wrung-out sponge. If you squeeze a handful, a few drops of water should come out but it shouldn't drip freely.
Starting with pre-moistened mix is important because dry seed starting mix is hydrophobic (it repels water) and won't absorb water evenly once it's in the containers.
Step 2: Fill Your Containers
Fill each cell or container with the moistened mix, pressing it down gently with your fingers to eliminate air pockets. Leave about 1/4 inch of space at the top for watering.
Step 3: Plant Your Seeds
Check each seed packet for the recommended planting depth. The general rule is to plant seeds at a depth of 2-3 times their diameter. Tiny seeds like lettuce and petunias barely get covered at all — just press them gently into the surface.
Plant 2-3 seeds per cell to ensure at least one germinates. You'll thin to the strongest seedling later.

Step 4: Cover and Create Humidity
Cover your trays with a humidity dome or plastic wrap. This traps moisture and creates the warm, humid environment seeds need to germinate. Place the covered trays in a warm location.
At this stage, light doesn't matter — most seeds germinate in darkness. What matters is consistent warmth and moisture.
Step 5: Check Daily
Check your trays once a day. The soil should stay moist but not waterlogged. If the surface looks dry, mist it lightly with a spray bottle. If there's heavy condensation dripping from the dome, crack it open for airflow.
Step 6: Remove Covers at First Sign of Green
The moment you see seedlings emerge, remove the humidity dome and move the trays to your brightest light source. Seedlings need light immediately after emerging, or they'll stretch toward whatever dim light they can find and become leggy and weak.
Lighting: The Make-or-Break Factor
Lighting is the number one thing that separates healthy, stocky seedlings from the pale, leggy ones that flop over the moment you look at them.
Windowsill Growing
A south-facing window can work for starting seeds, but it has limitations. In late winter, even a south window only provides 4-6 hours of direct light, and the light is weak and angled. Seedlings will lean toward the window and tend to be thinner than light-grown plants.
If using a windowsill, rotate your trays 180 degrees every day to prevent leaning. Set a timer to remind yourself.
Grow Lights (The Better Option)
A simple LED shop light or a purpose-built grow light hung 2-3 inches above your seedlings provides consistent, strong light from directly above. This produces stocky, compact seedlings with thick stems.
Key details for grow light success:
- Keep lights 2-3 inches above the seedlings and raise them as the plants grow
- Run lights 14-16 hours per day (use a simple outlet timer)
- Regular LED shop lights in the 5000-6500K color temperature range work fine — you don't need expensive "full spectrum" grow lights
- Turn lights off at night; plants need a dark period
The difference between windowsill seedlings and grow light seedlings is dramatic. If you're serious about starting seeds, a $20-30 LED light is the best investment you can make.
Caring for Your Seedlings
Watering
Water from the bottom whenever possible. Set your trays in a shallow container of water and let the soil wick moisture up from below. This encourages roots to grow downward and prevents the surface from staying too wet, which causes damping off (a fungal disease that kills seedlings at the soil line).
If you water from the top, use a gentle mist or a small watering can. A strong stream will flatten tiny seedlings.
Thinning
Once seedlings have their first set of true leaves (the second pair that emerges, which looks different from the initial seed leaves), thin to one seedling per cell. Use small scissors to snip the weaker seedlings at soil level. Don't pull them out — that disturbs the roots of the keeper.
Fertilizing
Seed starting mix has no nutrients, so once seedlings develop true leaves, they need feeding. Use a liquid fertilizer diluted to half the recommended strength, applied once a week. Fish emulsion or a balanced liquid fertilizer (like 10-10-10) works well.
Air Circulation
A gentle breeze from a small fan strengthens seedling stems and helps prevent fungal disease. Run a fan on low near your seedlings for a few hours each day. This mimics outdoor wind and produces stronger, sturdier plants.
Hardening Off: The Critical Transition
You can't take a seedling that's spent its whole life in your cozy kitchen and plunk it in the garden on a sunny day. The shock of wind, direct sun, and temperature swings can kill or severely damage plants that haven't been gradually acclimated.
This acclimation process is called "hardening off," and skipping it is the number one reason people lose seedlings during transplanting.
The Hardening Off Schedule
Days 1-2: Place seedlings outdoors in a sheltered, shady spot for 1-2 hours. Bring them back inside.
Days 3-4: Increase outdoor time to 3-4 hours. Introduce a bit of morning sun but still mostly shade.
Days 5-6: Move to 5-6 hours outdoors with a few hours of direct sunlight. Start leaving them in a spot that gets some breeze.
Days 7-8: Full day outdoors in mostly sun. Bring inside at night if temperatures drop below 50°F.
Days 9-10: Leave outdoors day and night (assuming no frost threat). They're ready to transplant.
The whole process takes about 10 days. It feels tedious, but it's the difference between transplants that thrive and transplants that die within a week.
Transplanting Into the Garden
Once your seedlings are hardened off and the danger of frost has passed, it's go time.
Tips for Successful Transplanting
- Transplant on a cloudy day or in the evening to reduce transplant shock from intense sun
- Water seedlings thoroughly an hour before transplanting so the root ball holds together
- Dig a hole slightly larger than the root ball and place the seedling at the same depth it was growing (except tomatoes, which benefit from deep planting)
- Water immediately after planting and keep the soil consistently moist for the first week
- Add mulch around transplants to retain moisture and suppress weeds
If you're looking for more guidance on getting your outdoor garden established, our guide on starting a vegetable garden covers soil preparation, layout, and ongoing care in detail. For container gardening, check out our growing tomatoes in pots guide.
Frequently Asked Questions
Can I use regular potting soil for starting seeds?
It's not recommended. Regular potting soil is too dense for tiny seedlings, retains too much moisture, and may contain fungal spores that cause damping off. Seed starting mix is specifically formulated to be light, sterile, and well-draining. It's worth the $5-8 investment.
Why are my seedlings tall and skinny?
They're not getting enough light. This is called "legginess" and it's the most common seedling problem. Move your seedlings to brighter light, lower your grow light to 2-3 inches above the plants, or extend your light period to 14-16 hours per day.
How do I know when seedlings are ready to transplant?
Most seedlings are ready to transplant when they have 3-4 sets of true leaves, a stem thick enough to handle without breaking, and have been hardened off for 7-10 days. They should look compact and sturdy, not tall and floppy.
What is damping off and how do I prevent it?
Damping off is a fungal disease that causes seedlings to suddenly collapse at the soil line. Prevent it by using sterile seed starting mix, watering from the bottom, providing good air circulation, and avoiding overwatering. Don't reuse soil from previous seasons for seed starting.
Can I start all vegetables indoors?
Most can be started indoors, but some are better direct-sown in the garden because they don't transplant well. Root vegetables (carrots, beets, radishes), beans, peas, and corn should be planted directly in the garden soil. The timing chart above covers the best candidates for indoor starting.
Get Started Now
If you're reading this in February, your seed starting window is open right now for many vegetables and flowers. Check your last frost date, order your seeds, and get your trays set up this weekend.
There's something deeply satisfying about growing a garden from seed — watching those first tiny green sprouts push through the soil on your kitchen counter, knowing that in a few months they'll be producing tomatoes, peppers, and flowers in your backyard. It's one of the most rewarding and budget-friendly gardening projects you can take on.
Get weekly home tips that actually work
Join thousands of homeowners getting practical cleaning hacks, DIY fixes, and money-saving tips every week. Free, and you can unsubscribe anytime.

Written by
Beth SullivanFounder & Editor-in-Chief
Beth Sullivan is the founder of Practical Home Guides. With over a decade of hands-on experience tackling every home challenge imaginable, she started this site to share the practical, no-nonsense solutions she wishes she had found years ago. When she's not testing cleaning hacks or organizing pantries, you'll find her in the garden or working on her next DIY project.
Recommended Products
Looking for specific product recommendations? Check out our tested picks.
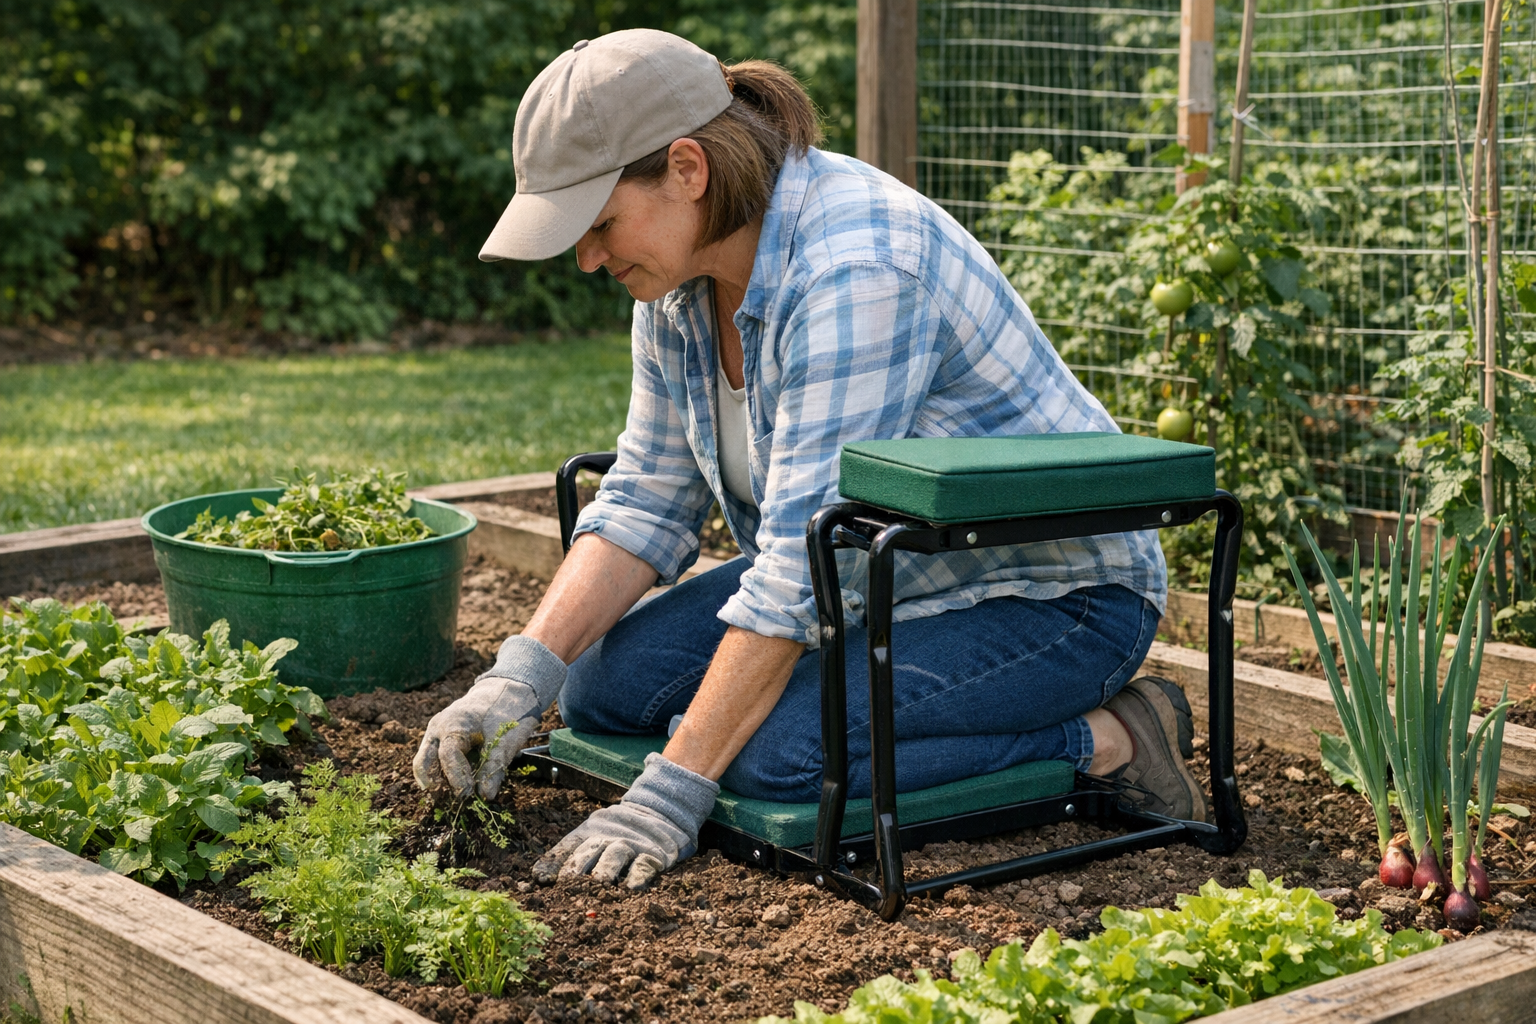
Best Garden Kneelers and Seats (2026 Tested)
Gardening shouldn't wreck your knees and back. We tested kneelers, foldable seats, and rolling carts to find the picks worth the price.
Best Pruning Shears for Gardeners (2026 Guide)
We tested bypass and anvil pruning shears across roses, fruit trees, perennials, and tomato vines. Here are the picks worth your money — and the one to avoid.
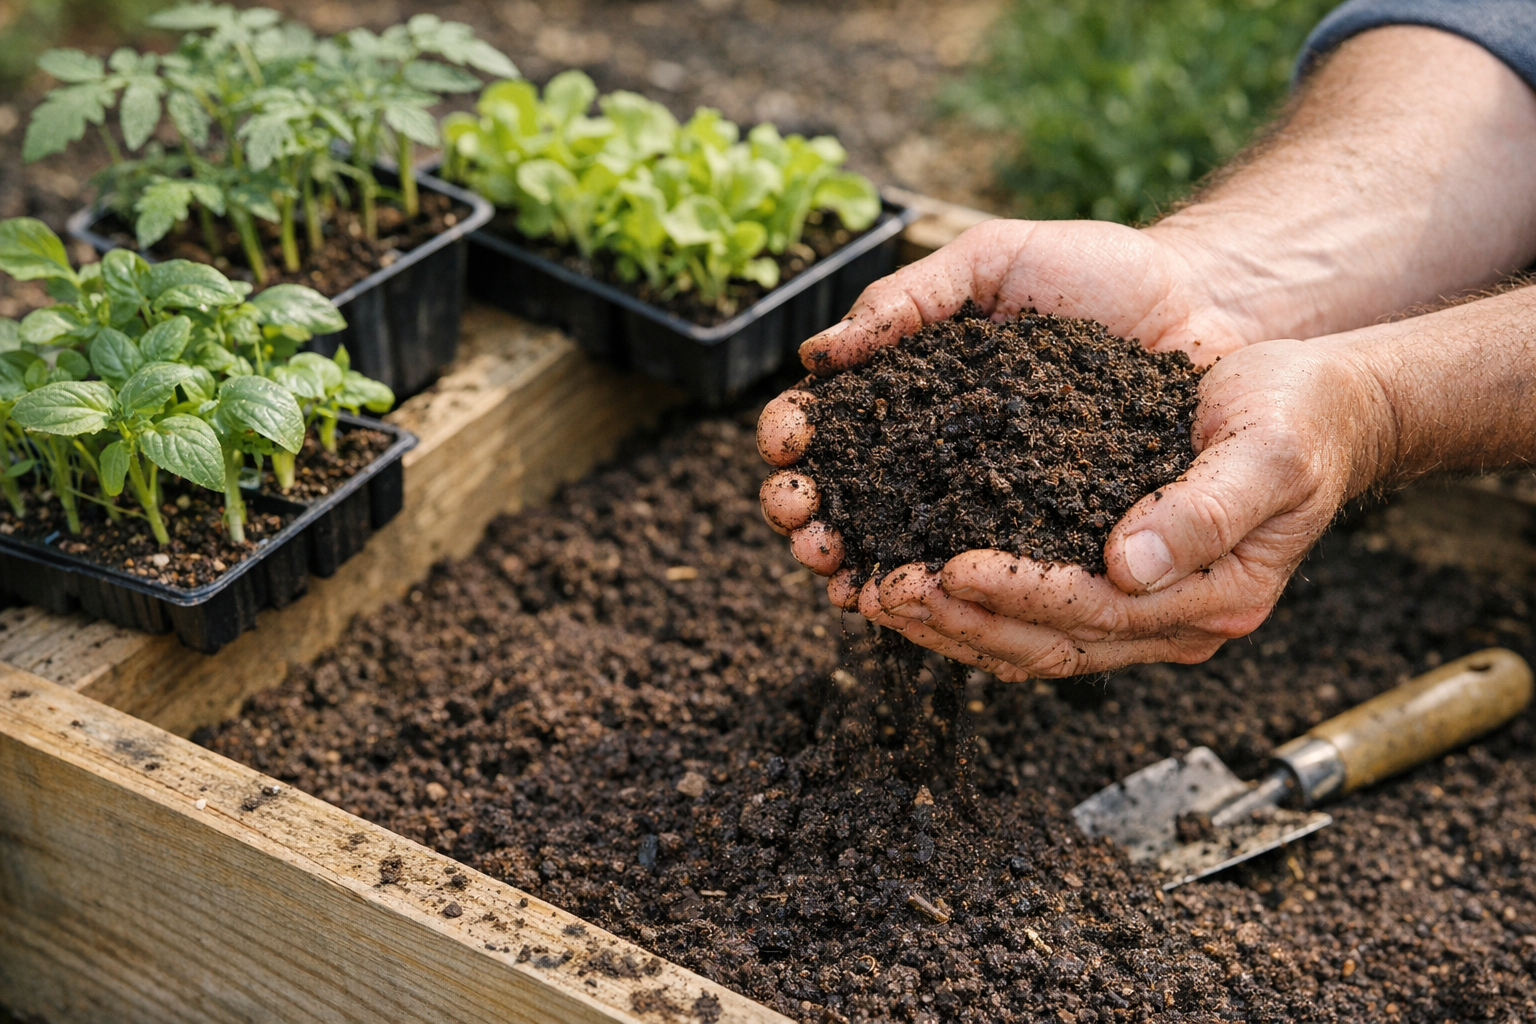
Best Raised Bed Soil Mixes (2026 Buyer's Guide)
Bagged soil for raised beds is a minefield. We tested the top brands for vegetable yield, drainage, and value to find the soil mixes that actually grow food.
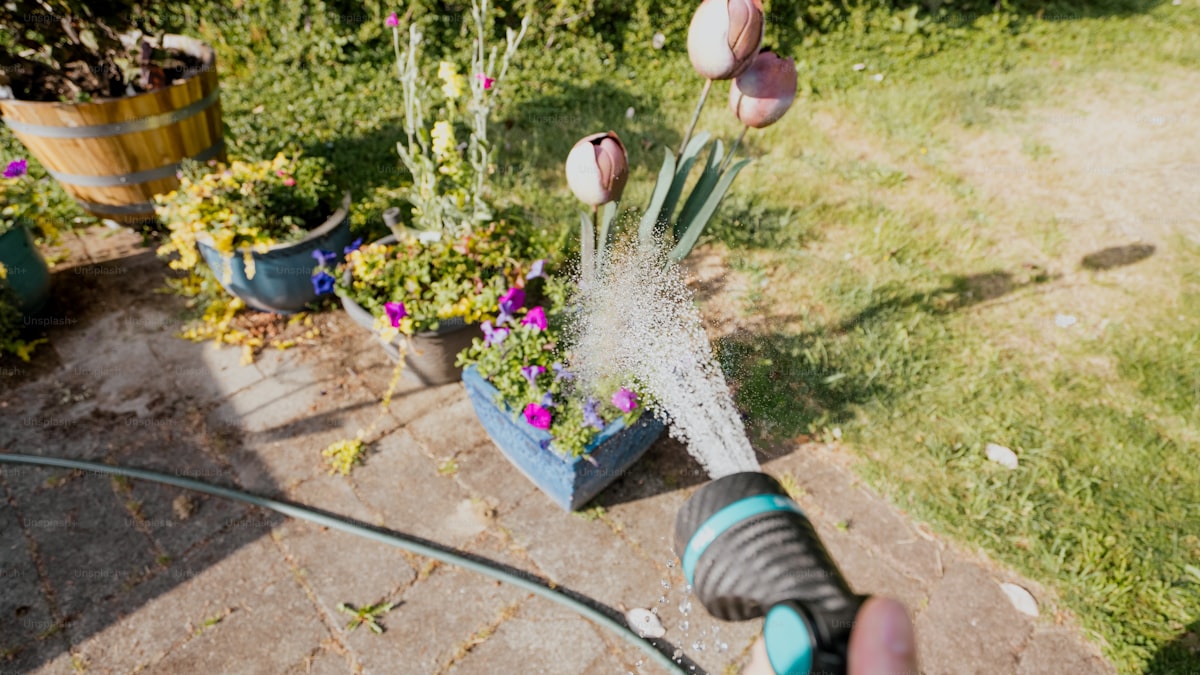
5 Best Garden Hose Nozzles and Sprayers (2026)
Find the perfect garden hose nozzle for watering plants, washing cars, and cleaning patios. We compared the top sprayers — here are the 5 best for every job.
Best Raised Garden Bed Kits You Can Order Online (2026)
The best raised garden bed kits for beginners and experienced gardeners. We compare wood, metal, and composite options with honest reviews and setup tips.
Related Articles
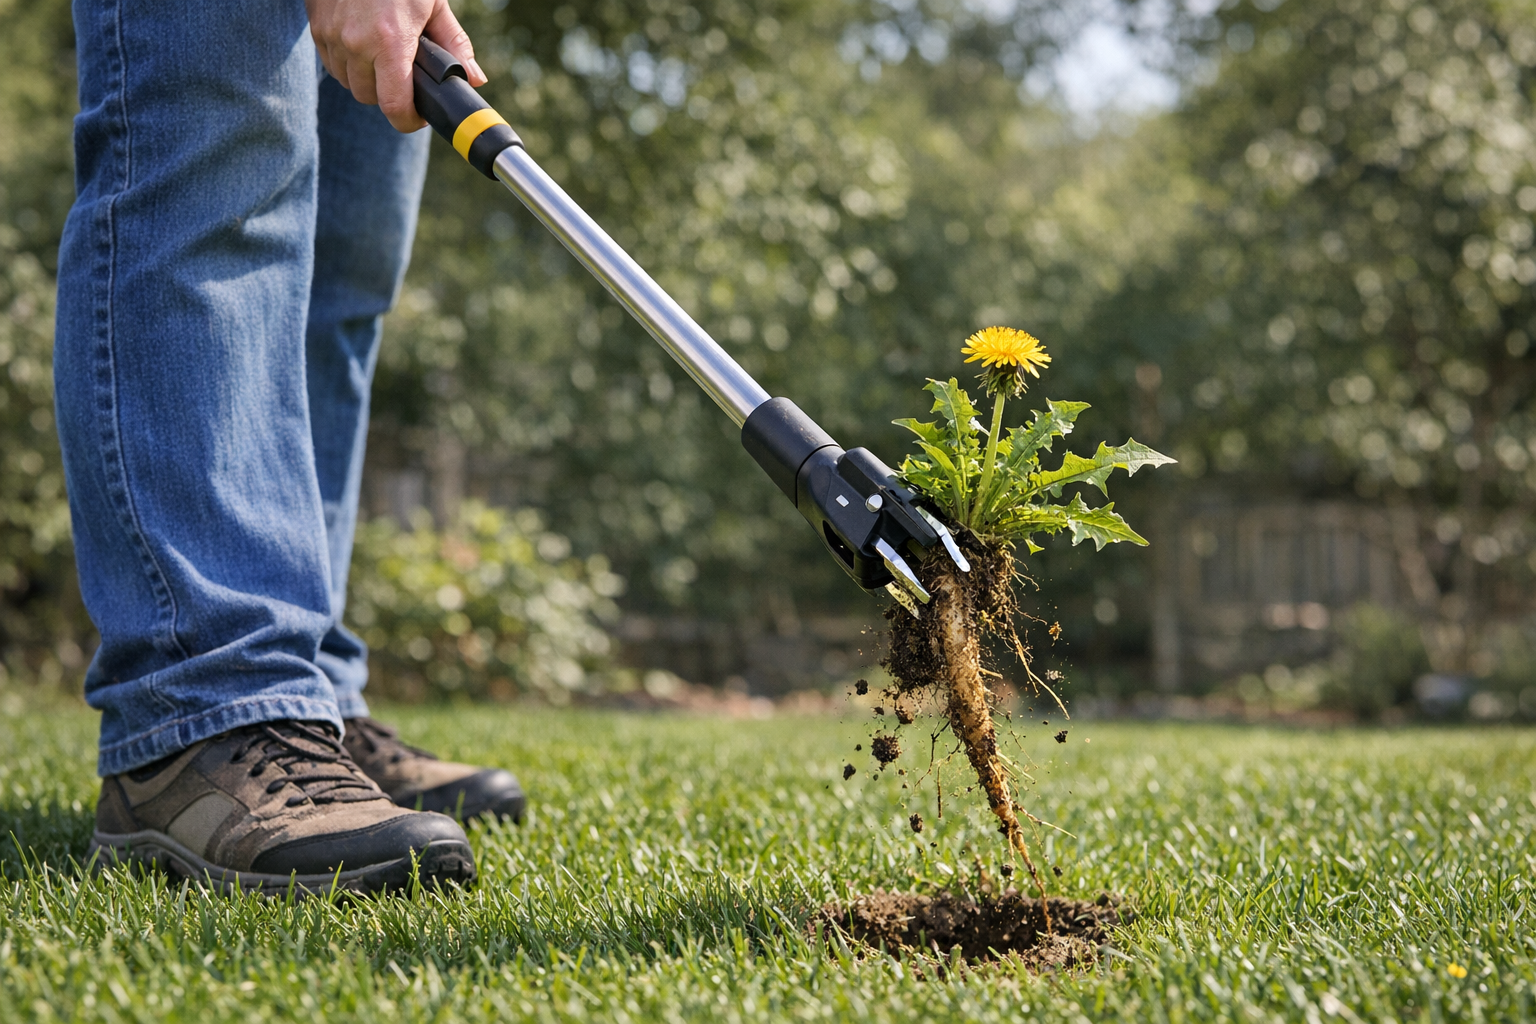
How to Get Rid of Dandelions Naturally (Without Killing the Lawn)
Dandelions are stubborn but beatable without chemical herbicides. Here's the 3-pronged natural approach that works long-term — and the tools that make it easy.
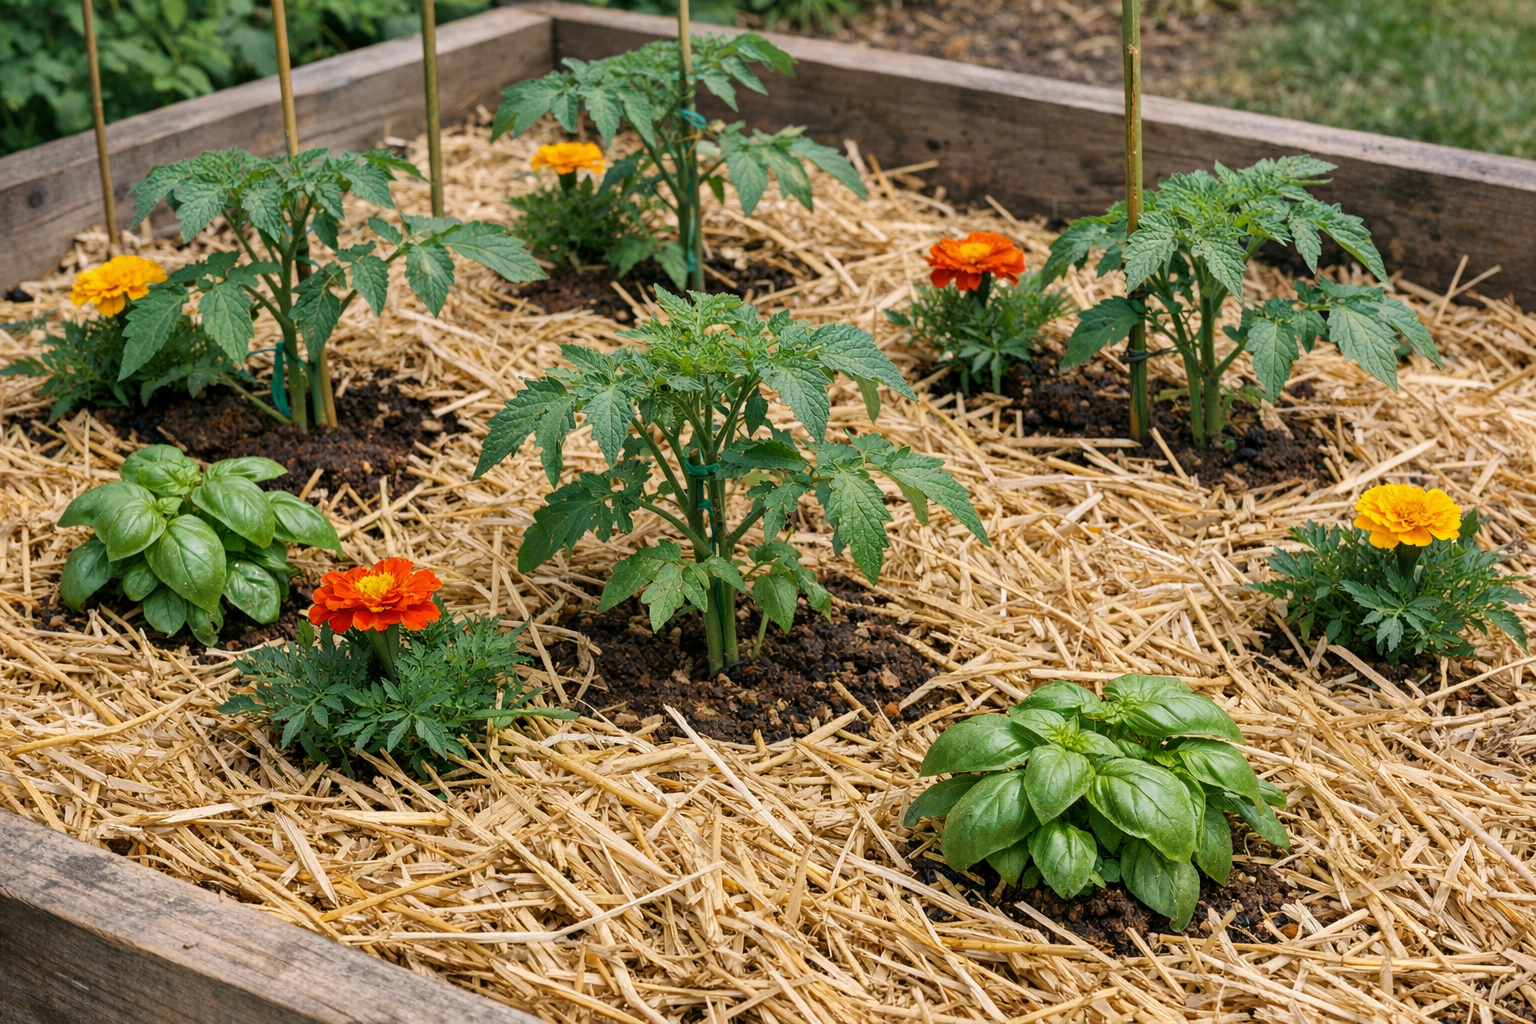
When to Plant Warm-Weather Annuals (And Which Are Easiest)
Tomato, pepper, basil, marigold — all are warm-weather plants that hate cold soil. Here's how to time the transplant for the longest possible harvest.
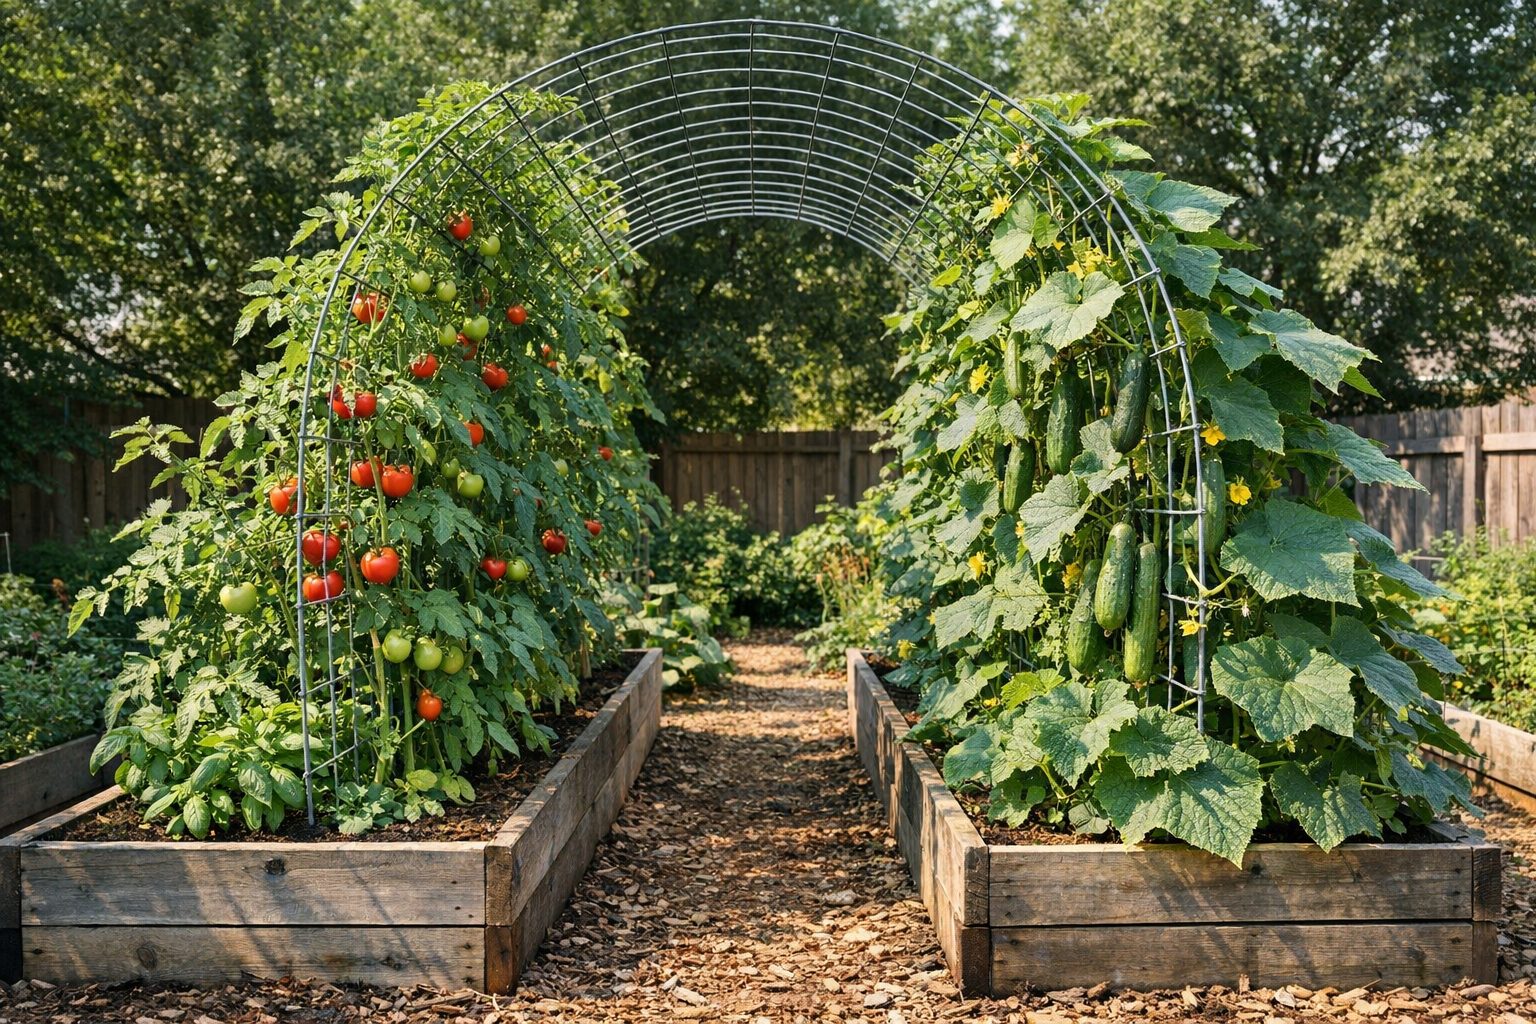
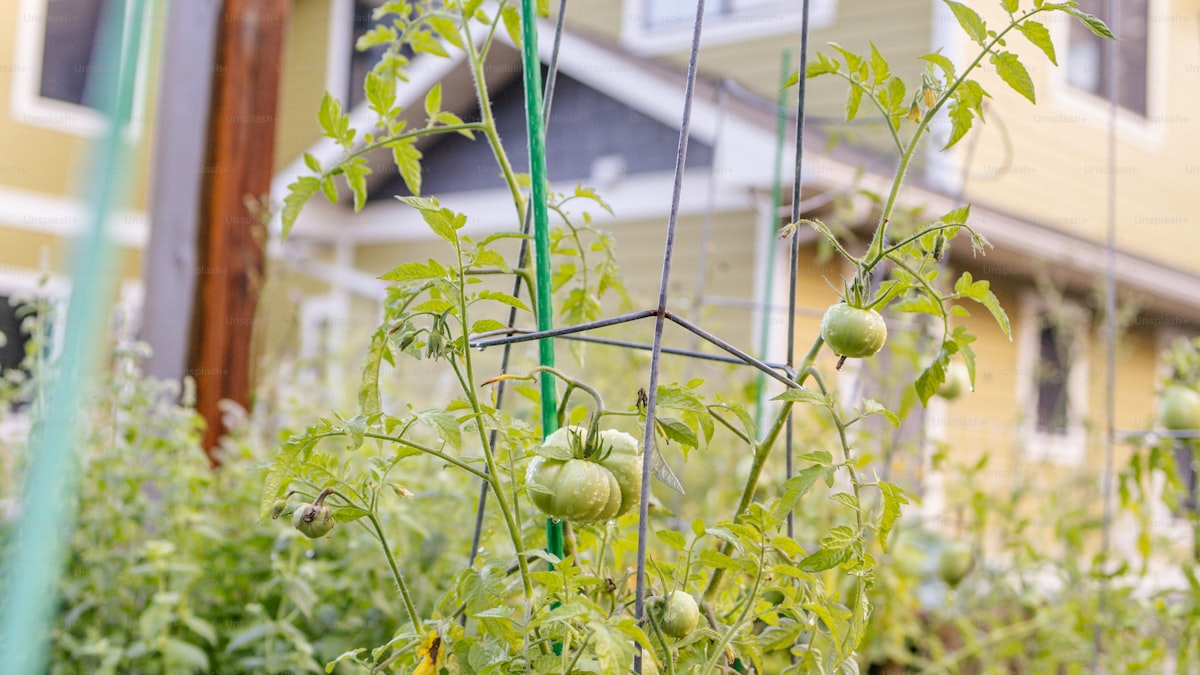
How to Build a DIY Garden Trellis for Climbing Vegetables
A sturdy trellis doubles your garden's yield per square foot. Here's how to build three easy styles using cheap materials in under an hour each.
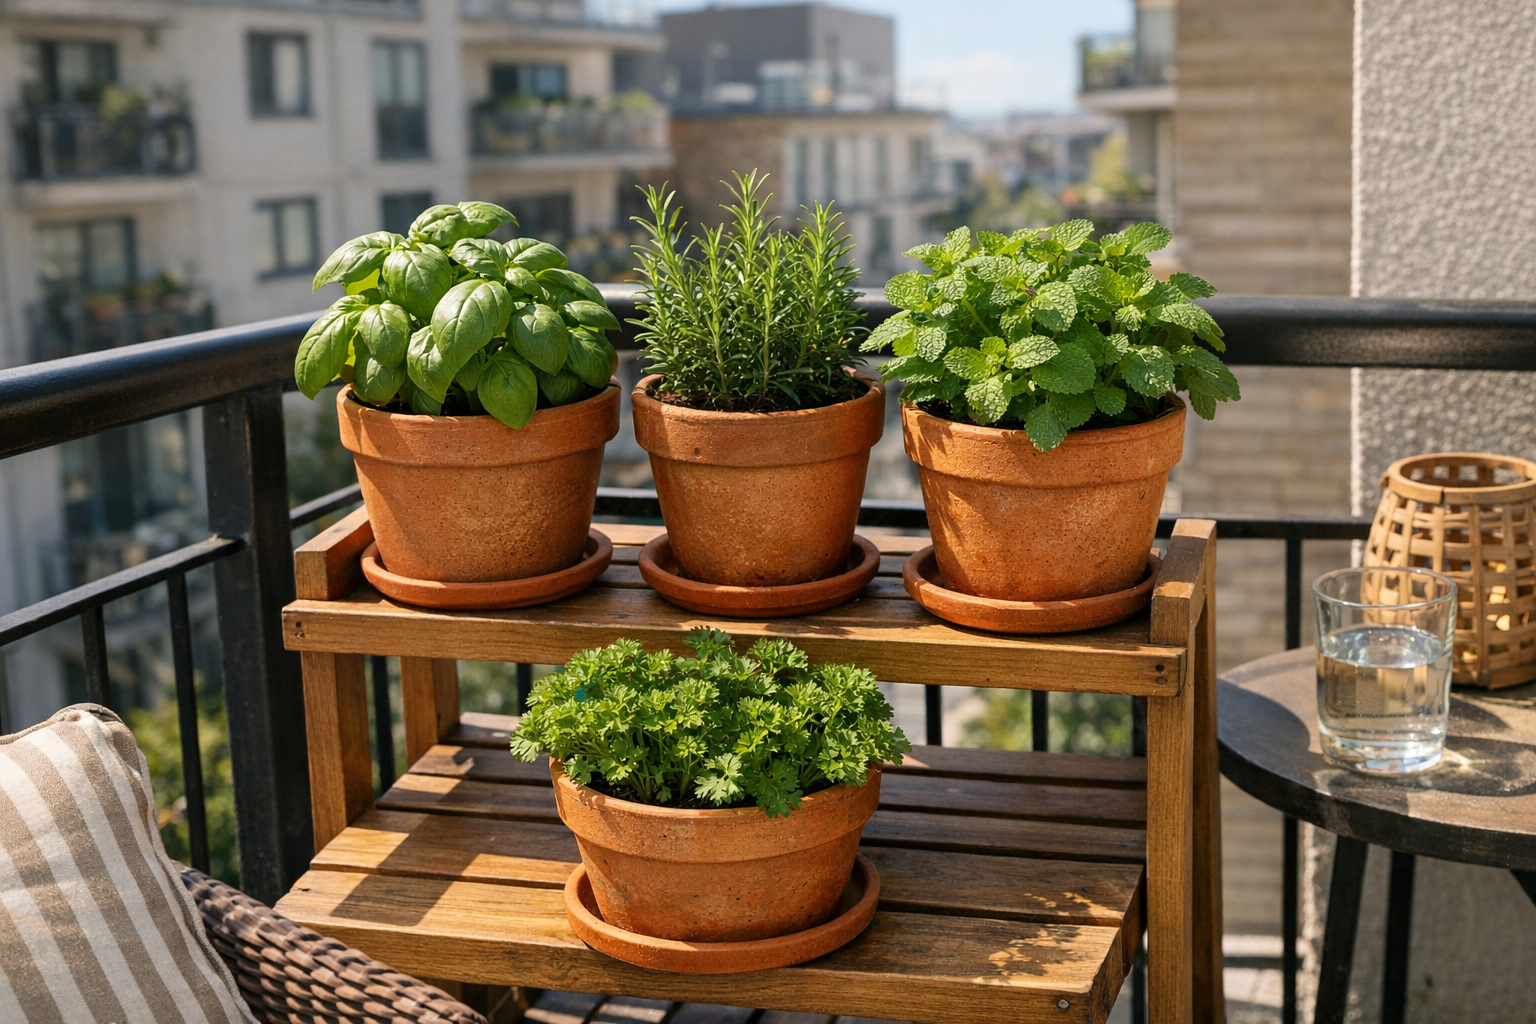
How to Start a Container Herb Garden on a Balcony
Fresh herbs all summer from a small apartment balcony or porch — even with limited sun. Picks for the easiest herbs, the right pots, and the soil that actually works.