How to Grow Tomatoes in Pots (Complete Container Guide)
Last updated: February 7, 2026
This article may contain affiliate links. If you make a purchase through these links, we may earn a small commission at no extra cost to you. Learn more
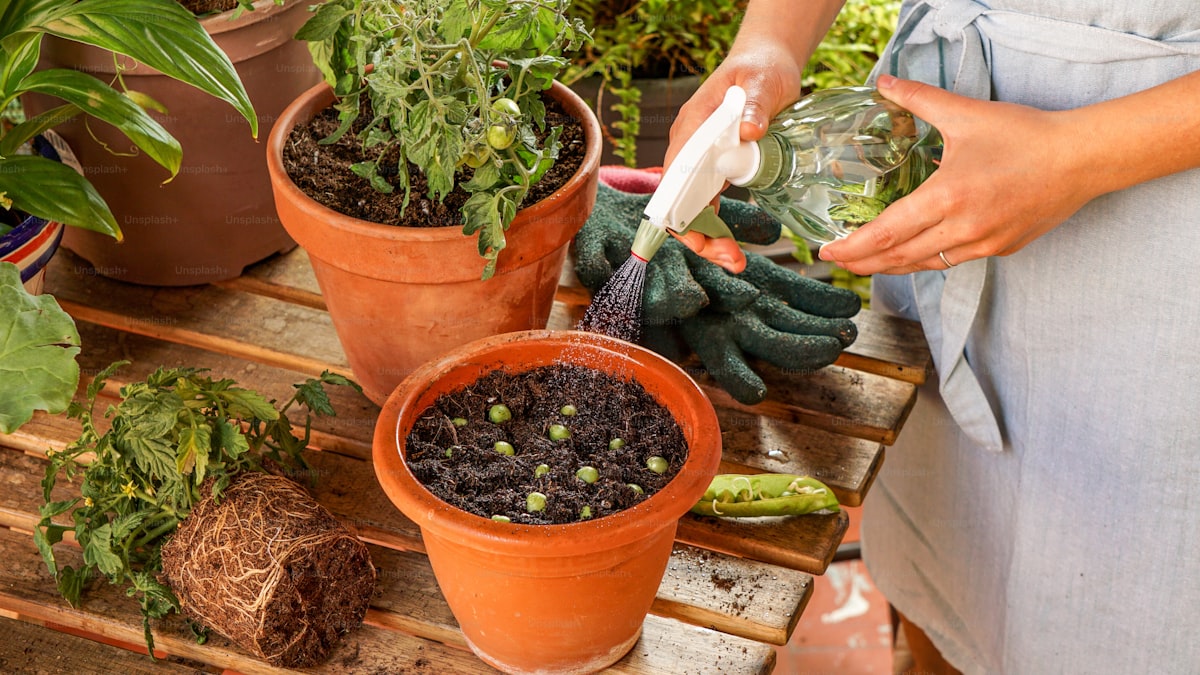
Few things in gardening rival the satisfaction of biting into a sun-warmed tomato you grew yourself. And here is the good news: you do not need a big backyard or a raised bed to make it happen. A sunny patio, balcony, or even a front stoop with the right container is all it takes to harvest armfuls of ripe, flavorful tomatoes every summer.
We have grown tomatoes in containers for years, and honestly, some of our best harvests have come from pots rather than in-ground beds. Container gardening gives you complete control over soil quality, drainage, and placement, which means fewer headaches and more tomatoes on your plate.
Why Grow Tomatoes in Containers?
Container-grown tomatoes offer several advantages that even gardeners with ample yard space appreciate. Understanding these benefits will help you decide whether pot-grown tomatoes are right for your situation.
First, portability. Pots can be moved to chase the sun throughout the day or pulled under cover when an unexpected frost or hailstorm rolls in. That flexibility alone can extend your growing season by weeks on either end.
Second, soil control. If your native soil is heavy clay, sandy, or riddled with diseases from past plantings, containers let you start fresh with the perfect growing medium every single season. No more fighting compacted earth or guessing at pH levels.
Third, space efficiency. Whether you live in an apartment with a small balcony or simply want to tuck a few plants onto your deck alongside patio furniture, containers make it possible. They are also a natural next step if you have already been growing herbs on your kitchen windowsill and want to graduate to something larger.
Finally, fewer soil-borne pests and diseases. Because you are using fresh potting mix rather than garden soil that may harbor fungal spores or nematodes, container tomatoes often stay healthier with less intervention.
Choosing the Best Tomato Varieties for Pots
Not every tomato variety thrives in a container. Some grow into unruly six-foot vines that topple pots, while others stay compact and manageable. Picking the right variety is the single most important decision you will make.
Determinate vs. Indeterminate Varieties
Determinate (bush) tomatoes grow to a fixed height, set their fruit all at once, and then wind down. They rarely exceed three to four feet and need minimal staking. This makes them ideal for containers.
Indeterminate (vining) tomatoes keep growing and producing fruit until frost kills the plant. They can reach six feet or taller and need robust support. You can absolutely grow them in pots, but plan for very large containers and sturdy cages or stakes.
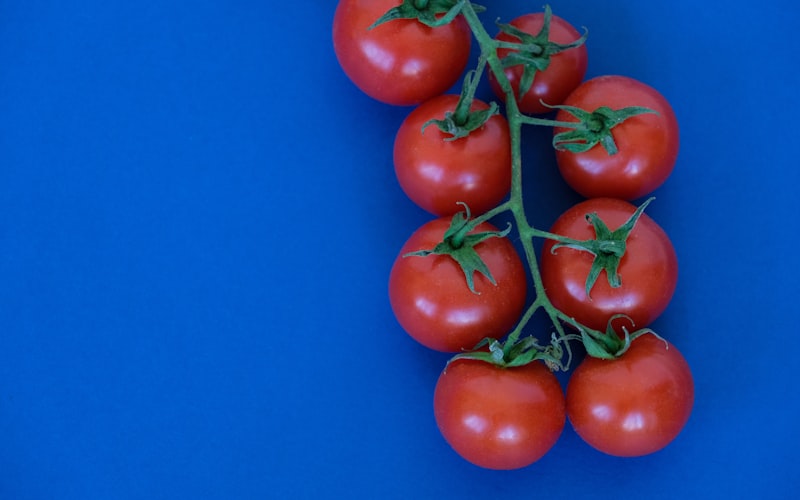
Our Top Picks for Container Growing
Patio Princess and Bush Early Girl are classic determinate varieties bred specifically for containers. They stay compact, produce full-size fruit, and mature in about 60 days.
Tumbling Tom and Tiny Tim are perfect for hanging baskets or small pots. Their cascading habit looks gorgeous on a railing and still produces handfuls of cherry tomatoes.
Celebrity is a determinate hybrid that resists most major diseases and performs consistently well in containers. It is one of the most forgiving varieties for beginners.
If you have room for a large pot (20 gallons or more), indeterminate cherry tomatoes like Sweet 100 or Sungold reward you with an almost absurd number of sweet, bite-size fruits from midsummer through fall.
Selecting the Right Container
Pot size has a dramatic effect on how well your tomatoes grow. Too small and the roots get cramped, the soil dries out in hours, and yields plummet. Too large and you waste money on extra potting mix.
Size Guidelines
For determinate and dwarf varieties, a container that holds at least five gallons of soil is the absolute minimum. We recommend 10 gallons for healthier plants and better harvests.
For indeterminate varieties, go big. A 15- to 20-gallon container gives roots the room they need and holds enough moisture to get through hot summer days without constant watering.
A general rule: if the pot feels like it might be too small, size up. Tomatoes are heavy feeders with extensive root systems, and they will always benefit from extra room.
Material Matters
Plastic pots are lightweight, affordable, and retain moisture well. They are a great all-around choice, especially if you need to move your containers frequently.
Fabric grow bags have gained enormous popularity and for good reason. They air-prune roots (preventing circling), drain beautifully, and fold flat for winter storage. The downside is they dry out faster than plastic, so you will water more often.
Terracotta and ceramic pots look beautiful but are heavy, breakable, and wick moisture away from soil. If you use them, choose large sizes and be prepared to water more frequently.
Self-watering containers have a built-in reservoir that wicks water up to roots as needed. They are excellent for tomatoes, reducing the risk of inconsistent watering that causes blossom-end rot and cracking.
Fabric Grow Bags for Tomatoes (5-Pack)
Air-prune roots for healthier plants, drain perfectly, and fold flat for storage. The breathable fabric keeps roots cool in summer heat. Available in 5, 7, and 10-gallon sizes.
Check Price on Amazon →Drainage Is Non-Negotiable
Whatever container you choose, it must have drainage holes. Tomatoes sitting in waterlogged soil develop root rot within days. If you fall in love with a decorative pot that lacks drainage, drill your own holes or use it as a cachepot with a plastic grower pot inside.
The Perfect Potting Mix
Never fill your containers with garden soil. It compacts in pots, drains poorly, and often carries diseases. Instead, use a high-quality potting mix formulated for containers.
What to Look For
A good potting mix contains peat moss or coconut coir for moisture retention, perlite or vermiculite for drainage and aeration, and composted bark or similar organic material for structure. Many premium mixes also include a slow-release fertilizer that feeds plants for the first few weeks.
If you are composting at home, mixing about 20 percent finished compost into your potting mix adds beneficial microbes and a gentle nutrient boost. Just make sure the compost is fully broken down — unfinished compost can burn roots and harbor pathogens.
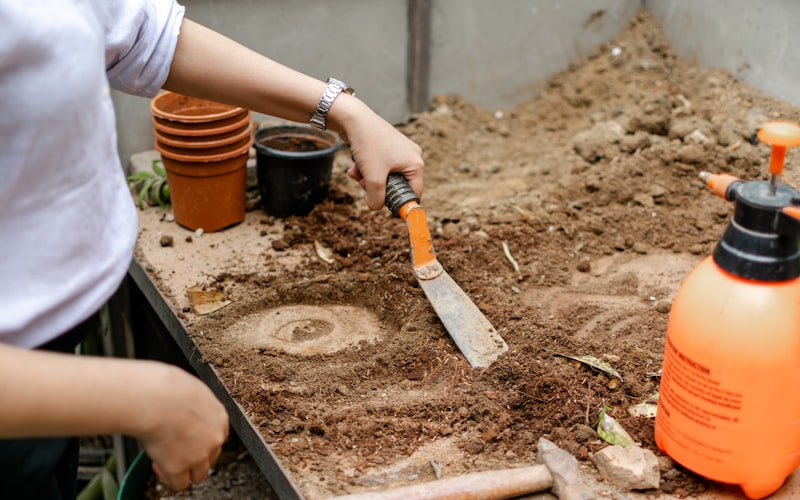
Filling Your Containers
Fill pots to within about two inches of the rim. This gap gives you room to water without overflow and allows for a layer of mulch on top. Gently firm the soil as you fill, but do not pack it down hard — roots need air pockets.
Moisten the potting mix thoroughly before transplanting. Dry peat-based mixes can be stubborn about absorbing water, so soak the mix and stir it until evenly damp.
Planting Your Tomatoes
Timing and technique both matter when getting your transplants into their new container homes.
When to Plant
Wait until nighttime temperatures consistently stay above 50 degrees Fahrenheit before moving tomato transplants outdoors. Tomatoes are warm-season plants that stall or suffer damage in cold conditions.
If you are eager to get a head start, harden off seedlings by placing them outside for a few hours each day, gradually increasing exposure over seven to ten days. This prevents transplant shock.
How to Plant
Here is a trick most beginner gardeners do not know: bury tomato transplants deep. Remove the lower leaves and bury the stem so only the top few sets of leaves remain above the soil line. Tomatoes sprout roots all along their buried stems, creating a much stronger root system.
For very leggy transplants, you can even lay the stem sideways in a trench, bending the top portion upward. The buried section will root aggressively, and the plant will grow straight toward the sun within a few days.
Water thoroughly after planting and install your support structure (cage, stake, or trellis) right away. Adding supports later risks damaging established roots.
Watering Container Tomatoes
Watering is the single biggest challenge of container tomato growing. Pots dry out far faster than in-ground beds, especially during hot summer weather. Getting this right is essential to healthy plants and great fruit.
How Often to Water
During peak summer, large containers may need watering every single day. Smaller pots and fabric grow bags might need it twice daily. Stick your finger two inches into the soil — if it feels dry, it is time to water.
Water deeply until liquid streams from the drainage holes. Shallow sips encourage shallow root growth and leave the lower root zone parched.
Morning watering is ideal because it gives foliage time to dry before evening, reducing disease risk. If you also water in the afternoon on extremely hot days, aim at the soil, not the leaves.
Avoiding Common Watering Problems
Inconsistent watering — letting the soil swing between bone-dry and soaked — is the leading cause of blossom-end rot, a frustrating condition where the bottom of the fruit turns black and leathery. It is not a disease but a calcium-uptake issue caused by uneven moisture.
Mulching the soil surface with two to three inches of straw, shredded leaves, or wood chips dramatically reduces evaporation and keeps moisture levels stable. Mulch also keeps roots cooler during heat waves.
If you find daily watering unsustainable, self-watering containers or drip irrigation on a timer are worthwhile investments. Consistent moisture makes the difference between mediocre and magnificent tomatoes. You may also find our tips on how to lower your water bill helpful for keeping gardening costs in check while watering efficiently.
Fertilizing for Maximum Yield
Tomatoes are heavy feeders, and the limited soil volume in a container means nutrients deplete quickly. A solid feeding plan is essential for big, flavorful harvests.
Getting Started
If your potting mix includes slow-release fertilizer, hold off on additional feeding for the first three to four weeks. After that, begin a regular fertilizing schedule.
Use a balanced fertilizer (such as 10-10-10) early in the season when plants are building foliage. Once flowers appear, switch to a formula higher in phosphorus and potassium (like 5-10-10 or a dedicated "tomato fertilizer") to encourage fruiting.
Feeding Schedule
Liquid fertilizers diluted to half strength applied every seven to ten days work well for container tomatoes. Alternatively, side-dress with granular organic fertilizer monthly.
Organic options like fish emulsion, kelp extract, and compost tea provide a gentle, sustained feed that is hard to overdo. Synthetic fertilizers work faster but carry more risk of burning roots if over-applied.
Signs You Are Over- or Under-Feeding
Lush, dark-green foliage with very few flowers often signals too much nitrogen. Cut back on balanced fertilizers and switch to a bloom-boosting formula.
Yellowing older leaves, slow growth, and small fruit may indicate nutrient deficiency. Increase feeding frequency or switch to a more concentrated formula.
Purple-tinged leaves and stems sometimes point to phosphorus deficiency, especially in cool weather. This usually resolves once temperatures warm, but a dose of bone meal can help.
Supporting Your Plants
Even compact determinate varieties benefit from some form of support. Without it, heavy fruit pulls branches to the ground, inviting rot and pest damage.
Cages, Stakes, and Trellises
Tomato cages are the simplest option. Use heavy-duty, cone-shaped wire cages rather than the flimsy round ones from the dollar store — those collapse under the weight of a mature plant. For container growing, cages that are 36 to 48 inches tall work well for most determinate varieties.
Single stakes are effective for pruned, single-stem plants. Drive a sturdy stake into the pot at planting time and tie the main stem loosely with soft garden twine every eight to ten inches as it grows.
String trellises work beautifully on a balcony or against a wall. Run heavy twine from the pot up to an overhead hook and gently wrap the stem around it as it grows.
Whatever method you choose, install it at planting time. Jamming a stake into an established root ball damages the very roots your plant depends on.
Pruning and Maintenance
A little regular pruning keeps container tomatoes productive and manageable. It improves air circulation, directs energy toward fruit production, and prevents the plant from becoming an unwieldy tangle.
Removing Suckers
Suckers are small shoots that emerge in the "armpit" between the main stem and a branch. On indeterminate varieties, removing suckers below the first flower cluster focuses the plant's energy on fewer but larger, higher-quality fruits.
On determinate varieties, prune sparingly. These plants are genetically programmed to set a specific number of fruit clusters, so aggressive pruning actually reduces your harvest.
Lower-Leaf Cleanup
As the plant grows, remove the lowest leaves that touch or nearly touch the soil. This reduces splash-borne diseases and improves air circulation around the base of the plant.
Once the first fruits begin to ripen, you can also remove some upper foliage to let more sunlight reach the fruit. Tomatoes ripen faster with direct sun exposure.
Dealing with Pests and Diseases
Container tomatoes face fewer pest and disease issues than in-ground plants, but they are not immune. Vigilance and early action are your best defenses.
Common Container Tomato Pests
Aphids cluster on new growth and leaf undersides, sucking sap and weakening plants. A strong spray of water knocks most of them off, and insecticidal soap handles persistent infestations.
Tomato hornworms are large green caterpillars that can defoliate a plant overnight. Inspect plants regularly and hand-pick any you find. They are well camouflaged, so look carefully.
Whiteflies are tiny white insects that fly up in clouds when disturbed. Yellow sticky traps and neem oil both help control them.
Common Diseases
Early blight causes dark, concentric-ring spots on lower leaves that spread upward. Remove affected leaves immediately, improve air circulation, and avoid overhead watering.
Blossom-end rot appears as a dark, sunken area on the bottom of the fruit. As we mentioned, it is caused by inconsistent watering rather than a pathogen. Steady moisture and mulch are the cure.
Powdery mildew shows up as white, powdery patches on leaves in humid weather. Good air circulation and avoiding wet foliage in the evening are the best preventive measures.
Harvesting Your Container Tomatoes
After weeks of care, the harvest is your reward. Knowing when and how to pick ensures peak flavor and encourages continued production.
When to Pick
Tomatoes are ready when they are fully colored and give slightly to gentle pressure. A ripe tomato releases easily from the stem with a gentle twist or tug.
For the best flavor, let tomatoes ripen fully on the vine. However, if critters are stealing your fruit or a frost threatens, you can pick tomatoes at the "breaker" stage (just beginning to change color) and ripen them indoors on a sunny counter.
Extending the Harvest
If you are growing indeterminate varieties, harvest regularly to encourage the plant to keep setting new fruit. Leaving overripe tomatoes on the vine signals the plant that its job is done.
At the end of the season, pick all remaining green tomatoes before the first frost and ripen them indoors. Place them in a single layer in a warm room — a paper bag with a ripe banana speeds up the process thanks to the ethylene gas the banana releases.
Tips for Year-Over-Year Success
Once you have one successful season under your belt, each year gets easier and more productive. Here are some habits that keep your container tomato garden improving over time.
Refresh your potting mix annually. Used potting mix loses structure and may harbor pathogens. You can reuse up to half of it by mixing it with fresh mix and a generous scoop of compost.
Rotate varieties if you had disease problems. Different varieties carry different resistances, and switching things up breaks pest and disease cycles.
Keep a simple log of what varieties you grew, when you planted, when the first fruit ripened, and what issues (if any) you encountered. This record becomes a personalized planting guide after just a couple of seasons.
Start from seed to save money. Once you are comfortable with container growing, starting your own transplants from seed gives you access to hundreds of varieties not available at garden centers — and costs pennies per plant.
If container tomatoes spark a deeper interest, you might enjoy expanding to a full vegetable garden in your backyard. The skills you have already built with pots translate directly to in-ground growing.
Frequently Asked Questions
What size pot do I need for tomatoes?
For compact, determinate varieties a 5-gallon container is the bare minimum, but 10 gallons performs significantly better. Indeterminate varieties need 15 to 20 gallons for healthy root development and consistent moisture. Bigger pots hold more soil, retain moisture longer, and give roots room to spread, all of which translate to healthier plants and larger harvests. When in doubt, size up. You will never regret giving tomato roots extra space, but you will notice stunted growth and constant wilting in pots that are too small.
How many hours of sun do container tomatoes need?
Tomatoes need at least six to eight hours of direct sunlight daily to produce well. Less than six hours results in spindly plants, few flowers, and minimal fruit. Place containers in your sunniest available spot, ideally facing south or west. One advantage of containers is portability — if your sunniest spot changes with the season or time of day, you can move the pots to follow the light. Reflective surfaces like white walls or light-colored fencing can also bounce additional light onto your plants.
Can I reuse potting mix from last year's tomato containers?
You can reuse potting mix, but do not use it as-is. Old mix loses structure, may harbor disease organisms, and is depleted of nutrients. The best approach is to blend half old mix with half fresh potting mix, add a generous amount of compost, and include a slow-release fertilizer. Never reuse soil from a plant that had a disease like blight or fusarium wilt. Also, avoid planting tomatoes in the same mix where tomatoes grew the previous year — rotate with a different crop if possible to reduce disease pressure.
Why are my container tomato leaves turning yellow?
Yellowing leaves on container tomatoes can mean several things. The most common cause is overwatering, which suffocates roots and prevents nutrient uptake. Check that your drainage holes are clear and allow soil to dry slightly between waterings. Nitrogen deficiency is another frequent culprit, especially mid-season when container soil is depleted — a dose of balanced fertilizer often resolves it within a week. Lower leaves yellowing while upper leaves stay green is normal as the plant redirects energy to new growth and fruit. However, if yellowing comes with spots, streaks, or wilting, it may signal a disease that warrants closer inspection.
Do I need to prune container tomatoes?
Pruning depends on the variety. Indeterminate tomatoes benefit significantly from removing suckers (the small shoots that grow between the main stem and branches), which concentrates energy into fewer but larger fruits and keeps the plant manageable in a pot. Determinate varieties should be pruned lightly, if at all, because their fruit production is already genetically limited and over-pruning reduces yield. Regardless of type, always remove leaves that touch the soil and any dead or diseased foliage to improve air circulation and reduce disease risk.
Time to Get Growing
Growing tomatoes in containers is one of the most accessible and rewarding projects for gardeners of any experience level. You do not need a sprawling yard or years of horticultural knowledge — just a sunny spot, a decent-sized pot, good soil, and a willingness to water consistently.
Start with one or two pots of a forgiving variety like Celebrity or Patio Princess, follow the fundamentals we have covered here, and before long you will be harvesting tomatoes that put anything at the grocery store to shame. The taste difference between a supermarket tomato and one that ripened on your own patio is simply night and day.
If you enjoy caring for low-maintenance indoor plants or have been curious about growing your own food, container tomatoes are the perfect next step. They teach you the core skills of gardening — soil prep, watering, feeding, pest management — in a manageable, forgiving format.
So grab a pot, pick up a transplant at your local garden center, and get started. Your first homegrown tomato is only a few months away, and we promise it will be worth every bit of effort.
Get weekly home tips that actually work
Join thousands of homeowners getting practical cleaning hacks, DIY fixes, and money-saving tips every week. Free, and you can unsubscribe anytime.

Written by
Beth SullivanFounder & Editor-in-Chief
Beth Sullivan is the founder of Practical Home Guides. With over a decade of hands-on experience tackling every home challenge imaginable, she started this site to share the practical, no-nonsense solutions she wishes she had found years ago. When she's not testing cleaning hacks or organizing pantries, you'll find her in the garden or working on her next DIY project.
Recommended Products
Looking for specific product recommendations? Check out our tested picks.
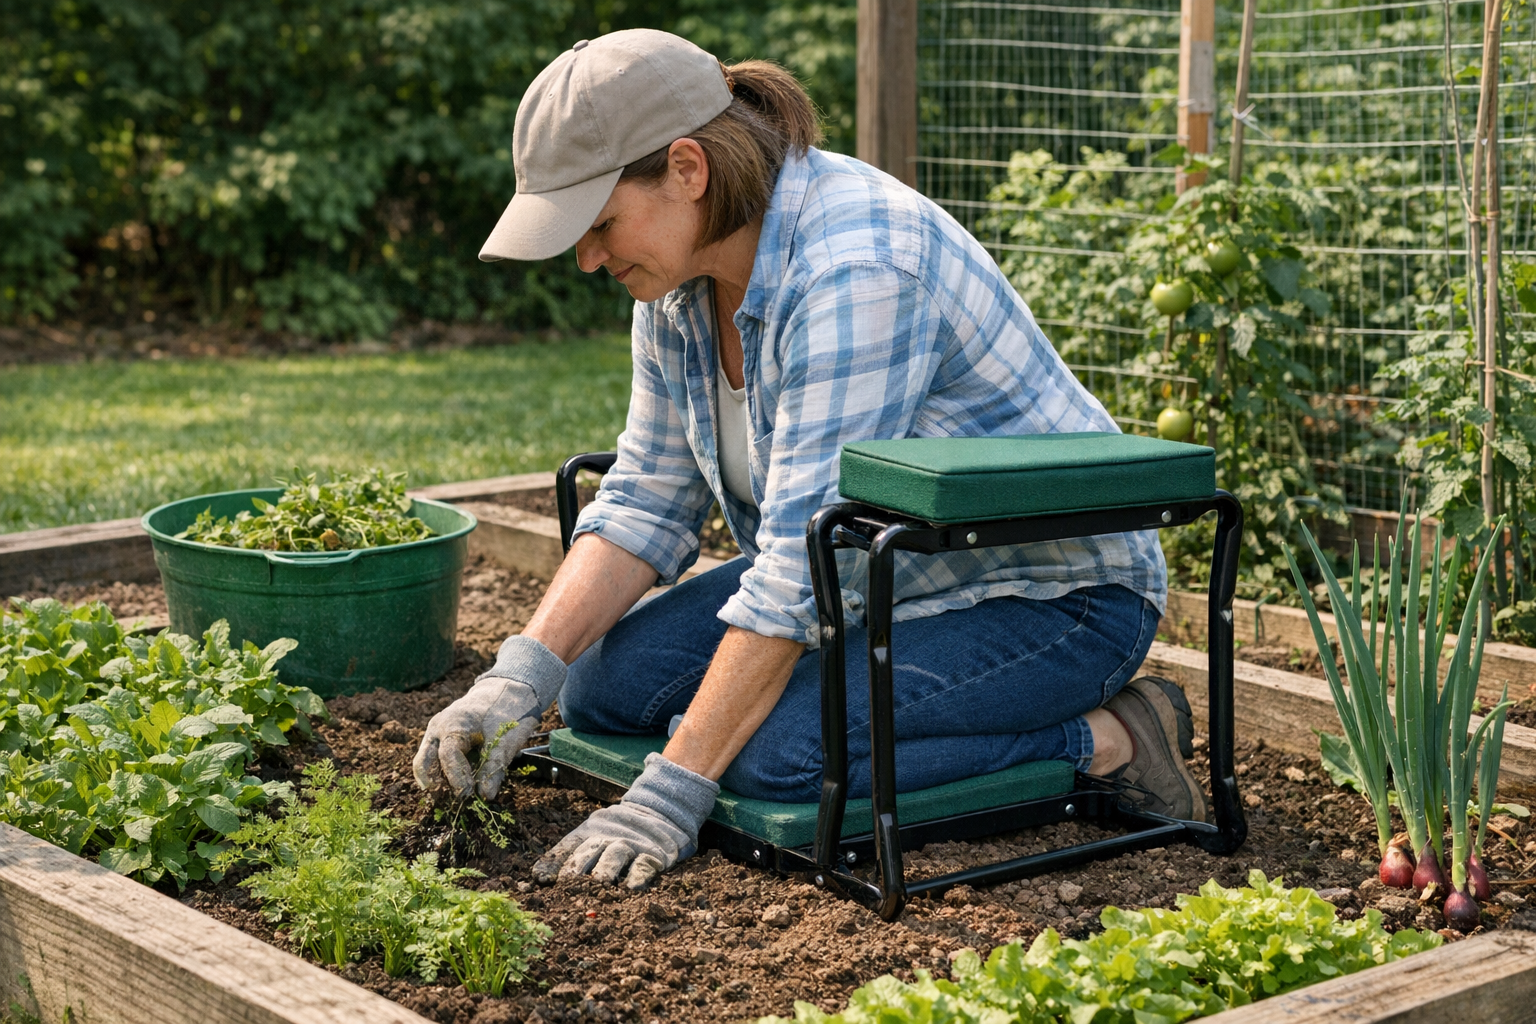
Best Garden Kneelers and Seats (2026 Tested)
Gardening shouldn't wreck your knees and back. We tested kneelers, foldable seats, and rolling carts to find the picks worth the price.
Best Pruning Shears for Gardeners (2026 Guide)
We tested bypass and anvil pruning shears across roses, fruit trees, perennials, and tomato vines. Here are the picks worth your money — and the one to avoid.
Best Raised Bed Soil Mixes (2026 Buyer's Guide)
Bagged soil for raised beds is a minefield. We tested the top brands for vegetable yield, drainage, and value to find the soil mixes that actually grow food.
5 Best Garden Hose Nozzles and Sprayers (2026)
Find the perfect garden hose nozzle for watering plants, washing cars, and cleaning patios. We compared the top sprayers — here are the 5 best for every job.
Best Raised Garden Bed Kits You Can Order Online (2026)
The best raised garden bed kits for beginners and experienced gardeners. We compare wood, metal, and composite options with honest reviews and setup tips.
Related Articles
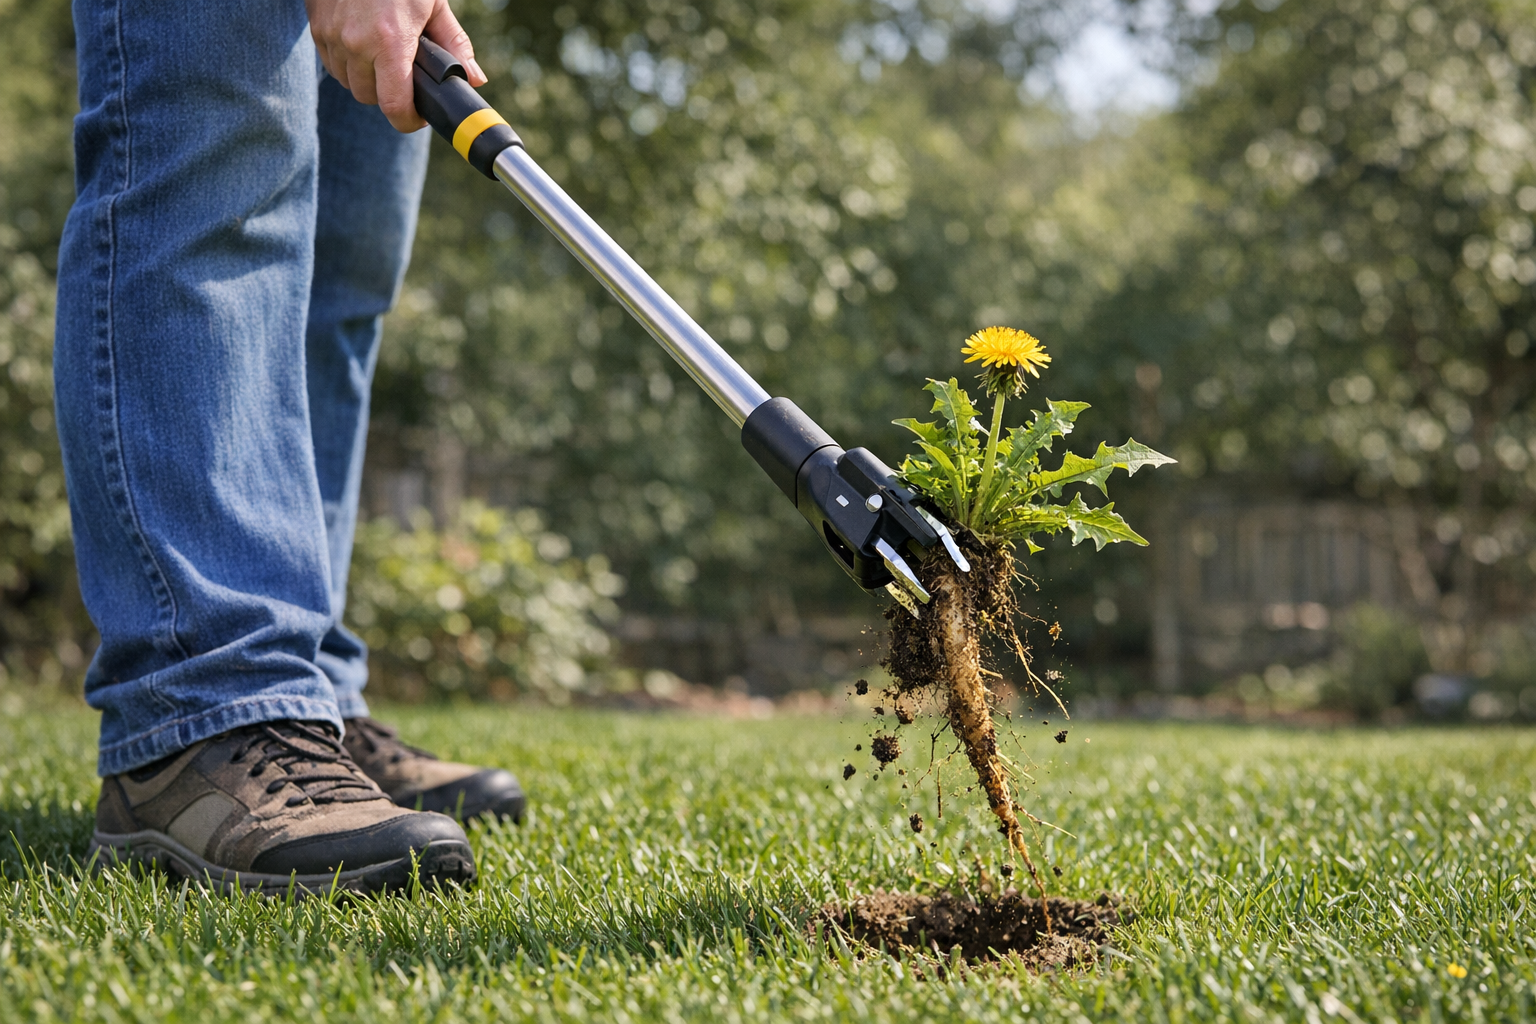
How to Get Rid of Dandelions Naturally (Without Killing the Lawn)
Dandelions are stubborn but beatable without chemical herbicides. Here's the 3-pronged natural approach that works long-term — and the tools that make it easy.
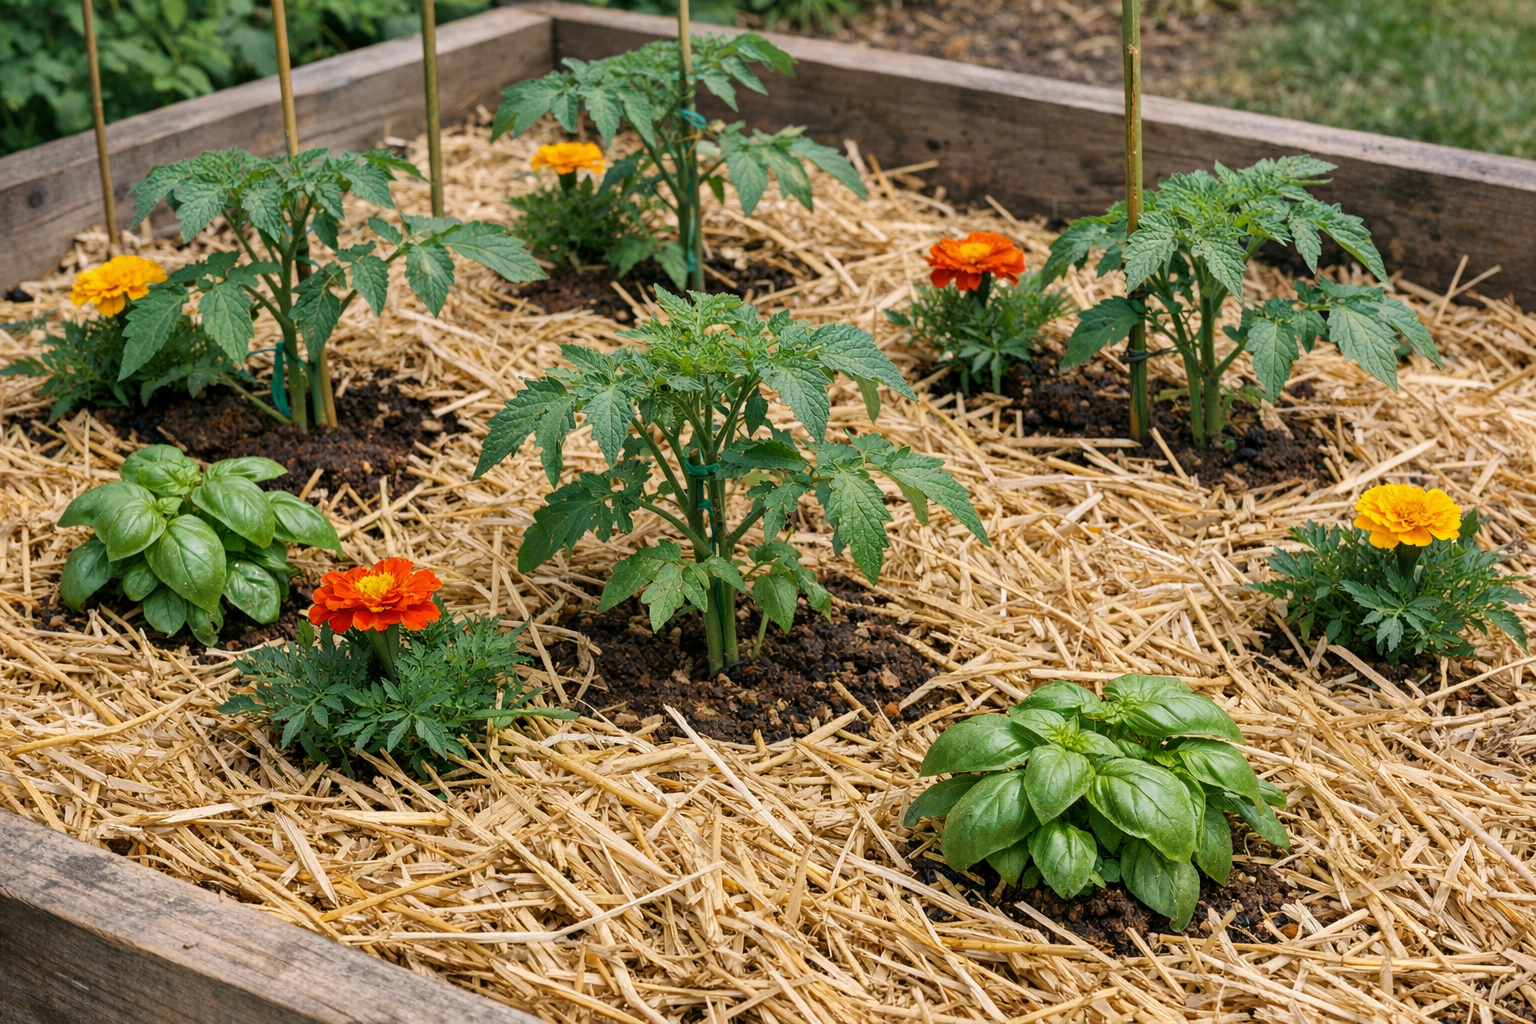
When to Plant Warm-Weather Annuals (And Which Are Easiest)
Tomato, pepper, basil, marigold — all are warm-weather plants that hate cold soil. Here's how to time the transplant for the longest possible harvest.
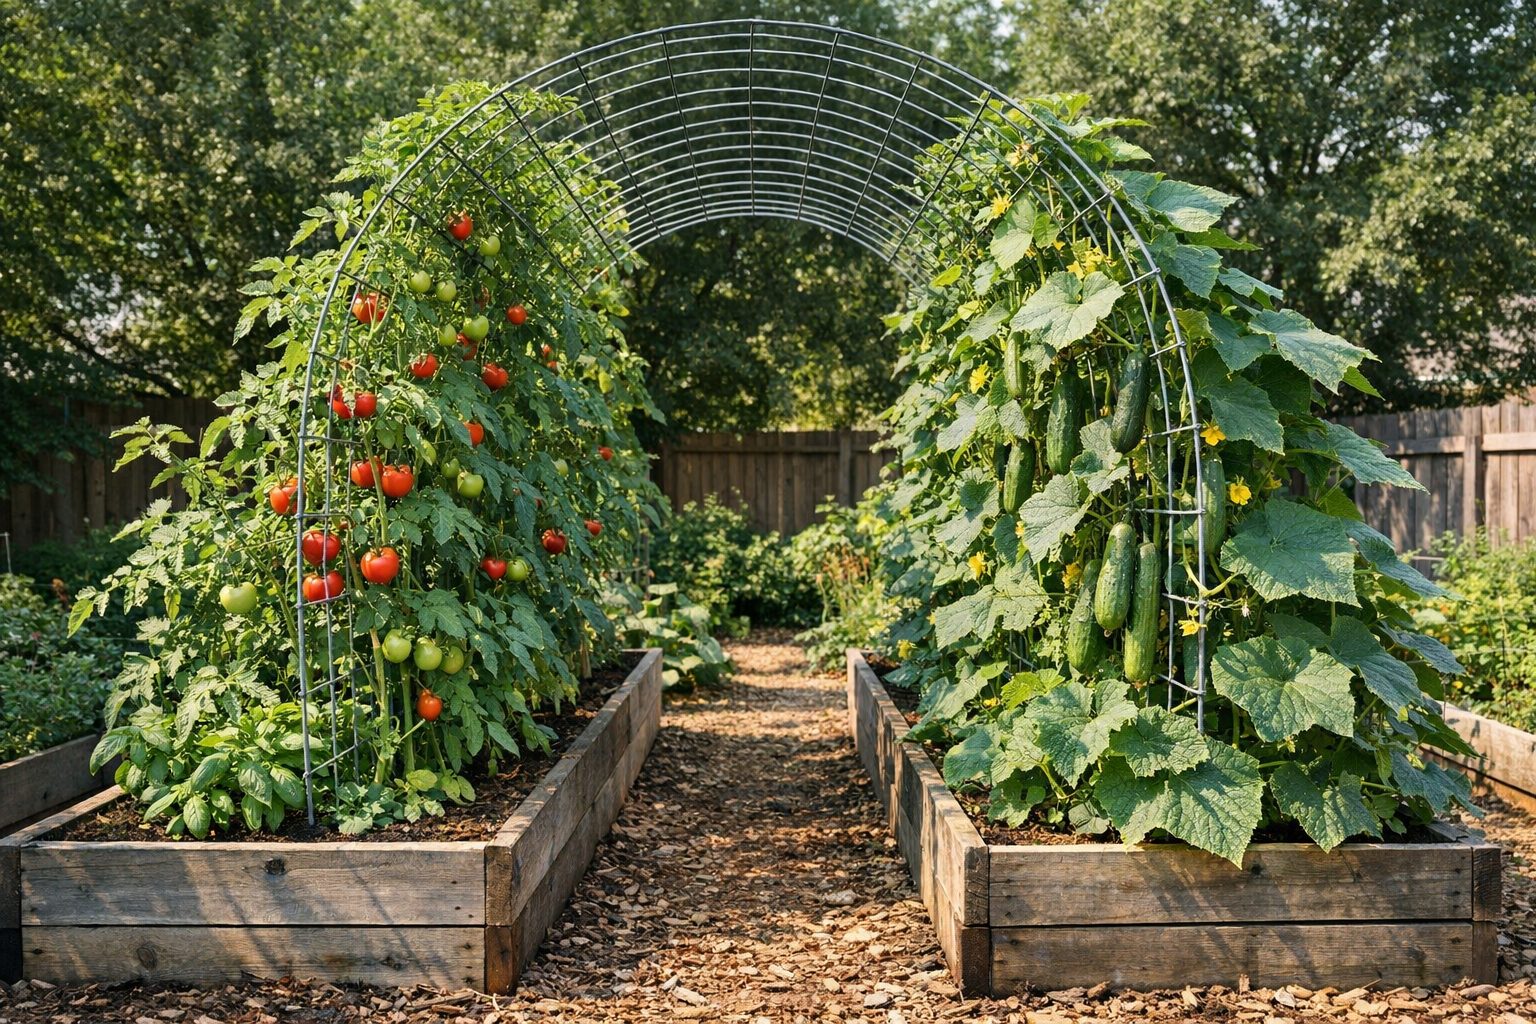
How to Build a DIY Garden Trellis for Climbing Vegetables
A sturdy trellis doubles your garden's yield per square foot. Here's how to build three easy styles using cheap materials in under an hour each.
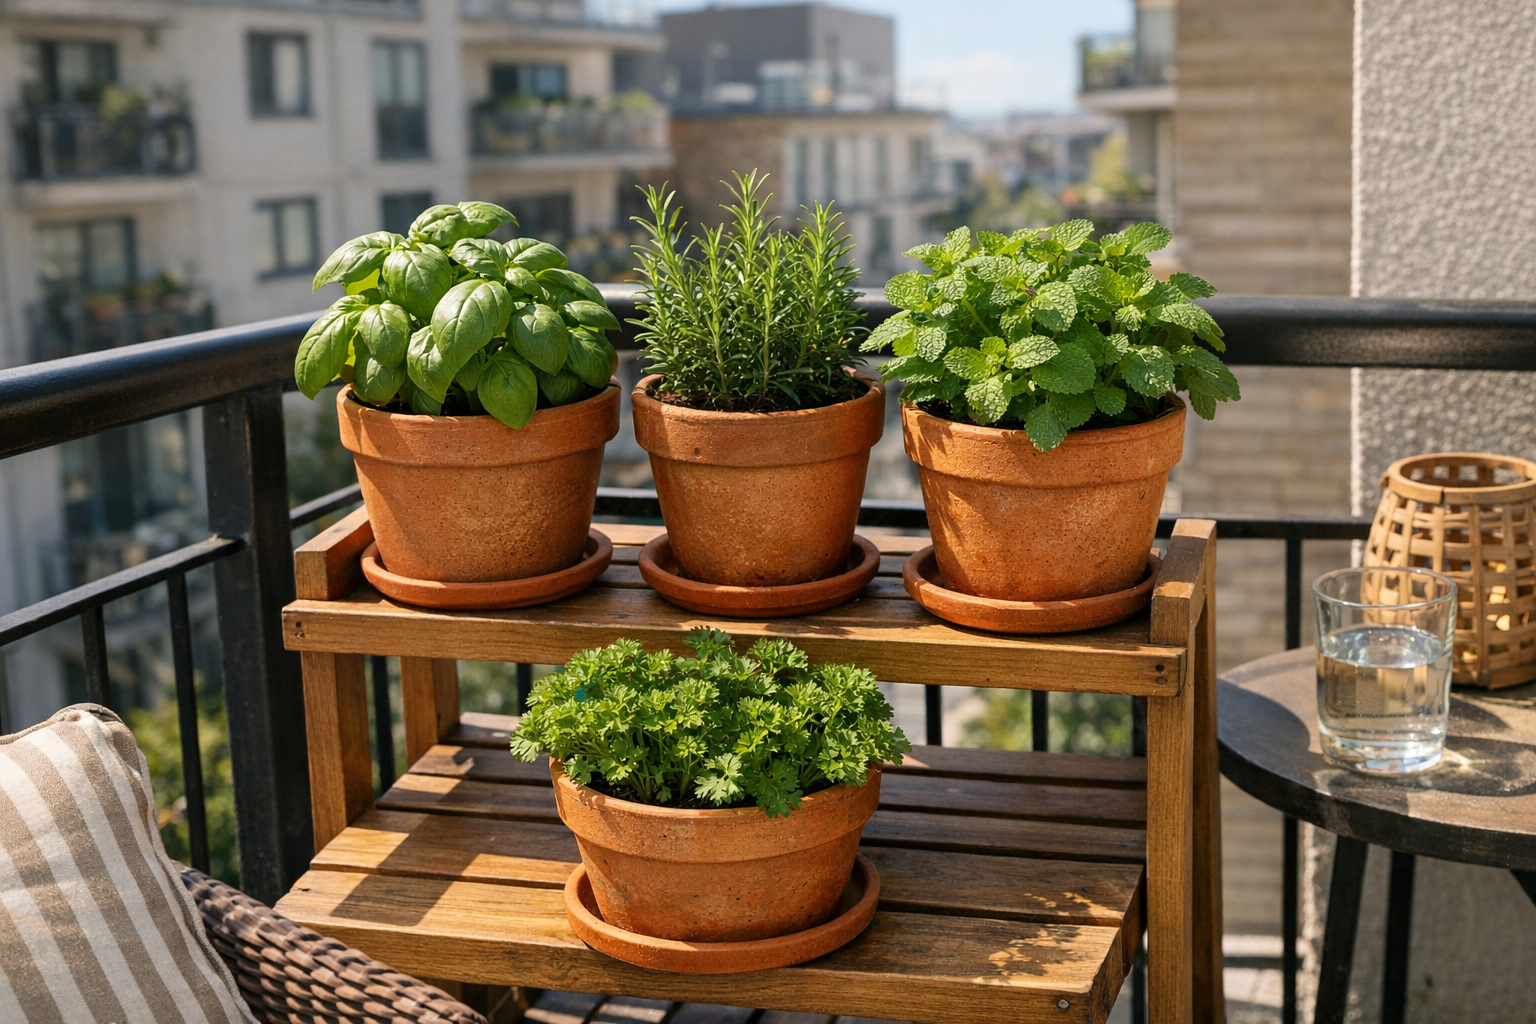
How to Start a Container Herb Garden on a Balcony
Fresh herbs all summer from a small apartment balcony or porch — even with limited sun. Picks for the easiest herbs, the right pots, and the soil that actually works.