How to Clean Hardwood Floors Without Damaging Them
Hardwood floors are one of the most beautiful and valuable features in any home. They add warmth, character, and can last for generations — but only if you clean them correctly. The wrong cleaning method can leave scratches, cause warping, strip the finish, or leave a sticky residue that attracts even more dirt.
The good news is that keeping hardwood floors gorgeous doesn't require expensive products or complicated routines. Once you understand what your floors need (and what they absolutely can't tolerate), maintaining them becomes second nature.
Understanding Your Floor's Finish
Before you clean anything, you need to know what type of finish your hardwood has. This determines which products and methods are safe to use.
Surface-Sealed Floors
Most modern hardwood floors have a polyurethane, urethane, or polyacrylic finish. These floors have a protective coating on top of the wood that acts as a barrier against moisture and stains. You can identify a surface-sealed floor by placing a drop of water on it — if the water beads up, the floor is sealed.
Surface-sealed floors are the easiest to clean because the finish protects the wood underneath. They can tolerate slightly more moisture during cleaning, though you should still avoid soaking them.
Penetrating Seal and Oil-Treated Floors
These finishes soak into the wood grain rather than sitting on top. The wood is protected, but not to the same degree as surface-sealed floors. These floors need special care and should generally be cleaned with products recommended by the finish manufacturer.
Waxed Floors
Older homes often have wax-finished hardwood floors. These should never be cleaned with water-based cleaners, as the water can penetrate the wax and damage the wood underneath. Waxed floors need to be buffed periodically and should only be cleaned with products designed for waxed wood.
If you're unsure about your floor's finish, check with your flooring installer, or test a small hidden area with water. When in doubt, treat the floor as if it has the most delicate finish and work from there.
The Essential Daily Routine
The single most important thing you can do for your hardwood floors is also the simplest: keep them free of dirt and grit. Tiny particles of sand, dirt, and debris act like sandpaper underfoot, gradually scratching and dulling your floor's finish with every step.
Dust Mop or Microfiber Sweep
Use a microfiber dust mop to sweep your floors daily, or at least every other day in high-traffic areas. Microfiber attracts and holds dust particles rather than pushing them around. Avoid straw brooms, which can scatter dirt and scratch the finish with their stiff bristles.
Run the dust mop in long, smooth strokes, working in one direction to collect dust effectively. After each use, shake the mop head outside or wash it according to the manufacturer's instructions.
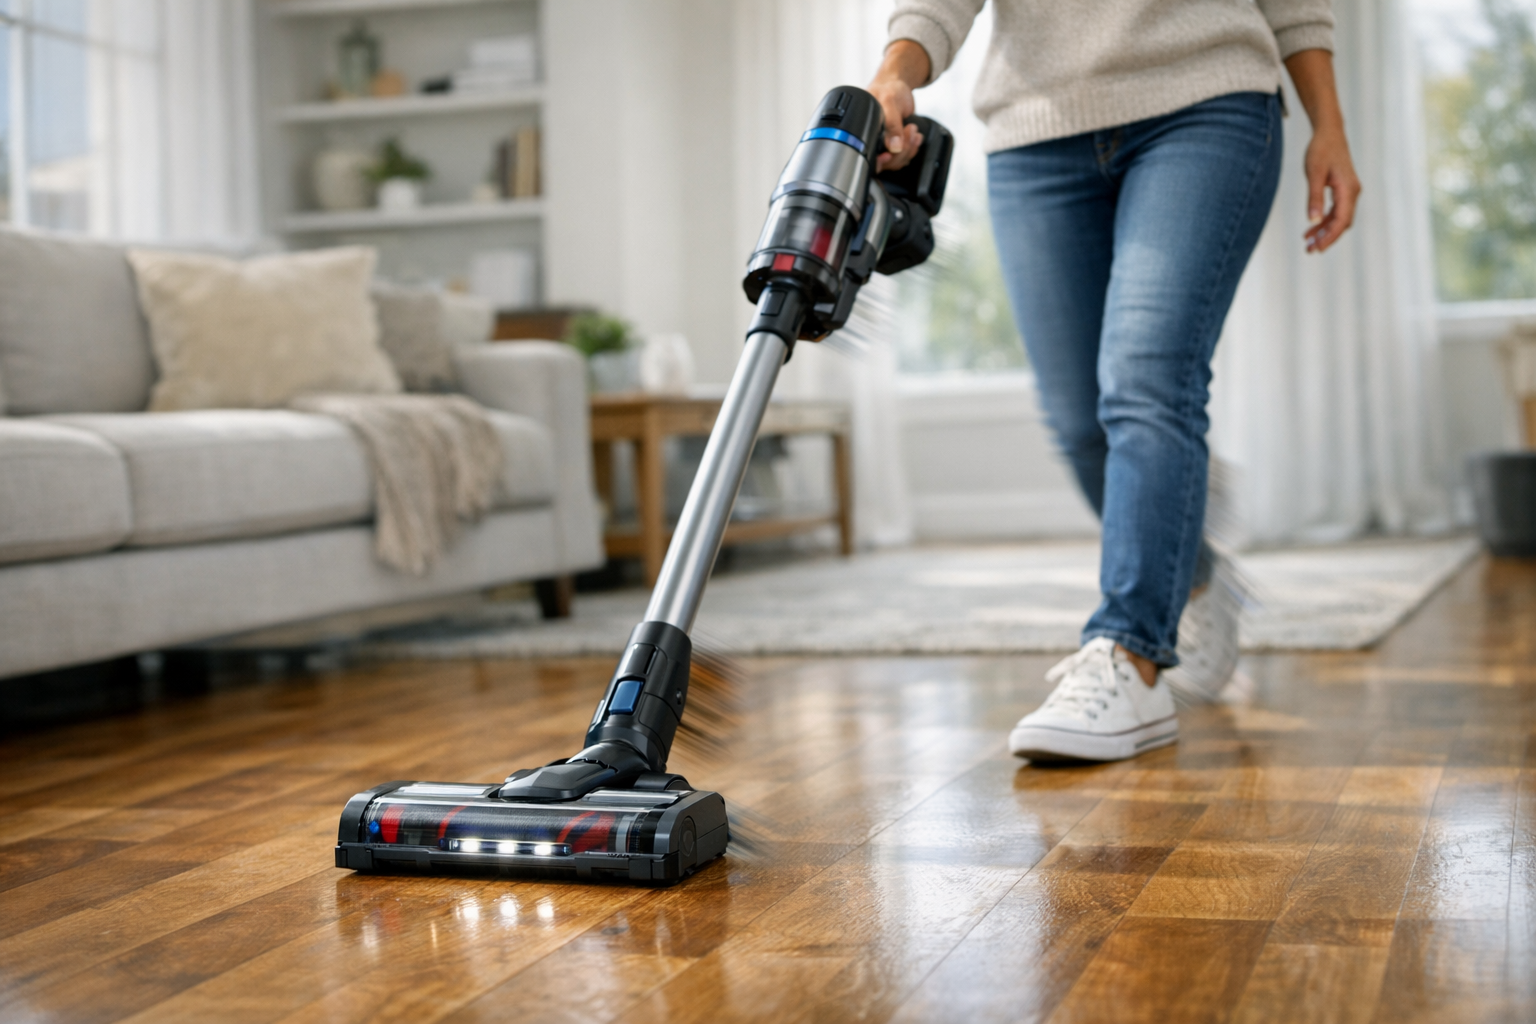
Vacuum Carefully
Vacuuming is excellent for getting dirt out of cracks and along baseboards, but you need to use the right settings. Always use the hard floor setting — never the beater bar or rotating brush attachment, as these can scratch and dent hardwood.
A vacuum with a felt or rubber bottom works best. If your vacuum has plastic wheels, check them regularly for embedded debris that could scratch the floor.
Weekly Deep Cleaning
Once a week, your hardwood floors need more than a quick dust mop. Here's how to give them a proper cleaning without causing damage.
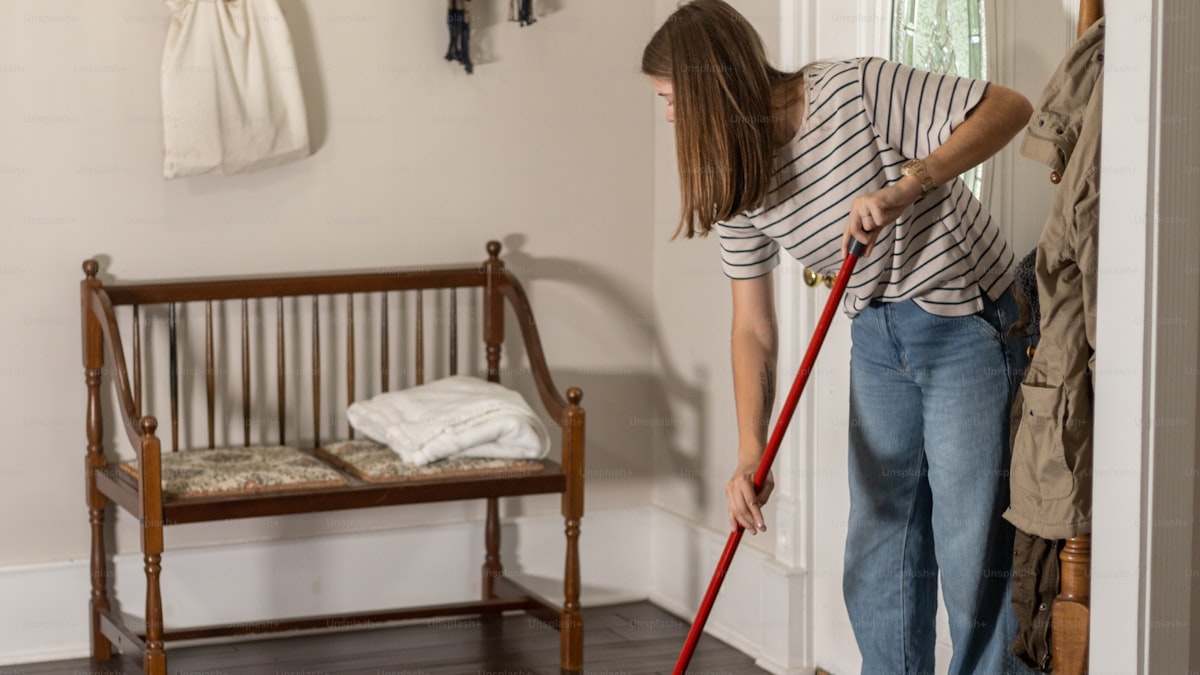
The Right Way to Mop Hardwood
The golden rule of mopping hardwood is this: damp, never wet. A soaking wet mop is the fastest way to damage hardwood floors. Excess water seeps between boards, penetrates the finish, and causes swelling, warping, cupping, and eventually permanent damage.
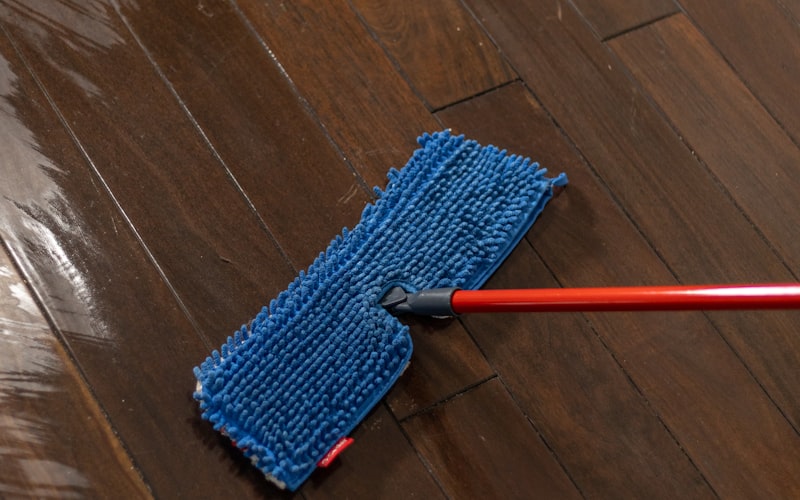
Use a flat microfiber mop pad that's been wrung out thoroughly. When you squeeze the mop, no water should drip from it. The pad should feel barely damp to the touch. This gives you enough moisture to dissolve and lift dirt without putting your floors at risk.
The Best DIY Cleaning Solution
Skip the store-bought hardwood floor cleaners — many contain wax, silicone, or harsh chemicals that leave buildup or strip the finish. Instead, mix this simple solution that's safe for all sealed hardwood:
- 1 gallon of warm water (not hot)
- 1/4 cup of white vinegar
- 2-3 drops of dish soap
The vinegar cuts grease and grime while the dish soap provides gentle cleaning power. The mixture should be very dilute — you shouldn't see suds or smell a strong vinegar scent.
Dip your mop pad into the solution, wring it out thoroughly, and mop in the direction of the wood grain. Work in small sections and dry each section with a clean microfiber cloth immediately after mopping. This prevents any residual moisture from sitting on the wood.
Steam Mops: A Hard No
Despite what marketing claims suggest, steam mops should never be used on hardwood floors. The combination of heat and moisture forces steam into the wood fibers and between board seams, causing swelling, finish clouding, and eventual warping. Many flooring manufacturers explicitly void their warranties if steam mops are used.
This might seem overly cautious, but we've seen too many beautiful hardwood floors ruined by steam cleaning. Stick with the damp mop method — it's just as effective and completely safe.
Tackling Common Stains and Messes
Even with careful maintenance, spills and stains happen. The key is knowing how to address each type of mess without damaging your floor in the process.
Water Spots and Rings
Water spots on hardwood are usually white or cloudy marks caused by moisture trapped in the finish. For surface-sealed floors, try rubbing the spot gently with a soft cloth dampened with a small amount of mineral spirits. If that doesn't work, a tiny amount of non-gel toothpaste (the plain white kind) rubbed in gently with a soft cloth can sometimes buff out water marks.
For more stubborn water damage on wood surfaces, our guide on removing water stains from wood furniture covers several techniques that work on floors too.
Sticky Residue
Tape residue, sticker remnants, or dried spills that leave a sticky film can be removed by applying a small amount of mineral spirits to a soft cloth and rubbing gently. Never use adhesive removers like Goo Gone directly on hardwood, as the solvents can damage certain finishes.
Scuff Marks
Dark scuff marks from shoes are usually just surface marks that haven't penetrated the finish. Try rubbing them gently with a tennis ball, a clean pencil eraser, or a sock dampened with baking soda. For stubborn scuffs, a small amount of mineral spirits on a cloth works well.
Pet Accidents
Pet urine is one of the most damaging things that can happen to hardwood floors because the acid in urine can penetrate the finish and permanently stain the wood. Blot up the mess immediately — don't wipe, as that spreads the urine. Clean the area with your vinegar solution and dry it thoroughly. For older pet stains that have darkened the wood, you may need professional refinishing.
If pet accidents are a recurring issue, our guide on getting rid of pet odor in your home covers deep-cleaning strategies that work on hardwood and other surfaces.
What to Never Use on Hardwood Floors
Knowing what to avoid is just as important as knowing what to use. These common products and tools can cause serious damage to your hardwood floors.
Vinegar in Large Amounts
While a small amount of diluted vinegar is fine for cleaning, using too much or using it undiluted can eat away at the polyurethane finish over time. Always dilute vinegar heavily — no more than 1/4 cup per gallon of water.
Oil Soap
Products like Murphy's Oil Soap leave a residue that builds up over time, making floors look dull and making them difficult to refinish later. Despite being marketed for wood, these products create more problems than they solve on modern sealed floors.
Ammonia-Based Cleaners
Ammonia is too harsh for hardwood finishes and can cause clouding and discoloration. This includes window cleaners like Windex, which contain ammonia.
Excessive Water
We've said it before, but it bears repeating: water is the enemy of hardwood. Never wet mop, never leave spills sitting, and never use a bucket-and-mop approach where water pools on the floor. This rule applies to cleaning your stainless steel sink near hardwood too — wipe up any splashes immediately.
Rough Cleaning Tools
Steel wool, abrasive scrub pads, and stiff-bristled brushes will scratch hardwood finishes. Stick to microfiber cloths, soft cotton rags, and mops with soft, non-abrasive heads.
Protecting Your Floors Long-Term
Regular cleaning keeps your floors looking good day to day, but long-term protection requires some additional strategies.
Use Furniture Pads
Every piece of furniture that sits on or gets moved across your hardwood floor should have felt pads on its legs or feet. These pads prevent scratches from daily use and are inexpensive to replace every 6-12 months as they wear out.
Check pads regularly — debris can get caught underneath and actually cause more scratching. Replace any pads that are worn thin, hard, or dirty.
Place Rugs and Mats Strategically
Door mats at every exterior entrance trap dirt and grit before it reaches your floors. Area rugs in high-traffic zones like hallways and kitchens absorb foot traffic impact and reduce wear. Use rugs with breathable, non-rubber backing — rubber-backed rugs can trap moisture and discolor hardwood.
Control Humidity
Hardwood floors expand and contract with humidity changes. Aim to keep your home's humidity between 35% and 55% year-round. In dry winter months, run a humidifier to prevent gaps between boards. In humid summer months, use air conditioning or a dehumidifier to prevent swelling and cupping. If your home has persistent humidity issues, our tips on getting rid of musty smells can help address the root cause.
Trim Pet Nails
Long pet nails are one of the top causes of hardwood floor scratches. Keep your dog's nails trimmed regularly, and consider nail caps for pets who are heavy-footed. If you wash your dog at home, make sure to dry them thoroughly before they walk across hardwood floors.
When to Refinish vs. Replace
Even with perfect maintenance, hardwood floors eventually show their age. Knowing when to refinish versus replace helps you make the most cost-effective decision.
Signs It's Time to Refinish
Your floors need refinishing when the finish is visibly worn through in high-traffic areas, when the wood looks gray or discolored despite cleaning, or when scratches are deep enough that you can feel them with your fingertip. Refinishing involves sanding down the existing finish and applying new coats, restoring the floor to like-new condition.
Most hardwood floors can be refinished 3-5 times before the wood becomes too thin. Solid hardwood floors (3/4 inch thick) have the most refinishing potential, while engineered hardwood can usually be refinished once or twice.
Signs It's Time to Replace
If your floors have extensive water damage with warped, buckled, or cupped boards, or if the wood is severely discolored from sun damage or pet stains, replacement may be the better option. Also consider replacement if the boards are too thin for another sanding, or if you want to change the wood species or plank width.
A Simple Hardwood Floor Care Schedule
Here's a practical maintenance schedule that keeps hardwood floors in excellent condition without eating up your time:
Daily: Quick microfiber dust mop of high-traffic areas (2-3 minutes)
Weekly: Damp mop all hardwood floors with diluted vinegar solution (15-20 minutes)
Monthly: Check and replace worn furniture pads, inspect for scratches or damage
Quarterly: Move area rugs and clean underneath, check humidity levels
Annually: Deep inspect the finish condition, consider professional cleaning
Following this schedule prevents the kind of gradual damage that leads to costly refinishing. A few minutes of daily care saves thousands of dollars in the long run.
Frequently Asked Questions
Can I use vinegar to clean hardwood floors?
Yes, but only when heavily diluted. Mix no more than 1/4 cup of white vinegar per gallon of warm water. This ratio is strong enough to cut through grime but gentle enough not to damage the polyurethane finish. Never use undiluted vinegar on hardwood — the acidity will eat through the finish over time. If you're uncomfortable using vinegar, plain warm water with just a drop or two of dish soap works well too. The key is always using a barely damp mop, regardless of which cleaning solution you choose.
How often should I mop hardwood floors?
For most households, mopping once a week is sufficient. High-traffic areas like kitchens and entryways may benefit from twice-weekly mopping, especially if you have kids or pets tracking in dirt. Between moppings, a daily or every-other-day microfiber dust mop pass keeps dirt and grit from scratching the finish. Over-mopping is actually more risky than under-mopping, since each session introduces some moisture to the wood.
Why do my hardwood floors look cloudy after cleaning?
Cloudy or hazy hardwood floors after cleaning usually indicate product buildup. This happens when cleaning products containing wax, silicone, or polish leave a residue layer that doesn't fully dry clear. The solution is to clean the floor with a mixture of 1 gallon of warm water and 1/2 cup of white vinegar to strip the residue, then switch to a simpler cleaning solution going forward. Clouding can also result from using too much water or cleaning products that aren't designed for your specific floor finish.
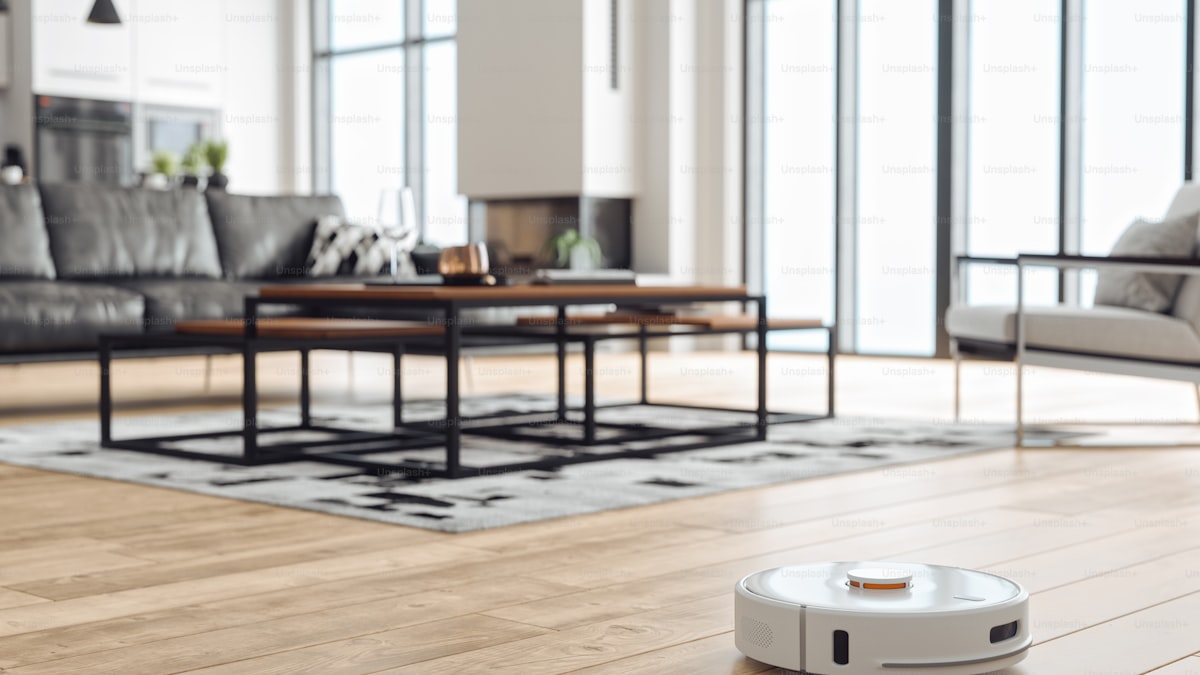
Are robot vacuums safe for hardwood floors?
Most modern robot vacuums are safe for hardwood floors, as long as they have a hard floor setting that disables the brush roll or uses soft bristles. Check that the vacuum's wheels are clean and free of debris that could scratch. Robot vacuums are actually great for daily maintenance sweeping since they can run while you're away, keeping dirt from accumulating. Just make sure to empty the dustbin regularly — a full bin reduces suction and can cause the vacuum to push debris rather than pick it up.
How do I fix scratches in hardwood floors without refinishing?
For light surface scratches that only affect the finish (not the wood), try rubbing a walnut meat along the scratch — the natural oils fill in and darken the scratch. For slightly deeper scratches, use a matching wood marker or crayon-style scratch repair product, available at most hardware stores. Buff with a soft cloth after applying. For scratches deep enough to expose raw wood, you'll need to apply matching wood stain with a fine brush, let it dry, then seal with a thin layer of polyurethane. These spot repairs can buy you years before a full refinishing is needed.
Keep Your Floors Beautiful for Decades
Hardwood floor care really comes down to two principles: keep them clean and keep them dry. The daily dust mop catches the grit that causes scratches, the weekly damp mop removes the grime that dulls the finish, and the vigilance about moisture prevents the warping and damage that leads to expensive repairs.
Your hardwood floors are an investment that increases your home's value and beauty. With the simple routines in this guide, they'll reward you with decades of warmth and character — no expensive products or professional cleaning services required.
Get weekly home tips that actually work
Join thousands of homeowners getting practical cleaning hacks, DIY fixes, and money-saving tips every week. Free, and you can unsubscribe anytime.

Written by
Beth SullivanFounder & Editor-in-Chief
Beth Sullivan is the founder of Practical Home Guides. With over a decade of hands-on experience tackling every home challenge imaginable, she started this site to share the practical, no-nonsense solutions she wishes she had found years ago. When she's not testing cleaning hacks or organizing pantries, you'll find her in the garden or working on her next DIY project.
Recommended Products
Looking for specific product recommendations? Check out our tested picks.
Best Cordless Stick Vacuums (2026 Buyer's Guide)
We tested cordless stick vacuums on hardwood, carpet, pet hair, and stairs. Here are the picks worth the price for every home and budget in 2026.
Best Pressure Washers for Home Use (2026 Buyer's Guide)
We tested electric and gas pressure washers for siding, decks, driveways, and patio furniture. Here are the best picks for every budget and home size.
Best Self-Emptying Robot Vacuums (2026 Tested)
Self-emptying robot vacuums let you forget about the dust bin for weeks. We tested the top models on hardwood, carpet, pet hair, and floor plans.
5 Best Steam Mops for Tile Floors (2026)
We tested the top steam mops for tile, grout, and hard floors. Here are the 5 best picks with honest pros, cons, and who each one is best for.
7 Best Robot Vacuums Under $300 (2026)
We compared the top robot vacuums under $300 for pet hair, hardwood floors, and carpet. Here are the 7 best picks with pros, cons, and who each is best for.
Related Articles
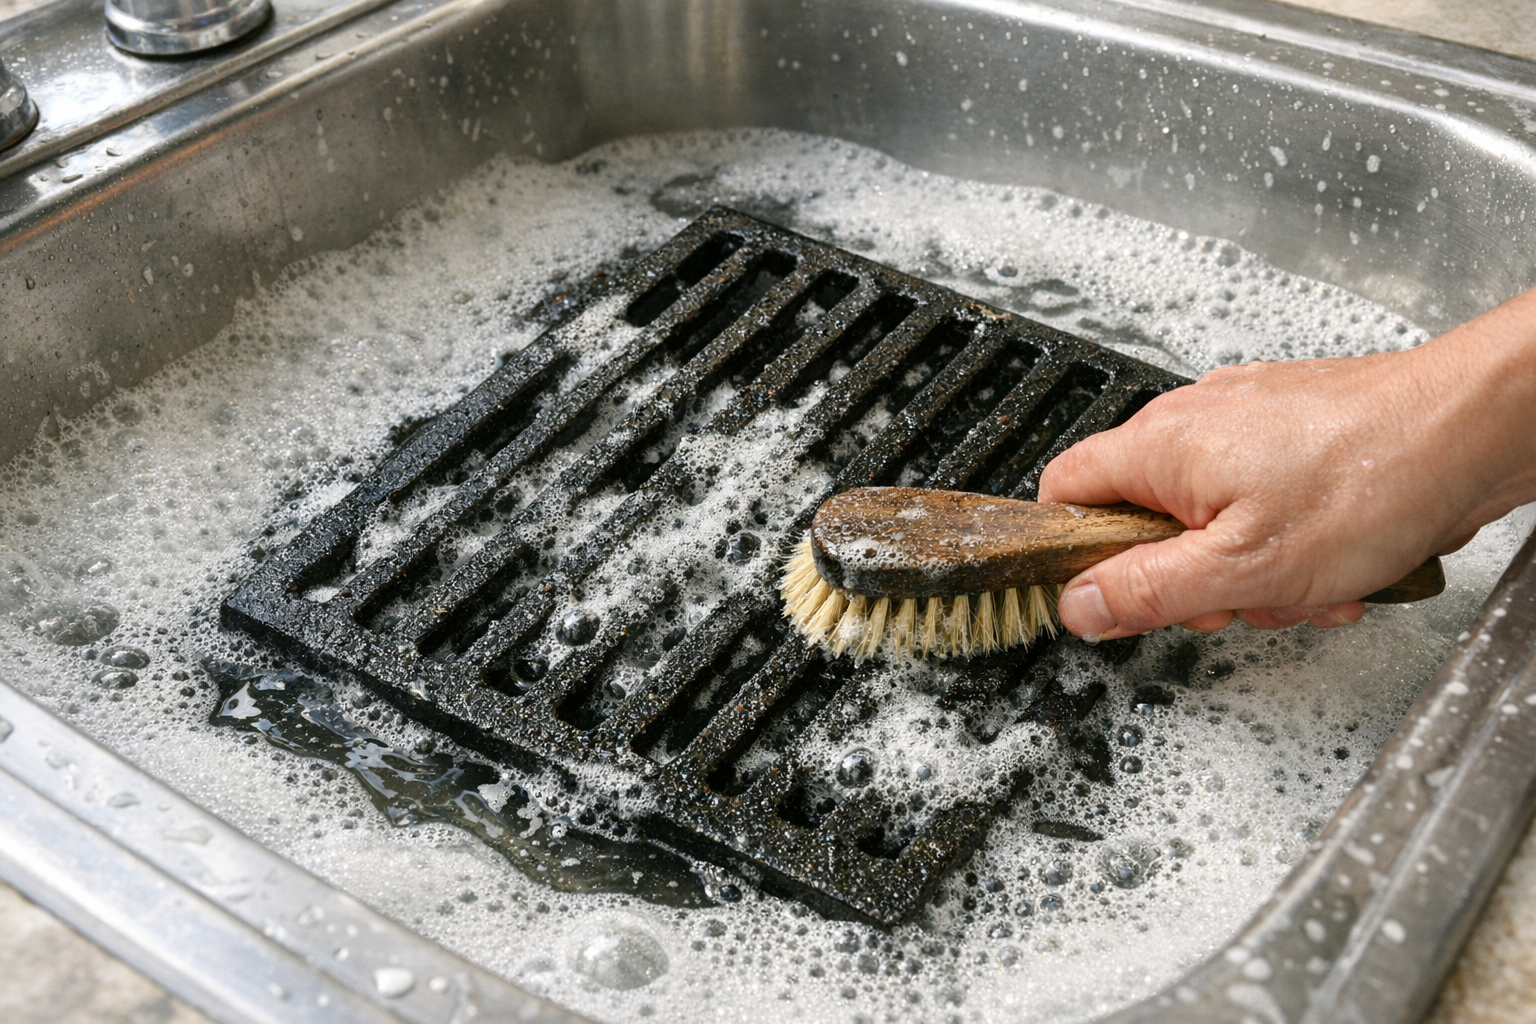
How to Remove Rust From Grill Grates (Without Replacing Them)
Rusted grill grates can be revived if rust is surface-only. Here's the safe restoration method that gets cast iron and steel grates back to cooking-ready.
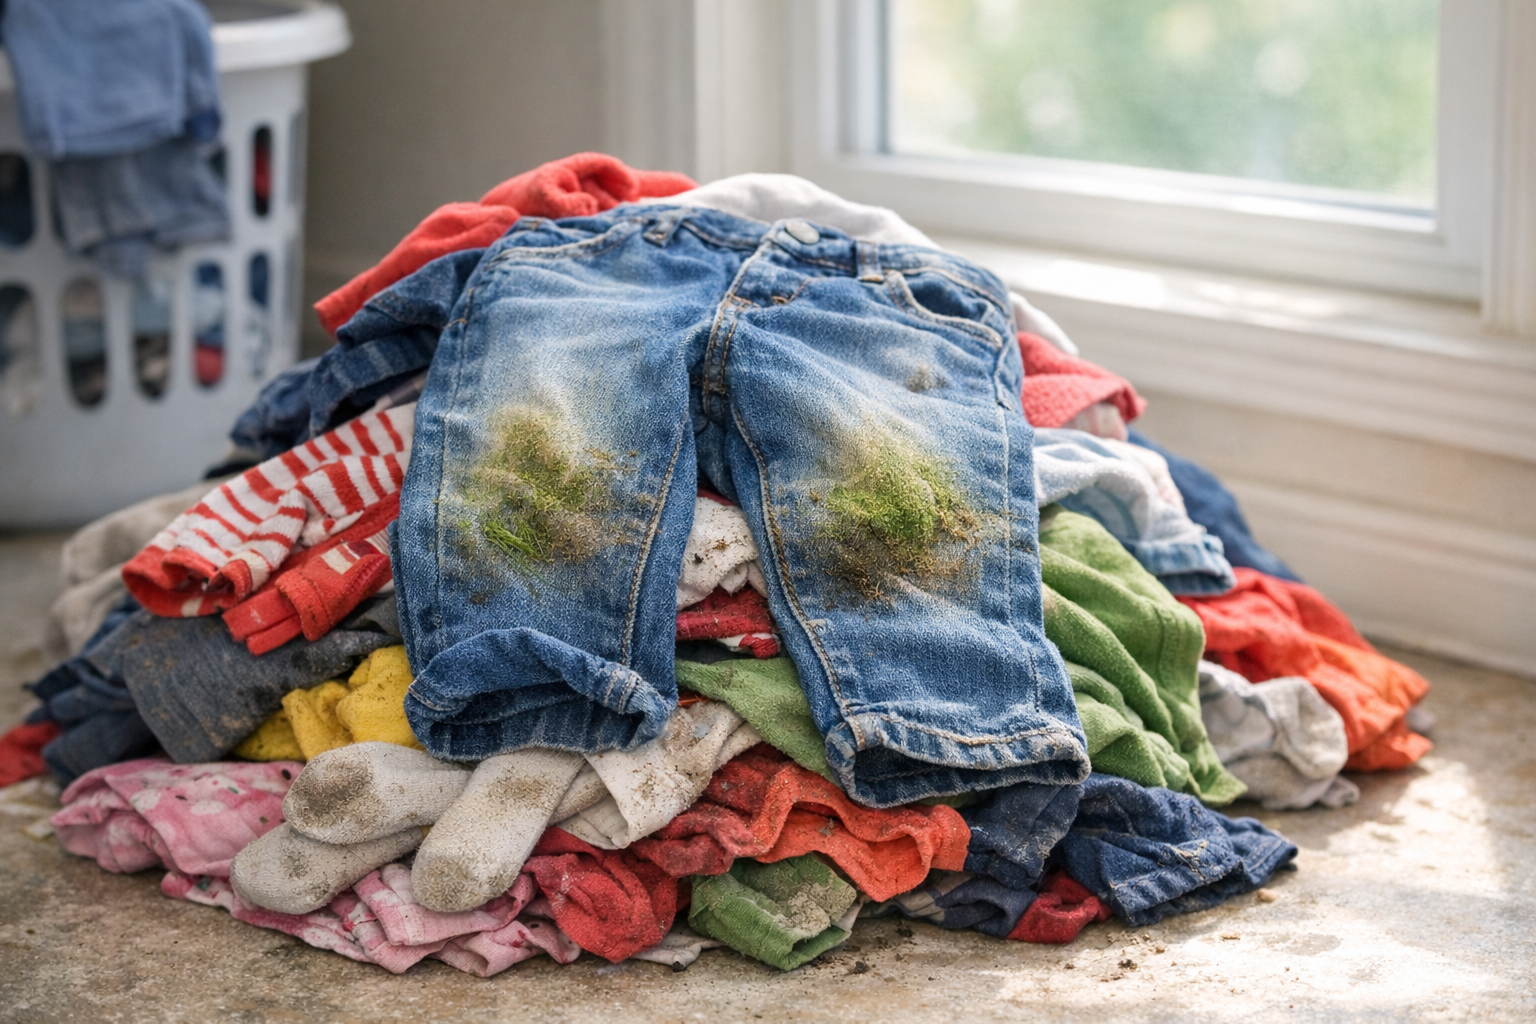
How to Remove Grass Stains From Clothes (Even After Drying)
Grass stains are protein and chlorophyll bonded into fabric. Here's the order of treatments that gets them out — even on jeans that already went through the dryer.
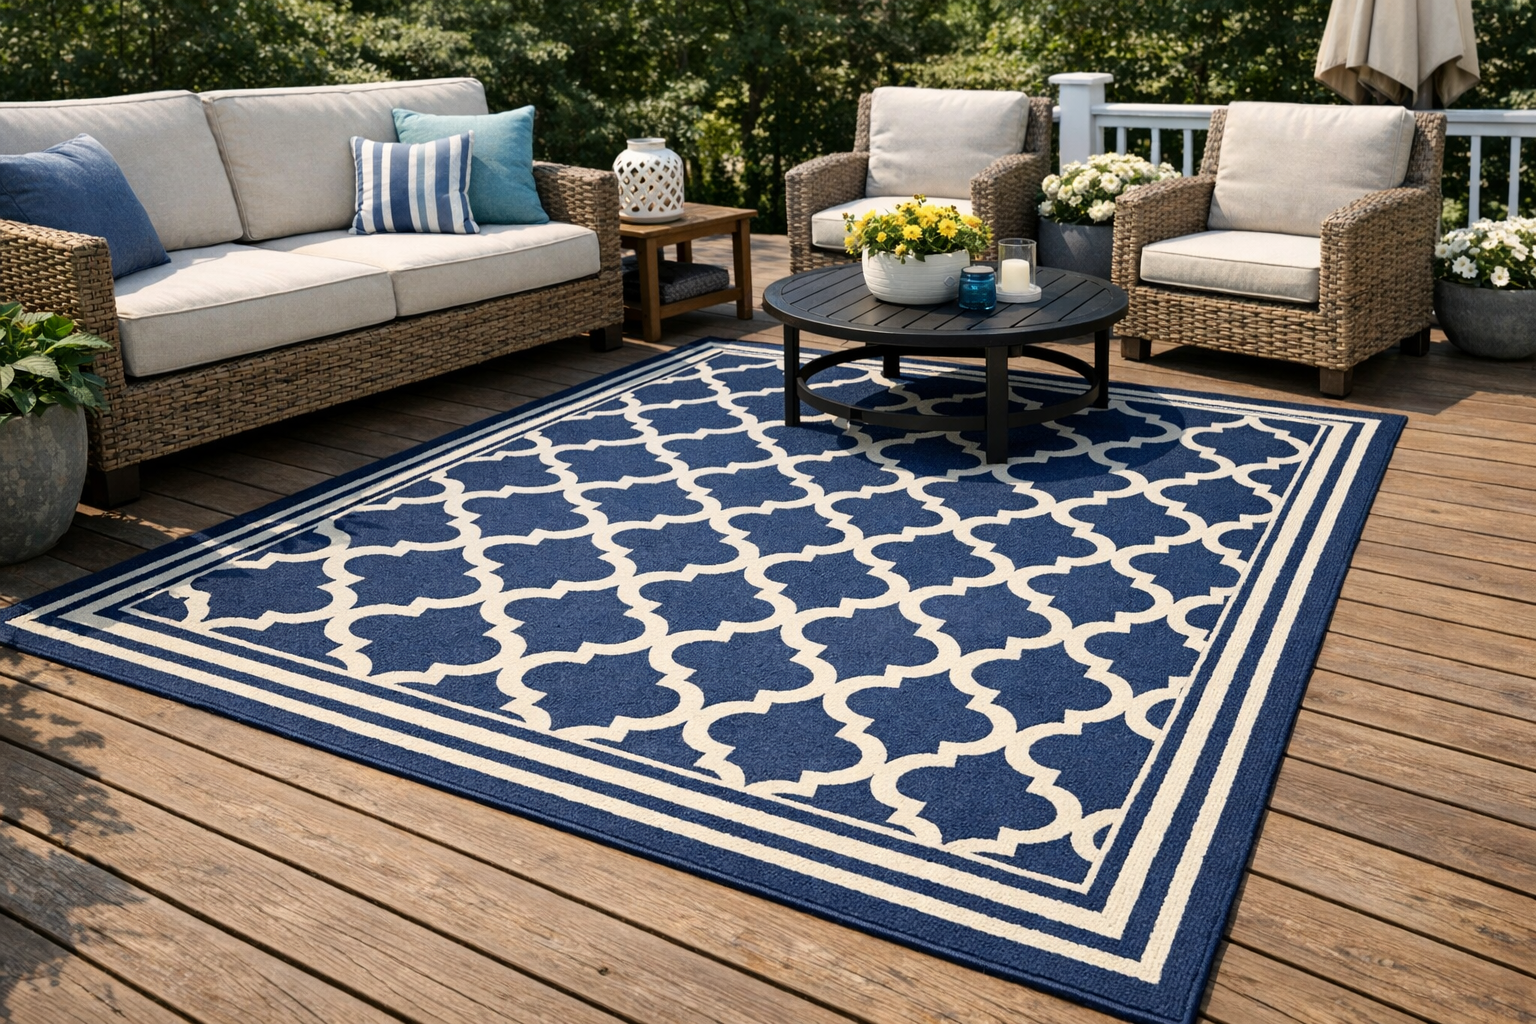
How to Refresh Outdoor Rugs Without Replacing Them
Before you toss that faded, grimy outdoor rug, try this simple revival routine. Most polypropylene outdoor rugs come back like new with 30 minutes of work.

How to Deep Clean Window Screens (The Bathtub Method)
Window screens accumulate a winter's worth of dust, pollen, and grime. The bathtub method gets them all clean in one shot — cleaner than cleaning them individually.