How to Clean and Sanitize a Cutting Board (Wood, Plastic, and Bamboo)
This article may contain affiliate links. If you make a purchase through these links, we may earn a small commission at no extra cost to you. Learn more
Quick Answer
How to Clean and Sanitize a Cutting Board (Wood, Plastic, and Bamboo)
After every use, wash your cutting board with hot soapy water and rinse thoroughly. To sanitize, spray or wipe the surface with a solution of one tablespoon of unscented liquid chlorine bleach per gallon of water, let it sit for two minutes, then rinse and air dry upright. For wood and bamboo boards, follow up monthly with a food-grade mineral oil treatment to prevent cracking and warping.
How to Clean and Sanitize a Cutting Board (Wood, Plastic, and Bamboo)
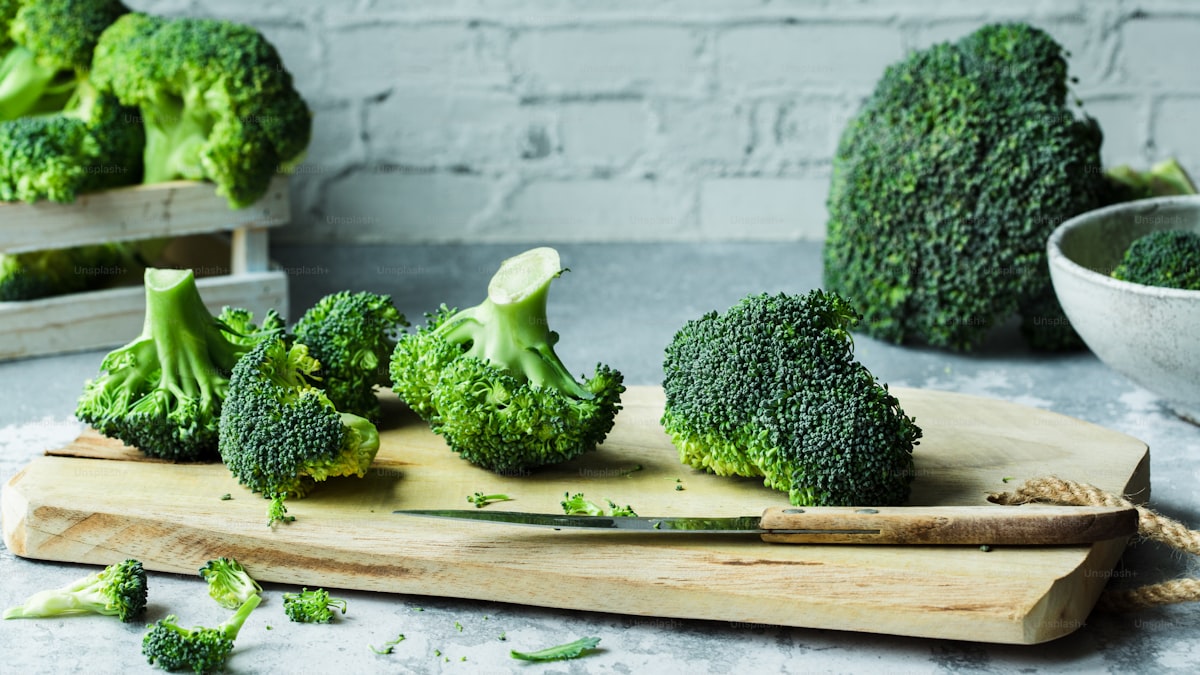
Your cutting board is one of the most used surfaces in your kitchen -- and one of the most overlooked when it comes to proper cleaning. Every time you slice raw chicken, dice onions, or chop herbs, bacteria, odors, and stains work their way into the surface. A quick rinse under the faucet is not enough to keep your board safe for food prep.
The truth is that cutting boards can harbor dangerous pathogens like salmonella and E. coli if they are not cleaned and sanitized correctly. The method you use matters, too, because wood, plastic, and bamboo each have different properties that affect how you should care for them.
In this guide, you will learn exactly how to clean, sanitize, and maintain every type of cutting board in your kitchen. Whether you are dealing with stubborn stains, lingering odors, or deep knife grooves full of bacteria, these step-by-step methods use simple household ingredients and take just a few minutes.
What Is the Difference Between Cleaning and Sanitizing a Cutting Board?
This is a distinction that many home cooks miss, and it matters more than you might think. Cleaning and sanitizing are two separate steps, and you need both to keep your cutting board truly safe.
Cleaning removes visible food particles, grease, and surface grime. Hot water and dish soap handle this part. Soap breaks down fats and lifts debris off the surface so you can rinse it away. But soap alone does not kill bacteria -- it just removes the food they feed on.
Sanitizing is the step that actually kills bacteria, viruses, and other pathogens lurking on and inside the board's surface. This requires a sanitizing agent like diluted bleach, white vinegar, or hydrogen peroxide. Without this step, microscopic organisms survive on the board even after it looks perfectly clean.
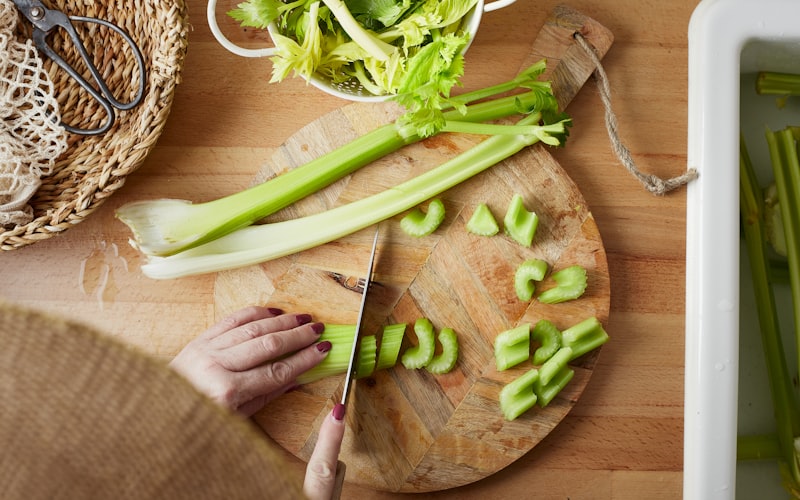
Think of it this way: cleaning makes the board look safe, and sanitizing makes it actually safe. For everyday vegetable prep, a thorough soap-and-water wash is usually sufficient. But any time raw meat, poultry, fish, or eggs touch the board, you should follow up with a proper sanitizing treatment.
If you are serious about kitchen hygiene, the same mindset applies to other surfaces. Keeping your stainless steel sink sanitized is just as important, since raw meat juices often end up there during prep.
How Do You Clean a Cutting Board After Every Use?
The single most important habit you can build is washing your cutting board immediately after every use. Letting food residue dry on the surface makes cleaning harder and gives bacteria extra time to multiply. Here is the routine that should become second nature.
Step 1: Scrape off food debris. Use the spine of your chef's knife or a bench scraper to push all visible food particles into the trash or compost bin. This prevents chunks from clogging your drain.
Step 2: Rinse with hot water. Hold the board under the hottest tap water you can manage and let the water run over both sides. This loosens any remaining food particles and begins breaking down greasy residue.
Step 3: Apply dish soap and scrub. Put a few drops of dish soap on a clean sponge or brush and scrub the entire surface of the board, including the edges and any juice grooves. Use firm pressure and work in the direction of the grain on wood boards. For plastic boards, scrub in circular motions to get into the knife marks.
Step 4: Rinse thoroughly. Rinse away all soap residue with hot water. Run your hand over the board to make sure it feels completely clean and not slippery.
Step 5: Dry the board properly. This is where most people make a mistake. Never lay a wet cutting board flat on the counter -- this traps moisture underneath and promotes warping and bacterial growth. Stand the board upright on its edge or lean it against the backsplash so air circulates on both sides. For plastic boards, you can towel dry and store flat, but wood and bamboo should always air dry upright.
This five-step process takes less than two minutes and prevents the vast majority of cutting board problems. It is worth noting that you should never soak a wood or bamboo cutting board in water. Extended soaking causes the wood fibers to swell, which leads to cracking and warping as the board dries. If you want to understand what other kitchen items need special care, check out our list of things you should never put in the dishwasher.
How Do You Sanitize a Cutting Board After Raw Meat?
Any time raw meat, poultry, seafood, or eggs come into contact with your cutting board, cleaning with soap and water is not enough. You need to follow up with a sanitizing step to eliminate harmful bacteria. Here are the most effective methods, all using ingredients you probably already have.
The Bleach Solution Method
This is the gold standard recommended by the USDA and food safety experts. Diluted bleach is one of the most effective sanitizers available, and it is safe for all cutting board materials when used correctly.
Step 1: Clean the board first. Always wash with hot soapy water before sanitizing. Sanitizers work best on surfaces that are already free of visible food debris.
Step 2: Mix the solution. Combine one tablespoon of unscented liquid chlorine bleach with one gallon of water. Do not use more bleach than this -- stronger is not better, and excess bleach can damage wood boards and leave a chemical taste.
Step 3: Apply the solution. Pour or spray the bleach solution generously over the entire board surface. Make sure every area is wet, including knife grooves and juice channels.
Step 4: Let it sit. Allow the solution to remain on the surface for at least two minutes. This contact time is essential for killing bacteria effectively.
Step 5: Rinse and dry. Rinse the board thoroughly with clean water and stand it upright to air dry. The small amount of bleach used in this dilution evaporates completely and leaves no harmful residue.
The White Vinegar Method
If you prefer a more natural approach, undiluted white vinegar is a solid alternative. It will not kill every pathogen as effectively as bleach, but it handles most common kitchen bacteria and is completely food safe.
Spray or pour undiluted white vinegar over the clean board, let it sit for five minutes, then rinse with water and dry upright. For extra power, spray the board with vinegar first, then follow immediately with a spray of 3% hydrogen peroxide (the standard drugstore concentration). The one-two punch of these two agents working together is remarkably effective against bacteria.
The Hydrogen Peroxide Method
Standard 3% hydrogen peroxide is another excellent sanitizer for cutting boards. Pour it directly onto the clean board, spread it across the entire surface, and let it bubble for five to ten minutes. Rinse with water and dry. Hydrogen peroxide breaks down into water and oxygen, so there is zero chemical residue to worry about.
How Do You Remove Stains and Odors From a Cutting Board?
Even with diligent cleaning, cutting boards pick up stains from berries, beets, turmeric, and raw meat. They also absorb odors from garlic, onions, and fish that linger no matter how many times you wash the board. Here is how to tackle both problems.
The Lemon and Salt Scrub
This is the classic method, and it works beautifully on wood and bamboo boards. Cut a lemon in half and sprinkle a generous layer of coarse kosher salt over the stained areas. Use the cut side of the lemon as a scrubber, pressing firmly and working the salt across the entire surface in circular motions.
The salt acts as a gentle abrasive that lifts stains without scratching the wood, while the citric acid in the lemon juice bleaches discoloration and neutralizes odors. Let the lemon juice and salt sit on the board for five minutes, then scrape everything off and rinse with warm water. The difference is often dramatic after a single treatment.
The Baking Soda Paste
For stubborn stains that resist the lemon treatment, make a thick paste of three tablespoons of baking soda and one tablespoon of water. Spread the paste over the stained areas and let it sit for ten to fifteen minutes. Scrub with a brush or sponge, then rinse. Baking soda is mildly alkaline, which helps lift organic stains, and it absorbs odors on contact.
For particularly pungent odors -- garlic and fish are the worst offenders -- you can combine the lemon and baking soda treatments. Scrub with the lemon and salt first, rinse, then apply the baking soda paste. The combination of acid and alkali treatments covers a wider range of odor-causing compounds.
This same deodorizing principle works throughout your kitchen. If your garbage disposal has developed an odor, baking soda and citrus are equally effective there.
How Do You Care for a Wood Cutting Board?
Wood cutting boards are the favorite of professional chefs for good reason. They are gentle on knife edges, naturally antibacterial, and beautiful on the counter. But wood requires more maintenance than plastic to stay in top condition. Neglect a wood board and it will dry out, crack, warp, and become a breeding ground for bacteria.
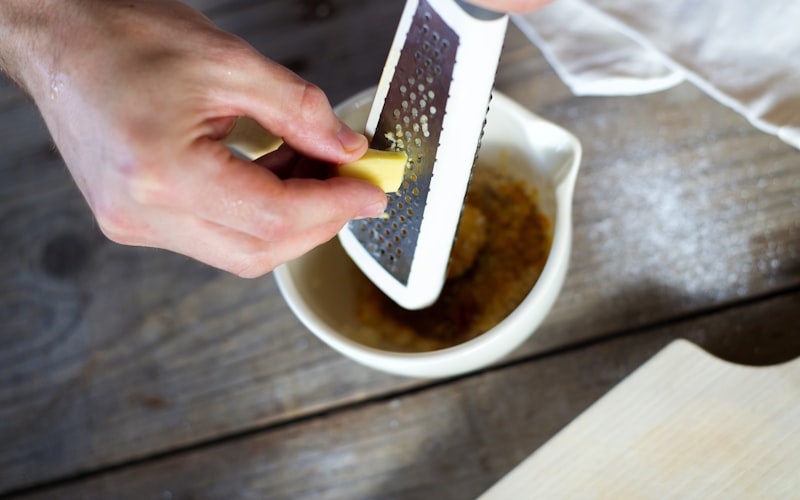
Oiling Your Board
The most important maintenance task for a wood cutting board is regular oiling. Food-grade mineral oil penetrates the wood fibers, creates a moisture barrier, and prevents the board from drying out and cracking. You should oil a new board before first use and then reapply monthly, or whenever the wood starts looking dry and lighter in color.
Step 1: Start with a clean, dry board. The board must be completely dry before oiling. Any trapped moisture will cause problems later.
Step 2: Apply food-grade mineral oil. Pour a generous amount of food-grade mineral oil onto the surface and spread it evenly with a clean cloth or paper towel. Work it into the grain, covering the top, bottom, sides, and edges. Every surface needs protection.
Step 3: Let it soak. Allow the oil to absorb for at least four hours, or ideally overnight. The wood will drink in the oil and the surface will feel less greasy as it penetrates.
Step 4: Wipe off the excess. Buff the board with a clean, dry cloth to remove any oil that did not absorb. The surface should feel smooth and slightly satiny, not sticky or wet.
Never use olive oil, vegetable oil, or coconut oil on a cutting board. These cooking oils go rancid over time and will make your board smell terrible. Stick to food-grade mineral oil or a dedicated cutting board conditioner that combines mineral oil with beeswax for extra protection.
Food-Grade Mineral Oil for Cutting Boards
USP-grade mineral oil that protects and conditions wood and bamboo cutting boards. Odorless, tasteless, and food safe -- prevents drying, cracking, and warping with regular monthly application.
Check Price on Amazon →Speaking of taking care of your kitchen tools, properly maintained cutting boards pair well with properly maintained knives. If your blades are getting dull, learn how to sharpen kitchen knives at home -- a sharp knife is actually safer than a dull one, and it is kinder to your board's surface too. And if you are in the market for new blades, take a look at our guide to the best knife sets for home cooks.
How Should You Clean a Plastic Cutting Board?
Plastic cutting boards are popular because they are affordable, lightweight, and dishwasher safe. However, they come with their own set of challenges. Plastic scratches more easily than wood, and those knife grooves can trap bacteria in ways that are difficult to clean by hand alone.
Daily Cleaning
Wash plastic boards with hot soapy water after every use, just like wood. The key advantage of plastic is that you can use the dishwasher. The high temperatures in a dishwasher cycle -- typically around 150 degrees Fahrenheit -- provide both cleaning and sanitizing in a single step. Place the board on the bottom rack where the water temperature is highest.
Deep Cleaning Knife Grooves
Over time, plastic boards develop a network of deep knife cuts that become discolored and harbor bacteria. When this happens, a surface wash is not enough. You need to get sanitizer down into those grooves.
Step 1: Make a bleach soak. Fill your sink with hot water and add two tablespoons of bleach per gallon. Submerge the plastic board and let it soak for fifteen minutes. Unlike wood, plastic can handle soaking without damage.
Step 2: Scrub the grooves. Use a stiff-bristled kitchen scrub brush to work the bleach solution into the knife marks. Scrub in multiple directions to reach all the crevices.
Step 3: Rinse and inspect. Rinse the board and look at the surface under good light. If the knife grooves are still discolored or the surface feels rough and heavily scarred, it may be time to replace the board. Deeply grooved plastic boards cannot be fully sanitized, no matter how thoroughly you clean them.
A good rule of thumb: if you can catch your fingernail in the knife grooves, the board has reached the end of its useful life. Replace it. Plastic boards are inexpensive and holding onto one that cannot be properly sanitized is not worth the food safety risk.
How Do You Maintain a Bamboo Cutting Board?
Bamboo falls somewhere between wood and plastic in terms of care. Technically a grass rather than a hardwood, bamboo is denser and absorbs less moisture than most wood species. But it still needs oil treatments and cannot go in the dishwasher.
Clean bamboo boards the same way you clean wood -- hot soapy water, immediate drying, and never soaking. Sanitize with the diluted bleach, vinegar, or hydrogen peroxide methods described above. The key difference is that bamboo tends to be slightly harder on knife edges than maple or walnut. If you notice your knives dulling faster, the board itself could be a factor.
Oil bamboo boards with food-grade mineral oil using the same process described for wood, but you may find bamboo needs oiling slightly less often because it is less porous. Once every four to six weeks is a good starting cadence. Adjust based on how the board looks and feels -- if it appears dry or ashy, it needs oil.
Bamboo is also more sensitive to extreme temperature changes than hardwood. Never pour boiling water directly on a bamboo board, and avoid leaving it near a hot stove or in direct sunlight for extended periods. These temperature swings cause bamboo to split and crack along its laminated seams.
While you are thinking about kitchen care, it is a great time to make sure the rest of your kitchen tools are in order. Keeping your spice drawer organized and your cast iron skillet properly seasoned are both habits that make daily cooking smoother and more enjoyable.
How Many Cutting Boards Do You Actually Need?
Food safety experts recommend having at least two cutting boards in your kitchen -- one dedicated to raw meat, poultry, and seafood, and another for everything else. Color-coded boards make this easy: red for meat, green for vegetables, blue for fish. This approach eliminates the risk of cross-contamination entirely, because the raw meat board never touches your salad ingredients.
If you want to take it a step further, consider having three boards: one for raw proteins, one for produce, and one for bread, cheese, and other ready-to-eat items. Professional kitchens typically use even more, but three covers the needs of most home cooks.
The material you choose for each board matters too. Many cooks prefer plastic for raw meat because it can go in the dishwasher for high-heat sanitizing, and wood or bamboo for vegetables and bread because those materials are gentler on knives and more enjoyable to work on.
Whatever system you use, label or color-code your boards and stick to the system. Cross-contamination happens when you grab the wrong board in a hurry, and a simple visual cue prevents that mistake.
Frequently Asked Questions
Can you put a wood cutting board in the dishwasher?
No. The high heat and prolonged water exposure in a dishwasher will destroy a wood cutting board. The wood fibers absorb too much moisture during the wash cycle, then dry unevenly in the heated drying phase. This causes warping, cracking, and splitting -- often after just a single dishwasher run. The same applies to bamboo boards. Always wash wood and bamboo by hand with hot soapy water and dry them upright.
How often should you replace a cutting board?
Replace a plastic cutting board when the knife grooves become deep enough to catch your fingernail or when the surface is so scarred that you cannot scrub it clean. For most households, that means every one to two years depending on use. Wood and bamboo boards last much longer -- often five to ten years or more -- if you oil them regularly and avoid soaking or dishwasher exposure. Replace a wood board if it develops deep cracks that you cannot sand out or if it has warped beyond the point of sitting flat on the counter.
Is wood or plastic safer for cutting raw meat?
This is one of the most debated topics in food safety. Research from UC Davis found that wood boards actually have natural antibacterial properties -- bacteria that get pulled into the wood grain die off over time, while bacteria in plastic knife grooves survive and multiply. However, the USDA still recommends non-porous surfaces (plastic) for raw meat because they are easier to sanitize in the dishwasher. The practical answer is that either material is safe as long as you clean and sanitize it properly after every use with raw meat. The method matters more than the material.
Can you use bleach on a wood cutting board?
Yes, but only as a diluted solution. Mix one tablespoon of unscented liquid chlorine bleach per gallon of water. Apply the solution to the board, let it sit for two minutes, then rinse thoroughly and dry. This concentration is strong enough to kill bacteria but gentle enough not to damage the wood fibers. Never use undiluted bleach on wood -- it will strip the oils from the surface, bleach the color unevenly, and weaken the grain structure over time. Always re-oil the board after a bleach sanitizing treatment.
Final Thoughts
A cutting board that looks clean is not necessarily a cutting board that is safe. The difference comes down to building a few simple habits: washing with hot soapy water after every use, sanitizing after raw protein contact, and maintaining wood and bamboo boards with regular oil treatments.
The good news is that none of these steps take long. Your daily cleaning routine adds less than two minutes to your kitchen workflow. A deep sanitizing treatment takes five. And oiling a wood board once a month is ten minutes of effort that adds years to its lifespan.
Keep separate boards for raw meat and produce, replace plastic boards when the grooves get too deep to clean, and never put wood or bamboo in the dishwasher. These are the fundamentals of cutting board safety, and they are easier to follow than most people assume.
Your cutting board is the foundation of nearly every meal you prepare. Treat it well, and it will serve you safely for years to come. And while you are giving your kitchen tools the attention they deserve, take a few minutes to make sure the rest of your workspace is in good shape too -- from a freshly cleaned sink to a well-organized prep area.
Get weekly home tips that actually work
Join thousands of homeowners getting practical cleaning hacks, DIY fixes, and money-saving tips every week. Free, and you can unsubscribe anytime.

Written by
Beth SullivanFounder & Editor-in-Chief
Beth Sullivan is the founder of Practical Home Guides. With over a decade of hands-on experience tackling every home challenge imaginable, she started this site to share the practical, no-nonsense solutions she wishes she had found years ago. When she's not testing cleaning hacks or organizing pantries, you'll find her in the garden or working on her next DIY project.
Recommended Products
Looking for specific product recommendations? Check out our tested picks.

Best Instant Read Meat Thermometers (2026 Tested)
We tested instant read thermometers for grilling, roasting, and candy making. The picks that read in under 3 seconds and don't break after a year.

Best Espresso Machines for Home (2026 Buyer's Guide)
From under-300-dollar starter machines to 2000-dollar prosumer espresso, here are the espresso machines worth your money in 2026.
Best Stand Mixers (2026 Buyer's Guide)
We tested stand mixers from KitchenAid, Cuisinart, and Breville on bread dough, cookie batter, and meringues. Here are the picks worth the counter space.
5 Best Kitchen Knife Sets for Home Cooks (2026)
Stop struggling with dull knives. We compared the top kitchen knife sets for home cooks at every budget — here are the 5 best with honest pros and cons.

Best Air Fryers for Home Cooks (2026 Buyer's Guide)
Find the best air fryer for your kitchen and budget. We compare 6 top-rated air fryers from basket to oven style, with honest pros and cons for each.
Related Articles
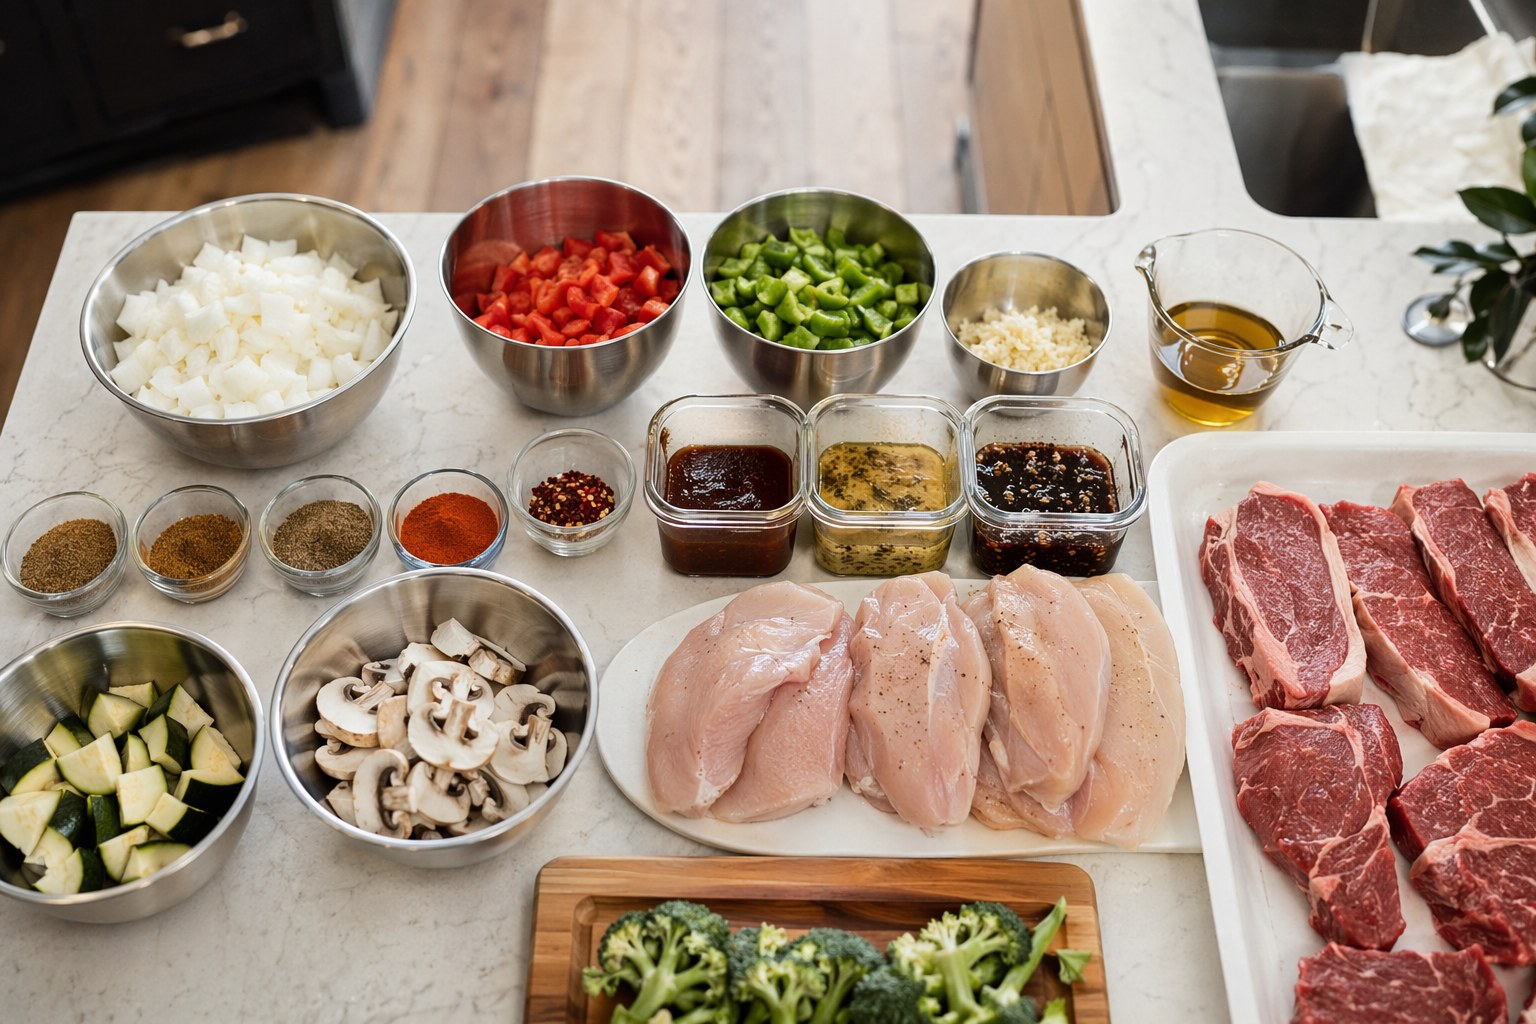
Batch Cooking for Summer: Make & Freeze 8 Meals in 3 Hours
A former chef's assembly-line batch system: prep, portion, and label 8 complete summer dinners in one 3-hour Sunday session so weeknights cook themselves.

Mother's Day Roast: Elegant Main Dish Recipe for Stressed Home Cooks
An elegant herb-crusted roast you can prep Friday, rest Saturday, and reheat Sunday. The stress-free Mother's Day main dish a former chef actually relies on.
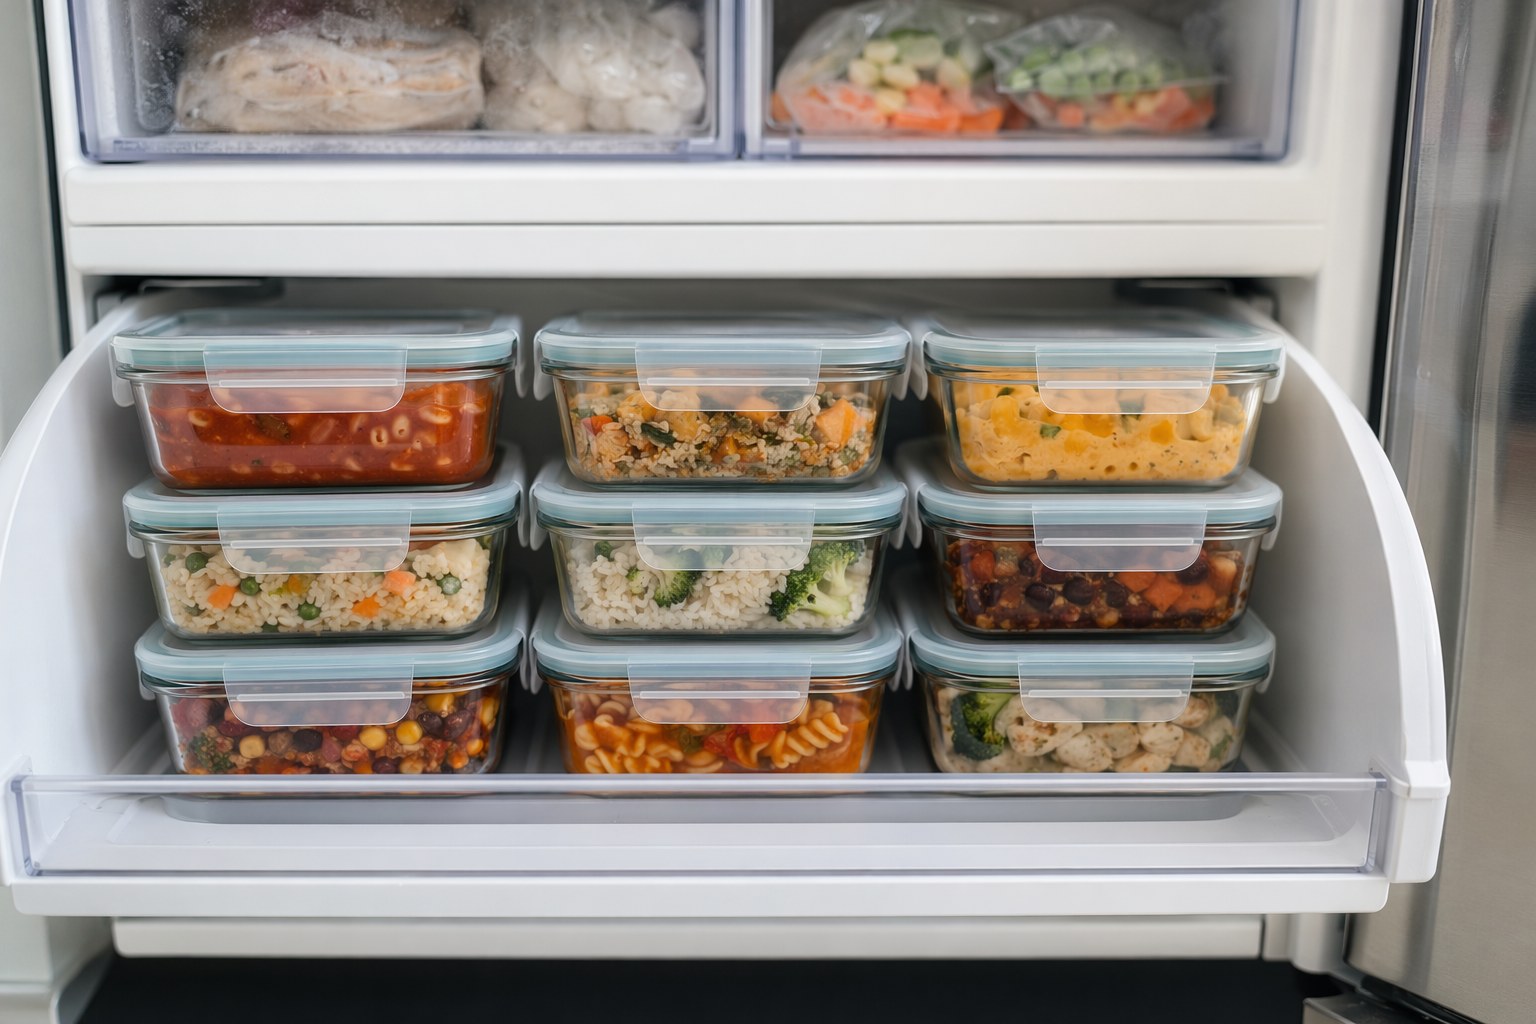
Freezer Meal Prep for Busy Weeks: 5 Make-Ahead Recipes + Storage Guide
A former chef's 5 freezer meals that reheat like fresh, plus the exact containers and labeling system that actually works in a real kitchen freezer.
Pantry Staples That Ship Well: Build Your Emergency Backup Supply
Build a redundant pantry of shelf-stable staples that ship cheaply and last for years. A former chef's exact list, shelf-life chart, and rotation system.