How to Clean a Coffee Maker (Drip, Keurig, and Espresso)
This article may contain affiliate links. If you make a purchase through these links, we may earn a small commission at no extra cost to you. Learn more
Quick Answer
How to Clean a Coffee Maker (Drip, Keurig, and Espresso)
Fill your coffee maker's reservoir with equal parts white vinegar and water, run a full brew cycle, then run two cycles of plain water to rinse. For Keurigs, use the same vinegar solution but run it one cup at a time. Clean your coffee maker monthly to prevent mineral buildup, mold growth, and bitter-tasting coffee.
How to Clean a Coffee Maker (Drip, Keurig, and Espresso)
Your coffee maker is probably the hardest-working appliance in your kitchen -- and one of the most neglected when it comes to cleaning. Think about it: warm water, dark crevices, leftover coffee oils, and mineral deposits create the perfect breeding ground for mold, yeast, and bacteria. A 2011 NSF International study found that coffee maker reservoirs are one of the top five germiest spots in the average home, ranking higher than bathroom door handles and toilet seats.
Beyond the hygiene factor, a dirty coffee maker simply makes worse coffee. Mineral scale narrows water lines, reduces brewing temperature, and slows flow rate -- all of which lead to weak, bitter, or off-tasting coffee. If your morning cup has been tasting "off" lately, the problem might not be your beans. It might be the machine.
The good news is that cleaning any coffee maker -- whether it is a basic drip brewer, a Keurig pod system, or a full espresso setup -- takes less than 30 minutes of hands-on work and uses supplies you already have at home. This guide covers all three types with step-by-step instructions so you can get back to brewing coffee that actually tastes the way it should.
Why Does Your Coffee Maker Need Regular Cleaning?
Every time you brew a pot of coffee, minerals from your tap water -- primarily calcium and magnesium -- deposit a thin layer of scale inside the machine. One cycle does not cause problems. But after weeks and months of daily use, that scale accumulates into a chalky, rock-hard layer that clogs water lines, restricts flow, and forces your machine to work harder to push water through.
At the same time, leftover coffee oils coat the carafe, the brew basket, and every internal surface the liquid touches. Those oils oxidize and turn rancid, contributing a stale, bitter taste to every subsequent pot. You might blame the beans or the water, but the real culprit is often old oil residue baked onto surfaces you cannot see.
Then there is the moisture issue. The warm, damp environment inside a coffee maker's reservoir and internal tubing is ideal for mold and bacteria growth. If you have ever lifted the lid of a reservoir and noticed a slimy film or dark spots, that is exactly what you are looking at. Regularly cleaning your kitchen appliances is one of the best habits you can build for a healthier home.
How Often Should You Clean?
- After every use: Wash the carafe, brew basket, and lid with warm soapy water.
- Weekly: Wipe down the exterior, the warming plate, and any accessible surfaces.
- Monthly: Run a full descaling cycle with vinegar or a commercial descaling solution.
- Every 3-6 months: Deep clean all removable parts, including gaskets and water reservoirs.
How Do You Clean a Drip Coffee Maker With Vinegar?
The standard drip coffee maker is the most common type in American kitchens, and fortunately, it is also the easiest to clean. White distilled vinegar is all you need to dissolve mineral scale, kill bacteria, and remove oily residue from the internal components.
What You Will Need
- White distilled vinegar
- Fresh water
- Dish soap
- Microfiber cloths
- A soft sponge or bottle brush
- An old toothbrush (for tight crevices)
Step-by-Step Cleaning Process
Step 1: Empty the coffee maker completely. Remove the carafe, the brew basket, and the permanent filter if your machine has one. Dump out any old coffee grounds and rinse everything under warm running water.
Step 2: Wash the carafe and brew basket with warm water and a few drops of dish soap. Use a bottle brush to reach the bottom of the carafe where coffee stains love to collect. If the carafe has stubborn brown staining, fill it with warm water and a tablespoon of baking soda, let it soak for 15 minutes, then scrub again.
Step 3: Mix equal parts white vinegar and water -- enough to fill the reservoir completely. For a standard 12-cup machine, that is about 6 cups of vinegar and 6 cups of water. Pour the solution into the reservoir.
Step 4: Place the empty carafe on the warming plate and start a full brew cycle. Let the machine run about halfway through the cycle, then turn it off and let the vinegar solution sit inside the machine for 30 minutes. This soaking time is critical -- it gives the vinegar time to dissolve built-up mineral deposits inside the water lines and heating element.
Step 5: Turn the machine back on and let the remaining cycle finish. The carafe will now be full of murky vinegar water -- this is all the grime and mineral scale that was hiding inside your coffee maker.
Step 6: Dump the vinegar solution and refill the reservoir with plain, fresh water. Run a complete brew cycle to rinse. Repeat this rinse cycle one more time (two total rinse cycles) to make sure no vinegar taste remains. If you can still smell vinegar after two rinses, run a third.
Step 7: While the rinse cycles are running, use a damp microfiber cloth to wipe down the exterior of the machine, the warming plate, and the area around the brew basket where drips and splashes accumulate. Use an old toothbrush to clean the crevice where the brew basket meets the machine body -- that spot collects grounds and oils that are easy to miss.
Step 8: Dry all removable parts thoroughly before reassembling. Leaving wet components in the machine encourages the exact mold growth you just worked to remove.
If you are already in kitchen-cleaning mode, this pairs well with scrubbing down your stainless steel sink and tackling your glass stovetop for a complete kitchen refresh.
How Do You Clean and Descale a Keurig?
Keurig machines and other single-serve brewers present unique cleaning challenges. The internal water lines are narrower than a drip brewer, which means they clog faster. The K-Cup pod holder and exit needle accumulate coffee grounds that can harbor mold. And many Keurig owners never think to clean the removable water reservoir, which is a prime location for slime and mineral buildup.

What You Will Need
- White distilled vinegar or Keurig descaling solution
- Fresh water
- A paperclip or the Keurig needle cleaning tool
- Dish soap
- A clean cloth
Step-by-Step Keurig Cleaning
Step 1: Turn off the Keurig and unplug it. Remove the water reservoir, the drip tray, and the K-Cup pod holder. The pod holder usually pulls straight out -- grab it from both sides and pull firmly. Be careful with the exit needle at the bottom of the holder; it is sharp.
Step 2: Wash the reservoir, drip tray, and pod holder in warm soapy water. Use a soft cloth or sponge -- avoid abrasive scrubbers that could scratch the reservoir. Rinse everything thoroughly and set the parts aside to dry.
Step 3: Clean the entrance and exit needles. Straighten a paperclip and carefully insert it into the entrance needle (located under the top lid where the K-Cup goes) and the exit needle (inside the pod holder). Gently move the paperclip around to dislodge any compacted coffee grounds. You will be surprised how much gunk comes out. Keurig also sells a dedicated needle cleaning tool that makes this easier.
Step 4: Reassemble the machine. Fill the reservoir with equal parts white vinegar and water (or use a full bottle of Keurig descaling solution diluted per the package instructions).
Step 5: Place a large mug on the drip tray. Run brew cycles one after another without inserting a K-Cup pod -- the machine will push the vinegar solution through the internal lines. Keep running cycles until the "Add Water" light comes on. This may take eight to twelve cycles depending on your reservoir size.
Step 6: Let the machine sit with the power on for 30 minutes to let any remaining vinegar solution work on internal deposits.
Step 7: Rinse the reservoir thoroughly, fill it with fresh water, and run brew cycles until the reservoir is empty again. Repeat this full-reservoir rinse at least once more. Keurig's narrower water lines hold onto vinegar flavor, so do not skip the extra rinse cycles.
Step 8: Wipe down the exterior with a damp cloth. Pay special attention to the area around the K-Cup pod holder, where coffee drips and sticky residue tend to collect.
Impresa Descaling Solution for Coffee Makers
Universal descaler compatible with Keurig, Nespresso, Delonghi, and drip machines. Two treatments per bottle. Made in the USA with biodegradable, non-toxic formula.
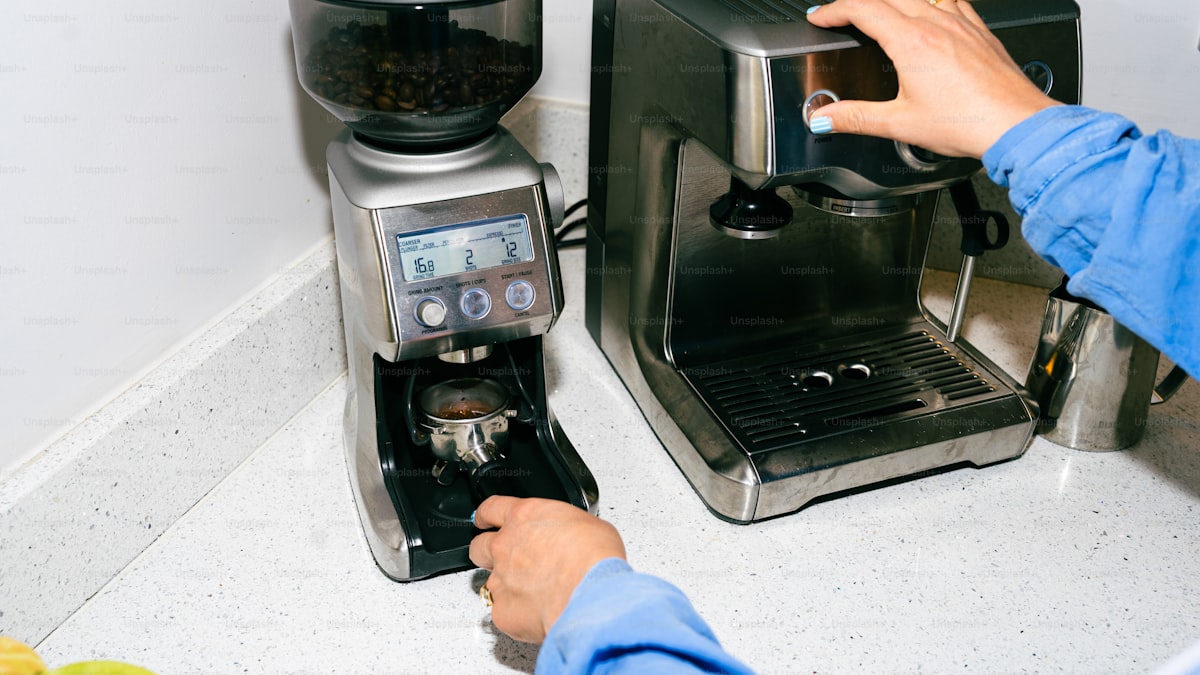
Check Price on Amazon →How Do You Clean an Espresso Machine at Home?
Espresso machines operate at higher pressure and temperature than drip brewers, which means mineral scale builds up faster and coffee oils accumulate more aggressively. A neglected espresso machine will not just taste bad -- it can actually damage internal components over time, leading to expensive repairs or a completely dead machine.
Whether you have a semi-automatic, a super-automatic, or a manual lever machine, the cleaning principles are the same: backflush with detergent, descale with acid, and clean the steam wand after every single use.
What You Will Need
- Espresso machine cleaning tablets or powder (like Cafiza)
- White vinegar or citric acid descaling solution
- A blind filter basket (for backflushing)
- A damp cloth
- A small brush or old toothbrush
- A bowl or cup for soaking parts
Step-by-Step Espresso Machine Cleaning
Step 1: Start with the steam wand. This should happen after every use, but if it has been neglected, wrap the wand in a cloth soaked in hot water for a few minutes to soften dried milk residue. Then wipe it clean, purge steam for two to three seconds, and use a pin or the tip of a paperclip to clear the steam holes if they are clogged. Dried milk inside a steam wand is one of the most common sources of off flavors in espresso drinks.
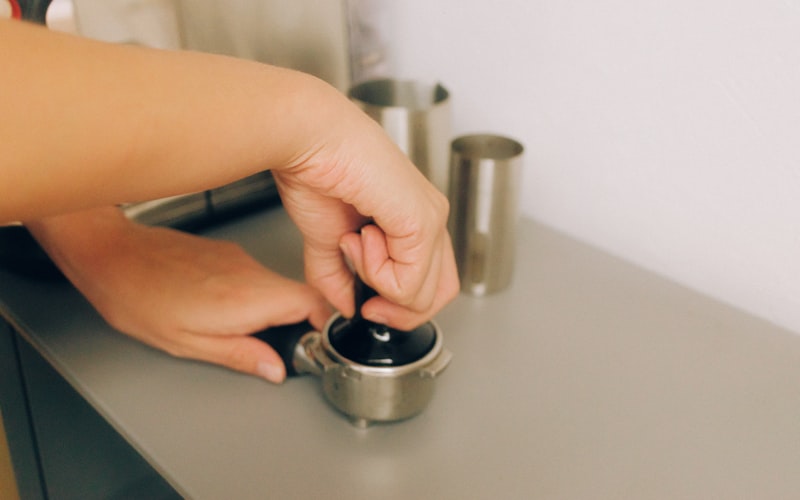
Step 2: Remove the portafilter and knock out the used puck. Rinse the portafilter and filter basket under hot water. Use a brush to scrub the inside of the basket, removing any oily coffee residue. Do not use soap on the portafilter -- it can leave a residue that affects flavor. Hot water and a stiff brush are all you need.
Step 3: Backflush the group head. Insert the blind filter basket (a solid basket with no holes) into the portafilter, add a small amount of espresso machine cleaning powder or a cleaning tablet, lock the portafilter into the group head, and start a brew cycle. The machine will pressurize against the blind basket and force cleaning solution back through the group head and three-way solenoid valve. Run for 10 seconds, stop for 10 seconds, and repeat five times. Remove the portafilter and rinse the blind basket. Run two to three more backflush cycles with plain water (no detergent) to rinse.
Step 4: Remove the shower screen and dispersion plate from the group head if your machine allows it. These parts collect compacted coffee oils and need to be soaked in hot water with a cleaning tablet for 15 to 20 minutes. Scrub them with a brush, rinse, and reinstall.
Step 5: Descale the machine by running a vinegar-water solution (1:1 ratio) or a citric acid descaling solution through the boiler. Check your machine's manual for the specific descaling process -- some machines have a dedicated descaling mode, while others require you to run the solution through the group head and steam wand manually. This step is critical for machines in areas with hard water.
Step 6: After descaling, flush at least two full reservoirs of fresh water through the machine to rinse away all traces of the descaling solution.
Step 7: Wipe down the drip tray, the exterior, and the area around the group head. Remove the drip tray and wash it with soap and water -- this is one spot where soap is fine and even encouraged, since the drip tray collects standing water and can develop odors quickly.

If you are on a streak of deep cleaning your kitchen, consider also freshening up your garbage disposal and reorganizing your spice drawer while you are at it.
What Household Items Can You Use to Clean a Coffee Maker?
You do not need to buy specialty products to keep your coffee maker in great shape. Here are the most effective household solutions for different cleaning tasks:
White Vinegar
The gold standard for descaling. The acetic acid in vinegar dissolves calcium and lime scale without damaging internal components. It is safe for drip machines, Keurigs, and most espresso machines (though some espresso manufacturers recommend citric acid instead -- check your manual).
Baking Soda
Excellent for scrubbing stained carafes and removing old coffee oil residue from glass and stainless steel surfaces. Mix a tablespoon with warm water to create a gentle paste. It is also a great deodorizer -- if your carafe smells musty, fill it with warm water and two tablespoons of baking soda, let it sit overnight, and rinse in the morning.
Lemon Juice
A natural alternative to vinegar that works nearly as well for descaling and leaves a more pleasant smell. Use the same 1:1 ratio with water. The citric acid in lemon juice tackles mineral deposits effectively, though it is slightly less potent than vinegar on heavy buildup.
Dish Soap
Only for external parts and glass carafes. Never put dish soap inside the reservoir or internal brewing components -- it leaves a residue that is nearly impossible to rinse completely and will make your coffee taste like soap for weeks.
Denture Cleaning Tablets
A surprisingly effective trick for deeply stained carafes. Drop two tablets into the carafe filled with warm water, let them fizz for 30 minutes, and rinse. The effervescent action reaches stains that scrubbing alone cannot touch.
How Can You Tell When Your Coffee Maker Needs Descaling?
Some machines have a built-in descaling indicator light, but many do not. Here are the telltale signs that mineral scale is affecting your brewer:
- Slower brew times. If your drip machine used to finish a pot in six minutes and now takes ten, scale is restricting water flow.
- Unusual noises. Gurgling, sputtering, or louder-than-normal operation can indicate scale buildup near the heating element or in the water lines.
- Reduced water output. If your Keurig is dispensing less coffee per cycle than it used to, the exit needle or internal lines are likely clogged.
- Weak or bitter coffee. Scale reduces the brewing temperature and alters the extraction rate, producing coffee that tastes noticeably different even with the same beans and settings.
- Visible white or green deposits. Check the reservoir, the area around the warming plate, and the underside of the reservoir lid. Any chalky buildup is mineral scale.
If your tap water is particularly hard, you may need to descale every two to three weeks rather than monthly. Alternatively, using filtered water significantly slows mineral accumulation and can extend the time between descaling sessions. This is also a smart move if you are trying to save money on your daily coffee habit -- better water makes better coffee, which makes home brewing more satisfying than the coffee shop.
What Mistakes Should You Avoid When Cleaning a Coffee Maker?
Even with good intentions, it is easy to make mistakes that either damage your machine or fail to clean it properly.
Never use bleach. Bleach is too harsh for coffee maker internals and leaves a chemical residue that is dangerous to consume and nearly impossible to rinse out fully. Stick with vinegar, citric acid, or manufacturer-approved descaling solutions.
Never put the carafe or reservoir in the dishwasher unless the manufacturer says it is safe. Many carafes have measurement markings printed on the glass that will fade or peel off in the dishwasher. And while you are thinking about what does and does not belong in the dishwasher, check out this guide on things you should never put in the dishwasher.
Do not skip the rinse cycles. Running one quick rinse after a vinegar descale is not enough. You need at least two full rinse cycles for drip machines and three for Keurigs. Otherwise, your next pot of coffee will taste unmistakably like vinegar.
Do not forget to clean the outside. The warming plate on a drip machine accumulates burnt coffee drips that carbonize into a hard, dark residue over time. The area around a Keurig's pod holder gets sticky with coffee oils. Use a damp cloth with a drop of dish soap to wipe these surfaces down weekly.
Never reassemble a coffee maker while parts are still wet. Moisture trapped inside a sealed reservoir or pod holder creates exactly the conditions mold needs to thrive. Dry every part thoroughly with a clean towel or let them air dry completely before putting the machine back together.
Frequently Asked Questions
Can you use apple cider vinegar instead of white vinegar to clean a coffee maker?
White distilled vinegar is strongly preferred. Apple cider vinegar contains organic compounds and sugars that can leave a sticky residue inside the machine and may contribute to bacterial growth rather than preventing it. White vinegar is purer, more acidic, and rinses out cleanly. If you do not have white vinegar on hand, citric acid powder mixed with water is a better alternative than apple cider vinegar.
How often should you replace a Keurig water filter?
Keurig recommends replacing the charcoal water filter cartridge every two months or after 60 tank refills, whichever comes first. If you notice your coffee starting to taste flat or your machine is descaling more frequently than usual, the filter may need to be changed sooner. A fresh filter reduces mineral content in the water, which means less scale buildup and better-tasting coffee.
Is it safe to run vinegar through an espresso machine?
It depends on the manufacturer. Some espresso machine brands -- particularly Breville and DeLonghi -- explicitly approve vinegar for descaling. Others, such as Jura and some higher-end models, recommend using only their proprietary descaling tablets or a citric acid solution, as vinegar can damage certain types of rubber seals and internal coatings over time. Always check your owner's manual before using vinegar in an espresso machine.
Why does coffee taste bad even after cleaning the machine?
If your coffee still tastes off after a thorough cleaning, the problem might be elsewhere. Stale beans are the most common culprit -- coffee goes stale within two to four weeks of roasting, and pre-ground coffee degrades even faster. Water quality matters too; heavily chlorinated tap water produces a chemical taste that no amount of machine cleaning will fix. Finally, check your grind size and coffee-to-water ratio. A clean machine brews more efficiently, so you may need to adjust your settings slightly after descaling.
Final Thoughts
Cleaning your coffee maker is one of those small maintenance tasks that pays off every single day. A clean machine brews hotter, extracts more evenly, and produces coffee that tastes noticeably better -- all without changing your beans, your grinder, or your recipe. Once you get into the habit of monthly descaling and daily carafe rinsing, it becomes second nature and takes very little time.
The best part is that none of this requires expensive products or special skills. A bottle of white vinegar, some warm soapy water, and 20 to 30 minutes of your time are all it takes to keep any coffee maker -- drip, Keurig, or espresso -- performing at its best for years to come.
While you are giving your kitchen some attention, you might also want to tackle a few related projects like deep cleaning your dishwasher or cleaning your glass stovetop. Small cleaning wins like these add up to a kitchen that feels noticeably fresher and more enjoyable to spend time in.
Get weekly home tips that actually work
Join thousands of homeowners getting practical cleaning hacks, DIY fixes, and money-saving tips every week. Free, and you can unsubscribe anytime.

Written by
Beth SullivanFounder & Editor-in-Chief
Beth Sullivan is the founder of Practical Home Guides. With over a decade of hands-on experience tackling every home challenge imaginable, she started this site to share the practical, no-nonsense solutions she wishes she had found years ago. When she's not testing cleaning hacks or organizing pantries, you'll find her in the garden or working on her next DIY project.
Recommended Products
Looking for specific product recommendations? Check out our tested picks.
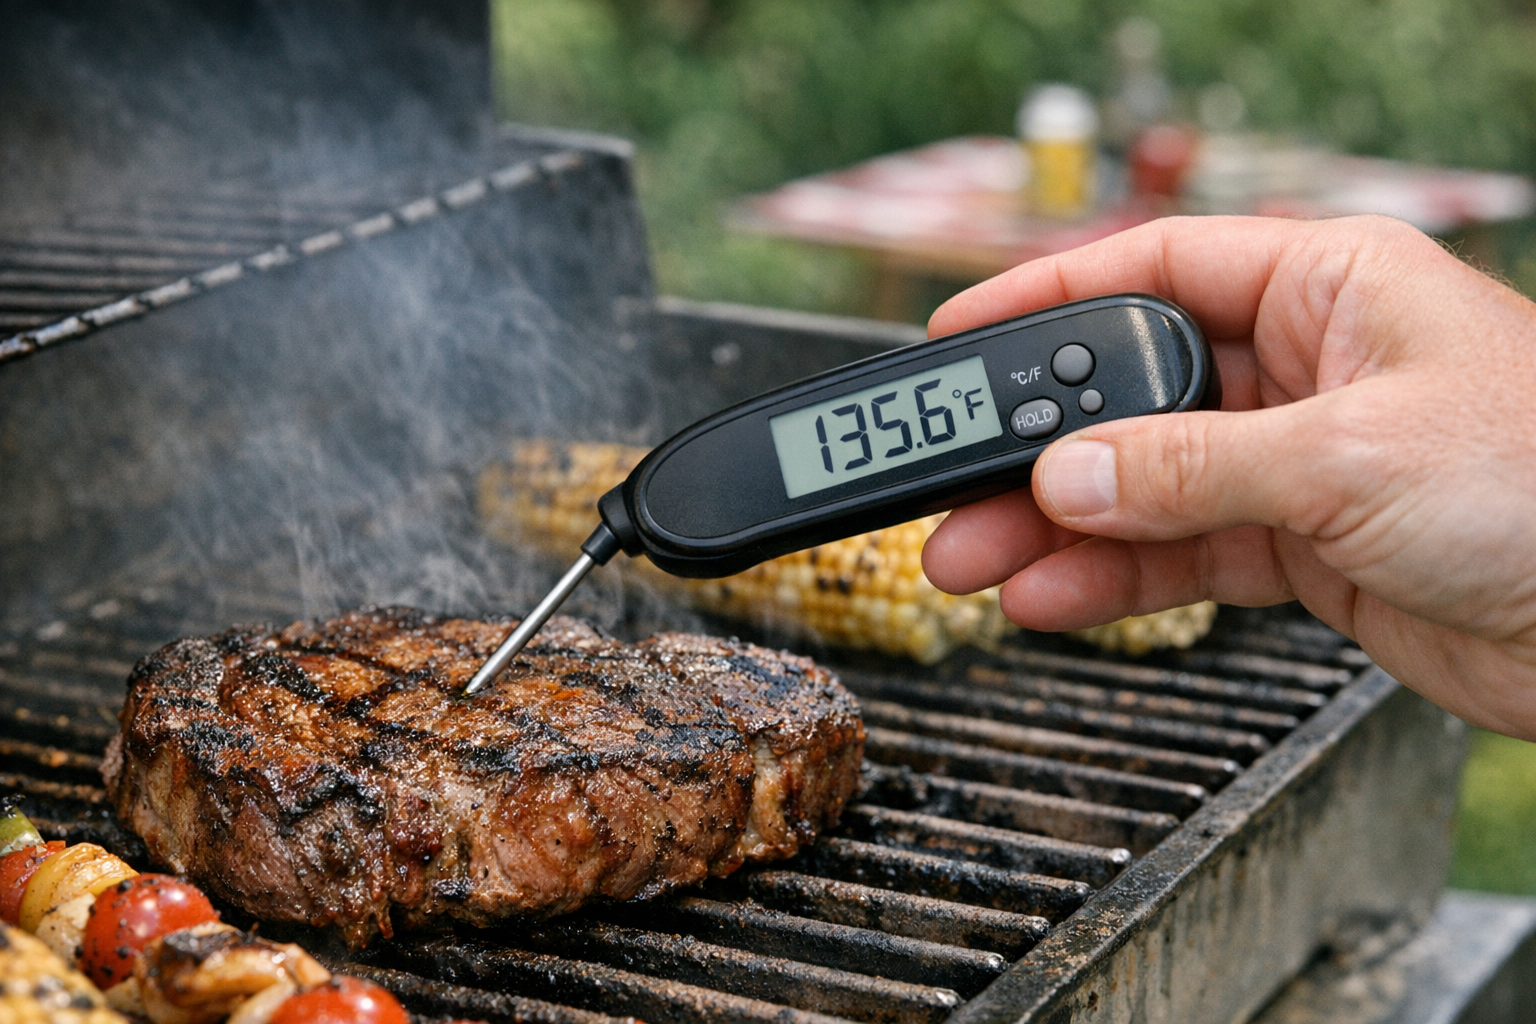
Best Instant Read Meat Thermometers (2026 Tested)
We tested instant read thermometers for grilling, roasting, and candy making. The picks that read in under 3 seconds and don't break after a year.

Best Espresso Machines for Home (2026 Buyer's Guide)
From under-300-dollar starter machines to 2000-dollar prosumer espresso, here are the espresso machines worth your money in 2026.
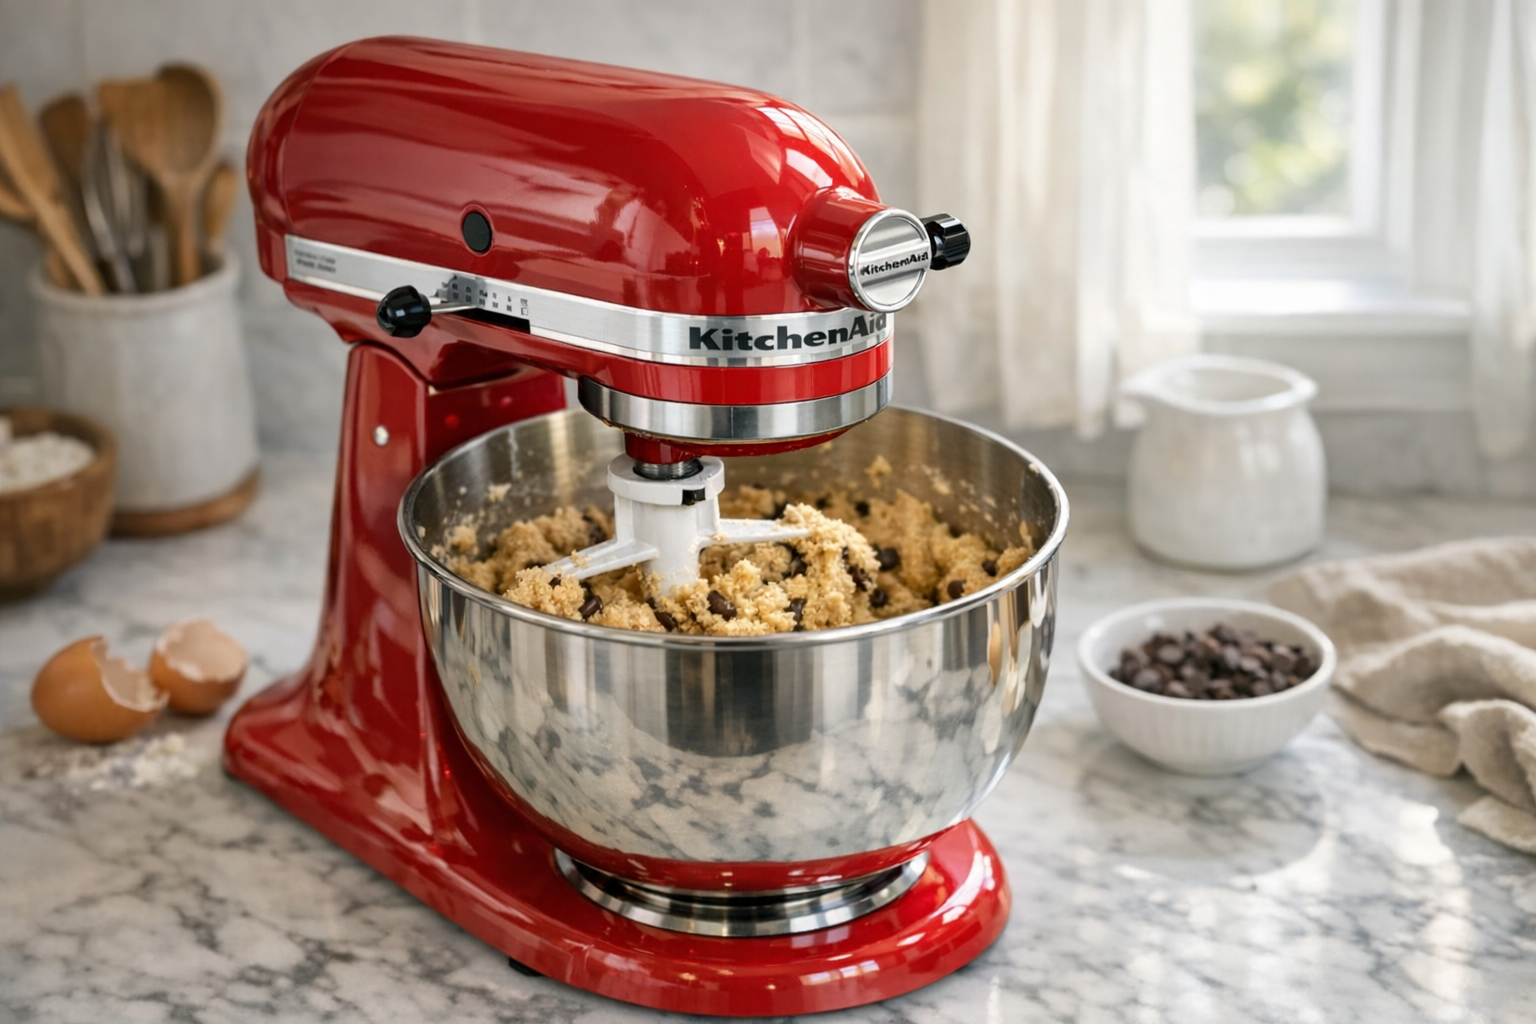
Best Stand Mixers (2026 Buyer's Guide)
We tested stand mixers from KitchenAid, Cuisinart, and Breville on bread dough, cookie batter, and meringues. Here are the picks worth the counter space.
5 Best Kitchen Knife Sets for Home Cooks (2026)
Stop struggling with dull knives. We compared the top kitchen knife sets for home cooks at every budget — here are the 5 best with honest pros and cons.
Best Air Fryers for Home Cooks (2026 Buyer's Guide)
Find the best air fryer for your kitchen and budget. We compare 6 top-rated air fryers from basket to oven style, with honest pros and cons for each.
Related Articles

Cookout Staples to Prep Ahead (For Stress-Free Summer Entertaining)
The 8 cookout staples you can make 1 to 3 days ahead — better-tasting than last-minute and lets you actually enjoy the party.

Mother's Day Gifts That Ship Well (Last-Minute Friendly)
If Mother's Day snuck up on you, these gift ideas ship in 3 days or less and don't feel last-minute. From specialty foods to thoughtful kitchen tools.
How to Cook Fluffy Rice Every Time (No Sticky Bottom)
Fluffy separate rice grains, no clumping, no scorched bottom. The exact ratios and technique that work whether you use a pot, rice cooker, or Instant Pot.
Best Instant Read Meat Thermometers (2026 Tested)
We tested instant read thermometers for grilling, roasting, and candy making. The picks that read in under 3 seconds and don't break after a year.