How to Organize Your Freezer to Save Money and Reduce Waste
This article may contain affiliate links. If you make a purchase through these links, we may earn a small commission at no extra cost to you. Learn more
Quick Answer
How to Organize Your Freezer to Save Money and Reduce Waste
Divide your freezer into zones: proteins on one shelf, vegetables and fruits on another, prepared meals in a third, and breads/baked goods together. Use clear, flat-stacking containers or freezer bags laid flat to maximize space. Label everything with the item name and date using freezer tape and a marker. Do a monthly 10-minute audit to rotate older items forward and toss anything past its freezer life. The average family throws away $1,500 in food per year -- a well-organized freezer can cut that by half.
How to Organize Your Freezer to Save Money and Reduce Waste
The average American household throws away roughly $1,500 worth of food every year. A significant chunk of that waste happens inside the freezer -- the one appliance that is supposed to preserve food for months. Instead, packages get buried, labels become illegible, and perfectly good chicken breasts end up coated in a thick layer of freezer burn before anyone remembers they exist. If you have ever pulled a mystery bag of unidentifiable brown matter from the back of your freezer and tossed it straight into the trash, you know exactly how this goes.
The truth is, your freezer is one of the most powerful money-saving tools in your kitchen -- but only if you can actually find and use what is inside it. A well-organized freezer means less wasted food, fewer impulse takeout orders on nights when you "have nothing to cook," and real savings that add up to hundreds of dollars a year. Pair a dialed-in freezer system with strategies for reducing food waste in other areas of your kitchen, and you can cut your household food waste by half or more.
The good news is that organizing a freezer is a straightforward project you can finish in under an hour. You do not need special skills or expensive equipment. You just need a system -- and this guide will give you one that works for chest freezers, upright freezers, and the freezer compartment on top of or beside your fridge.

What's the Best Way to Organize a Freezer?
The best approach is a zone system -- the same concept that professional kitchens and well-organized refrigerators use. Instead of shoving items in wherever they fit, you assign a specific area to each category of food. Everything gets a home, and you always know exactly where to look.
The Four-Zone System
Here is the breakdown that works for any freezer layout:
- Zone 1 -- Proteins: Raw meat, poultry, fish, and seafood. In an upright freezer or fridge-freezer combo, this goes on the bottom shelf so nothing can drip onto other food if a package leaks during thawing. In a chest freezer, use a dedicated bin or basket.
- Zone 2 -- Fruits and Vegetables: Frozen produce, whether store-bought bags or items you froze yourself. These are lightweight and stack easily, so they work well on upper shelves or in shallower bins.
- Zone 3 -- Prepared Meals and Leftovers: Soups, casseroles, freezer meal prep batches, sauces, and anything you cooked and froze for later. Keep these front and center where you will see them when deciding what to make for dinner.
- Zone 4 -- Breads, Baked Goods, and Miscellaneous: Bread loaves, tortillas, pizza dough, ice cream, frozen waffles, and anything else that does not fit neatly into the first three categories. These items are typically the most shelf-stable in the freezer, so they can go in the least accessible spots.
The exact placement depends on your freezer type. In a top-mount fridge freezer, you might only have two shelves and a door -- assign zones to each shelf and use the door for flat items like bread and ice packs. In a chest freezer, use stackable bins to create vertical zones so items do not get buried at the bottom.
Why Zones Work
Without zones, your freezer becomes a geological dig site. The newest purchases sit on top, and the oldest items sink to the bottom, forgotten until you defrost the entire thing a year later. Zones force you to put each new item into its correct category, which means you immediately see what you already have. You stop buying a third bag of frozen broccoli when two are already hiding under the chicken.
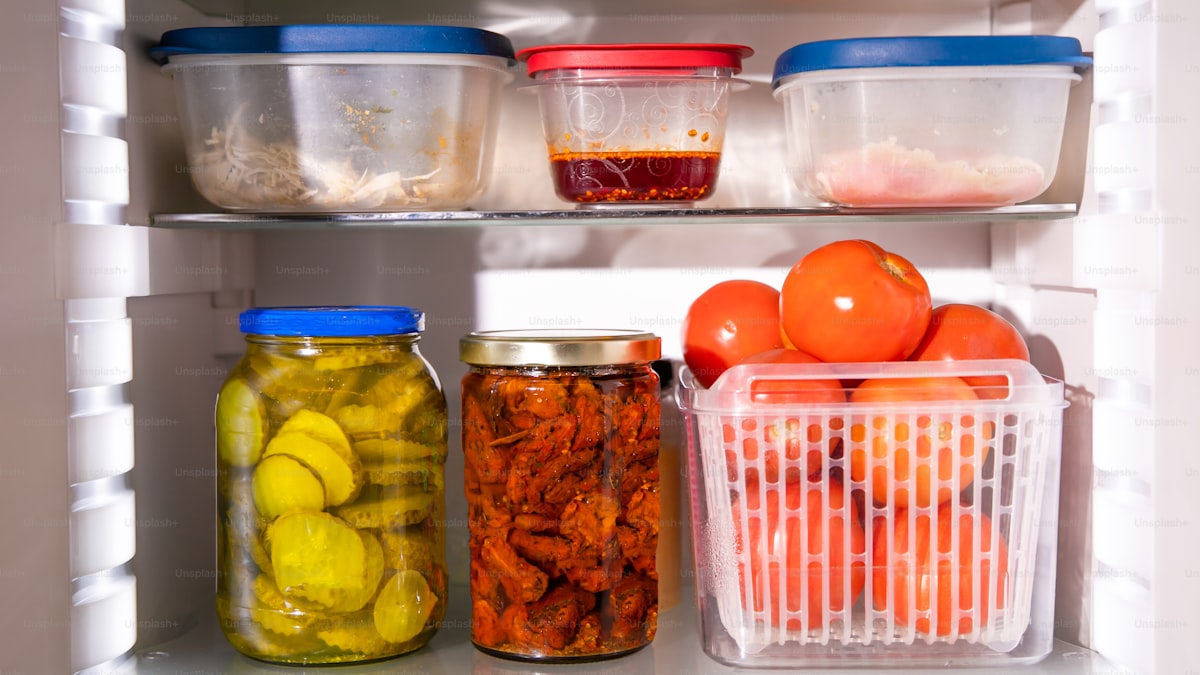
How Do You Choose the Right Containers for Freezer Storage?
The container you use matters more than most people realize. The wrong packaging leads to freezer burn, wasted space, and food that tastes like the inside of your freezer instead of the meal you worked hard to prepare.
Freezer Bags vs. Rigid Containers
For most purposes, heavy-duty freezer bags are the best option. They are inexpensive, take up minimal space when laid flat, and allow you to squeeze out excess air before sealing. Freeze them flat on a baking sheet, and once solid, you can stand them upright like files in a cabinet. A freezer that fits eight rigid containers can hold twenty or more flat bags.
Rigid containers have their place too -- they are better for liquids like soups and stews that need to freeze in a specific shape, and they protect delicate items like baked goods from getting crushed. Look for containers that are specifically designed for freezer use, as regular food storage containers can crack at low temperatures.
The Vacuum Sealer Advantage
If you freeze food regularly -- especially bulk meat purchases or large batch cooking sessions -- a vacuum sealer is one of the best investments you can make. By removing virtually all the air from the packaging, vacuum-sealed food resists freezer burn far longer than bags or containers. Vacuum-sealed meat can maintain peak quality for two to three years in the freezer, compared to four to six months in regular freezer bags.
Stackable Freezer Storage Bins (Set of 6)
Clear BPA-free bins with handles that maximize vertical freezer space. Stackable design fits standard freezers and fridge-freezers. Finally see everything without digging.
Check Price on Amazon →Maximizing Space
No matter which containers you use, the goal is to eliminate dead space. Stack items as flat and uniform as possible. Use bins with handles to create pullout drawers in chest freezers. Stand flat freezer bags upright in a clear storage bin so you can slide the whole bin out and flip through bags like a filing cabinet. Every cubic inch of wasted air space in your freezer is money you are not saving.
How Long Does Food Actually Last in the Freezer?
One of the biggest sources of freezer waste is confusion about how long frozen food stays good. Technically, food stored at 0°F or below is safe to eat indefinitely -- bacteria cannot grow at that temperature. But safe and good-quality are two different things. Over time, even properly stored frozen food loses flavor, texture, and nutritional value. The chart below gives you realistic quality windows for the most commonly frozen items.
Freezer Storage Times Reference Chart
| Food Item | Quality Shelf Life | Storage Tips |
|---|---|---|
| Raw beef steaks and roasts | 6-12 months | Vacuum seal or double-wrap in freezer paper |
| Raw ground beef or turkey | 3-4 months | Press flat in freezer bags, remove all air |
| Raw chicken (whole) | 12 months | Keep in original packaging, add a freezer bag |
| Raw chicken (pieces) | 9 months | Separate pieces with parchment before freezing |
| Raw pork chops and roasts | 4-6 months | Wrap tightly in plastic wrap, then foil |
| Raw fish and shellfish | 3-6 months | Vacuum seal for best results |
| Cooked meat and poultry | 2-4 months | Cool completely before freezing |
| Soups and stews | 2-3 months | Leave 1 inch headspace for expansion |
| Casseroles | 2-3 months | Freeze in oven-safe dish or line dish with foil |
| Frozen vegetables (store-bought) | 8-12 months | Keep in original bag, squeeze out air after opening |
| Frozen fruits | 8-12 months | Flash freeze on sheet pan before bagging |
| Bread and rolls | 3-6 months | Double bag to prevent freezer odor absorption |
| Pizza dough | 3 months | Portion into individual balls, oil lightly |
| Cooked rice and grains | 3-6 months | Freeze in single-serving portions |
| Butter | 6-9 months | Keep in original wrapping, add freezer bag |
| Hard cheese (shredded) | 6-8 months | Toss with a pinch of cornstarch to prevent clumping |
| Ice cream | 1-2 months (quality) | Press plastic wrap directly onto surface |
| Pancakes and waffles | 1-2 months | Flash freeze flat, then stack in a bag with parchment |
To get accurate readings on your freezer temperature, keep a freezer thermometer inside at all times. Your freezer should hold a steady 0°F or below. Even a few degrees above zero accelerates quality loss and can shorten these storage windows significantly.
How Should You Label Everything in the Freezer?
Labeling is the habit that separates a functional freezer from a graveyard of mystery bags. It takes ten seconds per item and saves you from throwing away food you cannot identify three months later.
What to Write on Every Label
Every frozen item should have at minimum:
- Item name -- "Chicken Thighs (raw)" not just "chicken"
- Date frozen -- Use the format that makes sense to you, but be consistent
- Quantity or servings -- "2 lbs" or "serves 4"
- Cooking notes (for prepared meals) -- "Thaw overnight, slow cooker low 6 hrs"
Best Labeling Tools
Regular markers smudge and fade in the freezer. Use a permanent marker on freezer tape or directly on freezer bags. Freezer tape is specifically designed to stick at low temperatures -- masking tape and regular labels will peel off within a week. Some people prefer pre-printed freezer labels with blanks for the item, date, and servings.
If you use reusable containers, a strip of freezer tape that you can peel off and replace is the simplest approach. Dry-erase markers also work on smooth plastic surfaces, but they can rub off if containers shift around.
How Do You Do a Monthly Freezer Audit?
An organized freezer does not stay organized by itself. Without regular maintenance, zones blur, labels drift to the back, and the bottom shelf slowly fills with items no one remembers buying. The solution is a simple monthly audit that takes about ten minutes.
The 10-Minute Monthly Audit Process
- Pull everything out of one zone at a time. Set items on the counter on a towel to catch condensation. Work quickly -- you have about 20 to 30 minutes before items start to thaw noticeably.
- Check dates. Anything past its quality window (refer to the chart above) either gets used this week or gets tossed. Be honest -- if you have been avoiding that pork roast for six months, you are not going to suddenly crave it next week.
- Look for freezer burn. Items with heavy ice crystals, dried-out patches, or off-colored spots have lost their quality. Minor freezer burn can be trimmed away, but heavily burned food should go.
- Rotate stock. Move older items to the front or top of each zone, and put newer additions behind them. This is the first-in-first-out (FIFO) principle that every restaurant kitchen follows.
- Update your inventory. If you keep a running list on the freezer door or in a notes app on your phone, adjust it as you go. Even a rough list like "2 lbs ground beef, 1 bag broccoli, 3 containers chili" saves you from buying duplicates at the store.
- Wipe down shelves or bin surfaces. A quick pass with a damp cloth removes frost buildup and keeps things clean.
Build It Into Your Routine
Pick a consistent day -- the first Saturday of the month, the night before your big grocery run, whatever works. Pair it with another habit you already have. If you already do a monthly fridge organization reset, add the freezer audit right after. Ten minutes a month prevents hundreds of dollars in wasted food over the course of a year.
What Are the Best Tips for Freezing Food Without Freezer Burn?
Freezer burn is not dangerous, but it ruins the taste and texture of food. It happens when air reaches the surface of frozen food, causing dehydration and oxidation. The ice crystals you see on freezer-burned food are moisture that has escaped from the food itself -- which is why burned items taste dry and flavorless.
Prevention Strategies
- Remove as much air as possible. Whether you use freezer bags, vacuum sealer bags, or containers, minimizing air contact is the single most important step. For freezer bags, seal the bag almost completely, then press out air from the bottom up before closing the last inch. For a tighter seal without a vacuum machine, use the water displacement method: submerge the filled, nearly-sealed bag in a bowl of water and let the water pressure push the air out, then seal.
- Wrap items twice. For meat and baked goods, wrap first in plastic wrap pressed directly against the surface, then in a layer of aluminum foil or a freezer bag. The double layer creates a much stronger barrier against air.
- Freeze food quickly. The faster food freezes, the smaller the ice crystals that form, which means less cell damage and better texture when thawed. Spread items in a single layer initially rather than stacking warm containers. If your freezer has a quick-freeze shelf or setting, use it.
- Keep your freezer full. A full freezer maintains its temperature more efficiently than a half-empty one. Frozen items act as thermal mass, helping the freezer recover quickly after you open the door. If your freezer is running low, fill empty space with bags of ice or even water-filled containers.
- Do not open the door more than necessary. Every time you open the freezer, warm humid air rushes in. That humidity condenses and forms ice crystals on your food. Know what you want before you open the door, grab it, and close up.
How Do You Organize a Chest Freezer vs. an Upright Freezer?
The zone system works for both types, but the execution differs because of how you access the food.
Chest Freezers
Chest freezers are space-efficient and hold temperature well, but their biggest drawback is the black hole effect -- items sink to the bottom and disappear. Combat this with:
- Stackable bins or baskets that lift out so you can access lower layers without dismantling everything on top.
- A vertical divider system using wire shelf dividers or even sturdy cardboard to separate zones side by side rather than top to bottom.
- Flat-frozen bags standing upright inside bins, organized by category. You can flip through them like records in a crate.
- A running inventory taped to the lid. Since you cannot see everything at a glance in a chest freezer, a written list is essential.
Upright Freezers and Fridge-Freezer Combos
These are easier to organize because you can see shelves at a glance. Assign each shelf to a zone and use bins or containers to keep items corralled within each shelf. Door shelves are great for flat items -- bread, tortillas, ice packs, and thin packages of deli meat.
For small fridge-freezer combos with only one or two shelves, combine zones within each shelf using small bins. Proteins in one bin on the bottom shelf, prepared meals in another bin on the same shelf, vegetables and fruits in a bin on the top shelf.
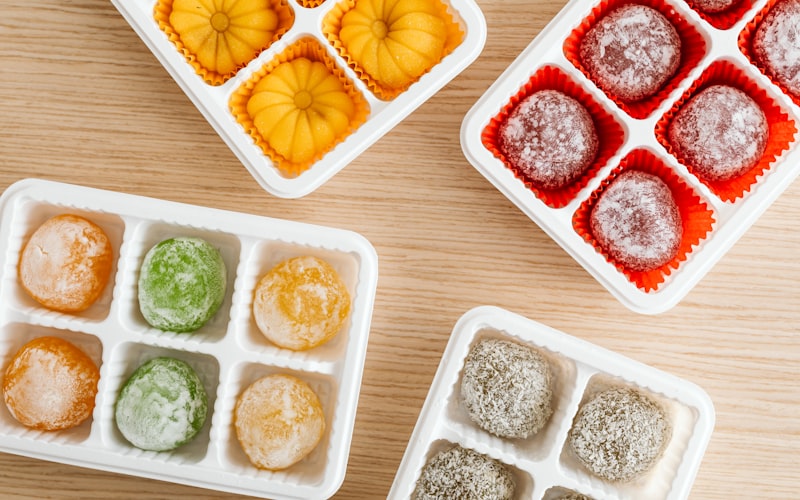
What Should You Freeze in Ice Cube Trays?
Silicone ice cube trays are one of the most underrated freezer organization tools. They let you freeze small portions of ingredients that would otherwise go to waste, and the frozen cubes pop out easily and store neatly in a labeled bag.
Items Worth Freezing in Cube Trays
- Fresh herbs in olive oil -- Chop basil, rosemary, thyme, or cilantro and pack into ice cube tray compartments. Cover with olive oil and freeze. Drop a cube directly into a hot pan when cooking.
- Tomato paste -- Most recipes call for one or two tablespoons, but cans come in six-ounce portions. Freeze the remainder in tablespoon-sized cubes.
- Citrus juice -- Squeeze lemons or limes, freeze in cubes, and use for cooking or drinks all month.
- Broth or stock -- Freeze in cubes for when a recipe calls for just a splash.
- Leftover wine -- Freeze for cooking. A cube or two adds depth to sauces and stews.
- Buttermilk -- Another ingredient you rarely need a full carton of. Freeze in measured portions for baking.
- Pureed baby food -- If you make your own, ice cube trays are the perfect portion size.
- Coffee -- Freeze brewed coffee in cubes for iced coffee that does not get watered down.
Once the cubes are fully frozen, pop them out and transfer to a labeled freezer bag. This frees up the tray for your next batch and keeps the cubes from absorbing freezer odors.
How Does a Well-Organized Freezer Save You Money?
The savings from freezer organization come from multiple directions, and they add up faster than most people expect.
You Stop Wasting Food
When you can see everything in your freezer and you know exactly how long each item has been there, food stops falling through the cracks. No more tossing freezer-burned steaks or mystery containers of something that was probably soup eight months ago. Even saving just two or three items a month from the trash bin adds up to hundreds of dollars annually.
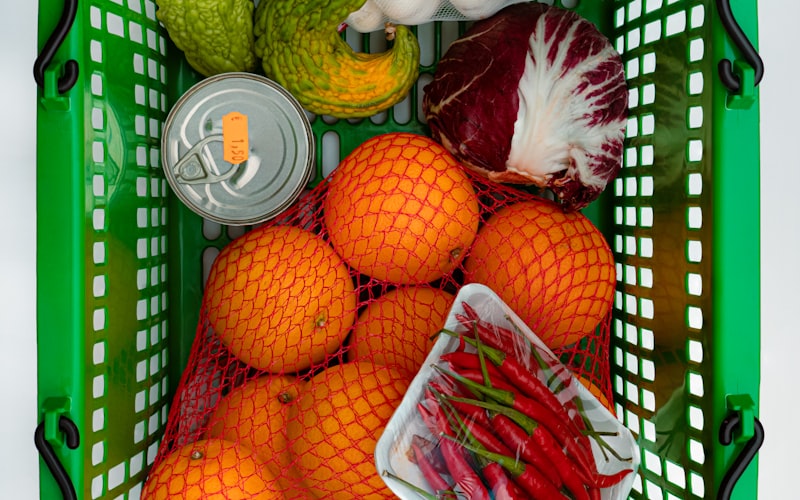
You Buy in Bulk With Confidence
Sales on meat, produce, and pantry staples become much more valuable when you have an organized system for freezing the surplus. Chicken breasts on sale for $1.99 a pound? Buy ten pounds, portion them into meal-sized packages, label and date them, and file them into your protein zone. Without a system, bulk purchases just create freezer chaos and eventually become waste anyway.
You Eat at Home More Often
When your freezer is stocked with organized, labeled, ready-to-cook meals and ingredients, the "there is nothing to eat" excuse evaporates. Instead of ordering $40 worth of delivery on a tired Tuesday night, you pull a labeled bag of chili from Zone 3, thaw it, and eat for a fraction of the cost. If you are building up a stash of freezer meals, a well-organized freezer makes the whole system work. For broader budgeting strategies, our guide on how to cut your grocery bill in half covers the full picture.
You Reduce Repeat Purchases
How many times have you bought frozen broccoli only to discover two bags already in the freezer? An organized system with a simple inventory list eliminates duplicate purchases. This alone can save $20 to $50 a month for a typical household.
How Do You Get Started Today?
You do not need to wait for a weekend or a special occasion. The entire process -- emptying, sorting, labeling, and reorganizing your freezer -- takes about 45 minutes to an hour. Here is your step-by-step plan.
The One-Hour Freezer Reset
- Clear your counter space and lay down towels to catch condensation.
- Pull everything out of the freezer. Yes, everything. Work quickly.
- Sort into four piles based on the zone system: proteins, fruits and vegetables, prepared meals, and breads/miscellaneous.
- Toss anything that is unlabeled and unidentifiable, heavily freezer-burned, or past its quality window.
- Label anything that is still good but currently unmarked. Use a marker and freezer tape.
- Add bins or dividers if you are using them. Even repurposed cardboard boxes or dollar-store bins work fine.
- Load items back in by zone, with the oldest items at the front.
- Start an inventory list -- tape it to the freezer door or save a note on your phone.
Once your system is in place, maintaining it takes only seconds per item when you put food away, plus that ten-minute monthly audit to keep things current.
If you are also looking to improve how you store fresh food before it hits the freezer, our guides on how to organize your fridge, how to store produce so it lasts longer, and how to organize your pantry like a pro all use the same zone-based thinking. Together, they create a complete kitchen storage system that minimizes waste at every stage.
Frequently Asked Questions
Is it safe to refreeze food that has already been thawed?
Yes, as long as the food was thawed safely in the refrigerator and has not been sitting at room temperature for more than two hours. Refreezing is safe from a food safety standpoint, but it does affect quality -- each freeze-thaw cycle damages cell structure, which can make proteins tougher and produce mushier. For best results, try to thaw only what you plan to use. If you do refreeze, use the item soon and expect some texture changes.
How full should a freezer be for maximum efficiency?
Aim for about 75 to 85 percent full. A mostly full freezer is more energy-efficient because the frozen items help maintain the cold temperature, reducing how hard the compressor has to work. However, you need some air space for cold air to circulate. An overstuffed freezer blocks airflow and creates warm spots where food does not freeze properly. If your freezer is running low, fill the gaps with bags of ice or water-filled containers to maintain thermal mass.
What is the best temperature for a home freezer?
Your freezer should be set to 0°F (-18°C) or below. This temperature stops bacterial growth completely and maintains food quality for the longest possible time. Use a dedicated freezer thermometer to verify -- the built-in dial on many freezers is not precise enough to trust. Check the thermometer monthly during your audit to make sure things have not drifted.
Can you freeze food in glass containers?
You can, but with important precautions. Use only containers labeled as freezer-safe -- regular glass can crack or shatter from thermal shock. Leave at least one inch of headspace for liquids that expand as they freeze. Never put a hot glass container directly into the freezer, and never move a frozen glass container straight into a hot oven. Let it come to room temperature first. Wide-mouth mason jars with straight sides (not shoulders) work well for soups and sauces because the lack of a narrow neck reduces the risk of cracking from expansion. If you are new to meal prepping, freezer bags are a safer and more space-efficient starting point than glass.
Final Thoughts
An organized freezer is one of those small household changes that pays for itself almost immediately. You waste less food, spend less on groceries, order less takeout, and spend less time staring into the freezer wondering what is in that frost-covered bag on the bottom shelf. The zone system works because it is simple -- proteins here, vegetables there, meals in front, bread on the side. Label everything. Audit once a month. That is the entire system.
The families who save the most money on food are not the ones clipping coupons for hours every week. They are the ones who buy smart, store smart, and actually use what they buy before it goes bad. Your freezer is the anchor of that strategy. An hour of setup now and ten minutes of maintenance each month can realistically save your household $500 to $750 a year in reduced food waste alone -- and that number only grows when you combine it with the right grocery budgeting habits and a consistent meal prep routine.
Grab a marker, a roll of freezer tape, and a bag of bins. Open the freezer. Start sorting. Your future self -- and your grocery budget -- will thank you.
Get weekly home tips that actually work
Join thousands of homeowners getting practical cleaning hacks, DIY fixes, and money-saving tips every week. Free, and you can unsubscribe anytime.

Written by
Beth SullivanFounder & Editor-in-Chief
Beth Sullivan is the founder of Practical Home Guides. With over a decade of hands-on experience tackling every home challenge imaginable, she started this site to share the practical, no-nonsense solutions she wishes she had found years ago. When she's not testing cleaning hacks or organizing pantries, you'll find her in the garden or working on her next DIY project.
Recommended Products
Looking for specific product recommendations? Check out our tested picks.
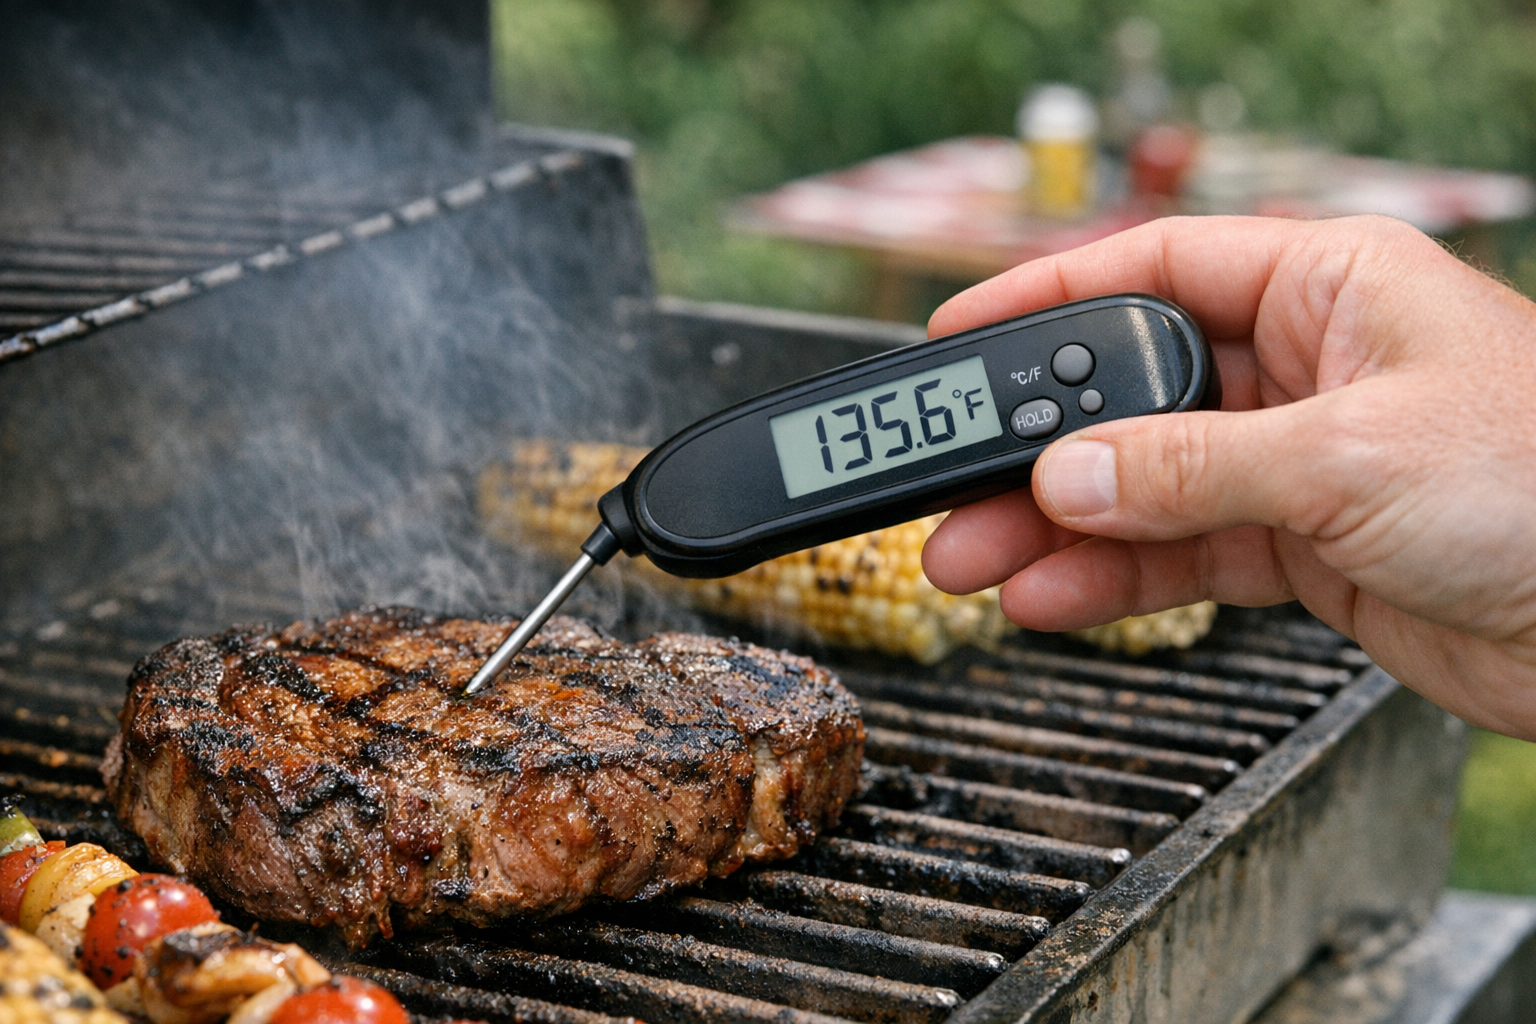
Best Instant Read Meat Thermometers (2026 Tested)
We tested instant read thermometers for grilling, roasting, and candy making. The picks that read in under 3 seconds and don't break after a year.
Best Espresso Machines for Home (2026 Buyer's Guide)
From under-300-dollar starter machines to 2000-dollar prosumer espresso, here are the espresso machines worth your money in 2026.
Best Stand Mixers (2026 Buyer's Guide)
We tested stand mixers from KitchenAid, Cuisinart, and Breville on bread dough, cookie batter, and meringues. Here are the picks worth the counter space.
5 Best Kitchen Knife Sets for Home Cooks (2026)
Stop struggling with dull knives. We compared the top kitchen knife sets for home cooks at every budget — here are the 5 best with honest pros and cons.
Best Air Fryers for Home Cooks (2026 Buyer's Guide)
Find the best air fryer for your kitchen and budget. We compare 6 top-rated air fryers from basket to oven style, with honest pros and cons for each.
Related Articles
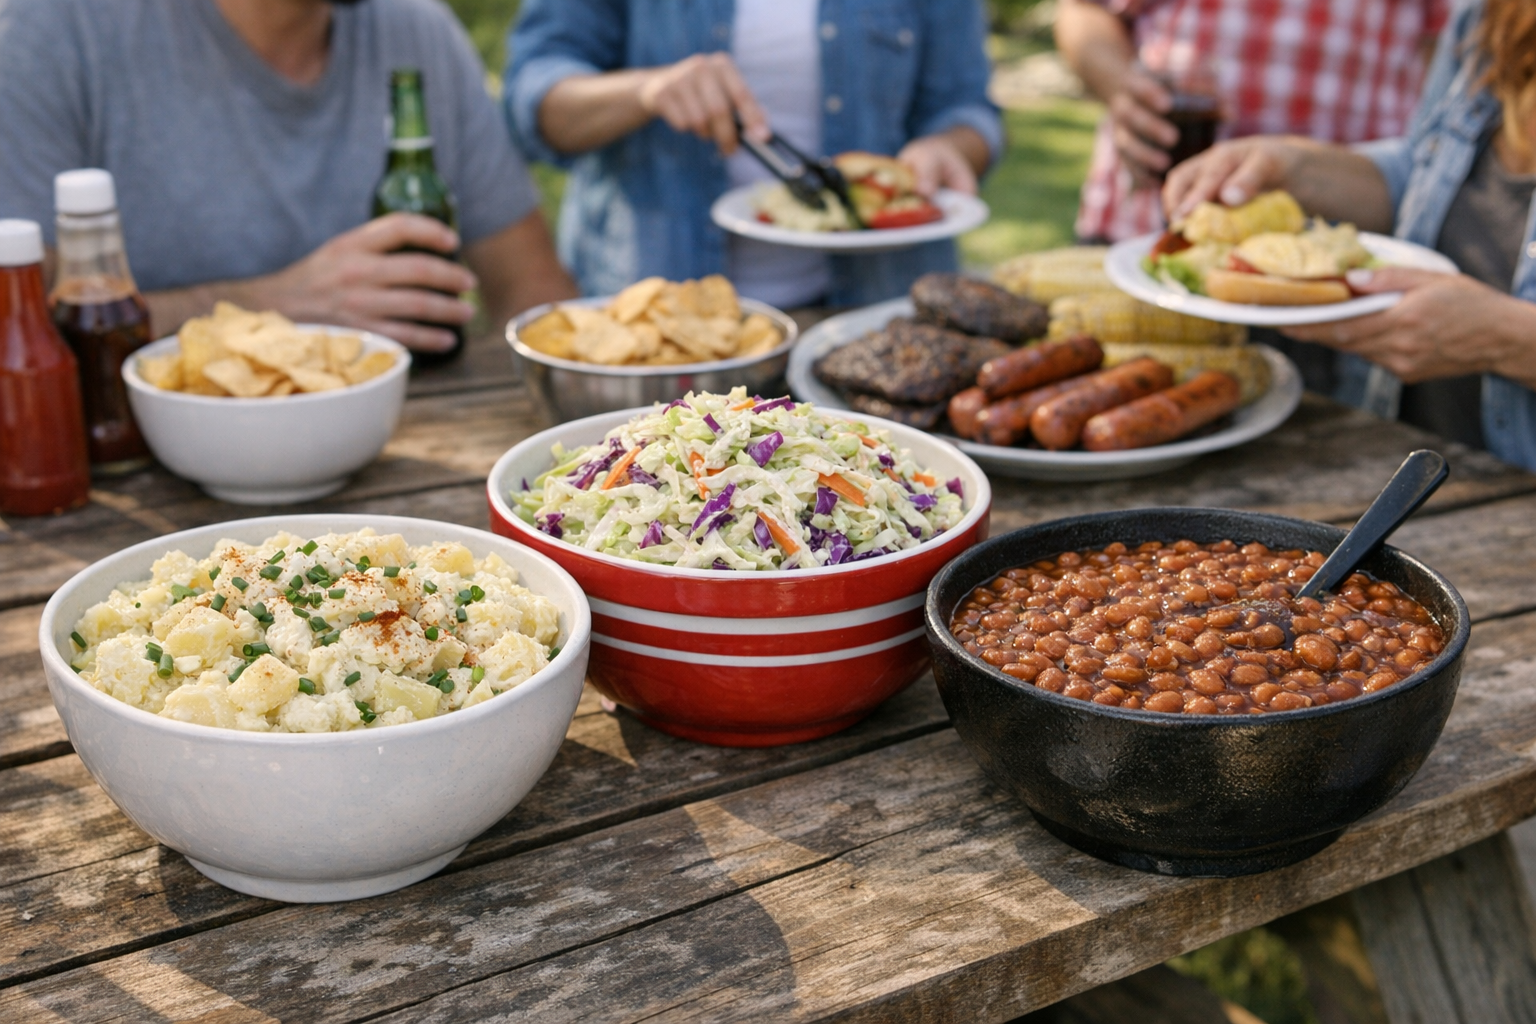
Cookout Staples to Prep Ahead (For Stress-Free Summer Entertaining)
The 8 cookout staples you can make 1 to 3 days ahead — better-tasting than last-minute and lets you actually enjoy the party.
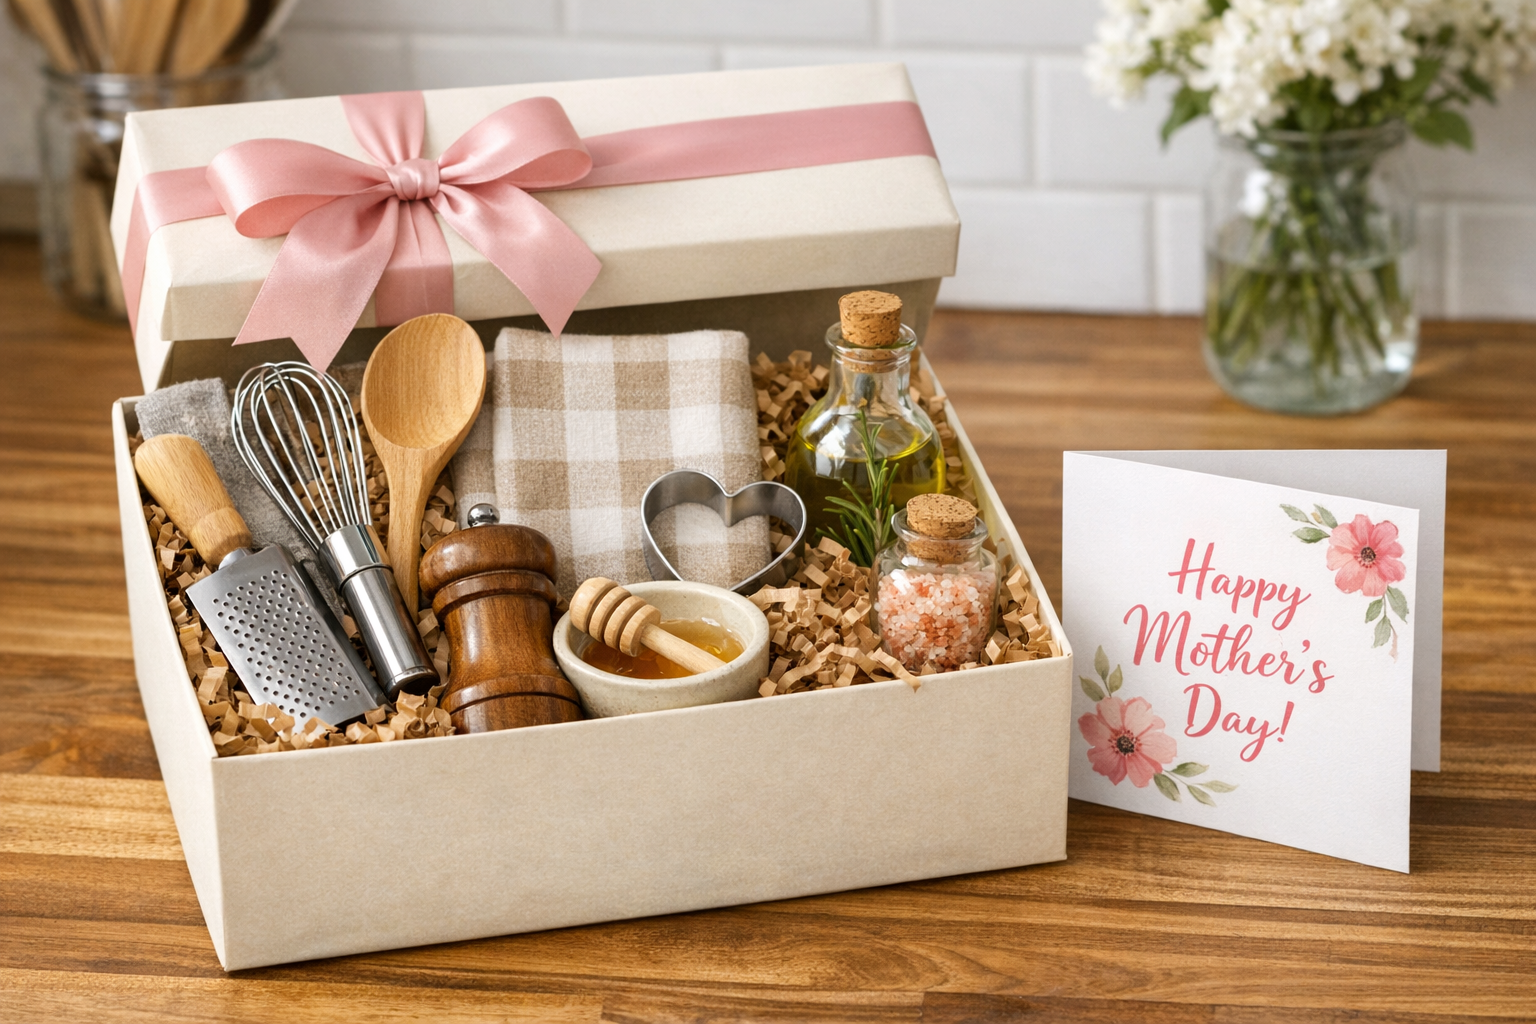
Mother's Day Gifts That Ship Well (Last-Minute Friendly)
If Mother's Day snuck up on you, these gift ideas ship in 3 days or less and don't feel last-minute. From specialty foods to thoughtful kitchen tools.
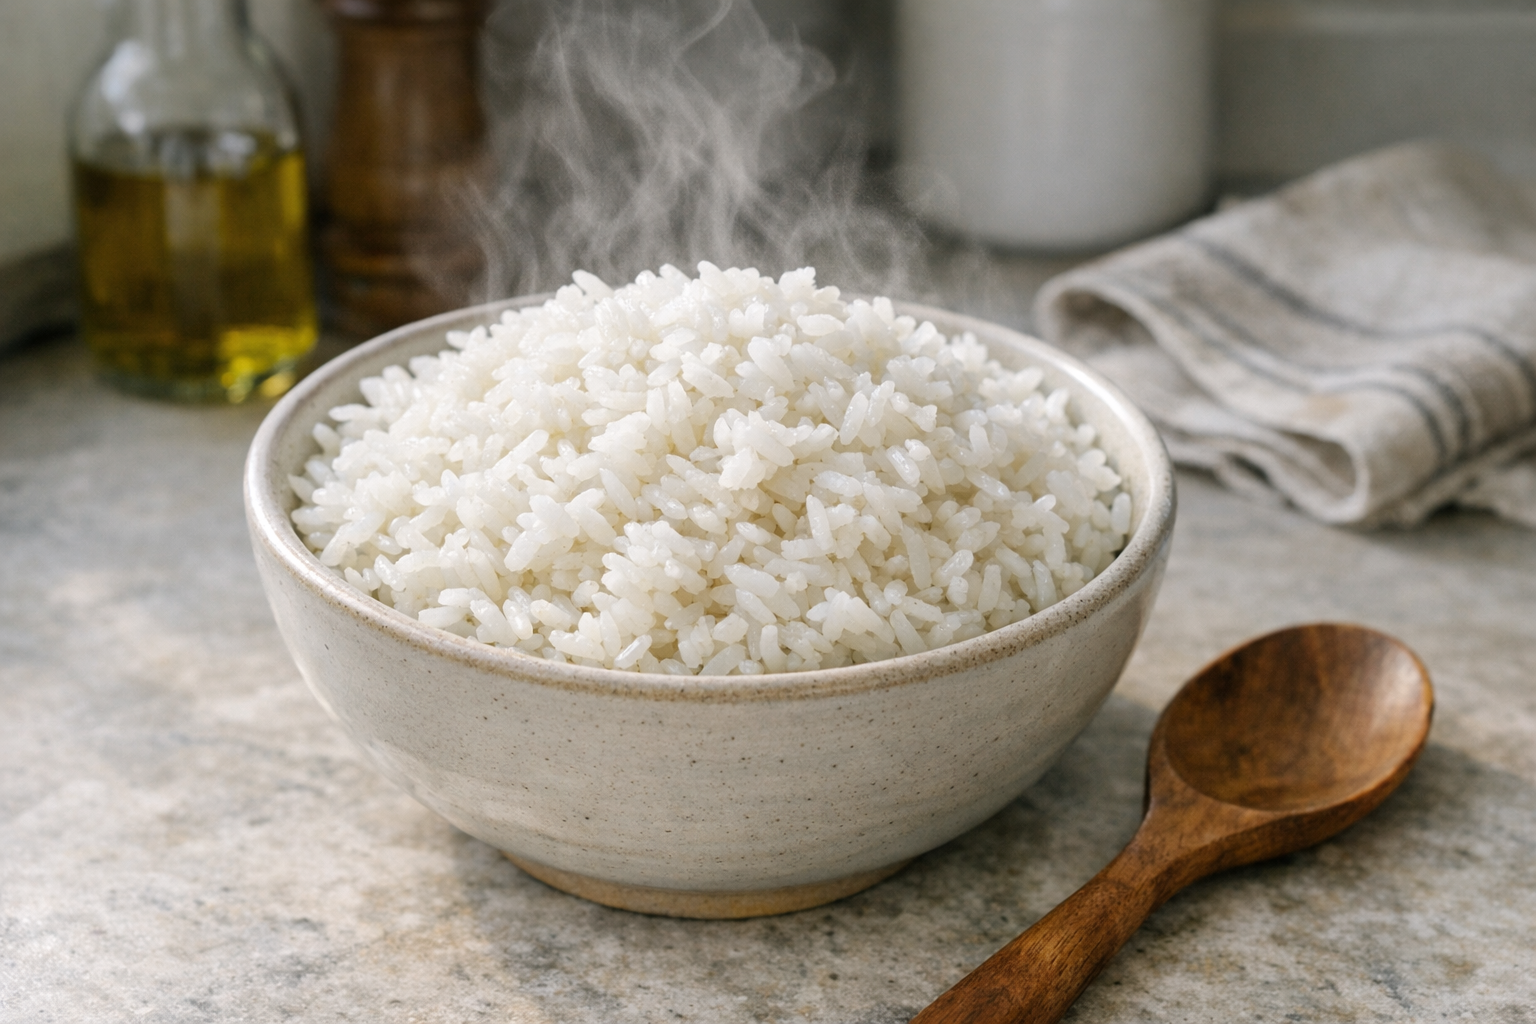
How to Cook Fluffy Rice Every Time (No Sticky Bottom)
Fluffy separate rice grains, no clumping, no scorched bottom. The exact ratios and technique that work whether you use a pot, rice cooker, or Instant Pot.
Best Instant Read Meat Thermometers (2026 Tested)
We tested instant read thermometers for grilling, roasting, and candy making. The picks that read in under 3 seconds and don't break after a year.