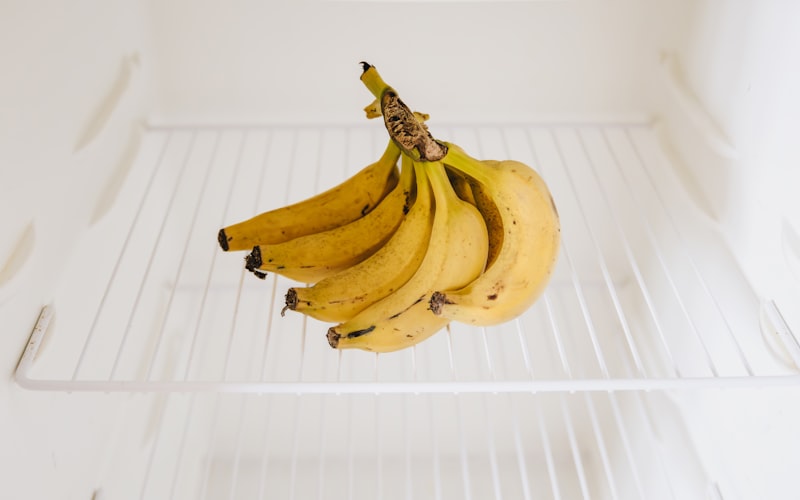
How to Clean a Refrigerator Inside and Out
This article may contain affiliate links. If you make a purchase through these links, we may earn a small commission at no extra cost to you. Learn more
Quick Answer
How to Clean a Refrigerator Inside and Out
Start by removing all food and shelves, then wipe down the interior with a solution of warm water and baking soda. Clean removable shelves and drawers in the sink with dish soap, dry them completely, and put everything back. Finish by wiping down the exterior doors, handles, and condenser coils to keep your fridge running efficiently and smelling fresh.

How to Clean a Refrigerator Inside and Out
Your refrigerator works around the clock, every single day, to keep your food safe and fresh. But when was the last time you actually cleaned it? Not just tossed a few expired containers -- a real, thorough cleaning from top to bottom, inside and out?
If the answer involves an uncomfortable pause, you are in good company. Most people only clean their fridge when something spills or when the mystery smell becomes impossible to ignore. The problem is that by the time you notice something is off, bacteria, mold spores, and sticky residue have already set up shop in every corner, shelf groove, and rubber gasket fold.
A dirty refrigerator does not just look and smell bad -- it can actually compromise the freshness and safety of everything you store inside. Cross-contamination from raw meat drippings, mold spreading from forgotten produce, and bacterial growth in sticky spills are real concerns that a quick wipe-down cannot address.
The good news is that a complete refrigerator deep clean takes less than an hour, requires nothing more than basic supplies you already own, and makes a noticeable difference the moment you open the door afterward. This guide walks you through every step, from the top shelf to the condenser coils, so your fridge ends up spotless inside and out.

How Often Should You Clean Your Refrigerator?
This is one of those questions where the honest answer is "more often than you probably do." But here is a realistic schedule that keeps your fridge clean without turning it into a weekly chore.
Step 1: Do a quick weekly scan. Every week -- ideally before you go grocery shopping -- take five minutes to check for expired items, wilting produce, and any spills that need wiping up. This prevents small messes from turning into big ones and keeps you from buying duplicates of things already buried in the back. If you want to take your fridge organization to the next level, check out this guide on how to organize your fridge to keep food fresh.
Step 2: Schedule a monthly wipe-down. Once a month, pull out each shelf and drawer, give them a quick wipe with warm soapy water, and clean up any visible drips or sticky spots on the interior walls. This takes about 15 minutes and prevents the kind of buildup that requires serious scrubbing later.
Step 3: Plan a full deep clean every three to four months. This is the thorough, everything-comes-out cleaning we are covering in this guide. Doing it seasonally keeps your refrigerator in excellent shape year-round and means each deep clean is manageable rather than overwhelming.
If you have a particularly busy household, cook frequently with raw meats, or store a lot of fresh produce, you might benefit from deep cleaning every two months. The more traffic your fridge gets, the faster things accumulate.
What Supplies Do You Need to Clean a Refrigerator?
You do not need any specialized refrigerator cleaning products. Everything on this list is inexpensive, non-toxic, and probably already sitting in your kitchen right now.
- Baking soda -- Two tablespoons mixed with warm water creates the ideal interior cleaning solution. It is mildly abrasive, deodorizes naturally, and is completely food-safe.
- White distilled vinegar -- Perfect for cutting through sticky residue, dissolving mineral deposits, and sanitizing surfaces.
- Dish soap -- A few drops for washing removable shelves and drawers in the sink.
- Microfiber cloths -- At least two or three. These clean without scratching and do not leave lint behind on glass shelves.
- A soft-bristle scrub brush -- For tackling stubborn, dried-on spills without damaging shelf surfaces.
- An old toothbrush -- Essential for getting into gasket folds, hinge crevices, and the narrow grooves of shelf tracks.
- A spray bottle -- For applying your vinegar solution evenly.
- Dry towels -- For drying shelves completely before putting them back.
- A vacuum with a brush attachment -- For cleaning condenser coils and the area behind or underneath the fridge.
Skip the bleach and harsh chemical cleaners. They can leave behind strong odors that transfer to your food, and they are overkill for a surface that only deals with food-related messes. Baking soda and vinegar handle everything you will encounter inside a refrigerator.
How Do You Deep Clean the Inside of a Refrigerator?
This is where the real transformation happens. Follow these steps in order and your fridge interior will look and smell like it just came out of the showroom.
Step 1: Empty the refrigerator completely. Remove every single item -- condiments, leftovers, produce, drinks, everything. Place perishable items in a cooler with ice packs if you have one, or group them together on the counter. This is also the perfect time to check expiration dates and toss anything that is past its prime. You will be surprised how many half-empty jars of salsa and forgotten containers of yogurt have been hiding in the back. If reducing waste is a goal, take a look at these practical strategies to reduce food waste so fewer items end up in the trash next time.
Step 2: Remove all shelves, drawers, and removable bins. Most refrigerator shelves lift out or slide forward and then tilt up. Crisper drawers usually pull straight out. If your fridge has glass shelves with plastic trim, handle them carefully -- cold glass can crack if you run it under hot water immediately. Let glass shelves sit at room temperature for a few minutes before washing.
Step 3: Wash removable parts in the sink. Fill your sink with warm water and a few drops of dish soap. Wash each shelf, drawer, and bin individually, using a soft sponge or cloth. For stubborn stuck-on residue, let the piece soak for five to ten minutes before scrubbing. Rinse thoroughly and set everything on a clean towel to dry completely. Putting wet shelves back into the fridge creates a breeding ground for mold and mildew.
Step 4: Mix your interior cleaning solution. Combine two tablespoons of baking soda with one quart of warm water in a bowl or spray bottle. This solution is gentle enough for all refrigerator surfaces -- stainless steel, plastic, or enamel -- but effective at breaking down food residue and neutralizing odors.
Step 5: Wipe down every interior surface. Starting from the top and working your way down (so drips flow downward onto surfaces you have not cleaned yet), wipe the ceiling, walls, and floor of the fridge with your baking soda solution and a microfiber cloth. Pay extra attention to the corners and the back wall where spills tend to dry unnoticed. For dried-on drips, apply the solution directly, let it sit for two to three minutes, and then wipe. The baking soda will soften the residue so you do not need to scrub aggressively.
Step 6: Clean the door shelves and butter compartment. These spots collect sticky drips from condiment bottles and often get overlooked. Remove any removable door bins and wash them in the sink. Wipe the fixed door shelves and compartment walls with your baking soda solution. Check the underside of each shelf too -- that is where drips like to hide.
How Do You Clean the Refrigerator Gasket and Seals?
The rubber gasket -- that flexible seal running around the perimeter of your fridge door -- is one of the dirtiest and most neglected parts of any refrigerator. It traps crumbs, absorbs spills, and provides the warm, moist environment that mold loves.
Step 1: Inspect the gasket by gently pulling it back to expose the inner folds. You will likely find crumbs, sticky residue, and possibly dark mold or mildew spots. This is completely normal, even in relatively clean kitchens, because the gasket never gets hit by normal wiping.
Step 2: Dip an old toothbrush in a solution of equal parts warm water and white vinegar. Work the toothbrush into every fold and groove of the gasket, scrubbing gently to lift out trapped debris and mold. The vinegar kills mold spores and prevents them from coming back quickly.
Step 3: Wipe the gasket with a clean, damp microfiber cloth to remove loosened debris and vinegar residue. Dry it thoroughly with a towel. Moisture left in the gasket folds encourages mold to return faster.
Step 4: Check the gasket's seal while you are at it. Close the door on a dollar bill so that half is inside and half is outside. If you can pull the bill out easily without resistance, your gasket may need replacing -- a weak seal forces your fridge to work harder and drives up your energy bill. Speaking of efficiency, here are some tips to save money on your electric bill that go beyond just your refrigerator.
A clean, properly sealing gasket does not just keep your fridge hygienic -- it directly impacts energy efficiency. When the seal is compromised by gunk buildup or wear, cold air escapes constantly and the compressor runs overtime to compensate.
How Do You Clean the Outside of a Refrigerator?
The exterior of your fridge deserves the same attention as the inside. Fingerprints, cooking grease, dust, and everyday grime accumulate on the doors, handles, and top surface, making even a clean kitchen look untidy.
Step 1: Start with the handles. Door handles get touched dozens of times a day and are some of the most germ-laden surfaces in your kitchen. Spray them with a vinegar-water solution (equal parts) and wipe with a microfiber cloth. For textured handles with grooves, use a toothbrush to get into the crevices.
Step 2: Clean the door surfaces. For stainless steel doors, always wipe in the direction of the grain to avoid creating streaks. A stainless steel cleaner works well, but a microfiber cloth dampened with warm water and a tiny drop of dish soap is just as effective for everyday cleaning. Buff dry immediately with a separate dry microfiber cloth to prevent water spots and streaks. For a deeper dive into keeping all your stainless surfaces looking sharp, check out this guide on how to clean stainless steel appliances.
Step 3: Wipe down the top of the fridge. This often-forgotten surface collects a thick layer of greasy dust -- a sticky combination of cooking oil vapor and airborne dust particles. It can be surprisingly stubborn. Spray it with your vinegar solution, let it sit for a minute, then wipe with a damp cloth. You may need to go over it twice for heavy buildup.
Step 4: Clean the sides. If your refrigerator is freestanding with exposed sides, give them the same treatment as the doors. If they are wedged between cabinets, at least clean the visible portions and the edges around the front.
Weiman Stainless Steel Cleaner and Polish
A streak-free spray formula that cleans, shines, and protects stainless steel refrigerators, dishwashers, and ovens. Leaves a protective barrier against fingerprints and smudges while resisting future water marks and residue buildup.
Check Price on Amazon →How Do You Clean Refrigerator Coils and Improve Efficiency?
Condenser coils are the unsung heroes of your refrigerator. They release heat from the cooling process, and when they are caked with dust, pet hair, and debris, your fridge has to work significantly harder to maintain temperature. Dirty coils can increase energy consumption by up to 25 percent and shorten the life of your compressor.
Step 1: Locate your condenser coils. On most modern refrigerators, they are either behind a panel on the back of the fridge or behind a removable grille at the bottom front. Check your owner's manual if you are not sure. Older models typically have exposed coils on the back.
Step 2: Unplug the refrigerator or turn off the circuit breaker. This is a safety precaution -- you will be working near electrical components. Your food will be fine for the 15 to 20 minutes this takes.
Step 3: Use a refrigerator coil cleaning brush to gently dislodge dust and debris from the coils. These long, narrow brushes are designed to reach between the tight coil fins without bending them. Work carefully and avoid applying too much pressure.
Step 4: Vacuum up all the loosened dust and debris with your vacuum's brush attachment. Get the floor area under and around the coils as well -- this area tends to accumulate an impressive amount of dust bunnies.
Step 5: Replace the grille or panel, plug the fridge back in, and you are done. Clean coils mean your fridge runs more quietly, uses less electricity, and keeps food at more consistent temperatures.
Cleaning the condenser coils twice a year -- or quarterly if you have shedding pets -- is one of the easiest ways to extend the life of your refrigerator and reduce energy costs. While you are thinking about appliance maintenance, your dishwasher could probably use a deep clean too.

What Is the Best Way to Eliminate Refrigerator Odors?
Even after a thorough cleaning, some refrigerators hold onto stubborn smells. This is usually because odor-causing molecules have been absorbed into plastic surfaces or are coming from a source you missed. Here is how to tackle persistent odors and prevent them from coming back.
Step 1: Check for hidden sources first. Pull out every drawer and shelf and inspect the drain hole at the back of the fridge -- it can get clogged with food particles and produce a surprisingly strong smell. Clean it with a pipe cleaner or a small brush dipped in baking soda solution. Also check the drip pan underneath the fridge (if your model has one), which can harbor stagnant water and mold.
Step 2: Deodorize with baking soda. Place an open box of baking soda on a middle shelf toward the back. It absorbs odors continuously and should be replaced every 30 days for best results. For a stronger initial treatment after deep cleaning, spread a thin layer of baking soda across the bottom of the empty fridge, leave it for 24 hours, then vacuum it up.
Step 3: Use activated charcoal for persistent smells. If baking soda alone is not cutting it, place a few activated charcoal odor absorbers on different shelves. Activated charcoal is more porous than baking soda and can trap odor molecules that baking soda misses. It is particularly effective after you have had a power outage and food has spoiled.
Step 4: Prevent future odors with proper storage. Store strong-smelling foods like onions, garlic, and ripe cheeses in airtight containers. Keep raw meat on the lowest shelf in a sealed container to prevent drips. And make sure leftovers are covered or sealed before going into the fridge. Good storage habits are by far the most effective long-term odor prevention strategy. For more on making your produce last and reducing waste, take a look at these tips on how to store produce so it lasts longer.
If your fridge smells fine but other areas of the house have a lingering mustiness, the problem might be broader than just the kitchen. Here is how to get rid of that musty smell throughout your house.
How Do You Keep Your Refrigerator Clean Between Deep Cleans?
Maintaining a clean fridge is far easier than cleaning a neglected one. A few simple habits, practiced consistently, will dramatically reduce the effort required for each deep clean.
Step 1: Wipe up spills immediately. This sounds obvious, but it is the single most impactful habit. A fresh spill takes five seconds to clean. A dried, sticky spill that has been sitting for two weeks takes five minutes of soaking and scrubbing. Keep a damp cloth or a pack of cleaning wipes near the fridge for quick access.
Step 2: Use shelf liners for easy cleanup. Refrigerator shelf liners catch drips and crumbs before they reach the shelf surface. When they get dirty, you just pull them out and wash them -- no scrubbing the shelf itself. They also add a bit of cushioning that protects glass shelves from heavy items.
Step 3: Implement a "first in, first out" system. When you unload groceries, move older items to the front and place newer items behind them. This simple rotation prevents food from getting lost in the back, expiring unnoticed, and becoming a source of spills and odors.
Step 4: Do a five-minute fridge check before grocery shopping. Every week, take a few minutes to toss expired items, wipe any visible drips, and consolidate half-empty containers. This weekly habit prevents the slow accumulation of forgotten items that makes deep cleaning so daunting.
Step 5: Store food in clear containers. When you can see what is inside each container, you are far more likely to eat it before it goes bad. Opaque containers and foil-wrapped mystery packages are the leading cause of forgotten leftovers turning into science experiments.
Frequently Asked Questions
Can you use bleach to clean the inside of a refrigerator?
You can, but you should not need to. A solution of two tablespoons of baking soda per quart of warm water is effective, food-safe, and leaves no harsh residue behind. If you absolutely must sanitize after something like a raw meat spill, use a very diluted bleach solution -- one tablespoon per gallon of water -- and rinse the area thoroughly with plain water afterward. The stronger smell of bleach can also linger and transfer to your food if you do not rinse well enough. For everyday and even deep cleaning, baking soda and vinegar do the job without the risk.
How long can you leave a refrigerator unplugged while cleaning?
For a standard deep clean, your food will be perfectly safe if the fridge is off for up to an hour, provided you keep the doors closed as much as possible when you are not actively working inside. If your cleaning will take longer -- say, you are also defrosting a freezer -- transfer perishable items to a cooler with ice packs. The general food safety rule is that refrigerated items should not be above 40 degrees Fahrenheit for more than two hours. For most deep cleans, this is not a concern since the interior stays cold well beyond the time you need.
What causes the yellow stains on refrigerator shelves and walls?
Those yellowish stains are typically caused by food spills that have dried and oxidized over time -- tomato sauce, mustard, curry, and berry juices are common culprits. Plastic surfaces are especially prone to staining because they are slightly porous at a microscopic level. To remove them, make a paste of baking soda and a small amount of hydrogen peroxide, apply it to the stain, and let it sit for 15 to 20 minutes before wiping. For stubborn stains on plastic drawers, leaving them in direct sunlight for a few hours after cleaning can help bleach out the remaining discoloration naturally.
How do you clean a refrigerator water dispenser and ice maker?
The water dispenser nozzle should be cleaned monthly with a small brush dipped in vinegar to prevent mold and mineral buildup. Wipe the drip tray underneath every week -- it collects standing water that breeds bacteria and mold quickly. For the ice maker, discard the current batch of ice, wipe down accessible surfaces with a vinegar solution, and run two or three cycles, discarding the ice each time, before using it again. If your water tastes off or ice has an odor, replace the water filter according to the manufacturer's recommended schedule -- usually every six months.
Final Thoughts
Cleaning your refrigerator inside and out is one of those household tasks that delivers outsized results for the effort involved. In less than an hour, you go from a fridge with mystery stains, lingering odors, and questionable leftovers to one that looks clean, smells fresh, and actually keeps your food in better condition.
The key is not to let things get to the point where cleaning becomes an all-day project. Wipe spills when they happen, do a quick weekly check before grocery day, and commit to a full deep clean every three to four months. That schedule keeps the job manageable and ensures your refrigerator always performs at its best -- running efficiently, preserving food properly, and not greeting you with an unpleasant smell every time you open the door.
Your fridge is the hardest-working appliance in your kitchen. It never gets a day off. The least you can do is give it a good cleaning a few times a year. Start today, and you will wonder why you waited so long.
Get weekly home tips that actually work
Join thousands of homeowners getting practical cleaning hacks, DIY fixes, and money-saving tips every week. Free, and you can unsubscribe anytime.

Written by
Beth SullivanFounder & Editor-in-Chief
Beth Sullivan is the founder of Practical Home Guides. With over a decade of hands-on experience tackling every home challenge imaginable, she started this site to share the practical, no-nonsense solutions she wishes she had found years ago. When she's not testing cleaning hacks or organizing pantries, you'll find her in the garden or working on her next DIY project.
Recommended Products
Looking for specific product recommendations? Check out our tested picks.
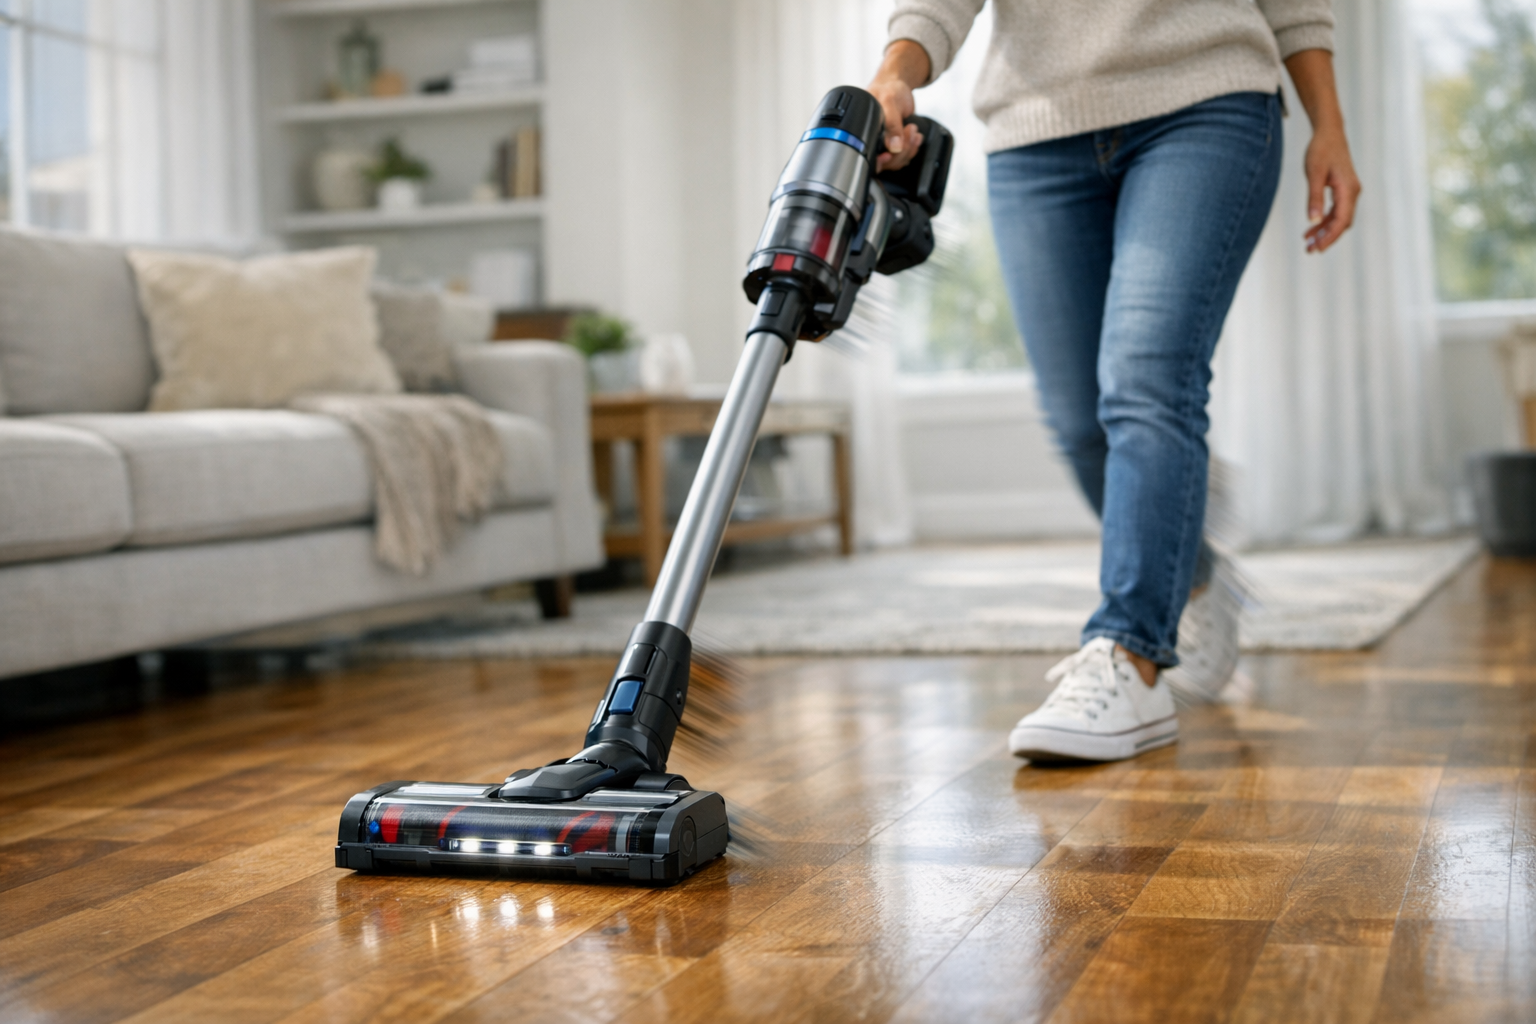
Best Cordless Stick Vacuums (2026 Buyer's Guide)
We tested cordless stick vacuums on hardwood, carpet, pet hair, and stairs. Here are the picks worth the price for every home and budget in 2026.

Best Pressure Washers for Home Use (2026 Buyer's Guide)
We tested electric and gas pressure washers for siding, decks, driveways, and patio furniture. Here are the best picks for every budget and home size.
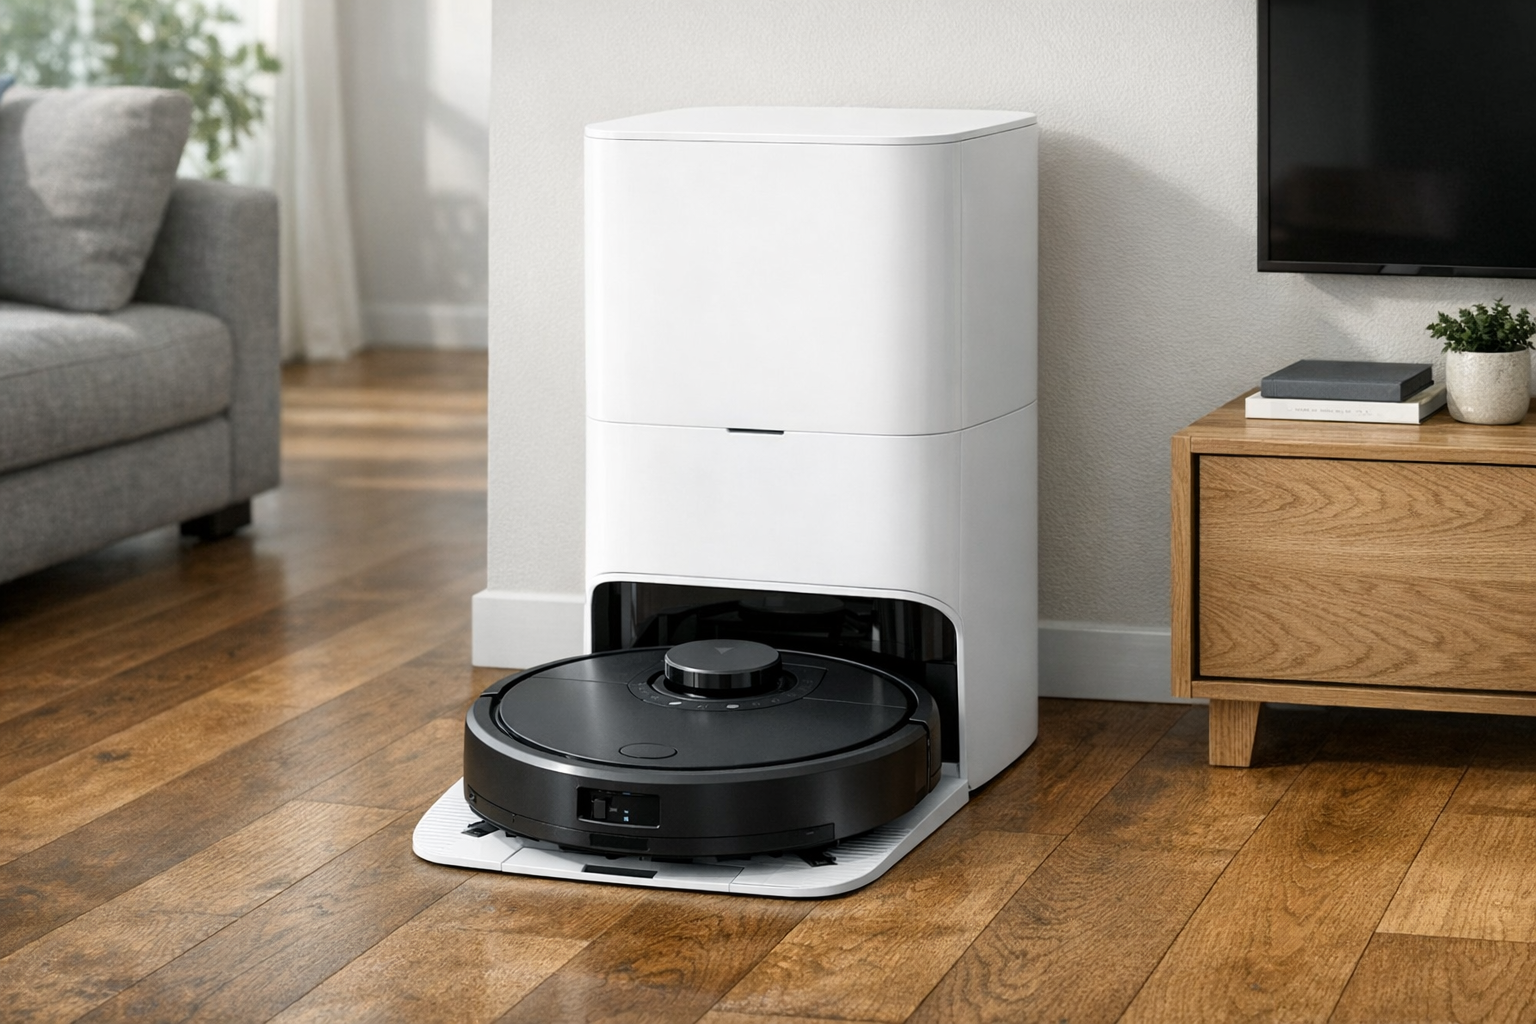
Best Self-Emptying Robot Vacuums (2026 Tested)
Self-emptying robot vacuums let you forget about the dust bin for weeks. We tested the top models on hardwood, carpet, pet hair, and floor plans.

5 Best Steam Mops for Tile Floors (2026)
We tested the top steam mops for tile, grout, and hard floors. Here are the 5 best picks with honest pros, cons, and who each one is best for.

7 Best Robot Vacuums Under $300 (2026)
We compared the top robot vacuums under $300 for pet hair, hardwood floors, and carpet. Here are the 7 best picks with pros, cons, and who each is best for.
Related Articles

Post-Cookout Cleanup: Fast Grill & Patio Restoration Strategy
Turn a trashed post-party patio back to perfect in 45 minutes flat. A timed grill, furniture, and deck cleanup strategy that beats the morning-after dread.

Post-Spring-Break Deep Clean: Restore Your House Room by Room
Restore your house after spring break travel and guests with this room-by-room deep clean plan. Finish a full reset in one weekend, no chaos required.

Spring Pollen Defense: Air Purifiers vs. HEPA Filters (Testing Results)
We tested 6 HEPA air purifiers against pollen during spring allergy season. See real efficacy data, room-size guidance, and ROI to pick the right one for you.
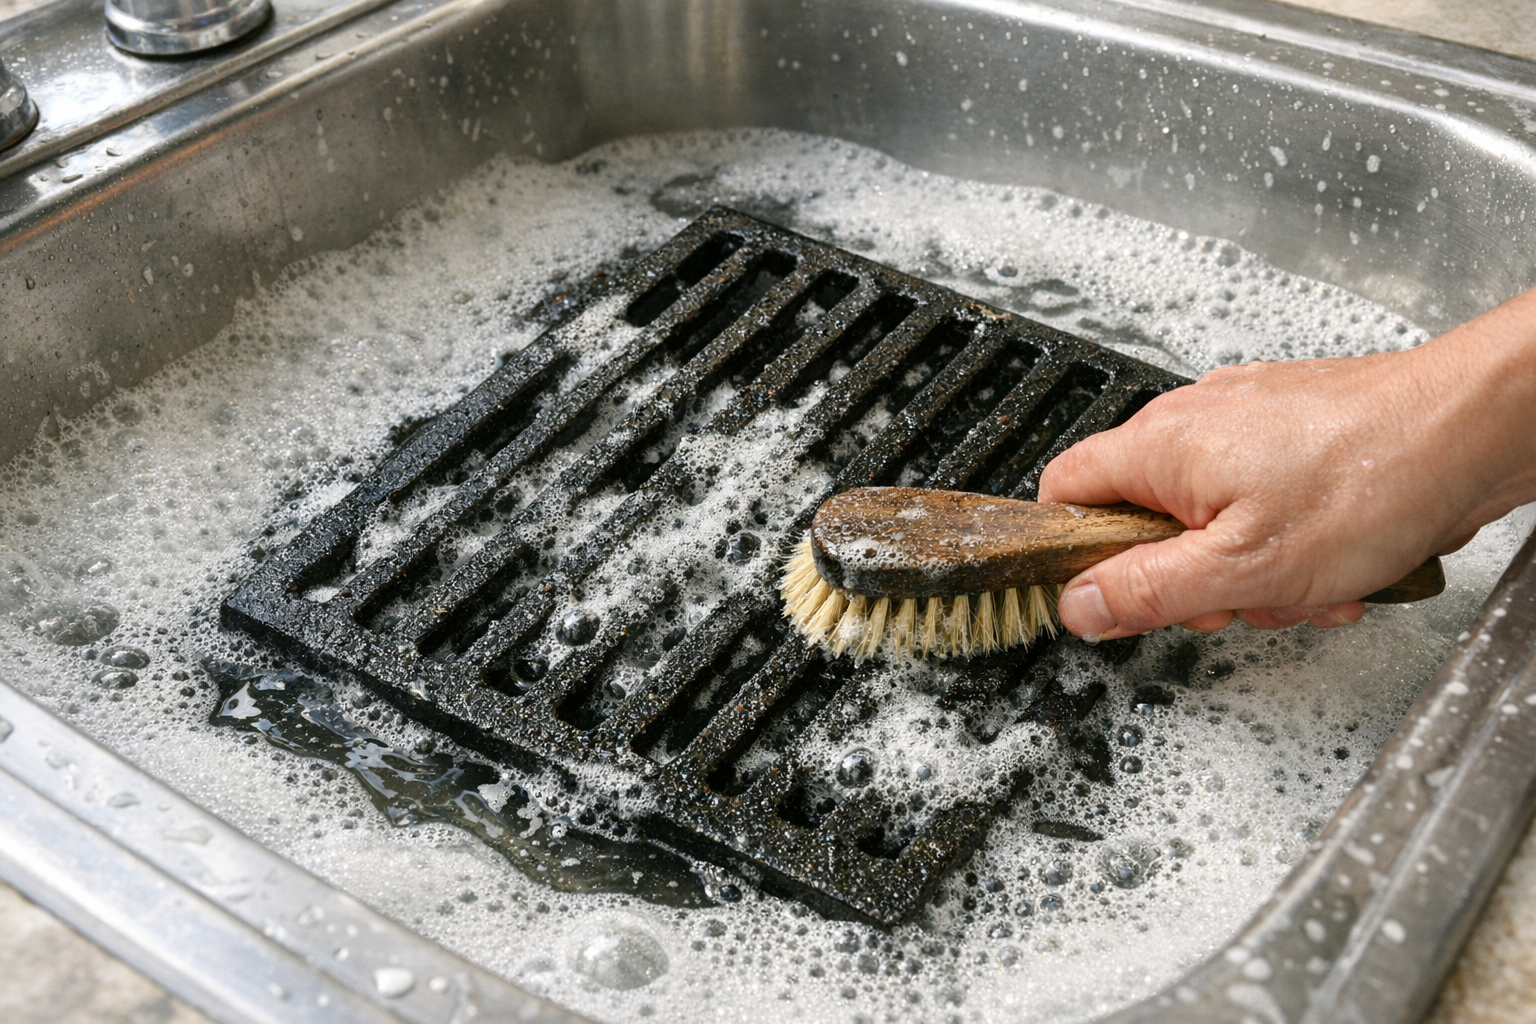
How to Remove Rust From Grill Grates (Without Replacing Them)
Rusted grill grates can be revived if rust is surface-only. Here's the safe restoration method that gets cast iron and steel grates back to cooking-ready.