How to Clean Vinyl Plank Flooring (Without Damaging It)
This article may contain affiliate links. If you make a purchase through these links, we may earn a small commission at no extra cost to you. Learn more
Quick Answer
How to Clean Vinyl Plank Flooring (Without Damaging It)
Clean vinyl plank flooring by sweeping or vacuuming daily to remove grit, then mopping weekly with a well-wrung microfiber mop and a gentle solution of warm water with a few drops of dish soap. Avoid steam mops, abrasive scrubbers, and ammonia-based cleaners, as these can warp, scratch, or dull the surface. For stubborn stains, a paste of baking soda and water works without causing damage.
How to Clean Vinyl Plank Flooring (Without Damaging It)
Vinyl plank flooring has become one of the most popular flooring choices in homes across the country -- and for good reason. It's affordable, water-resistant, and convincingly mimics the look of real hardwood. But just because vinyl plank is durable doesn't mean it's indestructible. The wrong cleaning method can leave scratches, cause planks to warp, strip the protective wear layer, or leave a hazy film that makes your floors look perpetually dirty.
The good news is that vinyl plank is genuinely easy to maintain once you know what works and what to avoid. A few basic tools, the right technique, and about 20 minutes a week are all it takes to keep your floors looking like they were installed yesterday.
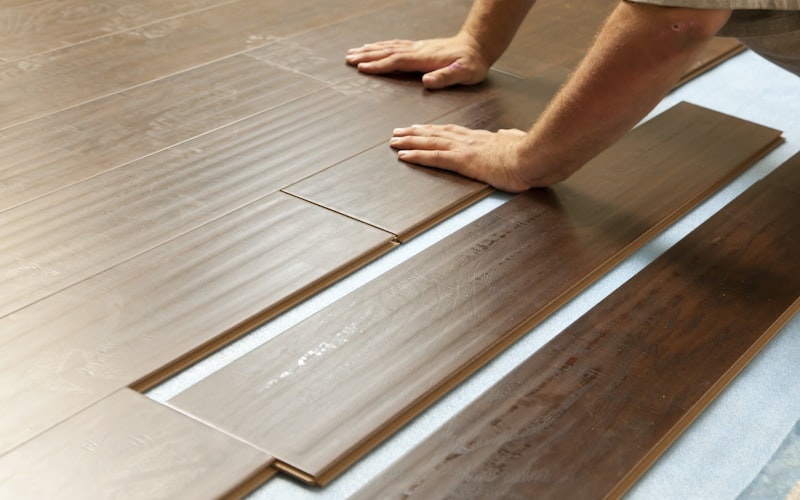
What Makes Vinyl Plank Flooring Different From Other Floors?
Before diving into cleaning methods, it helps to understand what you're working with. Vinyl plank flooring is a synthetic product made up of several layers: a stability base, a rigid core (WPC or SPC vinyl is the most common today), a printed design layer, and a clear wear layer on top that protects against scratches, stains, and fading.
That wear layer is the key to everything. It's what makes vinyl plank so resilient, but it's also what you need to protect during cleaning. Abrasive tools scratch through it, harsh chemicals degrade it, and excessive heat can cause it to buckle or peel. Once the wear layer is compromised, the floor becomes vulnerable to staining and damage that can't be repaired without replacing planks.
Budget vinyl might have a 6-mil wear layer, while premium products can have 20 mils or more. Regardless of the thickness, the cleaning principles are the same: be gentle, avoid excess moisture pooling in the seams, and never use anything abrasive.
What Supplies Do You Need to Clean Vinyl Plank Floors?
You don't need a closet full of specialty products. Here's what actually works.
Step 1: Gather your daily cleaning tools. You need a soft-bristle broom or a microfiber dust mop. The dust mop is the better choice because it traps particles rather than pushing them around. A vacuum with a hard floor setting works too -- just make sure the beater bar is off.
Step 2: Set up your mopping supplies. A flat microfiber mop with washable pads is ideal. Avoid string mops and sponge mops -- string mops leave too much water behind, and sponge mops push dirty water into the seams.
Step 3: Choose your cleaning solution. The simplest and safest option is warm water with a few drops of dish soap. You can also use a dedicated vinyl floor cleaner if you prefer a commercial product, but make sure it's pH-neutral and formulated for vinyl. Skip anything that says "polish," "wax," or "shine enhancer" -- these leave buildup that attracts dirt and dulls the finish.
If you're already stocking up on supplies, our guide on how to save money on cleaning supplies can help you get everything you need without overspending.
How Should You Clean Vinyl Plank Floors Daily?
Daily maintenance is the single most effective thing you can do for your vinyl plank floors. Dirt, sand, and grit are the biggest enemies -- they act like fine sandpaper under your feet, gradually wearing down the protective layer with every step.
Step 1: Sweep or dust mop high-traffic areas every day. Focus on entryways, kitchens, and hallways where dirt accumulates fastest. Use long, smooth strokes in one direction to collect debris rather than scattering it. If you have pets, hit the entire floor daily -- pet hair and tracked-in litter create a layer of grit that accelerates wear.
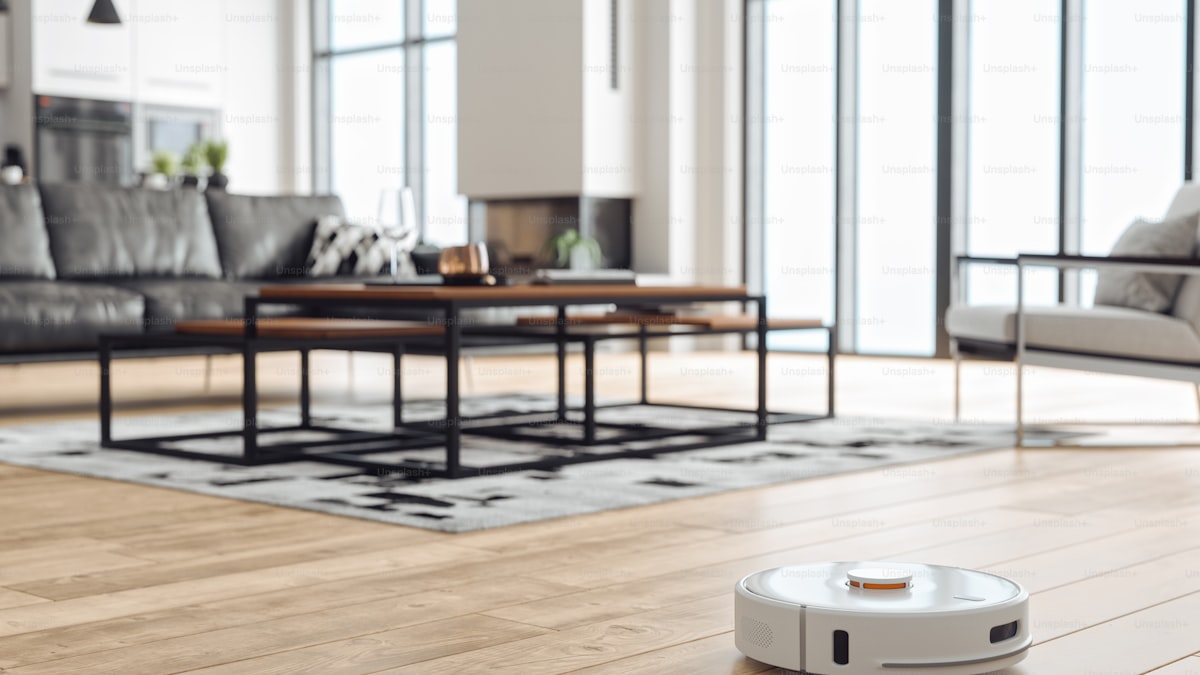
Step 2: Vacuum once or twice a week using the hard floor setting. Make sure the beater bar or rotating brush is disengaged. A robot vacuum is an excellent investment for vinyl plank floors -- it handles daily grit removal automatically while you focus on other things.
Step 3: Wipe up spills immediately. Vinyl plank is water-resistant, but it's not waterproof in the way tile is. Water that sits on the surface can seep between plank seams and reach the subfloor, causing swelling, buckling, or mold growth underneath. A quick wipe with a paper towel or microfiber cloth is all it takes.
The goal of daily cleaning isn't to make the floors sparkle -- it's to remove the abrasive particles that cause long-term damage.
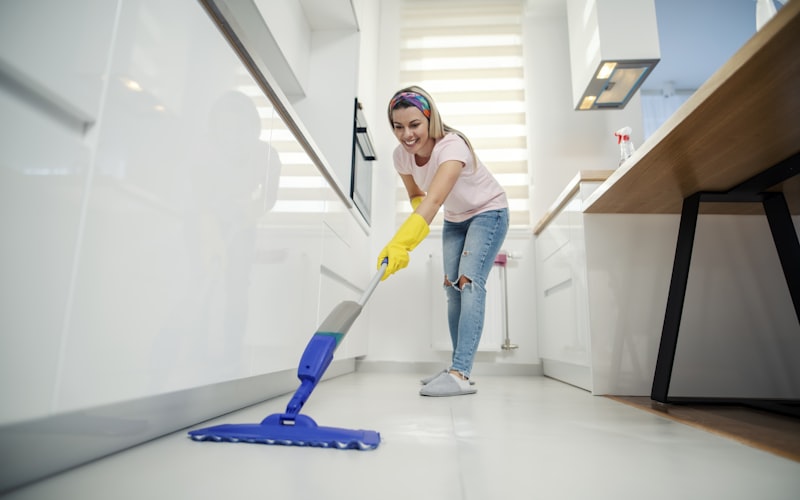
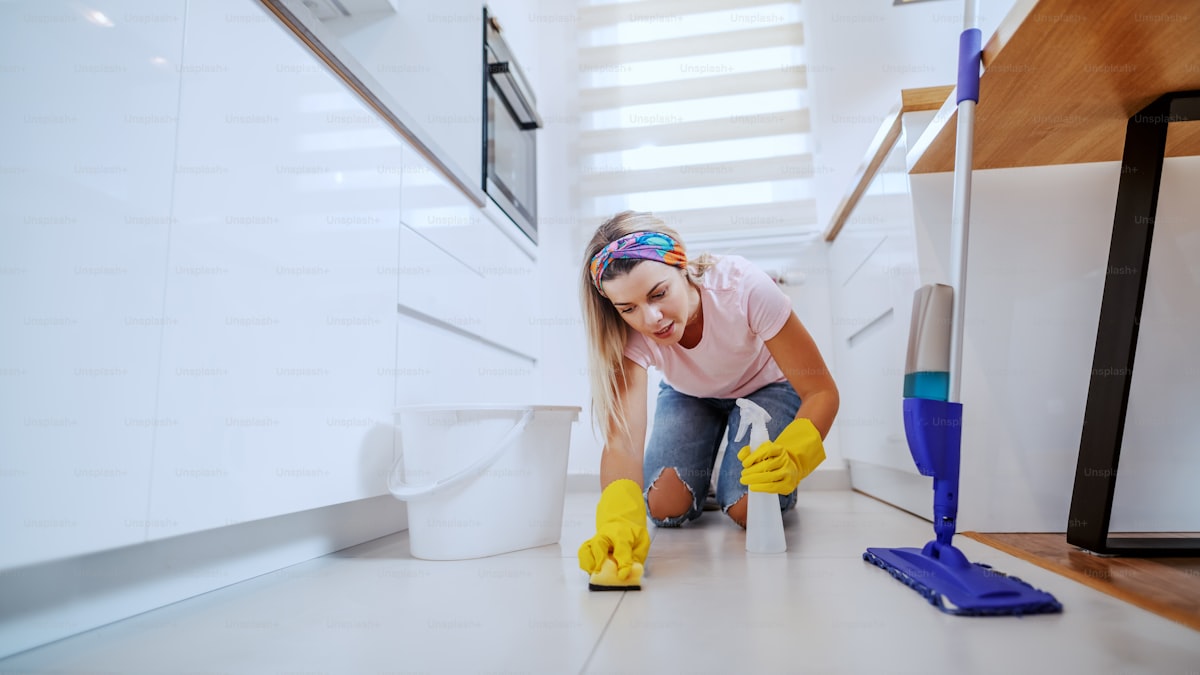
How Do You Deep Clean Vinyl Plank Floors Weekly?
Once a week, your vinyl plank floors need a proper mopping to remove body oils, cooking residue, and ground-in grime that dry sweeping can't touch. Here's the method that works without causing damage.
Step 1: Sweep or vacuum the entire floor first. Never mop a floor that hasn't been dry-cleaned first -- the mop will just push grit around and scratch the surface.
Step 2: Mix your cleaning solution. Fill a bucket with one gallon of warm water (not hot -- heat can affect the adhesive on glue-down vinyl) and add 3-4 drops of dish soap. You should not see suds -- if you do, you've added too much. Excess soap leaves a sticky residue that attracts dirt. Alternatively, add one cup of white vinegar to a gallon of warm water for a no-residue clean.
Step 3: Dip your microfiber mop pad into the solution and wring it out thoroughly. The pad should be damp, not wet. If you can squeeze water out of it, it's too wet. Excess water is the number one cause of damage during mopping because it pools in the seams and works underneath the planks.
Step 4: Mop in sections, working your way across the room. Rinse and re-wring the mop pad every few sections so you're always cleaning with a fresh pad rather than spreading dirty water around.
Step 5: For an extra shine, go over the floor one more time with a clean, damp (water only) microfiber pad. This rinse pass removes any trace of soap residue and leaves the surface perfectly clean.
Bona Hard-Surface Floor Cleaner
A pH-neutral, residue-free cleaner specifically designed for vinyl, stone, laminate, and tile floors. Ready-to-use spray formula that won't dull or damage the protective wear layer on vinyl plank flooring.
Check Price on Amazon →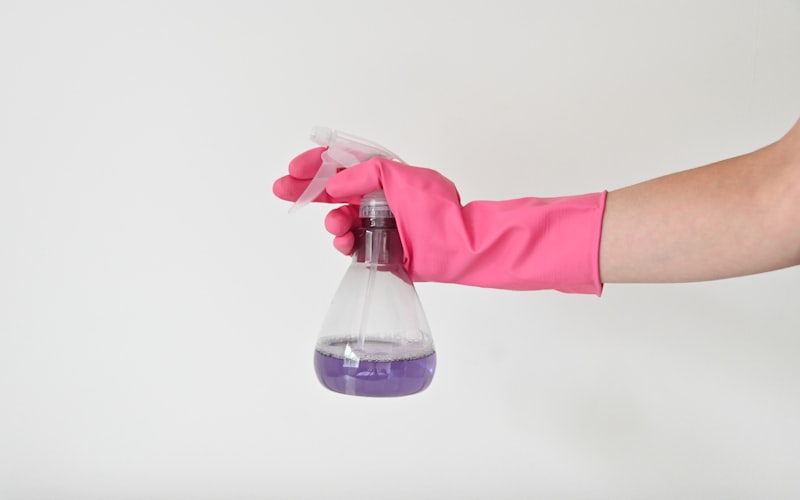
How Do You Remove Stubborn Stains From Vinyl Plank?
Even with regular cleaning, stains happen. The key is matching the right technique to the type of stain -- and never reaching for anything abrasive.
Scuff Marks
Dark scuff marks from shoes are one of the most common complaints. The good news is they're almost always surface marks that haven't penetrated the wear layer.
Step 1: Rub the scuff gently with a magic eraser cleaning pad. Dampen it slightly and use light pressure -- Magic Erasers are mildly abrasive, so heavy scrubbing can dull the finish.
Step 2: If you don't have a Magic Eraser, rub the scuff with a tennis ball or a paste of baking soda and water on a soft cloth. Wipe the area clean with a damp cloth afterward.
Food and Beverage Stains
Spilled coffee, juice, wine, or sauce can leave marks if they sit too long.
Step 1: Blot (don't wipe) the spill to absorb as much liquid as possible.
Step 2: Clean the area with your dish soap and water solution. For dried-on food, lay a warm, damp cloth over the spot for a few minutes to loosen it before wiping.
Grease and Oil
Kitchen vinyl plank regularly deals with cooking oil spatters and grease.
Step 1: Apply a small amount of dish soap directly to the greasy spot and let it sit for five minutes.
Step 2: Wipe with a damp microfiber cloth. Repeat if needed. For stubborn grease, a tiny amount of rubbing alcohol on a cloth cuts through it -- use sparingly and rinse afterward.
Ink, Marker, and Crayon
Step 1: Dampen a cloth with rubbing alcohol and blot the stain. The alcohol dissolves the ink or wax without damaging the vinyl.
Step 2: Wipe clean with a damp cloth and dry the area. For crayon, a small amount of WD-40 on a cloth also works -- just clean the area with soap and water afterward to remove oily residue.
Adhesive Residue and Sticky Spots
Tape residue, sticker remnants, or mystery sticky patches can be handled with a cloth dampened in rubbing alcohol or mineral spirits. Let it sit on the residue for a minute, then wipe gently. Never use a razor blade or scraper -- these will gouge the wear layer instantly.
If you're dealing with tough carpet stains elsewhere in your home, our guide on how to remove carpet stains covers everything from red wine to pet accidents.
What Should You Never Use on Vinyl Plank Flooring?
Knowing what to avoid is just as important as knowing what to use. These common products and tools cause the most damage to vinyl plank floors.
Steam Mops
This is the biggest one. Steam mops force superheated moisture into the seams between planks, causing edges to curl, adhesive to weaken, and the core to swell. Many manufacturers explicitly state that steam mop use voids the warranty. If you own a steam mop, use it on tile instead -- our guide on the best steam mops for tile floors shows you where they actually shine.
Abrasive Scrubbers and Steel Wool
Steel wool, scouring pads, and stiff-bristle brushes scratch right through the wear layer. Once scratched, that area becomes permanently vulnerable to staining and moisture. Always use soft cloths, microfiber pads, or soft-bristle tools.
Ammonia and Bleach
Both ammonia and undiluted bleach can break down the wear layer and cause discoloration. If you need to disinfect, use hydrogen peroxide or a very diluted bleach solution -- no more than one tablespoon per gallon of water -- and rinse the area thoroughly afterward.
"Mop and Shine" Products
Spray-on shine products, wax-based polishes, and "mop and shine" formulas leave a coating that initially looks great but quickly builds up into a sticky, dull layer that traps dirt. Removing this buildup is difficult without professional help. Your vinyl plank flooring already has a built-in shine from its wear layer -- you don't need to add anything on top.
Excessive Water
A soaking wet mop is never appropriate for vinyl plank. The seams between planks are vulnerable, and standing water works its way into the joints, causing the core to swell, planks to buckle, or mold to grow underneath. Always wring your mop until it's barely damp.
How Do You Protect Vinyl Plank Floors From Future Damage?
Cleaning is only half the equation. These preventive measures keep your vinyl plank floors in top condition and extend their lifespan significantly.
Step 1: Place doormats at every exterior entrance. Most dirt and grit that damages your floors gets tracked in from outside. A rough-textured mat outside the door catches the worst of it, and a softer mat inside catches the rest. This single habit reduces floor wear more than any cleaning technique.
Step 2: Put felt furniture pads under every piece of furniture that sits on or moves across the vinyl. Chair legs, table legs, couch feet, and bed frames all need them. Without pads, even sitting down in a dining chair creates micro-scratches that add up fast. Check and replace pads every 6-12 months since they collect grit on the bottom.
Step 3: Keep pet nails trimmed. Long claws are one of the most common causes of scratches on vinyl plank, especially from larger dogs. Regular trimming or nail grinding prevents damage to both the wear layer and the design layer underneath.
Step 4: Avoid dragging heavy objects across the floor. When moving furniture or appliances, lift them completely or slide them on a thick blanket or furniture slider. Even a short drag can leave a deep scratch that's impossible to buff out.
Step 5: Control direct sunlight. Prolonged UV exposure can cause the color to fade unevenly, especially near windows. Use curtains, blinds, or UV-filtering window film in rooms that get intense afternoon sun. This also helps prevent musty smells caused by heat and humidity building up in sun-drenched rooms.
Step 6: Clean your baseboards regularly too. Dust and grime that collect on baseboards inevitably end up on your floors, creating an ongoing cycle of dirt transfer. Keeping baseboards clean means less debris on your vinyl plank.
How Do You Handle Vinyl Plank Floors in Specific Rooms?
Different rooms present different challenges for vinyl plank.
Kitchen Vinyl Plank
Kitchens are ground zero for grease spatters, food spills, and heavy foot traffic. Wipe up cooking splashes immediately -- oil and grease attract dirt and create slippery spots. Keep a small spray mop near the kitchen for quick spot cleaning after cooking. A daily sweep takes less than two minutes and prevents crumbs from getting ground into the surface.
Bathroom Vinyl Plank
Bathrooms combine moisture, hair products, soap residue, and humidity. Wipe up water around the tub, shower, and sink after each use. Run the exhaust fan during and after showers to reduce humidity. Mop the bathroom floor weekly with your vinegar solution, paying extra attention to the area around the toilet base.
Entryway and Mudroom Vinyl Plank
This is where the most dirt enters your home. A quality doormat is essential, and a shoe-removal policy at the door makes a dramatic difference. Sweep the entryway daily -- this prevents grit from being tracked into the rest of the house and saves significant cleaning effort throughout the week.
Living Room and Bedroom Vinyl Plank
These areas deal with less moisture but more furniture movement and foot traffic. Focus on felt pads under furniture and regular dust mopping. If you have area rugs, make sure they have non-staining, non-rubber backing -- some rubber-backed rugs can cause permanent discoloration on vinyl plank flooring over time. A robot vacuum is particularly useful in these larger rooms where daily sweeping feels tedious.
How Often Should You Clean Vinyl Plank Flooring?
Here's a simple maintenance schedule that keeps vinyl plank looking its best without taking over your life.
Daily: Sweep or dust mop high-traffic areas. Wipe up spills immediately.
Weekly: Damp mop the entire floor with your dish soap or vinegar solution. Vacuum 2-3 times between mops.
Monthly: Check and clean under furniture and appliances where dust bunnies accumulate. Inspect felt pads and replace any that are worn or dirty.
Every 6 Months: Move furniture to clean areas that are normally hidden. Check for any seam separation, edge lifting, or wear spots that might need attention.
In practice, the daily sweep takes 3-5 minutes, and the weekly mop takes 15-20 minutes for an average-sized home. If you also want to keep your hardwood floors in other rooms looking great, the same weekly schedule works -- just swap in hardwood-safe products.
Frequently Asked Questions
Can you use a Swiffer WetJet on vinyl plank flooring?
Yes, a Swiffer WetJet is generally safe for vinyl plank floors. The pads are soft enough not to scratch, and the cleaning solution is mild. However, the pre-made solution can leave slight residue over time, so go over the floor with a clean damp mop periodically to prevent buildup. For the most residue-free results, a basic microfiber mop with your own dish soap solution gives you more control.
How do you get vinyl plank flooring to shine again after it looks dull?
Dullness on vinyl plank is almost always caused by product buildup from "shine" sprays, wax-based cleaners, or excess soap residue. Mop the floor with a solution of one cup of white vinegar per gallon of warm water -- the vinegar dissolves the residue without damaging the wear layer. For stubborn buildup, mop with the vinegar solution two or three times. Once the buildup is gone, the floor's natural shine returns -- no polish needed.
Is it safe to use a carpet cleaner or wet vacuum on vinyl plank?
A wet vacuum designed for hard floors is safe and can be very effective, especially for homes with pets or kids. However, traditional carpet cleaners and carpet shampooers are not appropriate for vinyl plank -- they use too much water and leave detergent residue. If you use a hard floor wet vacuum, make sure it has a setting for sealed hard surfaces and doesn't leave standing water behind.
Will rubber-backed rugs damage vinyl plank flooring?
They can, yes. Certain rubber and latex rug backings react chemically with vinyl flooring over time, causing permanent yellow or brown discoloration. This is especially common with cheaper rubber-backed rugs and bath mats. Use rugs with felt or non-staining PVC backing instead, or place a thin felt pad between the rug and the floor. If you already have discoloration from a rubber-backed rug, the stain is usually permanent and the affected planks will need to be replaced.
Final Thoughts
Vinyl plank flooring is one of the most forgiving flooring options available, but "low maintenance" doesn't mean "no maintenance." The key to keeping it beautiful for years is consistent, gentle care -- daily sweeping to remove grit, weekly mopping with a mild solution, and avoiding the products and tools that cause real damage.
If you do nothing else from this guide, commit to two habits: sweep daily and mop weekly with a barely-damp microfiber mop. Those two things alone will keep your vinyl plank floors in excellent condition for years to come.
Get weekly home tips that actually work
Join thousands of homeowners getting practical cleaning hacks, DIY fixes, and money-saving tips every week. Free, and you can unsubscribe anytime.

Written by
Beth SullivanFounder & Editor-in-Chief
Beth Sullivan is the founder of Practical Home Guides. With over a decade of hands-on experience tackling every home challenge imaginable, she started this site to share the practical, no-nonsense solutions she wishes she had found years ago. When she's not testing cleaning hacks or organizing pantries, you'll find her in the garden or working on her next DIY project.
Recommended Products
Looking for specific product recommendations? Check out our tested picks.
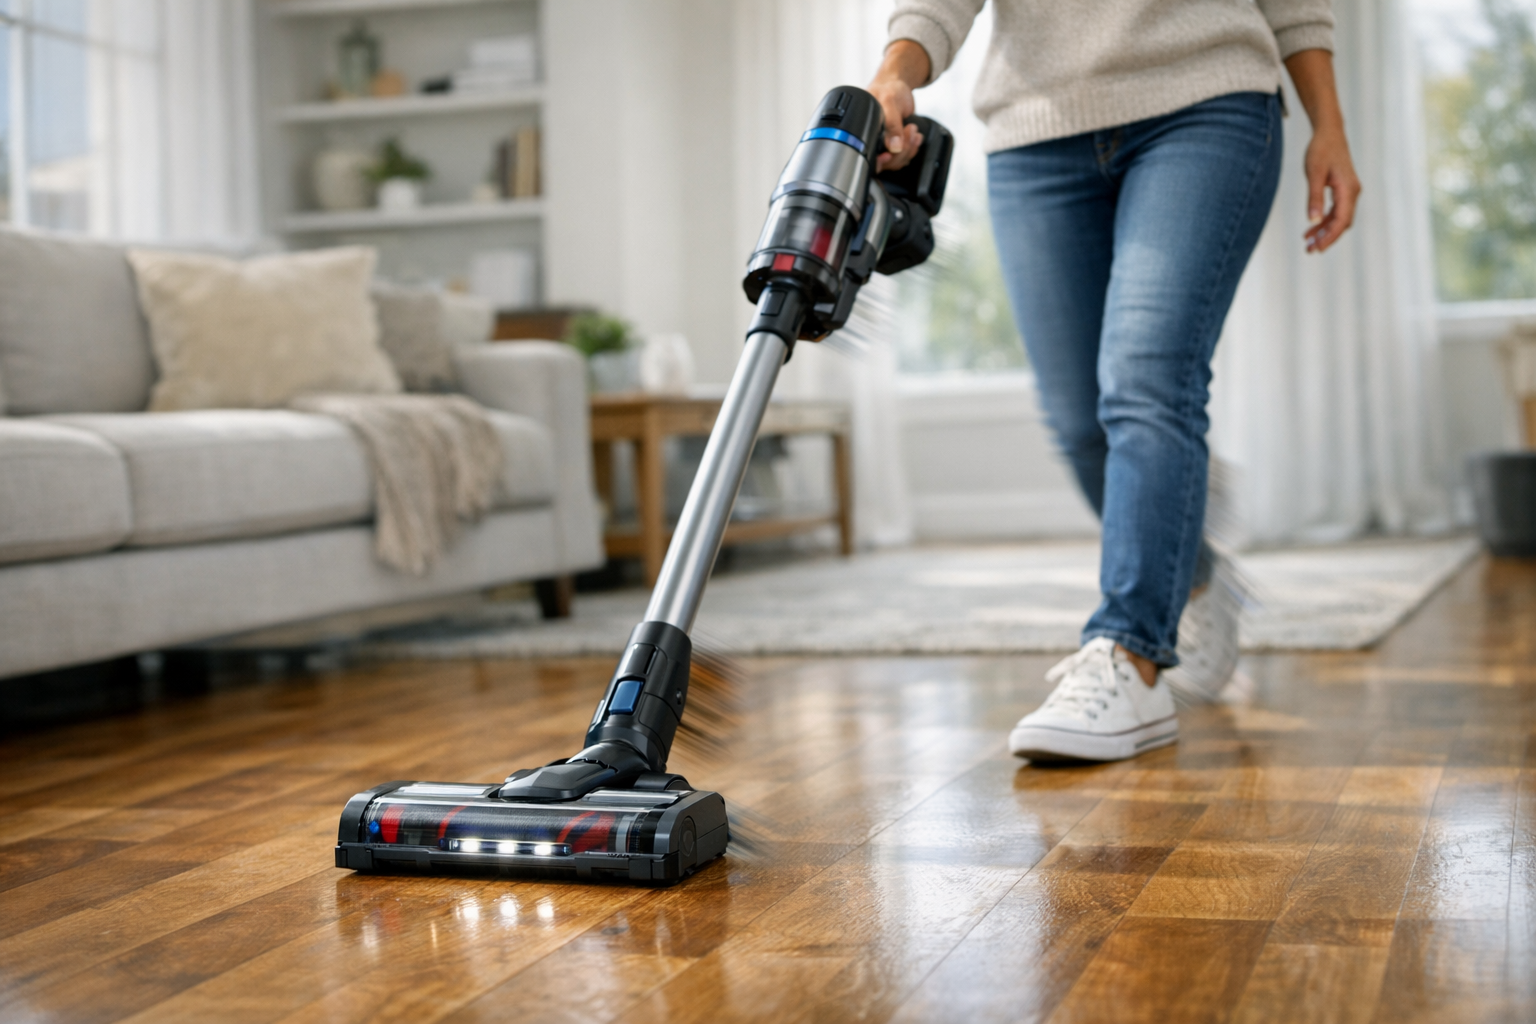
Best Cordless Stick Vacuums (2026 Buyer's Guide)
We tested cordless stick vacuums on hardwood, carpet, pet hair, and stairs. Here are the picks worth the price for every home and budget in 2026.
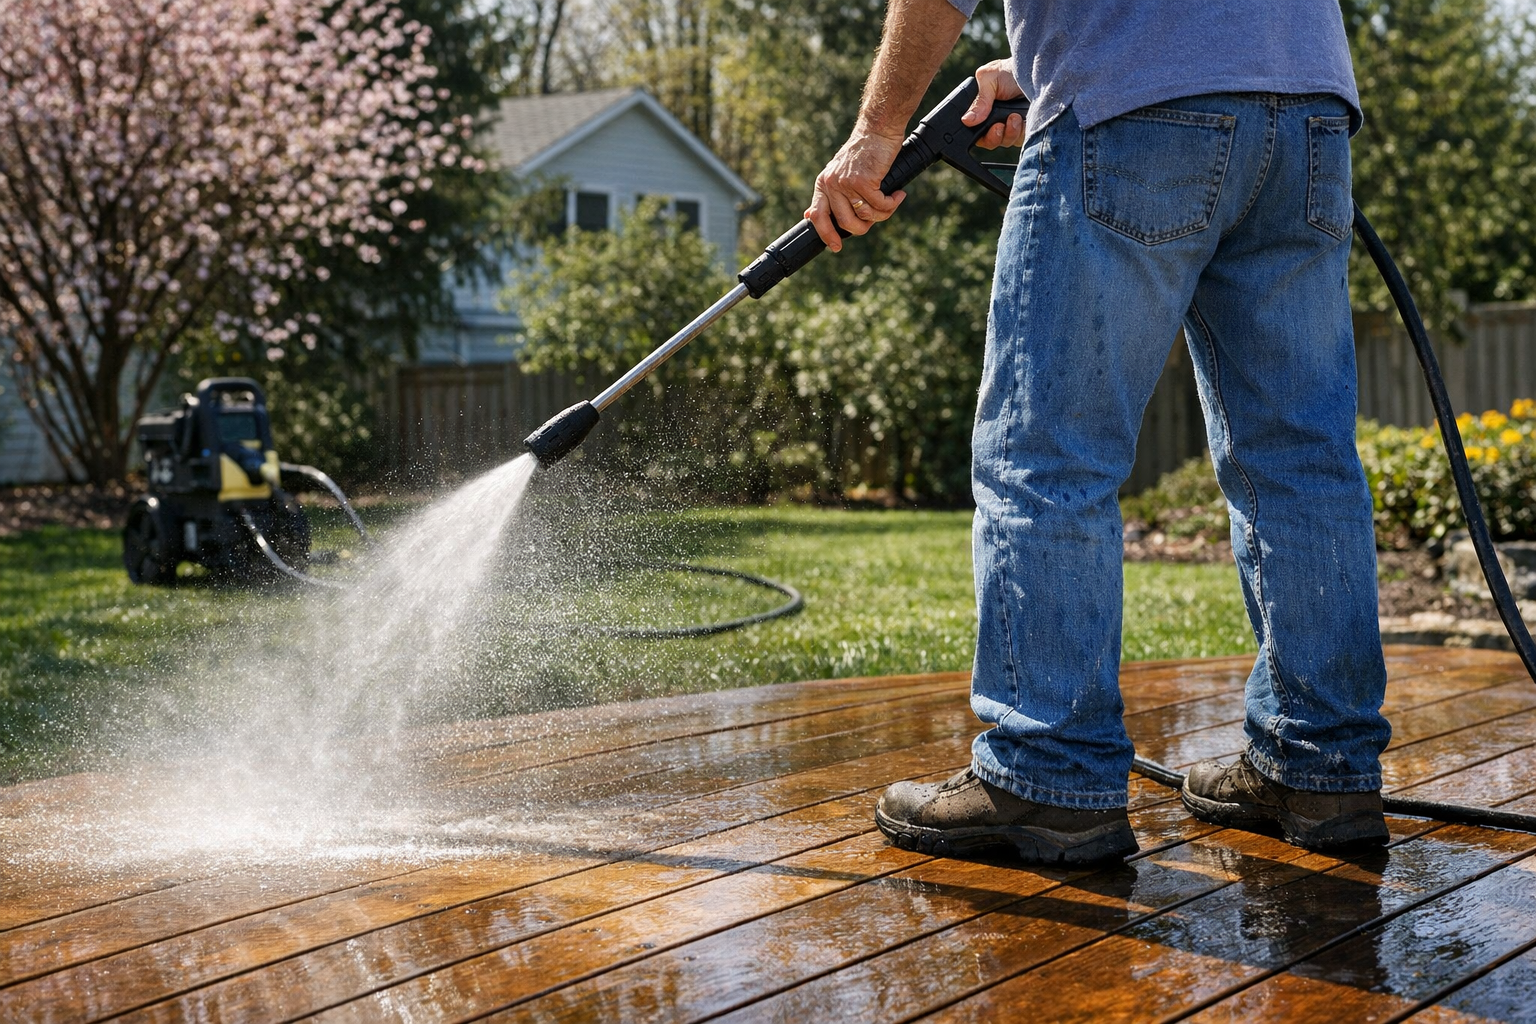
Best Pressure Washers for Home Use (2026 Buyer's Guide)
We tested electric and gas pressure washers for siding, decks, driveways, and patio furniture. Here are the best picks for every budget and home size.
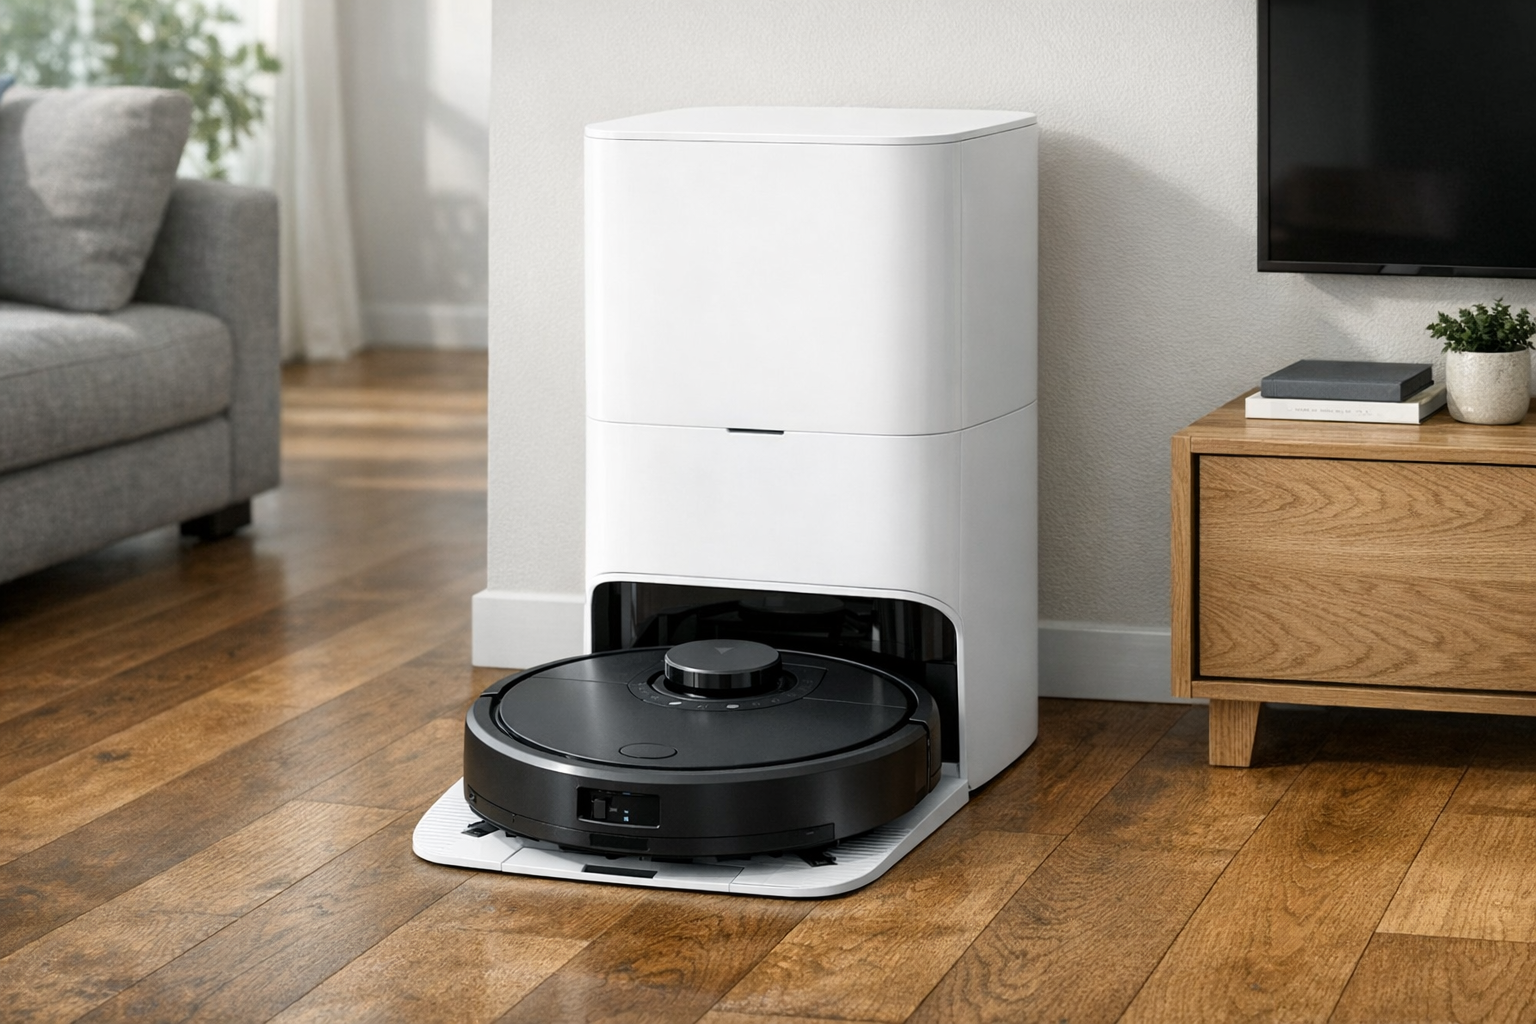
Best Self-Emptying Robot Vacuums (2026 Tested)
Self-emptying robot vacuums let you forget about the dust bin for weeks. We tested the top models on hardwood, carpet, pet hair, and floor plans.
5 Best Steam Mops for Tile Floors (2026)
We tested the top steam mops for tile, grout, and hard floors. Here are the 5 best picks with honest pros, cons, and who each one is best for.
7 Best Robot Vacuums Under $300 (2026)
We compared the top robot vacuums under $300 for pet hair, hardwood floors, and carpet. Here are the 7 best picks with pros, cons, and who each is best for.
Related Articles
Post-Cookout Cleanup: Fast Grill & Patio Restoration Strategy
Turn a trashed post-party patio back to perfect in 45 minutes flat. A timed grill, furniture, and deck cleanup strategy that beats the morning-after dread.
Post-Spring-Break Deep Clean: Restore Your House Room by Room
Restore your house after spring break travel and guests with this room-by-room deep clean plan. Finish a full reset in one weekend, no chaos required.
Spring Pollen Defense: Air Purifiers vs. HEPA Filters (Testing Results)
We tested 6 HEPA air purifiers against pollen during spring allergy season. See real efficacy data, room-size guidance, and ROI to pick the right one for you.
How to Remove Rust From Grill Grates (Without Replacing Them)
Rusted grill grates can be revived if rust is surface-only. Here's the safe restoration method that gets cast iron and steel grates back to cooking-ready.