How to Cook Perfect Rice Every Time (White, Brown, and More)
This article may contain affiliate links. If you make a purchase through these links, we may earn a small commission at no extra cost to you. Learn more
Quick Answer
How to Cook Perfect Rice Every Time (White, Brown, and More)
For perfect white rice, use a 1:1.5 ratio of rice to water, bring to a boil, reduce to low heat, cover, and cook for 18 minutes without lifting the lid. Let it rest for 5 minutes, then fluff with a fork. Brown rice needs a 1:2 ratio and 45 minutes of cook time. Rinsing your rice before cooking removes excess starch and prevents clumping.
How to Cook Perfect Rice Every Time (White, Brown, and More)
Rice is the most consumed grain on the planet, yet it remains one of the most commonly botched side dishes in home kitchens. You have probably been there -- mushy clumps stuck to the bottom of the pot, crunchy grains that never fully cooked, or a gluey mess that resembles wallpaper paste more than food. The good news is that cooking perfect rice is not complicated once you understand the basic ratios involved.
Whether you are making fluffy long-grain white rice, nutty brown rice, or fragrant basmati, the same core principles apply. The right amount of water, the correct heat level, and one critical rule -- do not lift the lid -- will transform your rice game overnight.
Why Does Rice Turn Out Mushy or Crunchy?
Rice cooking is a controlled absorption process -- the dry grains absorb water while heat converts starches from a hard crystalline structure into a soft, gel-like one. When things go wrong, it comes down to one of three issues.
Too much water is the number one culprit behind mushy rice. The exterior of each grain gets waterlogged and breaks apart, releasing starch into the surrounding liquid and creating that sticky, porridge-like texture. Too little water produces the opposite problem -- hard, crunchy grains that never fully hydrate.
The third issue is heat management. If the heat stays too high, the liquid evaporates too quickly and the bottom scorches while the top stays underdone.
Once you nail the water ratio and resist the urge to peek, perfect rice becomes almost automatic. And when you pair it with solid meal prep strategies, a single batch of perfectly cooked rice can anchor your lunches and dinners for the entire week.
What Equipment Do You Need to Cook Rice on the Stovetop?
You do not need any fancy gadgets to make great rice. Here is what you need.
A heavy-bottomed pot with a tight-fitting lid is the single most important piece of equipment. The heavy bottom distributes heat evenly and prevents hot spots, while the tight lid traps the steam that actually cooks the top layers of rice.
A fine-mesh strainer is essential for rinsing rice before cooking. A standard colander with large holes will let smaller grains slip through.
A fork for fluffing -- not a spoon, not a spatula. A fork separates the grains gently without crushing or compacting them.
A liquid measuring cup for water and a dry measuring cup for rice. Precision matters here -- eyeballing the water is the fastest way to end up with a disappointing batch.
If you cook rice frequently -- three or more times per week -- a dedicated rice cooker can be a worthwhile investment. These appliances automate the heat and timing, producing consistent results with zero attention.
How Do You Cook Perfect White Rice on the Stovetop?
This method works for standard long-grain white rice, the type most often sold in grocery stores.
Step 1: Measure your rice. One cup of dry rice yields about three cups cooked -- enough for two to four servings.
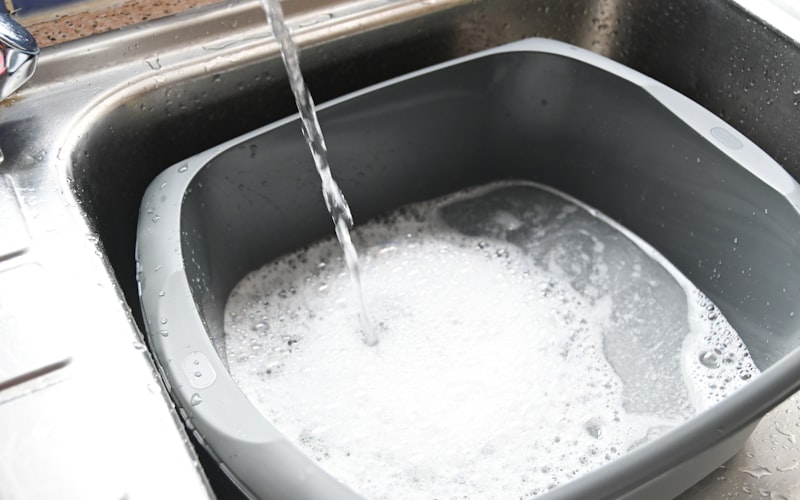
Step 2: Rinse the rice thoroughly. Place it in a fine-mesh strainer under cold running water and swirl gently. The water will start out cloudy -- that is excess surface starch washing away. Keep rinsing until the water runs mostly clear, about 30 to 60 seconds. This step is not optional.
Step 3: Combine rinsed rice and water in your pot. The ratio for long-grain white rice is 1 cup rice to 1.5 cups water. Add half a teaspoon of salt per cup of rice.
Step 4: Bring to a boil over medium-high heat with the lid off.
Step 5: As soon as the water boils, reduce the heat to the lowest setting and put the lid on. The rice will steam gently for the rest of the cooking time.
Step 6: Set a timer for 18 minutes. Do not lift the lid, do not stir, do not peek. Trust the ratio, trust the timer, and walk away.
Step 7: When the timer goes off, remove the pot from the heat (do not remove the lid yet) and let it sit for 5 minutes. This resting period allows the remaining moisture to distribute evenly and gives the bottom layer time to release from the pot.
Step 8: Remove the lid and fluff the rice with a fork, gently lifting and separating the grains from the bottom up.
If you are looking to stretch your grocery budget, our guide on how to cut your grocery bill in half includes rice-based meal ideas that cost pennies per serving.
How Do You Cook Brown Rice So It Is Not Chewy?
Brown rice still has its bran layer intact, which means it takes longer to cook and needs more water than white rice. Treat it the same as white rice and you will end up with crunchy, undercooked grains every time.
Step 1: Measure your brown rice. One cup dry yields about 2.5 to 3 cups cooked.
Step 2: Rinse under cold water in a fine-mesh strainer.
Step 3: Combine rinsed rice and water in your pot. The ratio for brown rice is 1 cup rice to 2 cups water. Add half a teaspoon of salt.
Step 4: Bring to a boil over medium-high heat with the lid off.
Step 5: Once boiling, reduce the heat to the lowest setting and cover with a tight-fitting lid.
Step 6: Cook for 45 minutes. Same rule applies -- do not lift the lid.
Step 7: Remove from heat and let the rice rest, covered, for 10 minutes. Brown rice benefits from a longer rest because the bran layer needs extra time to absorb moisture.
Step 8: Fluff with a fork and serve.
One optional trick that makes a noticeable difference: toast the grains before adding water. After rinsing and draining, add a teaspoon of butter or oil to the pot and toast the rice over medium heat for two to three minutes until you smell a nutty aroma. Then add the water and proceed as normal.
How Do You Cook Jasmine and Basmati Rice?
Jasmine and basmati are aromatic varieties that require a slightly different approach because their grains are thinner and more fragile.
Jasmine Rice
Jasmine rice has a naturally sweet, floral aroma and cooks up slightly softer and stickier than regular long-grain -- perfect for soaking up sauces and curries.
Step 1: Rinse thoroughly until the water runs clear.
Step 2: Use a ratio of 1 cup rice to 1.25 cups water.
Step 3: Bring to a boil, reduce to low, cover, and cook for 15 minutes.
Step 4: Rest for 5 minutes, then fluff with a fork.
Basmati Rice
Basmati is the star of Indian and Middle Eastern cooking. Its long, slender grains elongate dramatically during cooking and should remain separate and fluffy.
Step 1: Rinse very well -- at least three to four rinses. Basmati has more surface starch than most varieties.
Step 2: Optional but recommended: soak in cold water for 20 to 30 minutes before cooking. This helps the grains cook evenly and elongate fully. Drain completely after soaking.
Step 3: Use a ratio of 1 cup rice to 1.5 cups water (or 1.25 cups if you soaked it).
Step 4: Bring to a boil, reduce to low, cover, and cook for 15 to 18 minutes.
Step 5: Rest for 5 minutes, then fluff gently with a fork.
Both jasmine and basmati work beautifully in meal prep containers. For tips on how to save money on dining out, cooking flavorful rice at home is one of the easiest swaps you can make.
What About Sushi Rice and Short-Grain Varieties?
Short-grain and sushi rice varieties are intentionally stickier than long-grain cousins. That higher starch content is what allows sushi rice to hold its shape when formed into rolls and nigiri.
Step 1: Rinse sushi rice under cold water until the water runs completely clear. This variety requires the most thorough rinsing of any type -- plan on five to six rinses.
Step 2: Use a ratio of 1 cup rice to 1.25 cups water.
Step 3: Bring to a boil, reduce to low, cover, and cook for 15 minutes.
Step 4: Rest for 10 minutes with the lid on.
Step 5: For true sushi rice, transfer to a wooden sushi rice paddle bowl and gently fold in seasoned rice vinegar (rice vinegar, sugar, and salt) while fanning to cool quickly.
Short-grain rice not being used for sushi can be cooked the same way without the vinegar seasoning. It makes an excellent base for rice bowls and Korean-style dishes.
What Is the Best Rice Cooker for Foolproof Results?
If you eat rice multiple times per week, a quality rice cooker removes all guesswork. You measure, add water, press a button, and walk away. The machine handles temperature adjustments and switches to a warm-hold setting when done.
Zojirushi NS-TSC10 5.5-Cup Micom Rice Cooker and Warmer
This Zojirushi rice cooker uses advanced fuzzy logic technology to adjust cooking time and temperature automatically for perfect results with white, brown, sushi, and mixed grains. The retractable cord, easy-clean nonstick inner pot, and built-in timer make it the gold standard for home rice cooking.
Check Price on Amazon →A rice cooker is especially valuable for weekly meal prep. Pair it with the right food storage containers and your prep routine becomes a streamlined system. Even a basic budget rice cooker in the $20 to $30 range will outperform most stovetop attempts by eliminating the two biggest variables -- heat control and timing.
What Are the Most Common Rice Cooking Mistakes?
Here are the mistakes that ruin rice most often and how to avoid each one.
Not Rinsing the Rice
Unrinsed rice has a thick coating of surface starch that turns into sticky glue during cooking. Rinsing takes 30 seconds and makes the difference between fluffy grains and a gummy block. The only exception is risotto, where that surface starch creates the signature creamy texture.
Using the Wrong Water Ratio
Every type of rice has its own specific water ratio. Using a universal "two cups of water per cup of rice" -- which many old recipes call for -- works for brown rice but drowns white rice. A glass liquid measuring cup with clear markings will prevent the guesswork that leads to soggy results.
Lifting the Lid During Cooking
Every time you lift the lid, a significant amount of steam escapes and the internal temperature drops. Set a timer, trust the process, and keep the lid on until the timer goes off.
Stirring the Rice While It Cooks
Rice is not pasta -- it does not need agitation. Stirring breaks the grains and releases starch into the water. Once the lid goes on, do not touch the rice until it is time to fluff.
Skipping the Rest Period
During those final 5 to 10 minutes off the heat, residual steam finishes cooking the top layer while the bottom layer loosens from the pot. Skipping this step means rice that sticks stubbornly to the bottom and uneven texture throughout.
Using a Thin Pot
A thin, lightweight pot creates hot spots where the rice scorches while other areas stay undercooked. If you are looking to upgrade kitchen essentials, our roundup of the best air fryers for home cooks covers another versatile tool that makes weeknight cooking faster.
How Do You Store and Reheat Cooked Rice Safely?
Cooked rice is a meal prep staple, but it requires careful handling. Uncooked rice contains spores of Bacillus cereus that survive cooking. If cooked rice sits at room temperature too long, those spores multiply and produce toxins that cause food poisoning.
Step 1: Cool cooked rice quickly. Spread it on a baking sheet to maximize surface area -- it should reach room temperature within an hour.
Step 2: Transfer to airtight containers and refrigerate within two hours. Cooked rice keeps for four to six days.
Step 3: For longer storage, freeze portions in airtight containers or freezer bags for up to six months.
Step 4: To reheat, add a tablespoon of water per cup of rice, cover, and microwave for one to two minutes.
Proper storage ties into a broader kitchen organization strategy. If your pantry is overflowing with different rice varieties and grains, our guide on how to organize your pantry like a pro will help you create a system where nothing gets lost.
What Is the Quick Reference Chart for Every Rice Type?
All measurements assume one cup of dry rice.
Long-Grain White Rice -- 1.5 cups water, 18 minutes, 5 minutes rest.
Jasmine Rice -- 1.25 cups water, 15 minutes, 5 minutes rest.
Basmati Rice -- 1.5 cups water (1.25 if soaked), 15 to 18 minutes, 5 minutes rest.
Short-Grain / Sushi Rice -- 1.25 cups water, 15 minutes, 10 minutes rest.
Brown Rice -- 2 cups water, 45 minutes, 10 minutes rest.
Wild Rice -- 3 cups water, 45 to 55 minutes, 10 minutes rest.
Black Rice (Forbidden Rice) -- 1.75 cups water, 30 to 35 minutes, 10 minutes rest.
Arborio Rice (Risotto) -- Do not rinse. Add broth gradually while stirring, about 4 cups total, 18 to 22 minutes.
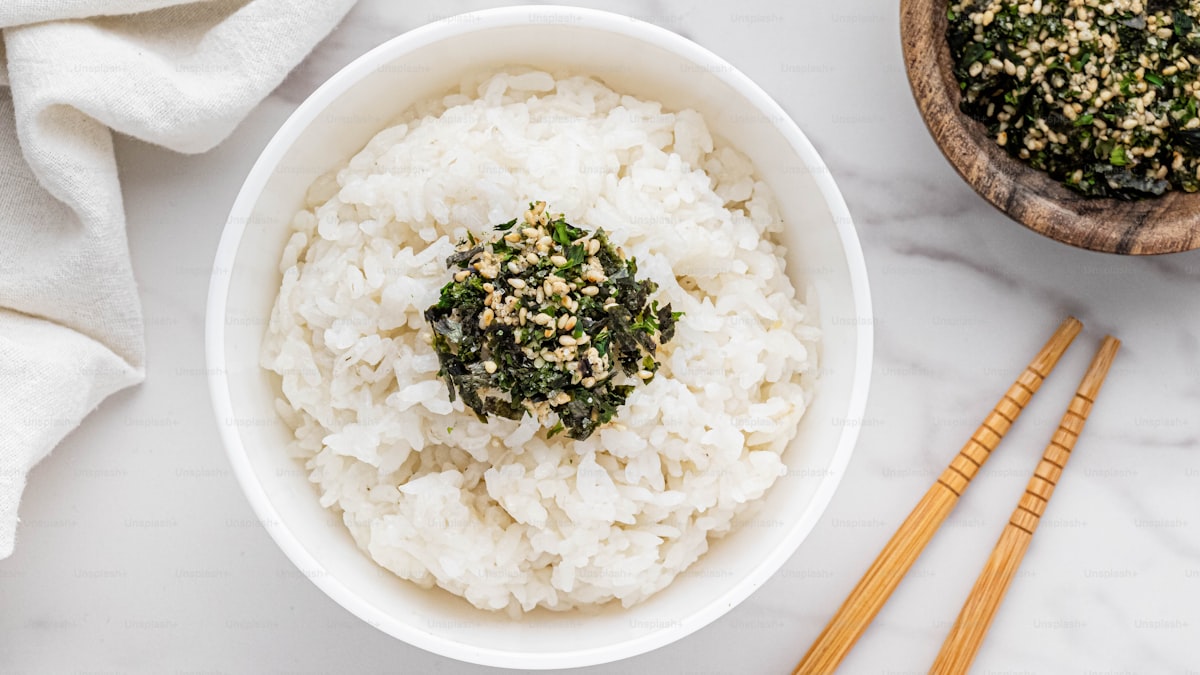
How Can You Add Flavor to Plain Rice?
Plain steamed rice is a blank canvas. Here are proven flavor upgrades that require minimal extra effort.
Toast the rice first. Before adding water, heat a teaspoon of butter or oil in the pot and stir the rinsed, drained rice over medium heat for two to three minutes until nutty and fragrant.
Replace some or all of the water with broth. Chicken, vegetable, or beef broth creates a richer, more savory result. This works especially well with white and basmati rice.
Add aromatics to the pot. Drop a bay leaf, a cinnamon stick, or a few cardamom pods into the water before boiling. Remove them before serving.
Stir in fresh herbs after cooking. Chopped cilantro, parsley, or chives folded into freshly fluffed rice add color and freshness. A squeeze of lime juice turns plain rice into cilantro-lime rice that rivals any restaurant.
Mix in a fat after cooking. A tablespoon of butter, a drizzle of sesame oil, or a spoonful of coconut oil stirred into hot rice adds richness and prevents leftovers from drying out.
Pair flavored rice with a well-seasoned protein cooked in a properly maintained cast iron skillet and you have a meal that feels like it came from a restaurant kitchen.
Frequently Asked Questions
Should you rinse rice before cooking it?
Yes -- rinsing removes the loose surface starch that creates a sticky, gluey coating during cooking. Rinse under cold running water for 30 to 60 seconds until the water runs mostly clear. The only exception is risotto, where that surface starch deliberately creates the signature creamy texture. For steamed rice, fried rice, rice bowls, and side dishes, always rinse first.
Can you fix rice that turned out too mushy or too crunchy?
Mushy rice is hard to fully rescue, but spreading it on a baking sheet in a 300-degree oven for five to ten minutes helps dry it out. Alternatively, mushy rice makes excellent fried rice the next day. For crunchy, undercooked rice, sprinkle two to three tablespoons of water over the top, replace the lid, and return it to the lowest heat setting for five to ten minutes. Going forward, double-check your water ratio and make sure your lid fits tightly.
How long does cooked rice last in the refrigerator?
Properly stored cooked rice lasts four to six days in the refrigerator. Cool it quickly -- within one to two hours of cooking -- and store it in an airtight container. Do not leave cooked rice at room temperature for more than two hours. For longer storage, freeze portions for up to six months. Reheat by adding a tablespoon of water per cup, covering, and microwaving for two to three minutes.
Is a rice cooker worth buying if you already cook rice on the stovetop?
A rice cooker is worth it if you cook rice three or more times per week. You measure, press a button, and walk away without worrying about heat adjustments or scorched pots. Higher-end models with fuzzy logic handle different varieties automatically. However, if you only cook rice once a week or less, a good heavy-bottomed pot and the techniques in this guide will give you identical results. The decision comes down to frequency and convenience versus space and budget.
Final Thoughts
Cooking perfect rice is not about talent -- it is about ratios, timing, and a few non-negotiable habits. Rinse your rice, measure your water precisely, keep the lid on, and let it rest before fluffing. Follow those four rules and you will produce restaurant-quality rice every time.
Rice is one of the most affordable staples you can keep in your kitchen. When you combine perfect rice with smart grocery shopping, solid pantry organization, and a basic meal prep routine, you build a foundation for eating well without spending a fortune.
Start with the variety you eat most often and follow the steps exactly as written. Once you have one type dialed in, branch out to others. Before long, you will be cooking jasmine rice for Thai curry night, basmati for Indian dishes, and short-grain for homemade sushi without ever looking up a recipe again.
Get weekly home tips that actually work
Join thousands of homeowners getting practical cleaning hacks, DIY fixes, and money-saving tips every week. Free, and you can unsubscribe anytime.

Written by
Beth SullivanFounder & Editor-in-Chief
Beth Sullivan is the founder of Practical Home Guides. With over a decade of hands-on experience tackling every home challenge imaginable, she started this site to share the practical, no-nonsense solutions she wishes she had found years ago. When she's not testing cleaning hacks or organizing pantries, you'll find her in the garden or working on her next DIY project.
Recommended Products
Looking for specific product recommendations? Check out our tested picks.
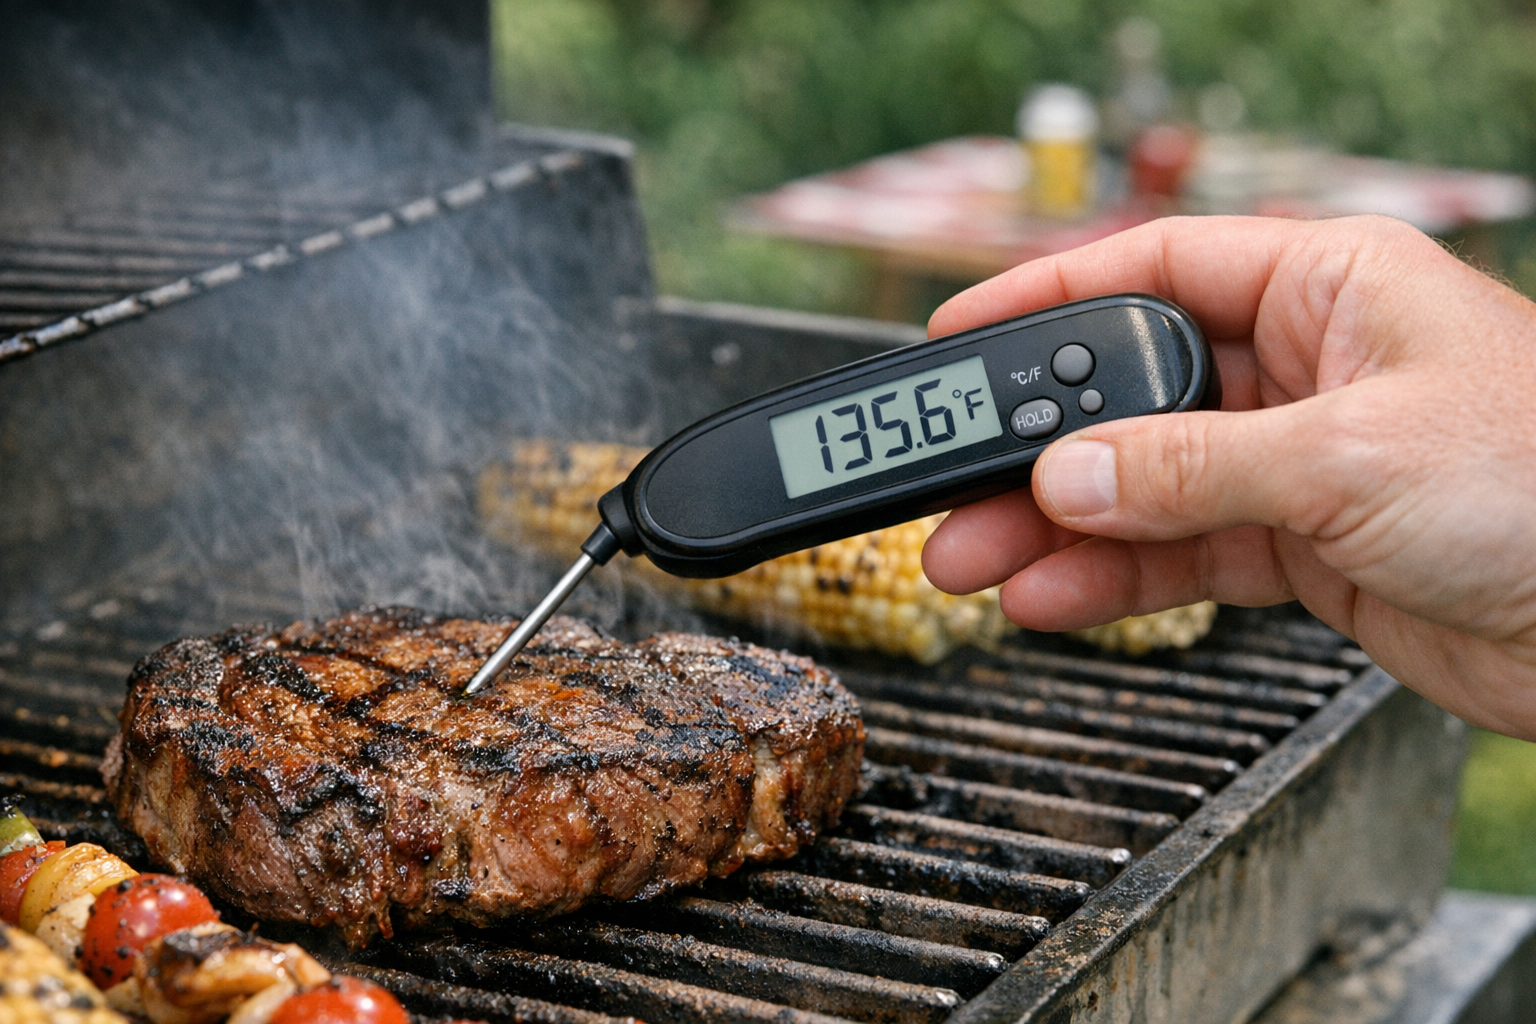
Best Instant Read Meat Thermometers (2026 Tested)
We tested instant read thermometers for grilling, roasting, and candy making. The picks that read in under 3 seconds and don't break after a year.

Best Espresso Machines for Home (2026 Buyer's Guide)
From under-300-dollar starter machines to 2000-dollar prosumer espresso, here are the espresso machines worth your money in 2026.
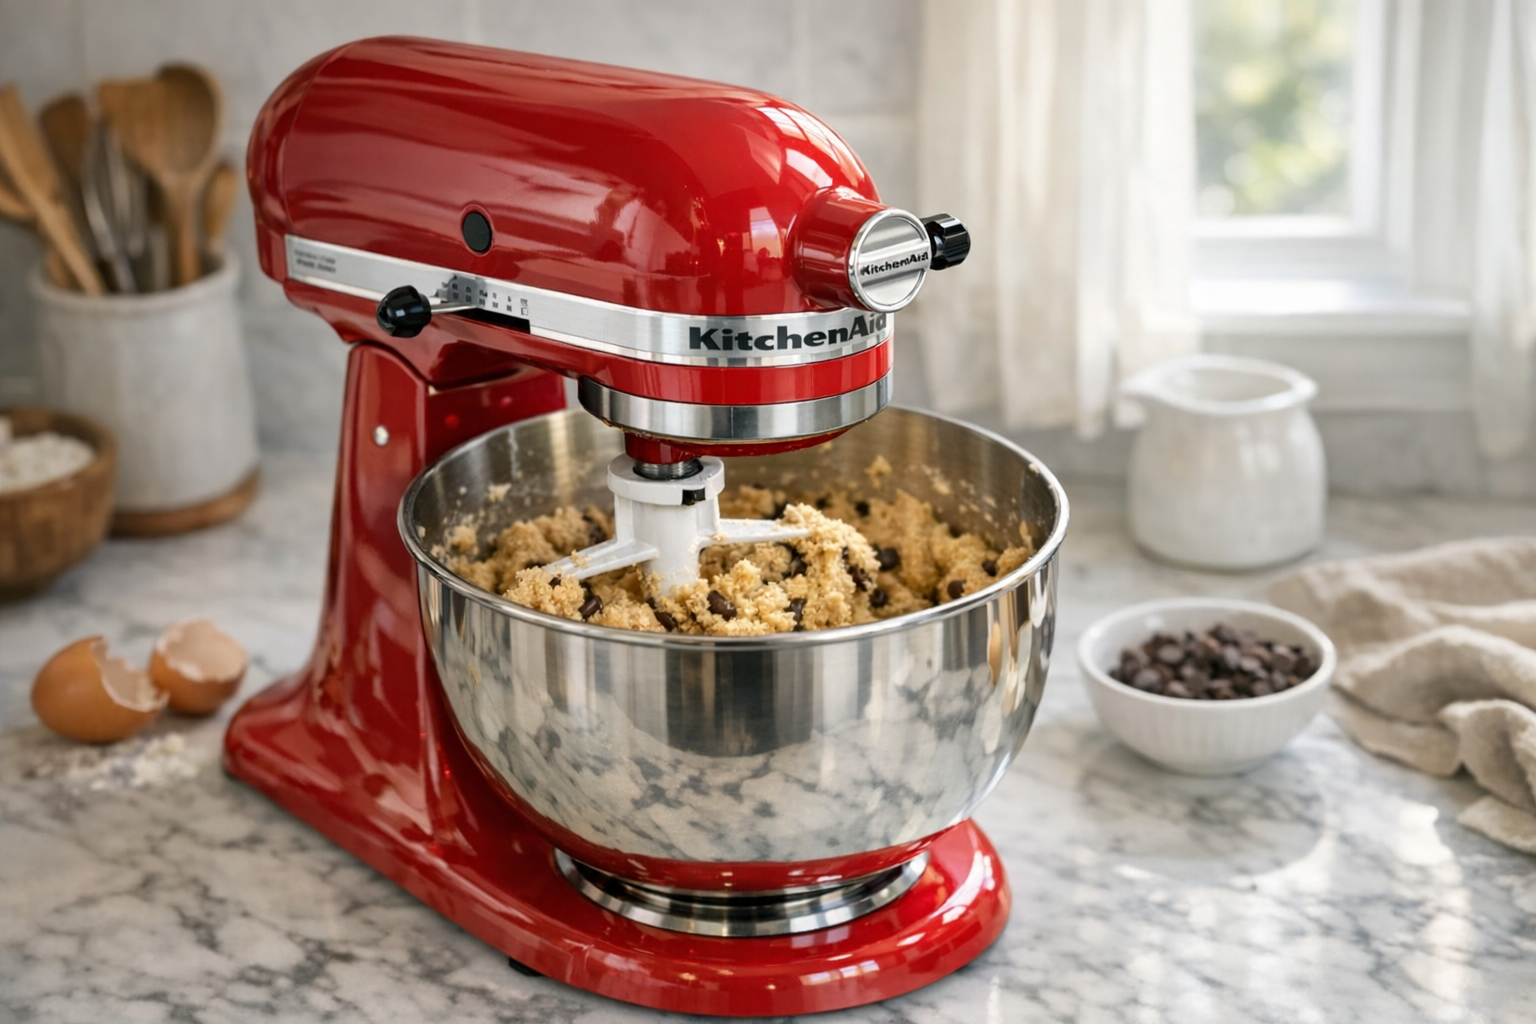
Best Stand Mixers (2026 Buyer's Guide)
We tested stand mixers from KitchenAid, Cuisinart, and Breville on bread dough, cookie batter, and meringues. Here are the picks worth the counter space.
5 Best Kitchen Knife Sets for Home Cooks (2026)
Stop struggling with dull knives. We compared the top kitchen knife sets for home cooks at every budget — here are the 5 best with honest pros and cons.
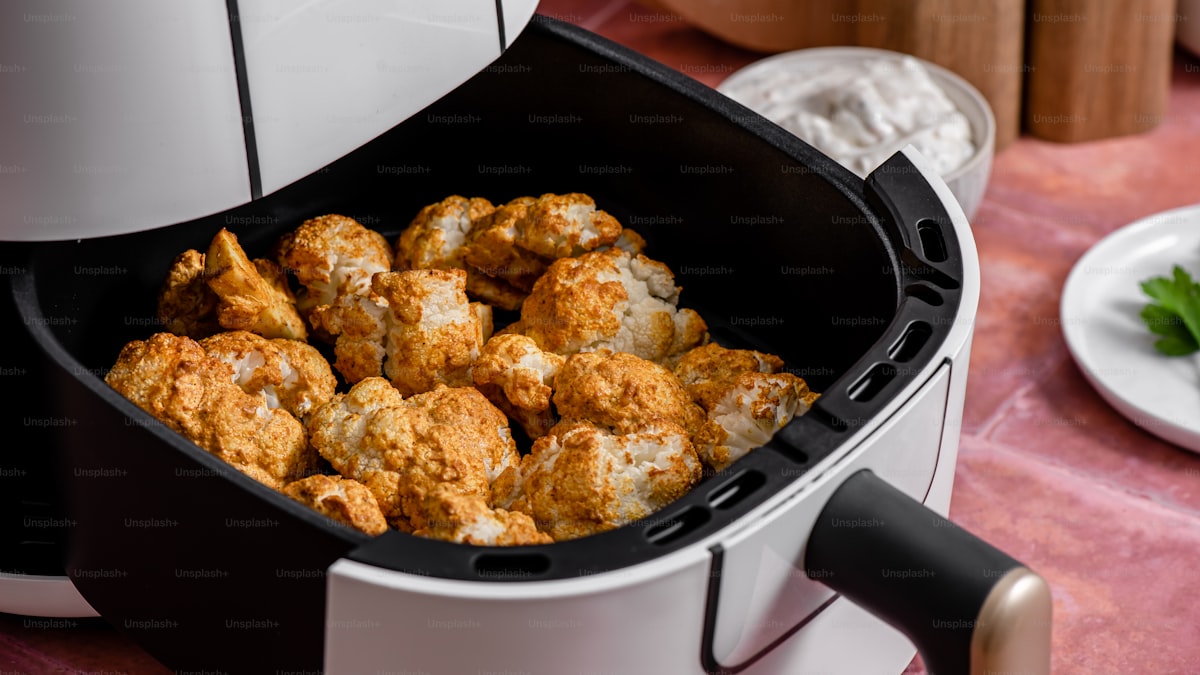
Best Air Fryers for Home Cooks (2026 Buyer's Guide)
Find the best air fryer for your kitchen and budget. We compare 6 top-rated air fryers from basket to oven style, with honest pros and cons for each.
Related Articles
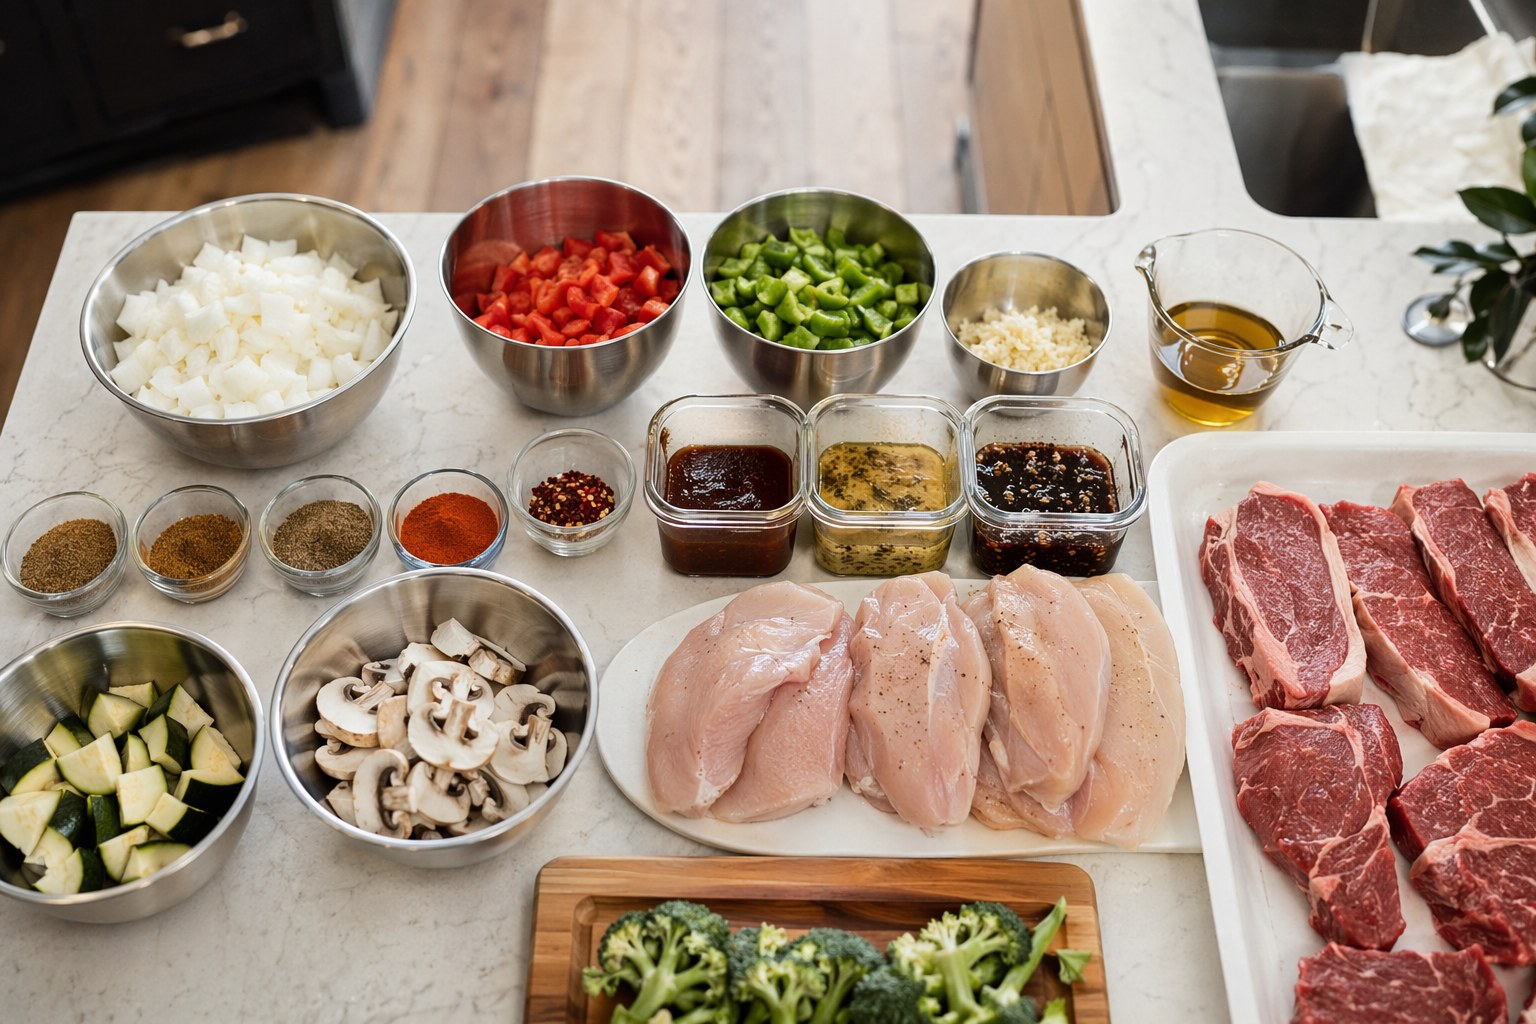
Batch Cooking for Summer: Make & Freeze 8 Meals in 3 Hours
A former chef's assembly-line batch system: prep, portion, and label 8 complete summer dinners in one 3-hour Sunday session so weeknights cook themselves.
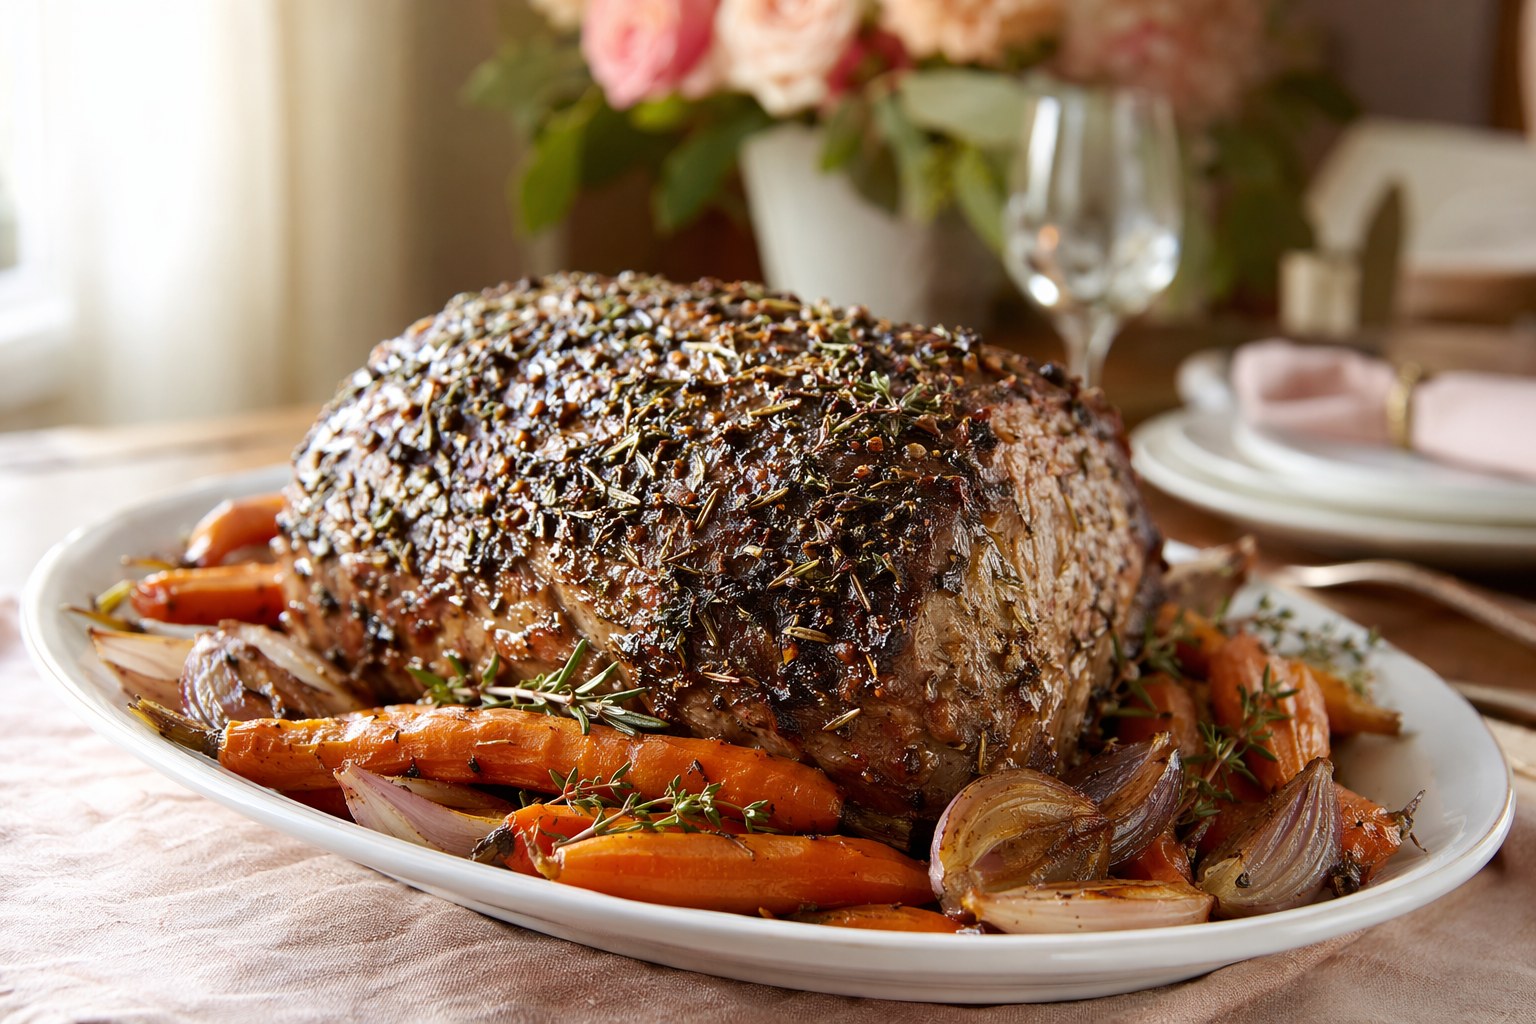
Mother's Day Roast: Elegant Main Dish Recipe for Stressed Home Cooks
An elegant herb-crusted roast you can prep Friday, rest Saturday, and reheat Sunday. The stress-free Mother's Day main dish a former chef actually relies on.
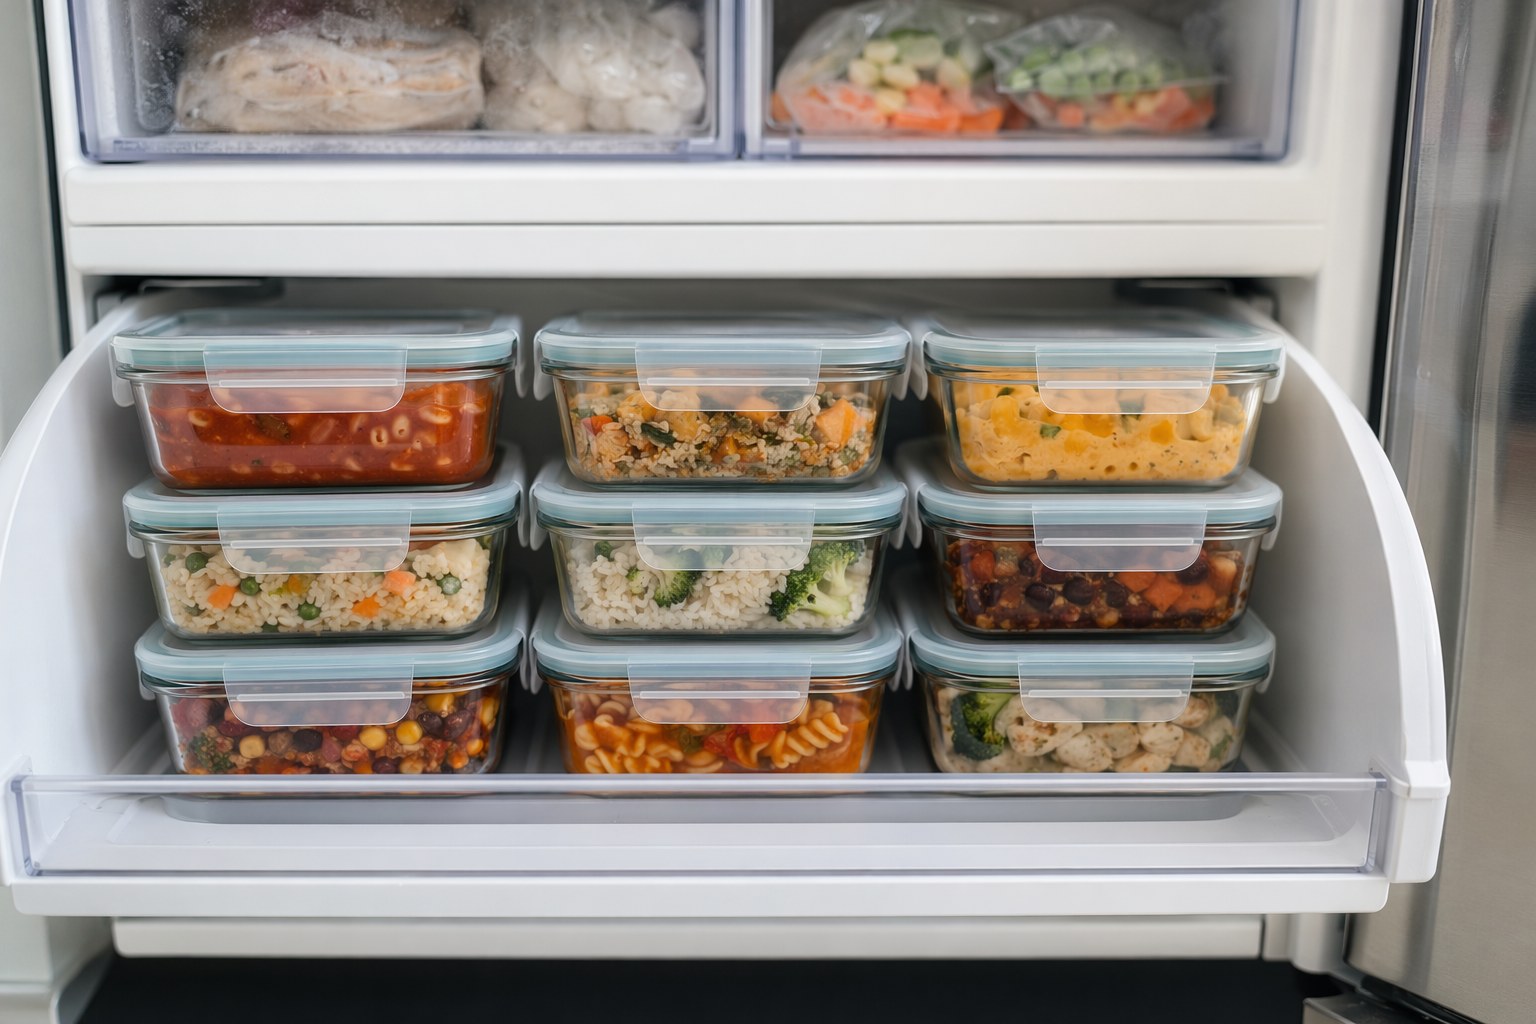
Freezer Meal Prep for Busy Weeks: 5 Make-Ahead Recipes + Storage Guide
A former chef's 5 freezer meals that reheat like fresh, plus the exact containers and labeling system that actually works in a real kitchen freezer.
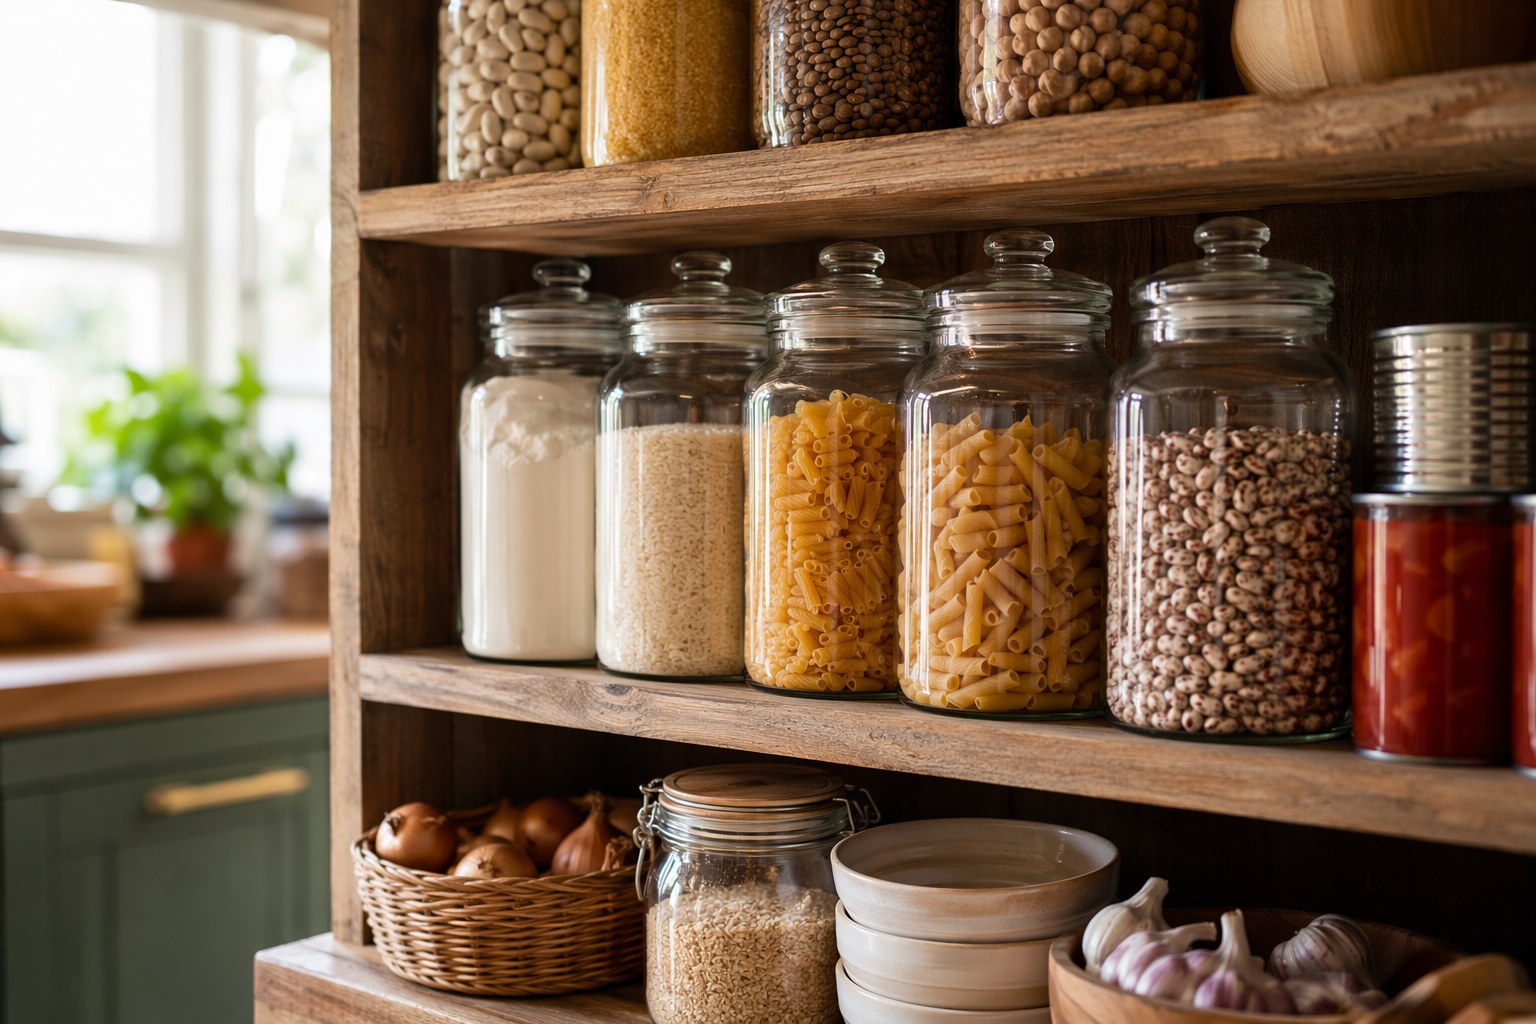
Pantry Staples That Ship Well: Build Your Emergency Backup Supply
Build a redundant pantry of shelf-stable staples that ship cheaply and last for years. A former chef's exact list, shelf-life chart, and rotation system.