The Best Food Storage Containers (And How to Keep Food Fresh Longer)
This article may contain affiliate links. If you make a purchase through these links, we may earn a small commission at no extra cost to you. Learn more
Quick Answer
The Best Food Storage Containers (And How to Keep Food Fresh Longer)
The best food storage containers for most kitchens are airtight glass containers with snap-lock lids -- they keep food fresh longer, resist stains and odors, and transition safely from fridge to microwave to dishwasher. For freezer storage, BPA-free plastic containers or silicone bags work best because they handle temperature extremes without cracking.

The Best Food Storage Containers (And How to Keep Food Fresh Longer)
You buy fresh groceries with the best intentions, tuck them into whatever container or bag is within reach, and then discover a science experiment in the back of your fridge five days later. Sound familiar? The truth is, the container you store food in matters just as much as what you store. The right food storage containers can double or even triple the usable life of your leftovers, produce, and pantry staples -- while the wrong ones practically invite spoilage.
The average American household throws away roughly 30-40% of the food it buys. That works out to more than $1,500 a year in wasted groceries. A surprisingly large chunk of that waste comes down to one thing: poor storage. Food goes bad faster when it is exposed to air, moisture, or the wrong temperature -- and flimsy, ill-fitting containers are often the culprit.
This guide walks you through the best food storage containers on the market, explains exactly what to look for when shopping, and shares practical strategies to keep every type of food fresher for longer. Whether you are overhauling your pantry organization or just tired of tossing soggy leftovers, you will find everything you need right here.
What Makes a Food Storage Container Actually Good?
Not all food storage containers are created equal. Before you buy a 20-piece set because it was on sale, it helps to understand the features that genuinely matter for keeping food fresh.
Airtight seal. This is the single most important feature. Oxygen is the enemy of freshness -- it accelerates bacterial growth, causes oxidation, and dries food out. A container with a loose or poorly designed lid is barely better than a plate with plastic wrap on top. Look for containers with snap-lock lids, silicone gaskets, or locking clasps that create a true airtight barrier.
Material quality. The two main categories are glass and plastic, and each has strengths. Glass is nonporous, meaning it will never absorb stains or odors from last night's curry. It is microwave-safe, oven-safe (most tempered varieties), and dishwasher-safe. Plastic is lighter, more affordable, and virtually shatterproof -- but cheaper plastics can warp, stain, and leach chemicals over time.
Stackability. If your containers do not stack neatly, your fridge and pantry become a chaotic mess. The best sets are designed to nest when empty and stack securely when full, which maximizes every inch of shelf space.
Temperature versatility. A great container moves seamlessly from freezer to fridge to microwave without cracking, warping, or releasing harmful chemicals. Not every container can handle that range, so check the specs before assuming yours can go from a -10 degree freezer to a hot microwave.
Easy-to-clean design. Containers with textured surfaces, tight corners, or complicated lid mechanisms trap food and grow bacteria. Simple, smooth interiors with removable gaskets are far easier to keep sanitary. And on the topic of cleaning, make sure you know which containers are truly dishwasher-safe -- some items that seem durable can actually be ruined by the heat cycle. Check our guide on things you should never put in your dishwasher to avoid costly mistakes.
Should You Choose Glass or Plastic Containers?
This is the most common question people ask, and the honest answer is that both have a place in a well-stocked kitchen. Here is how they compare:
Glass Containers
Pros:
- Completely nonporous -- no staining, no odor absorption
- Microwave, oven, and dishwasher safe
- No chemical leaching concerns
- Last for years (often decades) without degrading
- You can see contents at a glance
Cons:
- Heavier than plastic
- Can shatter if dropped
- More expensive upfront
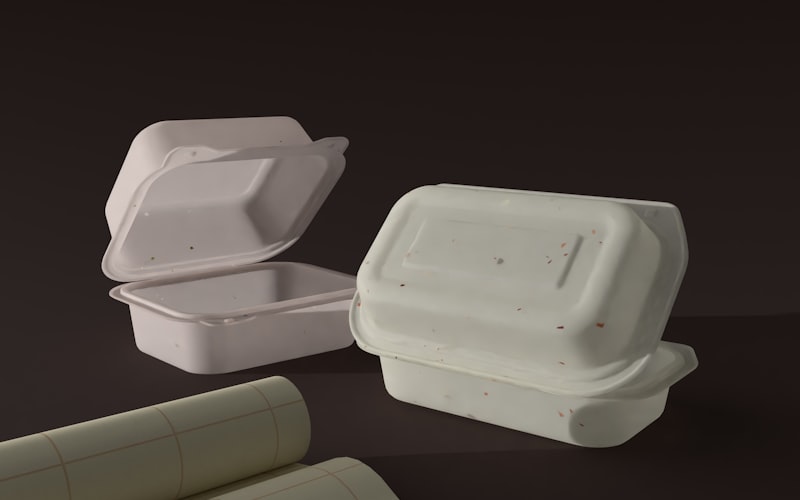
Plastic Containers
Pros:
- Lightweight and easy to transport
- Shatterproof -- great for kids and packed lunches
- Less expensive per piece
- Better for freezer storage (no cracking risk)
Cons:
- Can stain and absorb odors over time
- May warp in the microwave or dishwasher
- Lower-quality plastics can leach BPA or phthalates
- Needs to be replaced more frequently
The bottom line: Use glass containers as your primary storage for leftovers, meal prep, and anything that goes in the fridge or microwave. Use BPA-free plastic or silicone containers for freezer storage, kid lunches, and on-the-go meals where weight and durability matter more. If you are serious about meal prep, having a mix of both materials gives you the most flexibility.
What Are the Best Food Storage Containers to Buy?
After testing and researching dozens of options, these are the containers that consistently perform best across price points and use cases.
Best Glass Container Set
Pyrex Simply Store 18-Piece Glass Food Storage Set -- Pyrex has been the standard in glass food storage for decades, and this set is why. The tempered glass handles temperature shocks without cracking, the lids are BPA-free and airtight, and the set includes a range of sizes from small dip containers to large casserole storage. Every piece is microwave, dishwasher, and freezer safe.
Pyrex Simply Store 18-Piece Glass Food Storage Set
Durable tempered glass containers with BPA-free airtight lids in a variety of sizes. Microwave, dishwasher, freezer, and oven safe. The go-to glass storage set for leftovers, meal prep, and everyday kitchen use.
Check Price on Amazon →Best Plastic Container Set
Rubbermaid Brilliance Food Storage Containers -- If you prefer plastic, Rubbermaid Brilliance is the gold standard. The Tritan plastic is crystal-clear, stain-resistant, and 100% BPA-free. The latching lids with built-in vents for microwave splatter protection are a thoughtful touch. These stack beautifully and hold up through hundreds of dishwasher cycles without warping.
Best Containers for Freezer Storage
Souper Cubes Silicone Freezer Trays -- These silicone trays freeze soups, sauces, broths, and portions of chili into perfect blocks that pop out cleanly and stack flat in the freezer. They are a game changer for anyone doing freezer meal prep and pair perfectly with freezer bags for long-term storage.
Best Containers for Produce
OXO GreenSaver Produce Keeper -- These containers have elevated baskets that keep produce out of pooling moisture and activated carbon filters that absorb ethylene gas -- the compound that causes fruits and vegetables to ripen and spoil faster. If you struggle to keep berries, lettuce, or herbs from going bad, these containers can extend their life by several days. For even more strategies, see our full guide on how to store produce so it lasts longer.
How Should You Store Leftovers to Keep Them Fresh?
Proper container choice is only half the equation. How you actually store food matters just as much. Follow these steps every time you put leftovers away:
Step 1: Let hot food cool to room temperature before sealing it in a container. Sealing hot food traps steam inside, which creates condensation and accelerates bacterial growth. However, do not leave food out for more than two hours -- the USDA recommends refrigerating cooked food within that window.
Step 2: Portion food into smaller, shallow containers rather than one large container. A big container of soup takes hours to cool down in the center, creating a temperature danger zone where bacteria thrive. Smaller portions cool faster and reheat more evenly.
Step 3: Press plastic wrap directly onto the surface of soups, stews, sauces, and dips before closing the container lid. This eliminates the air gap above the food that causes oxidation and drying. Your leftover guacamole will thank you.
Step 4: Label every container with the contents and the date you stored it. A roll of masking tape and a permanent marker is all you need. This simple habit prevents the "mystery container" problem and helps you follow first-in-first-out rotation so nothing gets forgotten.
Step 5: Store containers at the front of the fridge, not the back. Items pushed to the back of the shelf are the ones you forget about and eventually throw away. Keeping current leftovers front and center is one of the simplest ways to reduce food waste at home.
What Is the Best Way to Store Food in the Freezer?
Your freezer is one of the most powerful tools for extending the life of food -- but only if you use it correctly. Freezing pauses bacterial growth and enzymatic activity almost entirely, but improper freezer storage leads to freezer burn, off-flavors, and wasted food.
Preventing Freezer Burn
Freezer burn happens when air reaches the surface of frozen food and causes dehydration. Those white, leathery patches on frozen chicken or ice crystals coating your berries are signs that moisture has escaped. The fix is straightforward:
- Remove as much air as possible from bags and containers before freezing
- Use containers designed for the freezer -- not all plastics hold up at low temperatures
- Wrap meats and baked goods in a layer of plastic wrap before placing them in a freezer bag for double protection
- Freeze food as quickly as possible by spreading items in a single layer on a sheet pan first (the flat-freeze method)
Organizing Your Freezer for Efficiency
A disorganized freezer is a black hole where food goes to be forgotten. Use these strategies to keep track of everything:
- Group by category -- proteins in one section, vegetables in another, prepared meals in a third
- Stack flat bags vertically like files in a cabinet instead of piling them on top of each other
- Keep an inventory list taped to the outside of the freezer door so you know what is inside without digging
If your freezer feels like a chaotic ice cave right now, our step-by-step guide to organizing your freezer to save money walks you through the entire process.
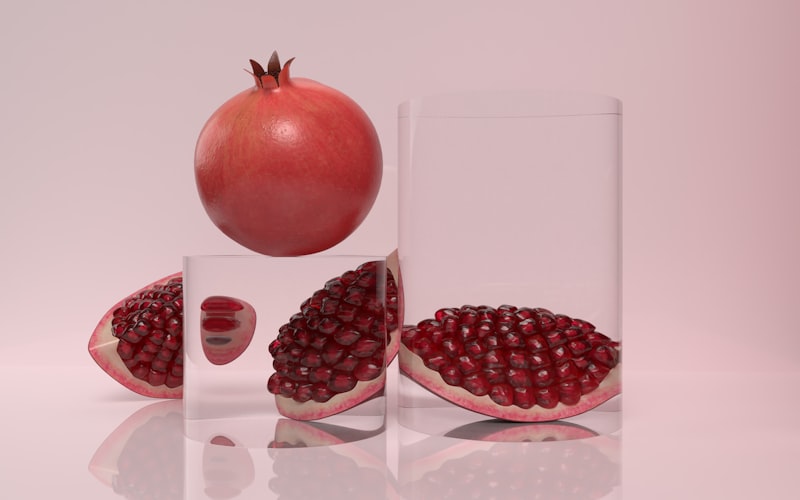
How Do You Keep Produce Fresh in Containers?
Fruits and vegetables have unique storage needs, and getting them wrong is one of the fastest ways to waste money on groceries. The key factors are ethylene gas, moisture, and airflow.
Ethylene producers vs. ethylene-sensitive items. Some fruits -- apples, bananas, avocados, tomatoes -- release ethylene gas as they ripen. This gas accelerates ripening (and eventual spoilage) in nearby produce like leafy greens, berries, broccoli, and carrots. Store ethylene producers separately from sensitive items, ideally in different containers or different drawers.
Moisture management. Leafy greens wilt when they lose moisture but rot when they sit in standing water. The solution is to line your produce containers with a dry paper towel to absorb excess moisture while keeping the humidity level inside the container high enough to prevent wilting. Replace the paper towel every couple of days.
Berries. Rinse berries in a solution of one part white vinegar to three parts water, then dry them thoroughly before storing in a container lined with paper towels. The vinegar kills mold spores on the surface, and the paper towels wick away excess moisture. This trick can keep strawberries and blueberries fresh for a full week or longer.
Herbs. Treat soft herbs like basil, parsley, and cilantro like cut flowers -- trim the stems and stand them in a jar of water, loosely covered. Hardy herbs like rosemary and thyme do better wrapped in a damp paper towel inside a sealed container or bag.
For a complete breakdown covering every type of produce and the best way to store it, check out our guide on how to store produce so it lasts longer.
How Should You Store Dry Goods and Pantry Staples?
Pantry staples like flour, rice, pasta, cereal, and nuts seem shelf-stable, but they degrade faster than you might think once their original packaging is opened. Exposure to air, moisture, and pantry pests can turn a bag of flour into a stale, buggy mess within weeks.
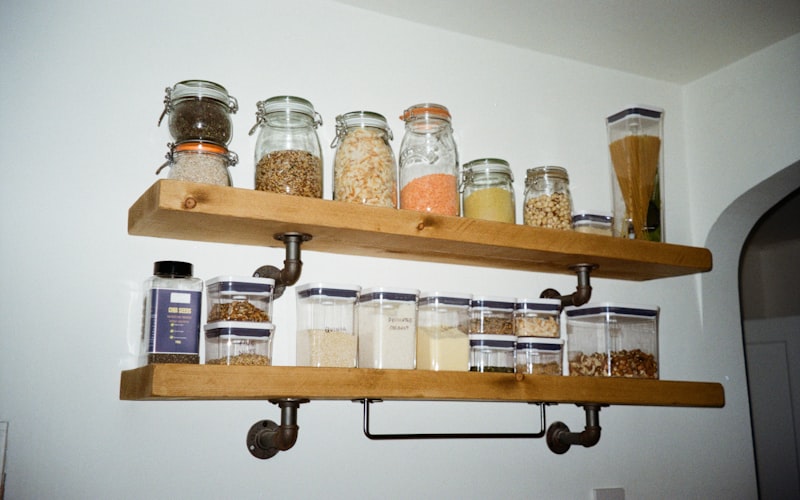
The Case for Airtight Pantry Containers
Transferring dry goods into airtight containers the moment you bring them home is one of the smartest kitchen habits you can build. Here is why:
- Pest prevention. Pantry moths and weevils can chew through paper and thin plastic bags. Glass or thick BPA-free plastic containers with silicone-sealed lids keep them out entirely.
- Freshness retention. Airtight seals block humidity and oxygen, which are the two things that cause flour to go rancid, cereal to go stale, and brown sugar to turn into a rock.
- Organization and visibility. Clear containers let you see exactly how much of everything you have at a glance, which prevents duplicate purchases and makes meal planning easier.
A good set of airtight pantry storage containers is one of the most worthwhile kitchen investments you can make. Look for containers with flat sides that maximize shelf space, one-touch lids for easy access, and a range of sizes to fit everything from spices to bulk rice.
What About Nuts, Seeds, and Whole Grain Flours?
Items with higher fat content -- including nuts, seeds, nut flours, and whole wheat flour -- go rancid much faster than refined staples. Store these in airtight containers in the refrigerator or freezer to extend their shelf life by months. A mason jar or glass storage jar with a clamp lid works perfectly for this.
If you are working on getting your entire pantry organized, our guide on how to organize your pantry like a pro covers the full system from shelf arrangement to labeling.
How Do You Care for Food Storage Containers So They Last?
Even the best containers will not perform well if they are not maintained properly. A few simple habits keep them in top condition for years.
Wash lids separately. Container lids -- especially those with silicone gaskets or locking mechanisms -- trap food residue in crevices. Remove any silicone rings and wash all components individually. Let them air dry completely before reassembling to prevent mold growth in the gasket channels.
Remove stains from plastic containers. Tomato sauce, turmeric, and beet juice can permanently stain light-colored plastic. To prevent staining, spray the inside of plastic containers with cooking spray before adding strongly pigmented foods. To remove existing stains, make a paste of baking soda and water, spread it inside the container, and let it sit overnight. For stubborn stains, fill the container with warm water and a denture cleaning tablet -- the effervescent action lifts discoloration surprisingly well.
Eliminate odors. If a container smells like last week's garlic shrimp even after washing, fill it with crumpled newspaper, seal the lid, and leave it overnight. The newspaper absorbs trapped odors. Alternatively, sprinkle baking soda inside, add a splash of white vinegar, let it fizz, then rinse clean.
Store containers with lids off or askew. Sealing clean, empty containers traps residual moisture and can create a musty smell. Store lids separately or set them on top without snapping them closed.
Replace warped or damaged containers. A container with a warped lid or cracked seal is not airtight anymore, which defeats the entire purpose. Inspect your containers periodically and retire any that no longer close properly.
Food Storage Containers FAQ
How long do leftovers last in the fridge?
Most cooked leftovers stay safe to eat for three to four days when stored in an airtight container in the refrigerator at 40 degrees Fahrenheit or below. Some items last a bit longer -- cooked rice and grains hold for up to six days, and hard-boiled eggs last about a week. When in doubt, follow the rule: if it has been in the fridge for more than four days and you did not freeze it, toss it. Labeling containers with the date is the easiest way to stay on top of this.
Is it safe to microwave plastic food storage containers?
Only if the container is explicitly labeled "microwave safe." Containers without this designation can warp, melt, or leach chemicals into your food when heated. Even microwave-safe plastics should not be used at extremely high temperatures or for extended cook times. For the safest option, transfer food to a glass container before microwaving. Glass does not leach anything regardless of temperature and heats more evenly.
How often should you replace food storage containers?
Glass containers can last indefinitely as long as they are not cracked or chipped. Replace glass containers if you notice any damage to the glass itself or if the lids no longer seal tightly. Plastic containers have a shorter lifespan -- plan to replace them every one to two years, or sooner if you notice warping, deep scratches (which harbor bacteria), discoloration, or a persistent odor that will not wash out. Silicone containers and bags typically last three to five years with proper care.
Are vacuum-sealed containers worth the extra cost?
Vacuum-sealed containers remove air from the storage space, which significantly slows oxidation and bacterial growth. They are particularly worth it for storing expensive items like coffee beans, cheese, deli meats, and cured foods where freshness directly impacts flavor. For everyday leftover storage, a standard airtight container with a good seal is sufficient. But if you are serious about reducing waste and extending food life to its maximum, a vacuum-sealed container set pays for itself quickly in saved groceries.
Final Thoughts
Good food storage is not glamorous, but it is one of the most practical things you can do to save money, eat better, and waste less. The right containers paired with smart storage habits can easily extend the life of your groceries by days or weeks -- and that adds up to hundreds of dollars saved over the course of a year.
Start with one upgrade: swap out your oldest, most beat-up containers for a quality glass set, and commit to labeling and dating everything you store. Once that habit sticks, layer in the produce storage tips and pantry organization strategies covered in this guide. Small changes compound quickly.
If you are looking to build on these habits, our guides on reducing food waste at home and meal prep for beginners are natural next steps. And if your freezer could use some attention, start with our walkthrough on organizing your freezer to save money -- it pairs perfectly with the freezer storage tips above.
Your future self -- the one who opens the fridge and finds fresh, organized, clearly labeled food instead of mystery containers -- will appreciate the effort.
Get weekly home tips that actually work
Join thousands of homeowners getting practical cleaning hacks, DIY fixes, and money-saving tips every week. Free, and you can unsubscribe anytime.

Written by
Beth SullivanFounder & Editor-in-Chief
Beth Sullivan is the founder of Practical Home Guides. With over a decade of hands-on experience tackling every home challenge imaginable, she started this site to share the practical, no-nonsense solutions she wishes she had found years ago. When she's not testing cleaning hacks or organizing pantries, you'll find her in the garden or working on her next DIY project.
Recommended Products
Looking for specific product recommendations? Check out our tested picks.
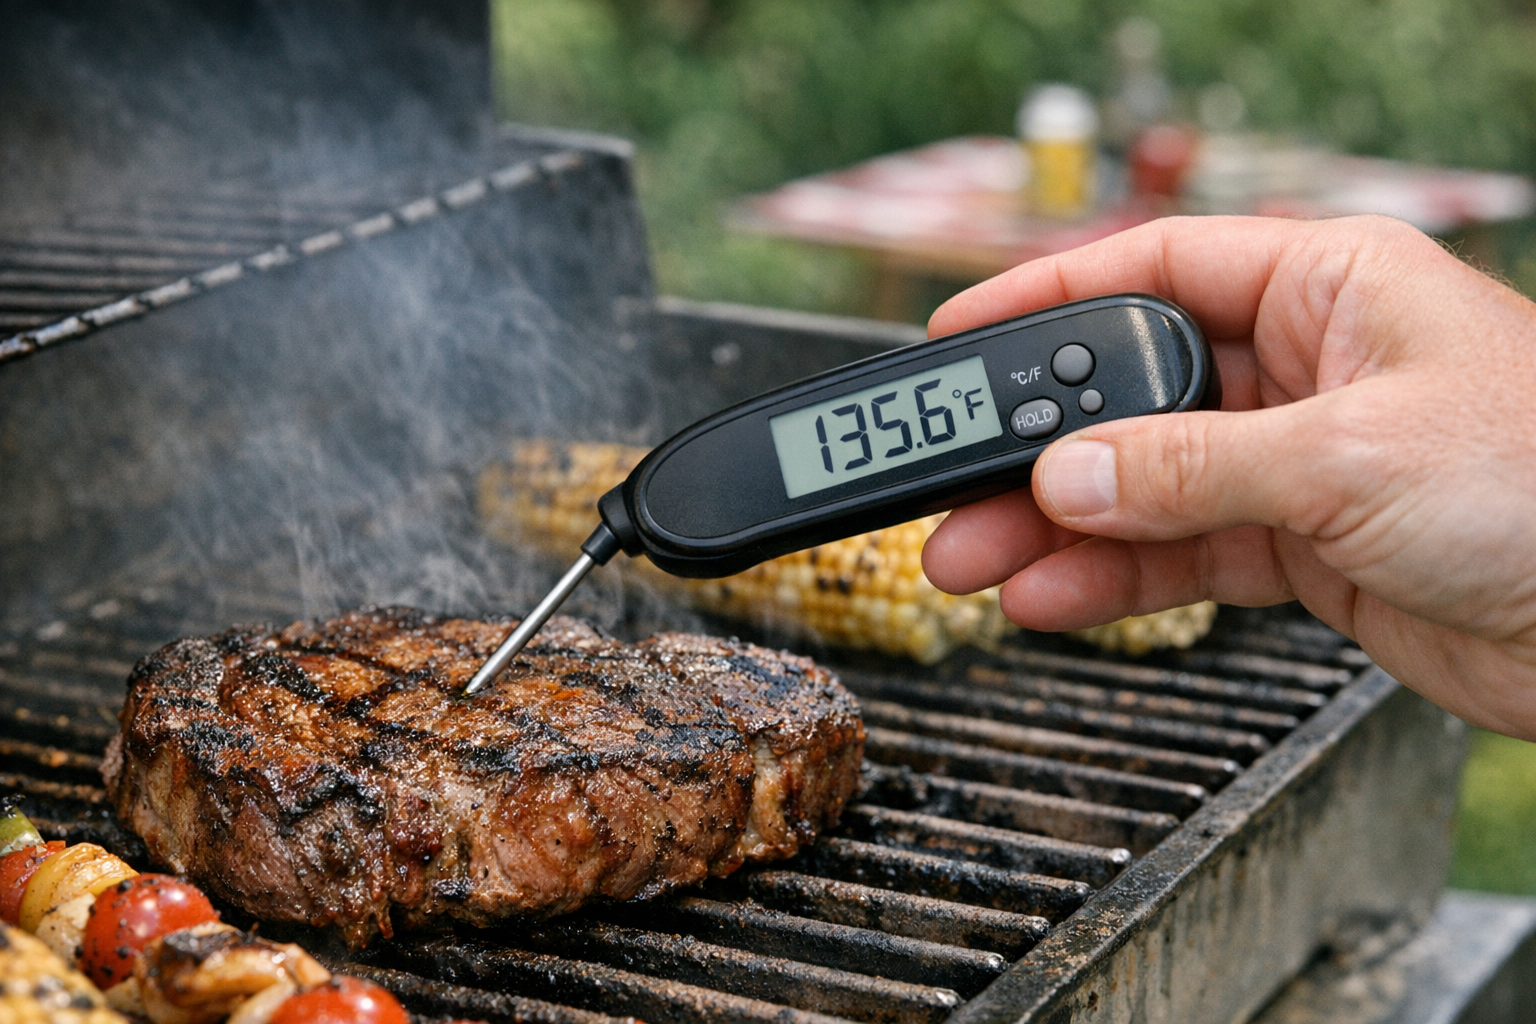
Best Instant Read Meat Thermometers (2026 Tested)
We tested instant read thermometers for grilling, roasting, and candy making. The picks that read in under 3 seconds and don't break after a year.
Best Espresso Machines for Home (2026 Buyer's Guide)
From under-300-dollar starter machines to 2000-dollar prosumer espresso, here are the espresso machines worth your money in 2026.
Best Stand Mixers (2026 Buyer's Guide)
We tested stand mixers from KitchenAid, Cuisinart, and Breville on bread dough, cookie batter, and meringues. Here are the picks worth the counter space.
5 Best Kitchen Knife Sets for Home Cooks (2026)
Stop struggling with dull knives. We compared the top kitchen knife sets for home cooks at every budget — here are the 5 best with honest pros and cons.
Best Air Fryers for Home Cooks (2026 Buyer's Guide)
Find the best air fryer for your kitchen and budget. We compare 6 top-rated air fryers from basket to oven style, with honest pros and cons for each.
Related Articles
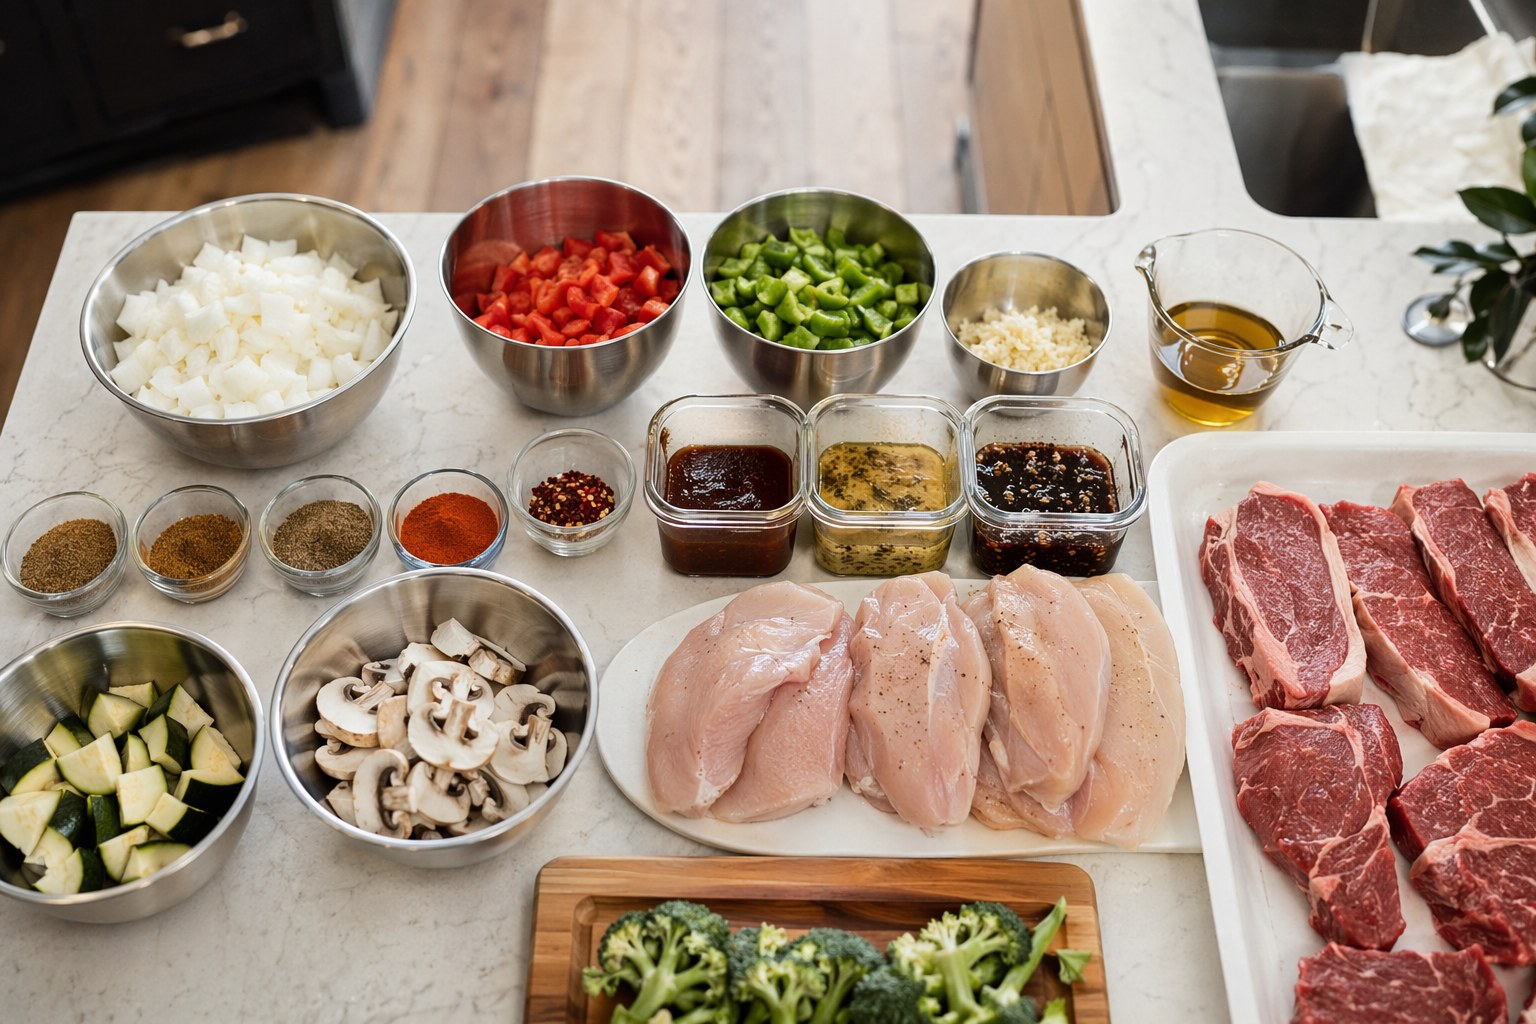
Batch Cooking for Summer: Make & Freeze 8 Meals in 3 Hours
A former chef's assembly-line batch system: prep, portion, and label 8 complete summer dinners in one 3-hour Sunday session so weeknights cook themselves.
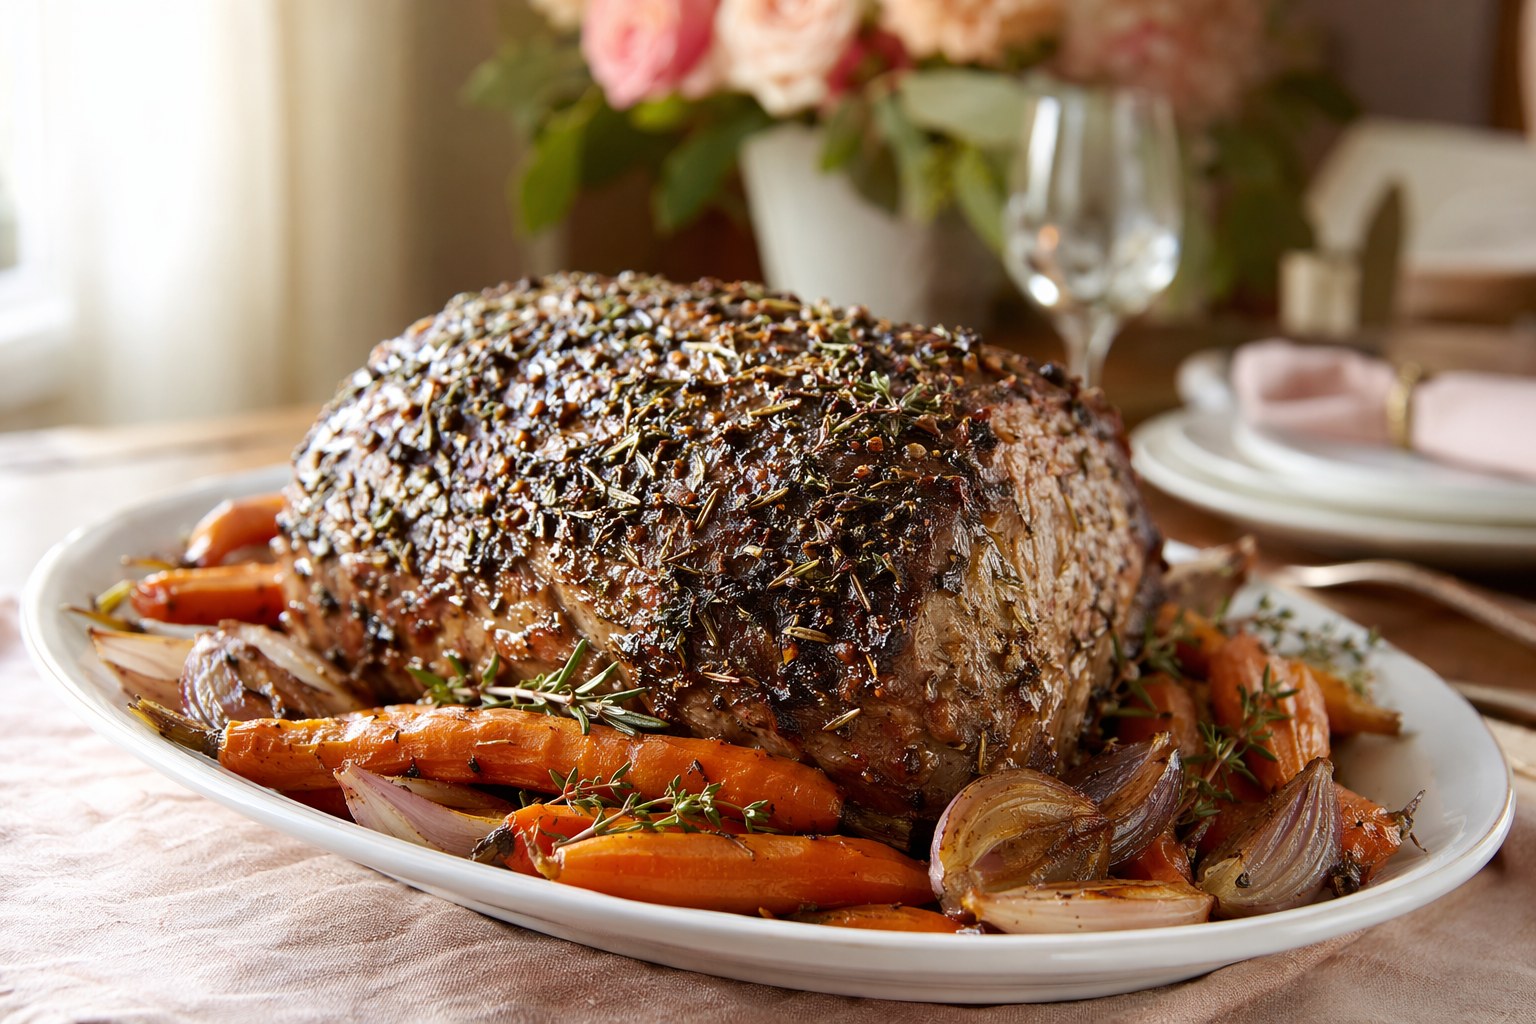
Mother's Day Roast: Elegant Main Dish Recipe for Stressed Home Cooks
An elegant herb-crusted roast you can prep Friday, rest Saturday, and reheat Sunday. The stress-free Mother's Day main dish a former chef actually relies on.
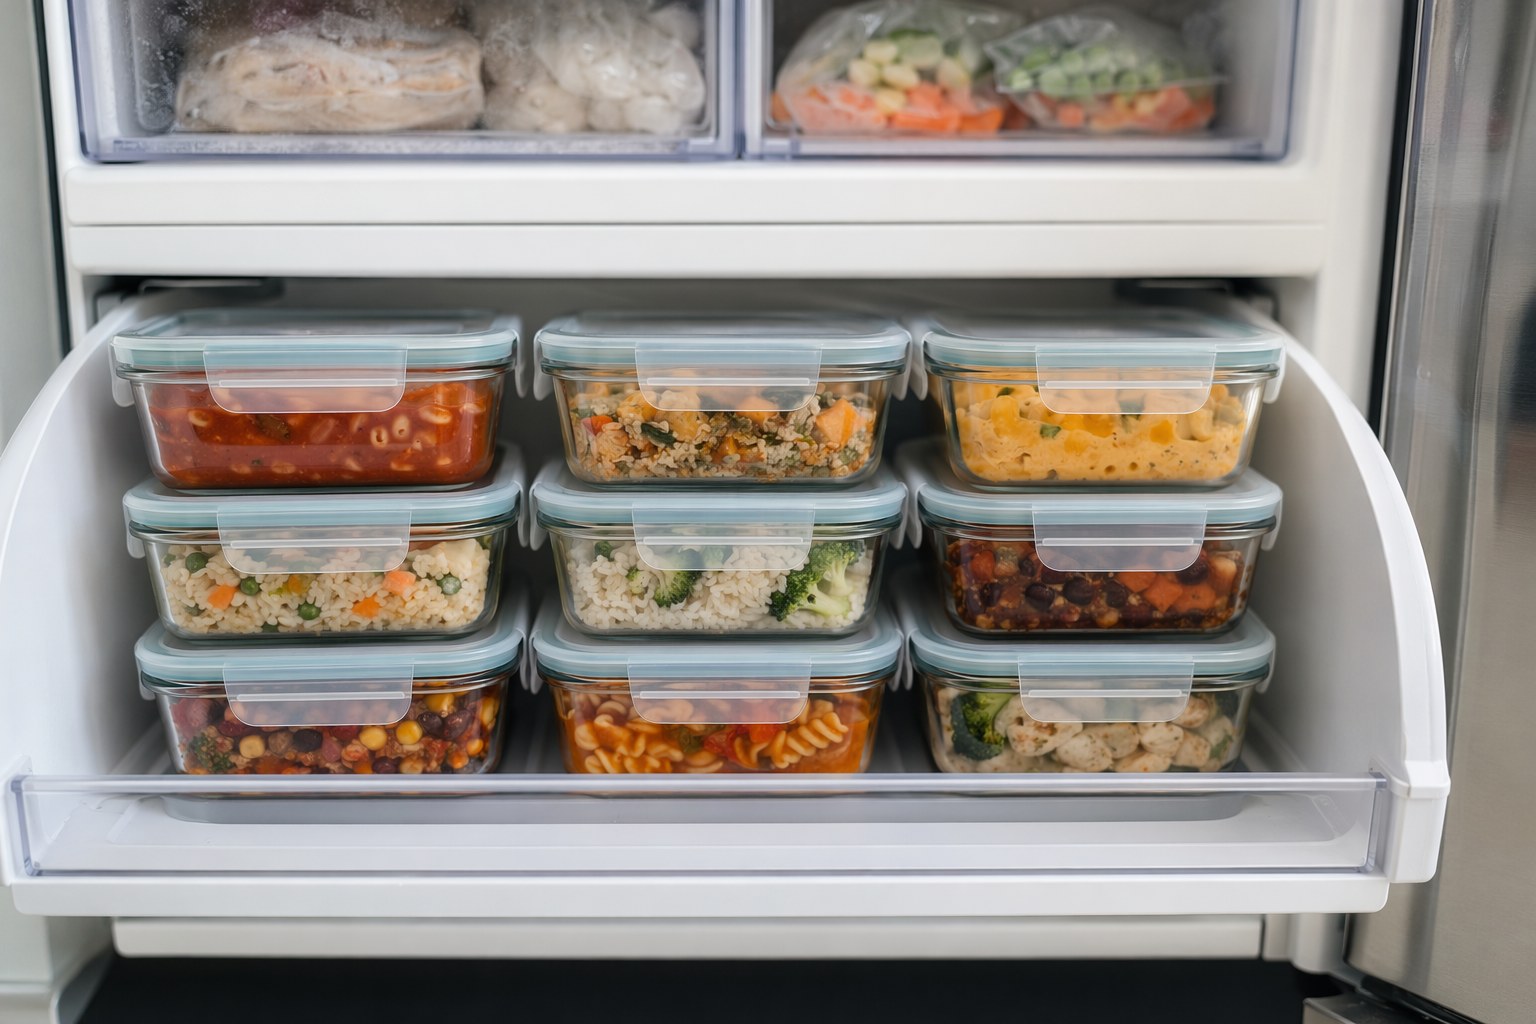
Freezer Meal Prep for Busy Weeks: 5 Make-Ahead Recipes + Storage Guide
A former chef's 5 freezer meals that reheat like fresh, plus the exact containers and labeling system that actually works in a real kitchen freezer.
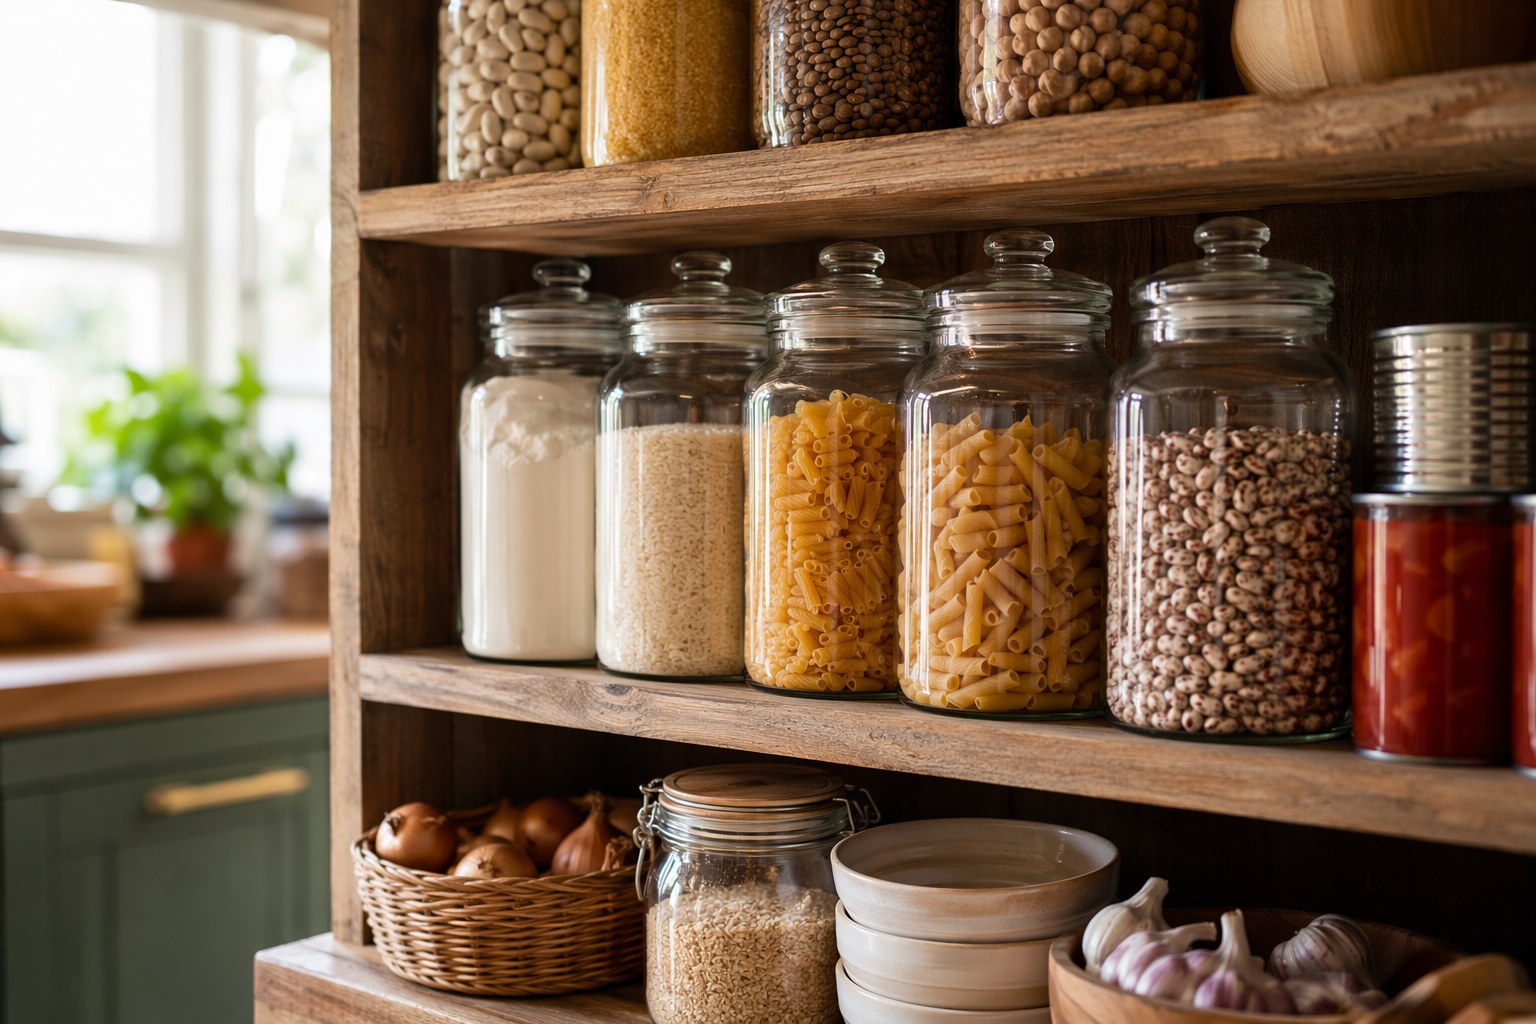
Pantry Staples That Ship Well: Build Your Emergency Backup Supply
Build a redundant pantry of shelf-stable staples that ship cheaply and last for years. A former chef's exact list, shelf-life chart, and rotation system.