How to Paint a Room Like a Pro (Even If You've Never Done It)
This article may contain affiliate links. If you make a purchase through these links, we may earn a small commission at no extra cost to you. Learn more
Quick Answer
How to Paint a Room Like a Pro (Even If You've Never Done It)
Prep is 80% of a good paint job. Start by cleaning walls with a damp cloth, filling holes with spackle, and sanding smooth. Apply painter's tape along trim, ceiling lines, and outlets. Use a 2-inch angled brush to 'cut in' — paint a 2-3 inch border around all edges first. Then use a 9-inch roller with a 3/8-inch nap to fill in the large areas, rolling in a W pattern for even coverage. Apply two coats, waiting 2-4 hours between coats. Remove tape while the final coat is still slightly tacky for the cleanest lines.
How to Paint a Room Like a Pro (Even If You've Never Done It)
Painting a room is one of the most transformative things you can do to your home on a budget. A fresh coat of paint can make a tired, scuffed-up space feel brand new in a single weekend -- and it costs a fraction of what most home improvement projects run. The problem is that most people rush through it, skip the prep work, and end up with streaky walls, paint on the ceiling, and drips all over the trim.
The truth is that professional painters don't have some secret talent. They follow a process. They prep meticulously, use the right tools, and apply paint in a specific order that produces clean, even results every time. Once you learn that process, you can get the same quality finish in your own home without paying someone $400-800 per room to do it for you.
This guide walks you through every step from start to finish -- choosing supplies, prepping the room, cutting in edges, rolling walls, and cleaning up. Whether you've never held a paintbrush or you've tried before and ended up frustrated, follow these steps and you'll end up with walls that look like a contractor painted them.
What Supplies Do You Need to Paint a Room?
Having everything ready before you crack open a paint can saves time, frustration, and mid-project trips to the hardware store. Here's what you'll need for a standard bedroom or living room.
Paint and primers:
- Interior latex paint -- 1 gallon covers about 350-400 square feet (enough for most small to medium rooms with two coats)
- Primer -- necessary if you're covering dark colors, new drywall, or patched areas
Brushes and rollers:
- 2-inch angled brush -- for cutting in along edges, corners, and trim
- 9-inch roller frame with an extension pole
- Roller covers, 3/8-inch nap -- the best all-purpose nap for smooth to lightly textured walls (use 1/2-inch nap for heavier textures)
Prep and protection:
- Painter's tape (blue or green)
- Canvas drop cloths -- heavier and less slippery than plastic
- Paint tray and tray liners
- Lightweight spackle and a putty knife
- Fine-grit sandpaper (120-220 grit)
- Damp rags and a bucket of clean water
Optional but helpful:
- Paint can opener and stir sticks
- Painter's plastic sheeting for covering furniture
- A good stepladder or step stool
A complete setup for one room typically runs $60-120 depending on paint quality, plus the cost of the paint itself (usually $25-50 per gallon for a good interior latex). If you already own some of these tools from other projects -- maybe you've built up a collection from our best home tool kits for beginners guide -- your out-of-pocket cost drops significantly.
Complete Room Painting Kit
Everything you need in one box: 9-inch roller frame, 3 roller covers (3/8-inch nap), 2-inch angled brush, paint tray, drop cloth, and painter's tape. Perfect for beginners.
Check Price on Amazon →How Do You Choose the Right Paint?
Picking the right paint makes a huge difference in how your finished walls look and how long the paint job lasts. There are two main decisions: finish and quality.
Paint Finish
- Flat/Matte -- hides imperfections well but scuffs easily and is hard to clean. Best for ceilings and low-traffic rooms.
- Eggshell -- slight sheen, easy to wipe clean, hides minor imperfections. The best all-around choice for bedrooms, living rooms, and dining rooms.
- Satin -- more sheen than eggshell, very durable and washable. Great for kitchens, bathrooms, hallways, and kids' rooms.
- Semi-gloss -- high sheen, extremely durable and moisture-resistant. Best for trim, doors, and cabinets rather than walls.
For most rooms, eggshell is the sweet spot between durability and appearance. It's forgiving enough to hide small wall imperfections but tough enough to handle light cleaning with a damp cloth.
Paint Quality
Don't skimp on paint quality. Cheap paint requires more coats, doesn't cover as evenly, and fades faster. Mid-range paints from trusted brands (Behr, Benjamin Moore, Sherwin-Williams) give you excellent coverage in two coats, better color accuracy, and a finish that holds up for years. Spending an extra $10-15 per gallon on better paint actually saves you money on home repairs in the long run because you won't need to repaint as soon.
How Much Paint Do You Need?
Measure the room's perimeter in feet and multiply by the wall height. Subtract about 20 square feet for each standard door and 15 square feet for each window. Divide the total by 350 (the average coverage per gallon) to get the number of gallons for one coat. Double it for two coats. When in doubt, buy an extra quart -- it's better to have a little extra for touch-ups later than to run out mid-wall.
How Do You Prep a Room for Painting?
This is where most DIY paint jobs go wrong. People grab a roller and start slapping paint on the wall without prepping, and the result shows it. Professional painters spend more time prepping than painting, and for good reason -- prep work is 80% of a good paint job.
Step 1: Clear the room. Move furniture to the center and cover it with plastic sheeting or old bed sheets. Remove curtains, wall art, switch plate covers, and outlet covers. Use a screwdriver or a cordless drill to quickly remove cover plates -- toss the screws into a labeled bag so you don't lose them.
Step 2: Clean the walls. Dust, grease, and grime prevent paint from bonding properly. Wipe all walls with a damp cloth or sponge, paying extra attention to kitchen-adjacent walls, areas near heating vents, and spots around light switches where oils from hands accumulate. Let walls dry completely -- at least 30 minutes.
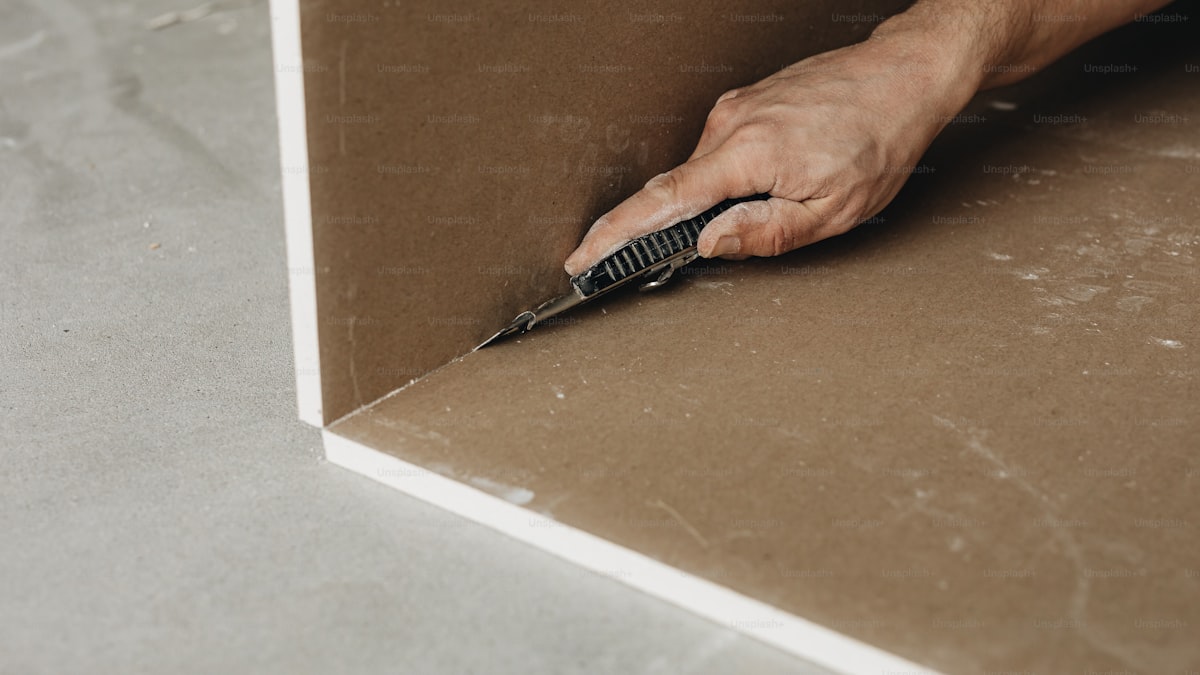
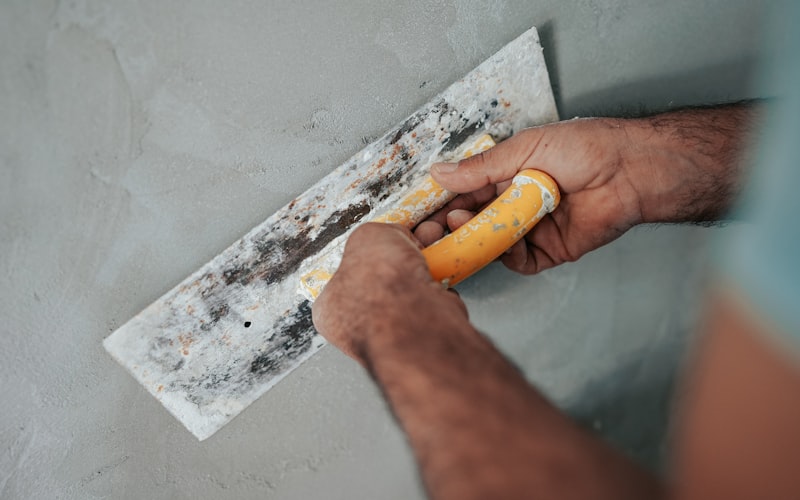
Step 3: Repair imperfections. Fill nail holes, small dents, and hairline cracks with lightweight spackle using a putty knife. For anything larger than a quarter, you'll want to follow a proper patching technique for drywall to get a smooth, invisible repair. Let spackle dry fully (1-3 hours depending on depth), then sand smooth with 120-220 grit sandpaper. Wipe away dust with a damp cloth.
Step 4: Sand glossy surfaces. If your walls have a semi-gloss or satin finish, lightly sand them with 150-grit sandpaper to give the new paint something to grip. You don't need to remove the old paint -- just scuff the surface enough to dull the sheen. Wipe away the sanding dust.
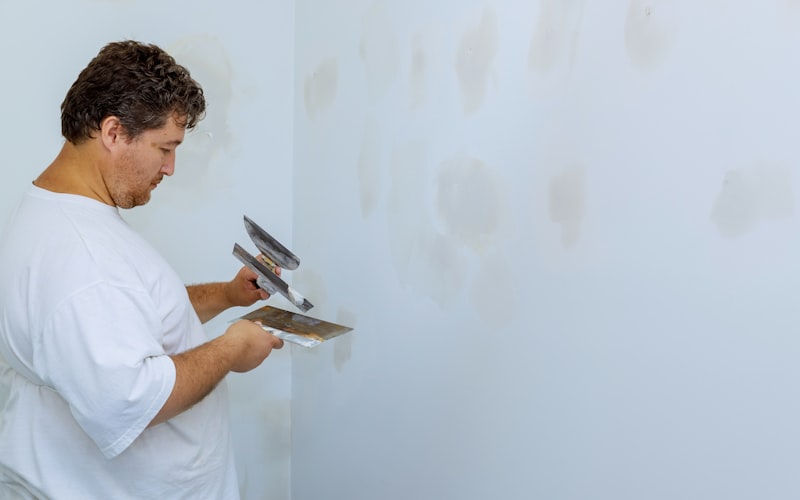
Step 5: Prime where needed. Apply primer to any patched areas, bare drywall, stains, or dark colors you're covering. Primer seals porous surfaces, blocks stains from bleeding through, and ensures your topcoat color looks true. Tinted primer (tinted toward your final color) gives even better coverage when making drastic color changes.
Step 6: Apply painter's tape. This is the step that gives you crisp, professional lines. Apply tape along the ceiling line, door frames, window frames, baseboards, and around any outlets or switches. Press the edge of the tape down firmly with a putty knife or credit card to prevent paint from bleeding underneath. Take your time here -- straight tape lines mean straight paint lines.
How Do You Cut In Like a Pro?
Cutting in is the technique of painting a 2-3 inch border along all edges, corners, and trim with a brush before rolling the large wall surfaces. This gives you precision where the roller can't reach and prevents accidental paint on your ceiling, trim, and adjacent walls.
Step 1: Load the brush properly. Dip your 2-inch angled brush about one-third of the way into the paint. Tap it gently against the inside of the can to remove excess -- don't scrape the brush across the rim, which removes too much paint and creates drips inside the can.
Step 2: Start at the ceiling line. Hold the brush like a pencil for maximum control. Place the brush about 1/4 inch away from the tape or ceiling edge, then slowly press the bristles toward the line as you draw the brush along the wall. The paint will spread just to the edge without going over. Use long, smooth strokes rather than short, choppy ones.
Step 3: Work around the entire room. Cut in along the ceiling line, down each corner where two walls meet, along all trim and baseboards, and around every outlet, switch, and window frame. Maintain a wet edge -- don't let one section dry before you connect it to the next, or you'll see visible lap marks in the finished result.
Step 4: Feather the inner edge. The inner edge of your cut-in border (the side facing the center of the wall) should feather out gradually rather than ending in a hard line. This allows the roller to blend seamlessly into the brushed area without creating a visible transition.
A common beginner mistake is cutting in the entire room and then going back to roll. By the time you finish cutting in a large room, the first walls have already dried, and the roller won't blend into the cut-in line smoothly. Instead, cut in one wall at a time, then roll that wall before moving to the next. This keeps wet edges meeting wet edges for a seamless finish.
How Do You Roll Walls for Even Coverage?
Rolling is where the real transformation happens. A loaded roller covers a wall fast, but technique matters more than speed.
Step 1: Load the roller evenly. Pour paint into the deep end of your paint tray. Dip the roller into the paint, then roll it back and forth on the tray's ramp several times to distribute paint evenly across the entire roller cover. The roller should be fully loaded but not dripping. If paint is dripping off the roller, you've loaded too much -- roll it on the ramp a few more times.
Step 2: Roll in a W pattern. Start at a top corner of the wall (near your cut-in line) and roll the paint onto the wall in a large W or M shape, about 3-4 feet wide. Without reloading, fill in the W with even, overlapping strokes. This distributes paint more evenly than simply rolling straight up and down, which tends to create heavy spots and thin spots.
Step 3: Finish with light vertical strokes. After filling in each section, make light, straight passes from top to bottom to smooth the paint and eliminate roller marks. Barely touch the wall -- you're just evening out the texture, not applying more paint.
Step 4: Maintain a wet edge. Always overlap your new section into the edge of the previous section while it's still wet. If you let a section dry before rolling next to it, you'll see a visible line where the two sections meet. Work systematically from one side of the wall to the other.
Step 5: Apply the second coat. One coat is almost never enough. Let the first coat dry for 2-4 hours (check the paint can label for recoat time), then apply a second coat using the same technique. The second coat evens out coverage, deepens the color, and gives you that smooth, professional finish.
For most rooms, two coats is the standard. If you're covering a dark color with a light one, you may need a third coat or a coat of tinted primer underneath.
What Are the Most Common Painting Mistakes?
Avoiding these pitfalls will save you time, money, and frustration. Every one of these mistakes is easy to prevent once you know what to watch for.
Skipping the prep. This is the number one reason DIY paint jobs look bad. Paint magnifies imperfections rather than hiding them. Every nail hole, dust speck, and greasy fingerprint shows through fresh paint. Clean, patch, sand, and prime before you pick up a roller.
Buying cheap brushes and rollers. Bargain-bin rollers shed fibers that embed in your wet paint, and cheap brushes leave visible bristle marks. You don't need the most expensive tools, but spend a few extra dollars on quality roller covers and a decent angled brush. They apply paint more smoothly and last through multiple projects.
Not stirring the paint thoroughly. Pigments settle to the bottom of the can during storage. If you don't stir well, your first section of wall will look different from the last. Stir for at least two full minutes with a stir stick before you start, and stir again every 30 minutes or so while you work.
Overloading the brush or roller. More paint on the applicator doesn't mean faster coverage -- it means drips, splatters, and uneven texture. Load moderately and apply in multiple thin layers rather than one thick one.
Painting in direct sunlight or extreme heat. Paint that dries too fast on a hot wall develops lap marks, uneven sheen, and poor adhesion. Close blinds on sun-facing windows and avoid painting exterior-facing walls during peak heat. The ideal temperature range for interior painting is 50-85 degrees Fahrenheit with moderate humidity.
Removing tape too late. If you wait until the paint is fully cured and hardened, pulling the tape tears the paint edge and leaves a ragged line. Remove painter's tape while the final coat is still slightly tacky -- usually 30-60 minutes after rolling. Pull at a 45-degree angle, slowly and steadily.
Forgetting to cut in before rolling. If you try to roll right up to the ceiling or trim line, you'll get paint where you don't want it. Always cut in first with a brush, then roll up to -- but not over -- the cut-in border.
How Do You Handle Special Situations?
Not every room is a simple four-wall box. Here's how to deal with common challenges.
Painting Around Outlets and Switches
Remove all cover plates before you start. Use your angled brush to cut in carefully around the electrical box. Never paint over outlets or switches -- it looks sloppy and can create a safety hazard. Once the paint is dry and you've reattached the cover plates, your lines will be hidden behind the plate edge.
Painting Textured Walls
Textured walls (orange peel, knockdown, or skip trowel) require thicker roller nap to get into the grooves. Use a 1/2-inch or 3/4-inch nap roller cover instead of the standard 3/8-inch. Apply paint generously and work it into the texture with moderate pressure. Textured walls also use more paint per square foot, so buy an extra gallon.
Painting Over Dark Colors
Going from a dark wall to a light one is one of the trickier painting scenarios. Apply a coat of gray-tinted primer first -- it blocks the dark color far better than white primer or extra coats of your topcoat. Let the primer dry completely, then apply your two coats of finish paint. This three-coat approach (primer plus two topcoats) handles even the most dramatic color changes.
Dealing with Ceiling Lines Without Tape
If you have a steady hand and want to skip ceiling tape, you can freehand the ceiling line. Load your angled brush lightly, position it about 1/4 inch below the ceiling, and slowly push toward the line as you draw the brush along. The key is a light touch and a sharp brush edge. This takes practice, so if it's your first time painting, stick with tape. There's no shame in it -- many pros use tape too.
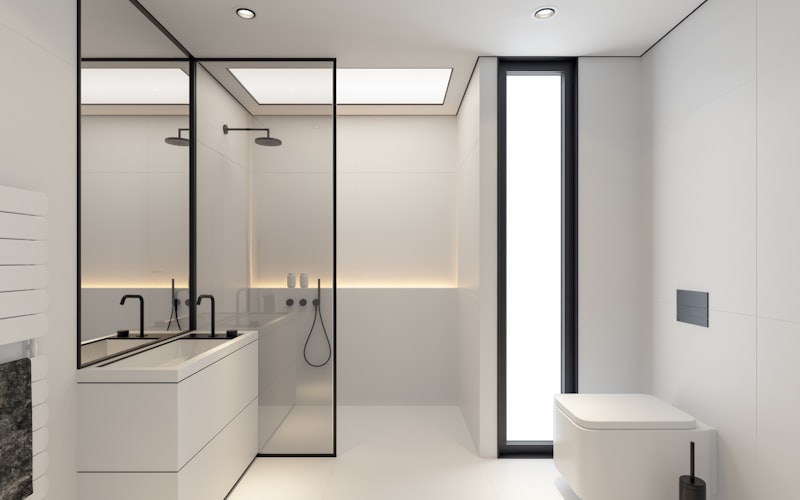
Painting Near Bathrooms and Wet Areas
Rooms adjacent to bathrooms or kitchens benefit from a satin or semi-gloss finish for moisture resistance. If you're working near a bathtub area, make sure any caulk seams are in good shape first. A fresh caulk job around your bathtub pairs perfectly with a fresh paint job -- tackle both in the same weekend for a complete bathroom refresh. And if you've noticed any cracked tiles during your prep, address those before painting so you're not working around repairs later.
How Do You Clean Up After Painting?
Proper cleanup protects your tools so you can use them again and prevents accidental paint stains on surfaces you just finished.
Step 1: Remove painter's tape. Pull tape while the paint is still slightly tacky for the cleanest lines. If you missed that window and the paint has dried, score along the tape edge with a utility knife before pulling to prevent tearing.
Step 2: Clean brushes and rollers. For latex paint, rinse brushes and roller covers under warm running water until the water runs clear. Use a brush comb to remove paint from the base of the bristles. Shake out excess water and reshape the bristles. Stand brushes upright or hang them to dry -- never rest them on their bristles.
Step 3: Seal leftover paint. Place plastic wrap over the paint can opening before pressing the lid on -- this creates a tighter seal and makes the can easier to open next time. Store sealed cans at room temperature (not in a freezing garage). Label them with the room, color name, and date so future-you knows exactly what's inside.
Step 4: Remove drop cloths carefully. Fold drop cloths inward to trap any dried paint chips or drips. Shake them out outside rather than in the freshly painted room.
Step 5: Reinstall cover plates and hardware. Wait at least 24 hours before reattaching outlet covers, switch plates, curtain rods, and wall art. This gives the paint time to fully cure and prevents impressions or sticking.
How Much Does It Cost to Paint a Room Yourself?
Painting a room yourself is one of the best ways to save money on home repairs while making a big visual impact. Here's a realistic cost breakdown.
Paint: $25-50 per gallon for quality interior latex. Most rooms need 1-2 gallons for two coats. Budget $50-100 for paint.
Primer: $15-30 per gallon if needed. One gallon usually covers a standard room.
Supplies (tape, drop cloths, tray): $15-30 if you're buying everything new.
Brushes and rollers: $15-25 for a quality brush and a few roller covers.
Total DIY cost: $80-185 for a typical 12x12 room.
Compare that to hiring a professional painter, who charges $300-800 per room depending on your area, room size, and paint quality. Even if you need to buy every supply from scratch, you're saving at least $200 -- and you'll reuse most of those tools on your next room. By the time you've painted two or three rooms, your per-room cost drops to just the price of paint.
Frequently Asked Questions
How long does it take to paint a room from start to finish?
For a standard 12x12 bedroom, expect about 4-6 hours of active work spread across a full day. That breaks down to roughly 1-2 hours of prep (cleaning, patching, taping), 30-45 minutes of cutting in per coat, and 20-30 minutes of rolling per coat, plus 2-4 hours of drying time between coats. A larger room or one with many windows and doors takes longer due to extra cutting in. Your first room will take the longest as you get comfortable with the technique. By your second or third room, you'll work twice as fast.
Do I really need to use primer, or can I skip it?
You can skip primer in some situations -- if you're painting over a similar or lighter color, the walls are in good condition, and you're using a high-quality paint-and-primer-in-one product. However, you should always prime over patched areas, bare drywall, stains (water marks, smoke, crayon), and dark colors you're trying to cover. Primer costs $15-30 and saves you from needing extra topcoats, which cost more. When in doubt, prime. It's cheap insurance for a better-looking result.
What's the best order to paint a room?
Start with the ceiling if you're painting it (work from the edges inward). Next, cut in and roll the walls one at a time, working from top to bottom. Finally, paint the trim, baseboards, and doors last -- they're easier to tape off and touch up than walls. This order prevents drips from upper surfaces from landing on freshly painted lower surfaces. Always paint from the top of the room downward.
Can I paint over wallpaper instead of removing it?
You can, but we don't recommend it for long-lasting results. Paint can cause wallpaper adhesive to soften, leading to bubbling and peeling. If the wallpaper is in excellent condition with no loose seams or bubbles, you can apply an oil-based primer to seal it, then paint over it with latex. However, any textured or vinyl wallpaper will show its pattern through the paint. For the best results, remove the wallpaper, skim-coat the walls with joint compound, sand smooth, prime, and then paint. It's more work, but the finish is dramatically better.
Final Thoughts
Painting a room is one of those rare home projects where the skills are easy to learn, the cost is low, and the visual payoff is enormous. A weekend of work and less than $200 in supplies can completely transform a space that's been bugging you for months or even years.
The keys to a professional result are simple: prep thoroughly, use quality paint and tools, cut in before rolling, maintain wet edges, and apply two coats. That's it. There's no secret contractor trick or expensive equipment required -- just patience, a good process, and a willingness to take your time on the prep work.
Once you've painted your first room and seen how good the results look, you'll find yourself eyeing every other room in the house. And that's a good thing. Each room gets easier and faster as your technique improves. Before long, you'll be the person your friends call when they need painting advice -- and you'll have saved hundreds or even thousands of dollars by doing it yourself.
Now pick a room, pick a color, and get to work. Your walls are waiting.
Get weekly home tips that actually work
Join thousands of homeowners getting practical cleaning hacks, DIY fixes, and money-saving tips every week. Free, and you can unsubscribe anytime.

Written by
Beth SullivanFounder & Editor-in-Chief
Beth Sullivan is the founder of Practical Home Guides. With over a decade of hands-on experience tackling every home challenge imaginable, she started this site to share the practical, no-nonsense solutions she wishes she had found years ago. When she's not testing cleaning hacks or organizing pantries, you'll find her in the garden or working on her next DIY project.
Recommended Products
Looking for specific product recommendations? Check out our tested picks.

Best Cordless String Trimmers (2026 Tested)
Battery-powered string trimmers have caught up to gas. We tested the top models on bermuda, fescue, and overgrown areas to find the picks worth your money.

Best Basement Dehumidifiers (2026 Buyer's Guide)
Damp basements destroy stored items, grow mold, and stink. We tested dehumidifiers for capacity, durability, and energy use to find the picks worth the money.

Best Wet/Dry Shop Vacs (2026 Tested)
Whether you need to clean a flooded basement, dust the garage, or pick up workshop debris, here are the wet/dry shop vacs worth the money.

Best Electric Leaf Blowers (2026 Buyer's Guide)
Cordless and corded electric leaf blowers tested for power, runtime, and noise. Our picks for small yards, large yards, and pro-grade home use.

Best Cordless Lawn Mowers (2026 Spring Buyer's Guide)
Battery-powered mowers have caught up to gas. We tested the top cordless mowers on grass length, slopes, and runtime to find the picks worth your money.

5 Best Cordless Drills for Homeowners (2026)
Find the right cordless drill for home projects without overspending. We compared the top drills for DIYers — here are the 5 best for everyday home use.

Best Home Tool Kits for Beginners (2026)
The best home tool kits for new homeowners and renters. We compare 6 tool sets from basic to comprehensive, so you can handle common repairs without calling a handyman.
Related Articles
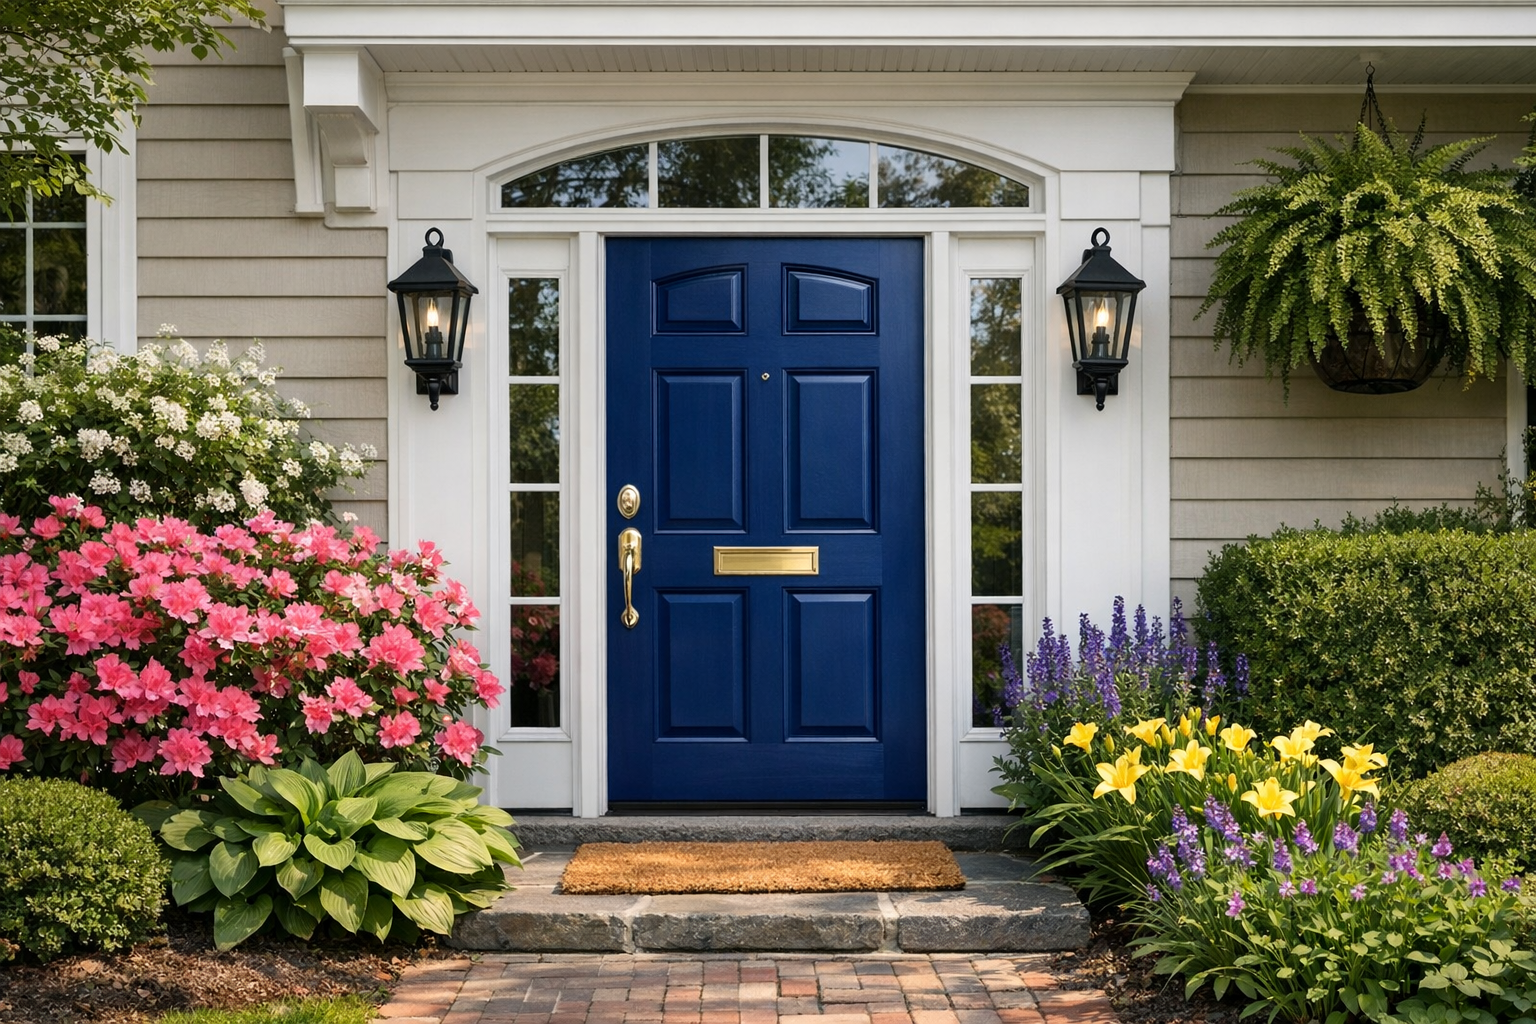
How to Paint a Front Door (Pro-Quality Result in One Afternoon)
A fresh-painted front door is the highest-impact curb appeal upgrade. Here's the step-by-step that gets a smooth pro finish in 4 hours — no peeling, no brush marks.
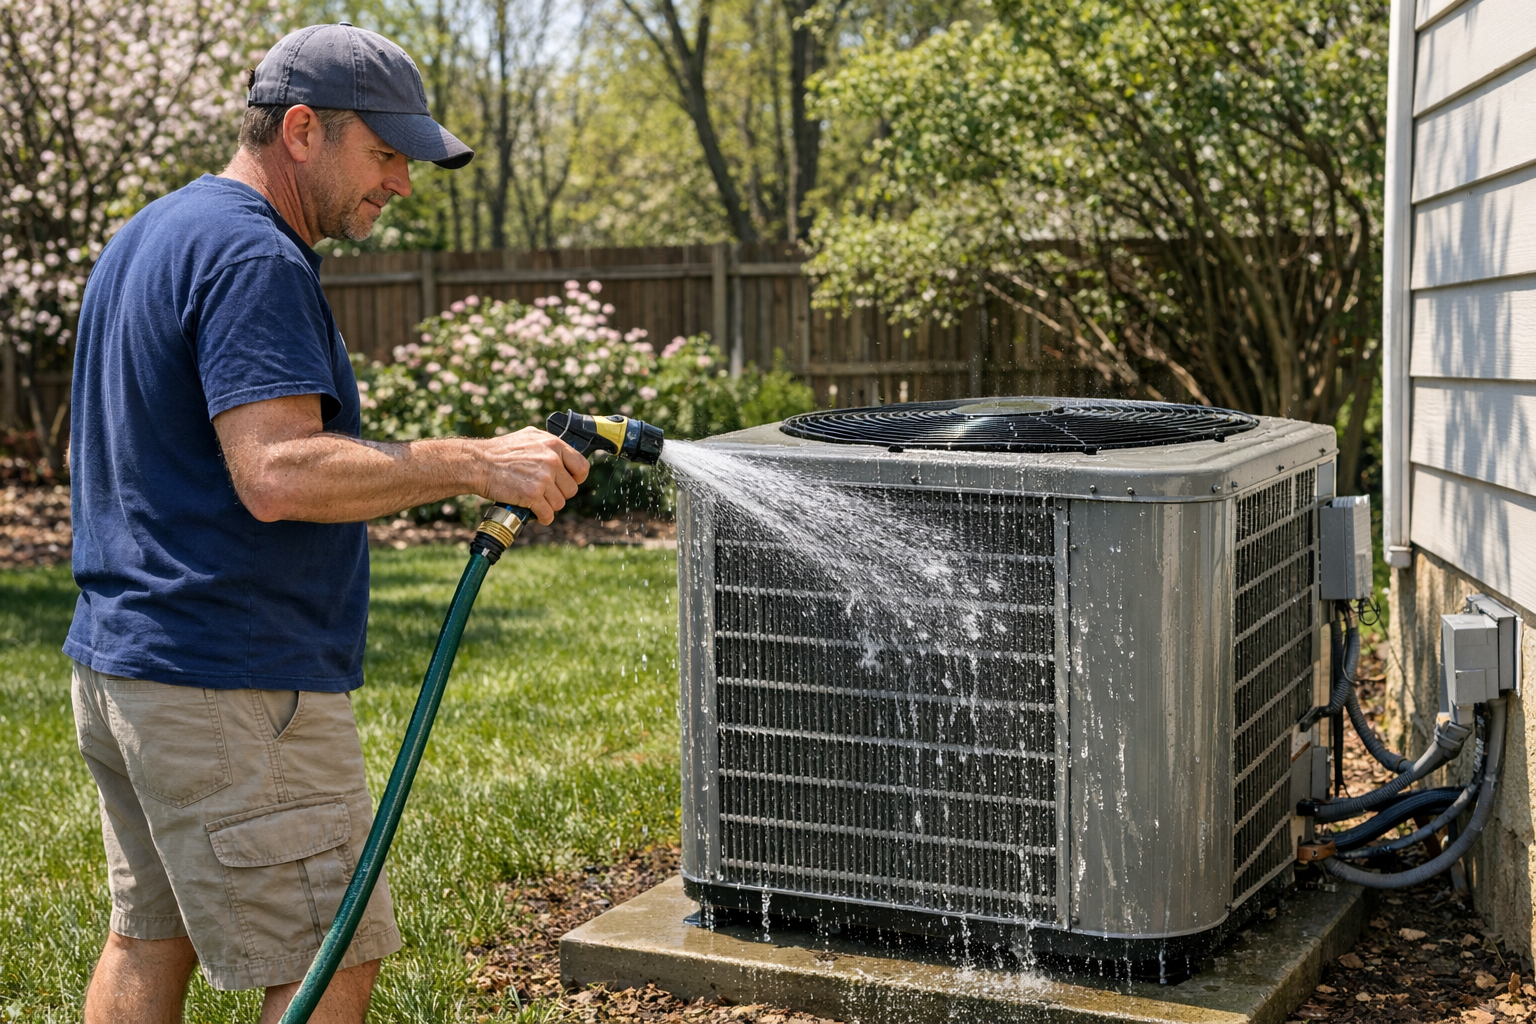
How to Prevent Summer AC Breakdowns (April Tune-Up Checklist)
Most AC failures happen in the first 90F week. A 30-minute April tune-up prevents 80 percent of those breakdowns and extends the unit's life by years.
Best Cordless String Trimmers (2026 Tested)
Battery-powered string trimmers have caught up to gas. We tested the top models on bermuda, fescue, and overgrown areas to find the picks worth your money.
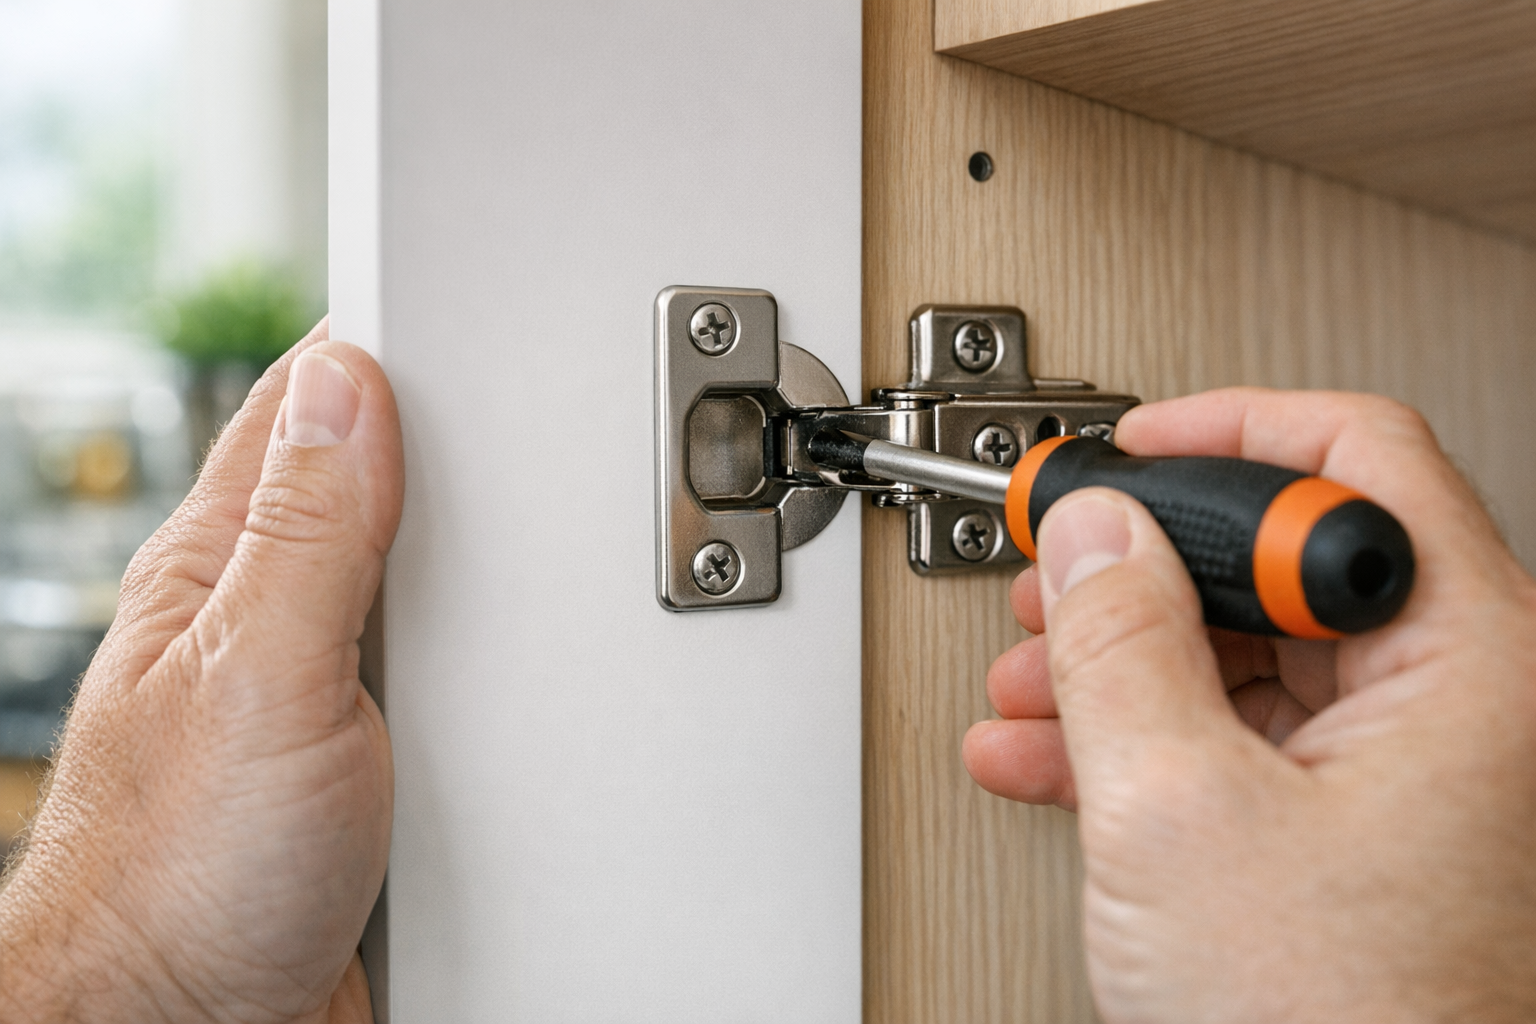
How to Fix Sticky Kitchen Cabinet Doors (Without Replacing Hardware)
Cabinet doors that bind, rub, or won't close all the way are almost always a hinge adjustment problem. Here's the 10-minute fix.