How to Clean a Microwave in Minutes (Steam Trick and More)
This article may contain affiliate links. If you make a purchase through these links, we may earn a small commission at no extra cost to you. Learn more
Quick Answer
How to Clean a Microwave in Minutes (Steam Trick and More)
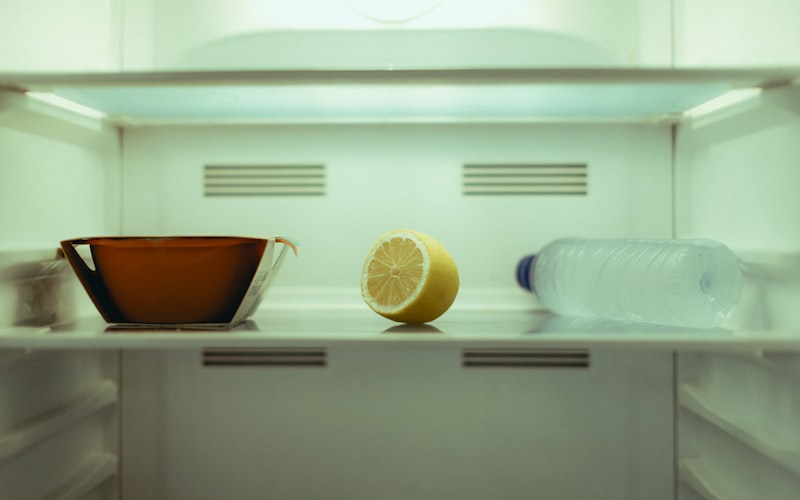
Fill a microwave-safe bowl with one cup of water and two tablespoons of white vinegar or the juice of one lemon. Microwave on high for five minutes, then let the bowl sit with the door closed for two more minutes so the steam loosens everything. Wipe the interior clean with a damp microfiber cloth -- stuck-on food and grease will come right off without scrubbing.

How to Clean a Microwave in Minutes (Steam Trick and More)
Few kitchen messes are as universally ignored as the inside of a microwave. You heat up some leftover spaghetti sauce, it splatters across the ceiling and walls, and you tell yourself you'll wipe it down later. Then someone reheats soup. Then chili. Then something with cheese. Before long, the interior looks like a crime scene and smells like a potluck gone wrong.
The thing is, the longer you wait, the worse it gets. Those food splatters bake on a little more with every use, hardening into a crusty layer that seems like it would need a chisel to remove. But here's the secret that makes microwave cleaning ridiculously easy -- steam does all the hard work for you. Five minutes of steam, two minutes of patience, and a quick wipe-down is all it takes to make the inside of your microwave look brand new.
If you've been on a kitchen cleaning streak -- maybe you just cleaned your oven or tackled your glass stovetop -- your microwave is the perfect next target. It's fast, it's satisfying, and it requires almost no effort once you know the right method.
What Supplies Do You Need to Clean a Microwave?
You probably already have everything you need sitting in your kitchen right now. Here's the full list:
- A microwave-safe bowl or measuring cup
- White distilled vinegar or one lemon
- Water
- Microfiber cloths (2-3)
- Dish soap
- Baking soda (for stubborn stains or odors)
- A spray bottle (optional but handy)
- A toothpick or wooden skewer
A note about the toothpick: Placing a toothpick or wooden skewer in the bowl of water prevents superheating -- a rare but real phenomenon where water heated in a microwave can suddenly boil over violently when disturbed. The toothpick gives the water nucleation points to form bubbles normally. It's a small safety precaution that takes zero effort.
How Does the Steam Trick Clean a Microwave?
The steam method is the gold standard for microwave cleaning because it turns the appliance's own power against the mess. Instead of scrubbing dried-on food with elbow grease and harsh chemicals, you use hot steam to soften and loosen everything so it wipes away effortlessly.
Here's exactly how to do it:
Step 1: Prepare the steam solution. Pour one cup of water into a microwave-safe bowl or large measuring cup. Add two tablespoons of white vinegar and stir. If you prefer a more pleasant scent, squeeze the juice of one lemon into the water and drop the lemon halves in as well. Both work equally well -- the vinegar cuts grease and disinfects, while lemon does the same with a fresher smell.
Step 2: Add a toothpick to the bowl. Drop a wooden toothpick or skewer into the water. This prevents superheating and ensures the water bubbles normally during heating.
Step 3: Microwave on high for five minutes. Place the bowl in the center of the microwave and run it on high power for five minutes. You'll see the water come to a rolling boil and the windows will fog up with steam. That steam is saturating every surface inside the microwave, penetrating dried-on food splatters and softening them from underneath.
Step 4: Let it sit for two minutes with the door closed. This is the step most people skip, and it makes a huge difference. After the microwave stops, leave the door closed and let the steam continue working. Those two extra minutes of contact time allow the moisture to fully penetrate even the most stubborn baked-on residue.
Step 5: Remove the bowl carefully. Open the door and use an oven mitt or towel to remove the bowl -- it will be extremely hot. Set it aside.
Step 6: Remove the turntable and support ring. Take out the glass turntable plate and the rotating ring underneath it. Wash both in the sink with warm, soapy water just like you would a regular dish. Set them on a drying rack while you clean the interior.
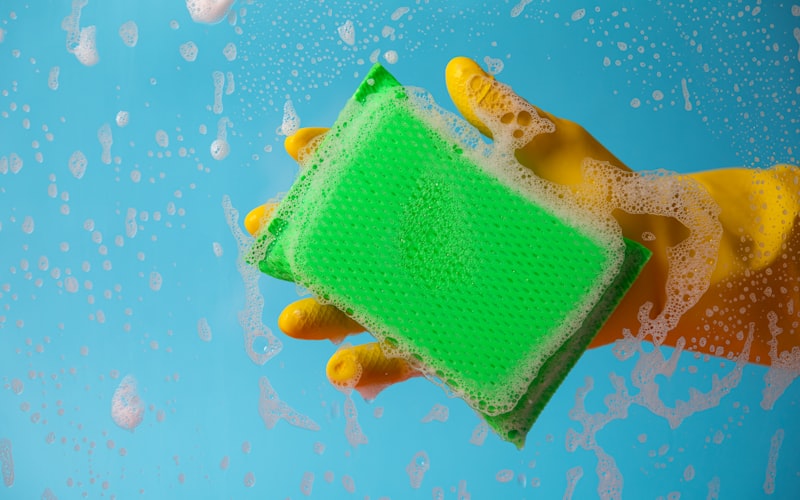
Step 7: Wipe the interior clean. Using a damp microfiber cloth, wipe down the ceiling first, then the walls, and finally the floor of the microwave. The food splatters that seemed permanently welded on five minutes ago should now slide off with almost no pressure. For any stubborn spots, dip your cloth in the vinegar-water solution from the bowl and apply a little more pressure.
Step 8: Wipe the door and seal. Don't forget the inside of the door, the door seal, and the edges around the opening. Grease and food particles accumulate in the seal groove and along the door edges. Use a damp cloth or a cotton swab for tight crevices.
Step 9: Dry and reassemble. Give the interior a final wipe with a dry microfiber cloth to prevent water spots. Replace the support ring and turntable, and you're done.
The whole process takes less than ten minutes, and most of that time is hands-off while the steam does its work.
What About Stubborn Stains That Won't Come Off?
Sometimes the steam trick alone isn't enough -- especially if food has been baked onto the interior walls for weeks or months. When you encounter spots that resist the initial wipe-down, baking soda is your next move.
Step 1: Make a baking soda paste. Mix two tablespoons of baking soda with one tablespoon of water to form a thick paste. The consistency should be similar to toothpaste.
Step 2: Apply the paste to stubborn stains. Using your finger or a cloth, spread the paste directly onto the spots that didn't come clean with steam alone. Cover them completely.
Step 3: Let the paste sit for five minutes. Baking soda is a mild abrasive and a natural degreaser. Giving it time to work loosens the bond between the stain and the microwave surface without any scrubbing.
Step 4: Wipe clean with a damp cloth. The stain should lift away with the paste. If any residue remains, dampen your cloth with a little vinegar -- the reaction between the baking soda residue and vinegar will fizz and help lift the last traces.
Step 5: Do a final wipe with clean water. Remove all baking soda residue with a cloth dampened with plain water so you don't get white streaks on the interior walls.
This method works the same way as the paste technique you might use to clean your oven without the self-clean feature. Baking soda is gentle enough for enamel, stainless steel, and painted microwave interiors alike.
How Do You Get Rid of Microwave Odors?
A clean-looking microwave can still smell terrible. Odors get absorbed into the walls and ceiling of the interior, and a simple wipe-down doesn't always eliminate them. If your microwave smells like burnt popcorn, fish, or last Tuesday's curry, try these approaches.
The baking soda overnight method. Place an open box of baking soda or a small bowl filled with two tablespoons of baking soda inside the microwave. Close the door and leave it overnight. Baking soda absorbs odors rather than masking them, and eight hours gives it enough time to neutralize even strong smells. This is the same principle behind keeping a box in your refrigerator.
The vanilla extract steam. Add one tablespoon of vanilla extract to a bowl of water and microwave it for two minutes. The vanilla-infused steam coats the interior and leaves behind a pleasant, neutral scent that replaces whatever was there before.
The lemon and clove steam. Slice a lemon and add it to a bowl of water along with four or five whole cloves. Microwave for three minutes and let it sit with the door closed for five. This combination is particularly effective against fish and curry odors, which are among the hardest to remove.
Coffee grounds. Spread two tablespoons of dry, unused coffee grounds on a plate and leave them inside the closed microwave overnight. Coffee grounds are excellent odor absorbers. If you also want to learn the best way to keep your brewing equipment fresh, check out our guide on how to clean a coffee maker.
If odors persist after trying these methods, there may be food particles trapped in the vent grille or under the turntable plate. Remove the turntable and clean underneath it thoroughly. Check the vent area on the inside of the door as well.
How Do You Clean the Outside of a Microwave?
The exterior of your microwave deserves attention too, especially the handle, the control panel, and the door. These surfaces collect fingerprints, grease from cooking, and dust.
Step 1: Unplug the microwave or turn it off at the outlet. This prevents accidental button presses while you're wiping the control panel and avoids any risk while cleaning around electrical components.
Step 2: Wipe the control panel with a lightly damp cloth. Don't spray cleaner directly onto the panel -- liquid can seep behind buttons and damage the electronics. Instead, spray your cloth and then wipe. A solution of equal parts water and vinegar works perfectly.
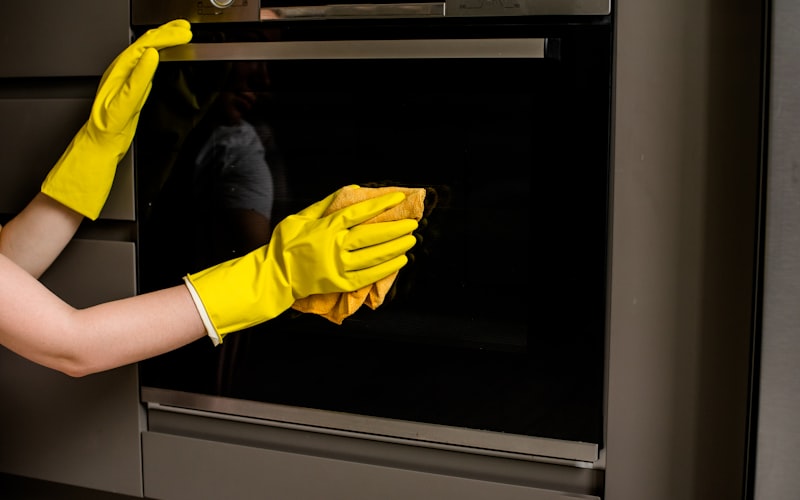
Step 3: Clean the handle and door. The handle is the germiest part of any microwave because every person who uses it touches it with hands that were just handling food. Wipe it down with a disinfecting cloth or a cloth dampened with your vinegar solution.
Step 4: Clean the vent grilles. Most microwaves have vent grilles on the sides or top. These collect grease and dust over time, which can reduce airflow and even cause the microwave to overheat. Wipe them with a damp cloth. For greasy buildup, use a cloth with a drop of dish soap.
Step 5: Wipe down the top and sides. If your microwave sits on a counter, the top surface probably has a layer of dust and grease. Clean it the same way you'd clean your stainless steel sink -- wipe in the direction of the grain if the surface is stainless, and buff dry to prevent water spots.
What Products Make Microwave Cleaning Even Easier?
While the vinegar and baking soda methods work brilliantly for most situations, a few products can make the process even more convenient -- especially if you want a grab-and-go solution for weekly maintenance.
Microwave steam cleaners. These are small plastic containers shaped like characters or animals that you fill with vinegar and water. They sit inside the microwave and release steam through vents as the water heats. They're fun, inexpensive, and work on the exact same principle as the bowl method.
Angry Mama Microwave Steam Cleaner
Fill with vinegar and water, microwave for seven minutes, and let the steam loosen stuck-on food and grease. The fun design makes a practical chore more enjoyable, and it works just as well as the bowl method with less mess.
Check Price on Amazon →Microwave-safe cleaning wipes. Dedicated microwave cleaning wipes are pre-moistened with food-safe cleaning solutions. They're convenient for quick daily wipe-downs between deeper steam cleans.
All-purpose kitchen cleaners. A good natural all-purpose cleaner works well for exterior surfaces and light interior cleaning. Just make sure whatever you use is food-safe, since the inside of your microwave comes into direct contact with your food. If you're looking to save money on cleaning products overall, check out our guide on how to save money on cleaning supplies -- vinegar and baking soda are hard to beat on cost and effectiveness.
How Often Should You Clean Your Microwave?
The ideal cleaning schedule depends on how heavily you use your microwave, but here's a realistic breakdown:
After every use: Cover and wipe. Get in the habit of covering food with a microwave splatter cover or a damp paper towel before heating. If something does splatter, wipe it immediately while it's still soft. This single habit eliminates 90 percent of microwave cleaning problems before they start.
Once a week: Quick steam clean. Run the vinegar-water steam method once a week, even if the microwave looks relatively clean. This prevents the gradual buildup of grease film and odors that you might not notice day to day.
Once a month: Deep clean. Do the full treatment -- steam the interior, scrub any stains with baking soda paste, clean the turntable and support ring in the sink, wipe the door seal and vent grilles, and clean the exterior. This monthly deep clean keeps your microwave in excellent condition year-round.
As needed: Odor treatment. If a particular food leaves behind a strong smell, treat it right away with one of the deodorizing methods above rather than hoping it fades on its own. Odors get harder to remove the longer they linger.
This same kind of simple routine approach works for other kitchen appliances too. If you haven't deep cleaned your dishwasher or cleaned your garbage disposal recently, set aside a morning to knock out all your kitchen appliances at once. The momentum makes each task easier.
What Should You Never Use to Clean a Microwave?
Just as important as knowing what to use is knowing what to avoid. The wrong products or techniques can damage your microwave's interior, leave behind harmful residues, or create safety hazards.
Harsh chemical sprays. Oven cleaners, heavy-duty degreasers, and anything with strong chemical fumes should never be used inside a microwave. The interior is an enclosed space where you heat food, and chemical residues can contaminate your meals and release fumes when the microwave runs.
Abrasive scouring pads. Steel wool, rough scouring pads, and stiff-bristled brushes can scratch the interior coating. Once the coating is damaged, it's more susceptible to rust and further staining. Stick to soft microfiber cloths and non-scratch sponges.
Bleach. While bleach is a powerful disinfectant, it can discolor the interior paint, damage plastic components, and leave behind residues that release chlorine gas when heated. Vinegar provides adequate disinfecting power for a microwave without any of these risks.
Metal scrapers or razor blades. Unlike a glass stovetop where a razor blade scraper has its place, the interior walls of a microwave are typically painted metal or plastic. Scraping with metal tools damages the surface and can expose the metal underneath, which creates a spark hazard.
Running the microwave empty. Some cleaning guides suggest nuking a damp sponge to sanitize it. While this can work in a pinch, running a microwave with no water-containing item inside (or with a nearly dry sponge) can damage the magnetron. Always make sure there's adequate water in whatever you're heating.
Frequently Asked Questions
Can you use lemon juice instead of vinegar in the steam method?
Yes, lemon juice works just as well as vinegar for the steam cleaning method. Both are acidic enough to cut through grease and loosen food splatters. The main difference is scent -- lemon leaves a fresher, more pleasant smell behind. You can use two tablespoons of bottled lemon juice or the juice of one fresh lemon. If you have both available, lemon is the more pleasant option for the enclosed interior of a microwave.
Is it safe to clean a microwave with baking soda?
Baking soda is completely safe for cleaning a microwave. It's a mild abrasive that removes stains without scratching surfaces, and it's non-toxic and food-safe. Just make sure to rinse away all baking soda residue with a damp cloth after cleaning. Leftover residue won't damage anything, but it can leave white streaks and a slightly gritty texture if not wiped away thoroughly.
Why does my microwave smell like burning even after cleaning?
If your microwave smells like burning after a thorough cleaning, the issue might not be food residue. Check the area behind and underneath the microwave for dust buildup on the vents, which can cause overheating smells. Also inspect the waveguide cover -- the small panel on one of the interior walls -- for food stains or damage. If the waveguide cover is burned or damaged, it should be replaced (they're inexpensive and usually just snap in and out). If the burning smell persists, unplug the microwave and have it inspected, as it could indicate an electrical issue.
How do you clean a microwave turntable that has yellowed?
Yellowing on a glass turntable is usually caused by repeated exposure to heat and food oils. To restore it, make a paste of baking soda and hydrogen peroxide (equal parts), spread it over the turntable, and let it sit for 30 minutes. Scrub gently with a non-scratch sponge, then rinse and dry. For heavier yellowing, soak the turntable in a basin of warm water with half a cup of white vinegar and two tablespoons of baking soda for an hour before scrubbing. If the discoloration is in the glass itself rather than on the surface, it may be permanent and purely cosmetic -- it won't affect performance.
Final Thoughts
A dirty microwave is one of those kitchen problems that looks much harder to solve than it actually is. The steam trick -- whether you use vinegar, lemon, or just plain water -- does the heavy lifting for you. Five minutes of steam, two minutes of patience, and a quick wipe-down transforms a grimy, splattered interior into something that looks and smells like new.
The key to keeping it that way is prevention. Cover your food before heating, wipe up splatters while they're fresh, and run a quick steam clean once a week. These habits take almost no time and completely eliminate the need for intensive scrub sessions.
If this microwave cleanup has put you in the mood to keep going, your kitchen has plenty of other targets that respond just as well to simple, low-effort methods. Your dishwasher, garbage disposal, glass stovetop, and coffee maker all benefit from regular cleaning and take just minutes each when you use the right approach.
A clean microwave heats food more evenly, smells better, and honestly just makes you feel better every time you open the door. Ten minutes is all it takes -- and you already have everything you need.
Get weekly home tips that actually work
Join thousands of homeowners getting practical cleaning hacks, DIY fixes, and money-saving tips every week. Free, and you can unsubscribe anytime.

Written by
Beth SullivanFounder & Editor-in-Chief
Beth Sullivan is the founder of Practical Home Guides. With over a decade of hands-on experience tackling every home challenge imaginable, she started this site to share the practical, no-nonsense solutions she wishes she had found years ago. When she's not testing cleaning hacks or organizing pantries, you'll find her in the garden or working on her next DIY project.
Recommended Products
Looking for specific product recommendations? Check out our tested picks.
Best Instant Read Meat Thermometers (2026 Tested)
We tested instant read thermometers for grilling, roasting, and candy making. The picks that read in under 3 seconds and don't break after a year.

Best Espresso Machines for Home (2026 Buyer's Guide)
From under-300-dollar starter machines to 2000-dollar prosumer espresso, here are the espresso machines worth your money in 2026.
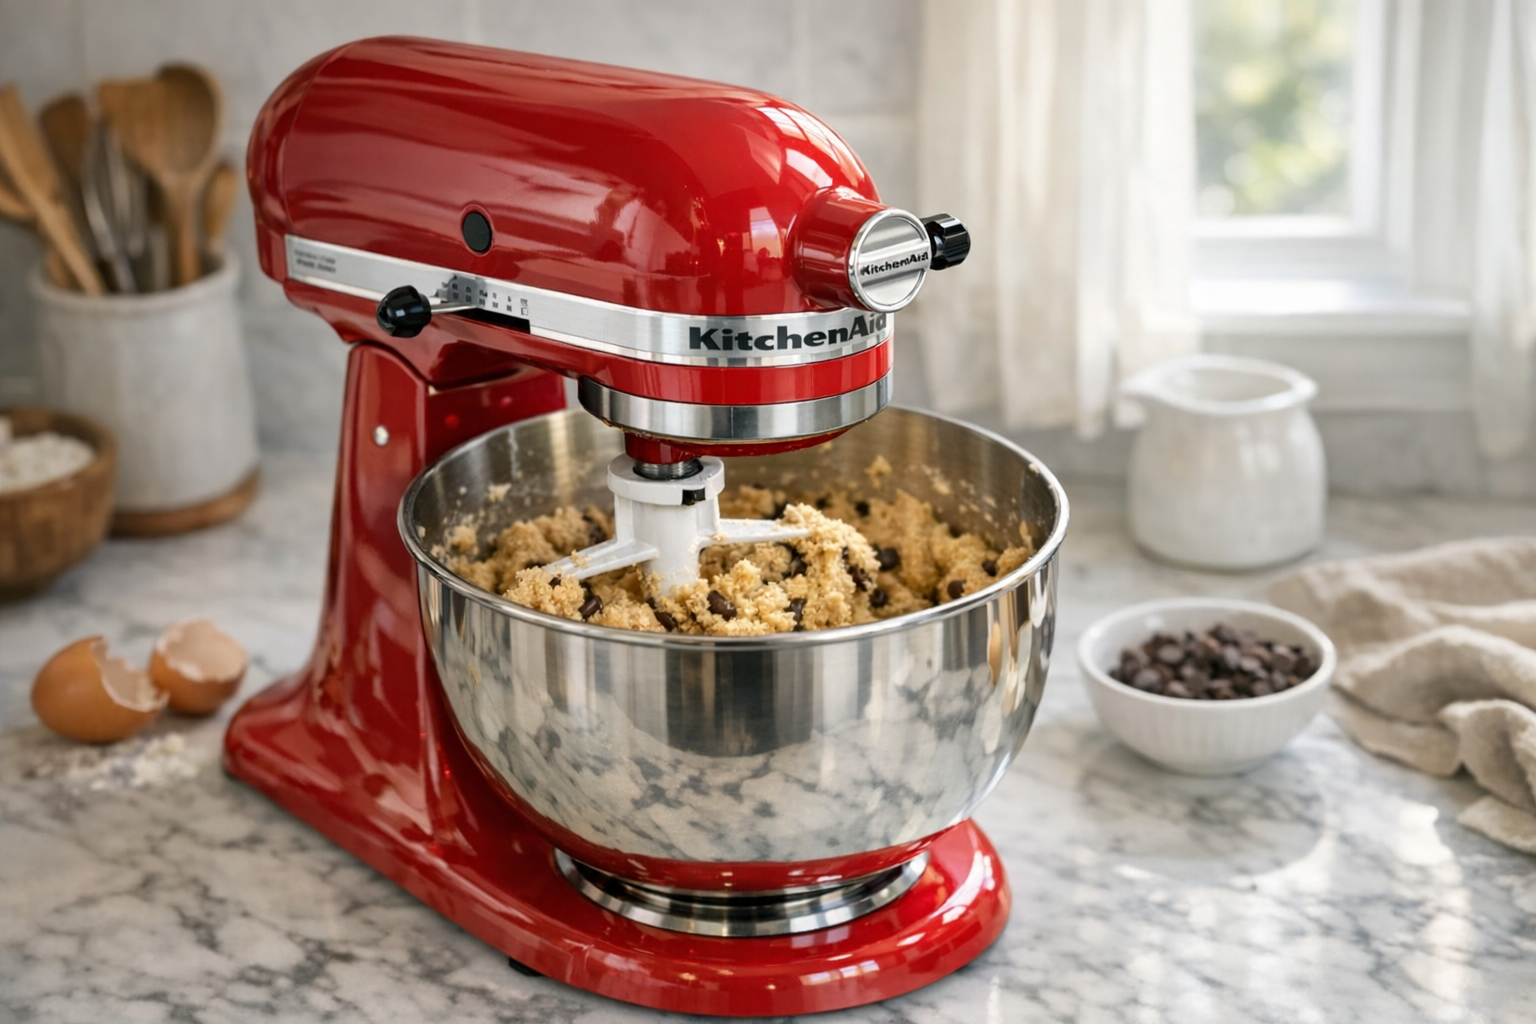
Best Stand Mixers (2026 Buyer's Guide)
We tested stand mixers from KitchenAid, Cuisinart, and Breville on bread dough, cookie batter, and meringues. Here are the picks worth the counter space.
5 Best Kitchen Knife Sets for Home Cooks (2026)
Stop struggling with dull knives. We compared the top kitchen knife sets for home cooks at every budget — here are the 5 best with honest pros and cons.
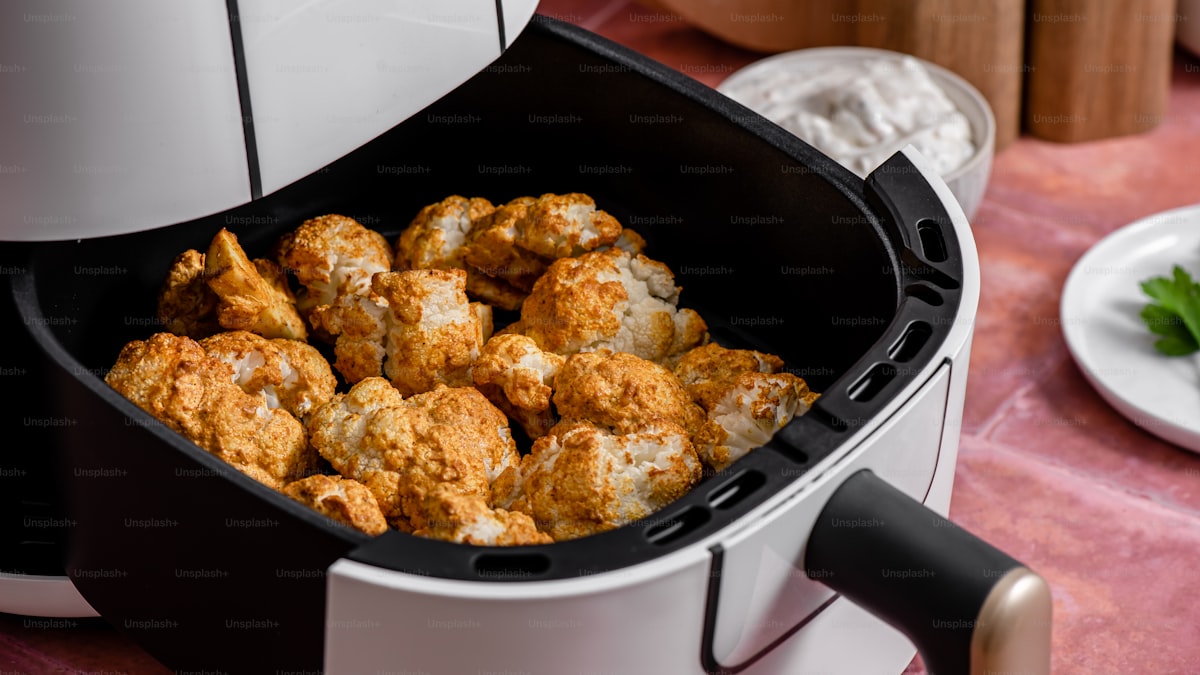
Best Air Fryers for Home Cooks (2026 Buyer's Guide)
Find the best air fryer for your kitchen and budget. We compare 6 top-rated air fryers from basket to oven style, with honest pros and cons for each.
Related Articles

Batch Cooking for Summer: Make & Freeze 8 Meals in 3 Hours
A former chef's assembly-line batch system: prep, portion, and label 8 complete summer dinners in one 3-hour Sunday session so weeknights cook themselves.

Mother's Day Roast: Elegant Main Dish Recipe for Stressed Home Cooks
An elegant herb-crusted roast you can prep Friday, rest Saturday, and reheat Sunday. The stress-free Mother's Day main dish a former chef actually relies on.

Freezer Meal Prep for Busy Weeks: 5 Make-Ahead Recipes + Storage Guide
A former chef's 5 freezer meals that reheat like fresh, plus the exact containers and labeling system that actually works in a real kitchen freezer.

Pantry Staples That Ship Well: Build Your Emergency Backup Supply
Build a redundant pantry of shelf-stable staples that ship cheaply and last for years. A former chef's exact list, shelf-life chart, and rotation system.