How to Organize Craft Supplies (So You Can Actually Find Things)
This article may contain affiliate links. If you make a purchase through these links, we may earn a small commission at no extra cost to you. Learn more
Quick Answer
How to Organize Craft Supplies (So You Can Actually Find Things)
Start by pulling everything out, sorting by craft type, and discarding dried-out, broken, or duplicate supplies. Group items into clear categories, store them in labeled bins and containers at your workspace, and use vertical storage to maximize space. The key is creating a system where every supply has a visible, accessible home -- so you spend your creative time making things, not hunting for them.
How to Organize Craft Supplies (So You Can Actually Find Things)
If you've ever torn apart three drawers and two tote bags looking for a specific shade of embroidery floss, or discovered you bought a fourth bottle of Mod Podge because you couldn't find the first three -- you already understand the problem. Craft supplies are uniquely difficult to organize because they come in wildly different shapes, sizes, and categories, and they tend to accumulate faster than almost anything else in your home.
The frustration runs deeper than just a messy space. When your supplies are disorganized, crafting stops being relaxing and starts feeling like a chore. You waste time searching, waste money rebuying things you already own, and often abandon projects halfway through because the setup and cleanup feel overwhelming. For many crafters, the clutter eventually kills the creativity entirely.
But here's the encouraging truth: craft supplies actually lend themselves well to organization once you have the right system in place. Most supplies fall into natural categories. They can be stored in standard containers. And because you interact with them during an activity you enjoy, you're far more motivated to maintain the system than you are with, say, your junk drawer.
This guide walks you through a complete, practical system for organizing craft supplies -- from the initial purge through storage solutions, labeling, and long-term maintenance. Whether you have a dedicated craft room, a shared space, or just a closet, these strategies scale to fit your situation.
Why Do Craft Supplies Get So Disorganized in the First Place?
Understanding why craft areas spiral into chaos helps you build a system that actually prevents it from happening again.
Step 1: Recognize the accumulation problem. Crafters are collectors by nature. You buy supplies for a specific project, have leftovers, and keep them because they might be useful later. Multiply that across dozens of projects over months or years, and you end up with an enormous, unsorted stockpile of partial materials. Add in gifts from well-meaning family members, clearance-aisle impulse buys, and inherited supplies from friends who gave up their hobbies -- and the volume becomes unmanageable.
Step 2: Acknowledge the "no home" problem. Most craft clutter exists because items don't have a designated place to go. When you finish a project, supplies get tossed into a bag, shoved into a drawer, or left on the table because there's no clear spot for them. Without a home, things migrate. They end up in the kitchen, the living room, the bedroom -- scattered across the house in a way that makes finding anything nearly impossible.
Step 3: Understand the variety challenge. Unlike kitchen items or clothing, craft supplies span an enormous range of shapes and sizes. You might have tiny beads, long rolls of fabric, awkwardly shaped stencils, liquid adhesives, sharp tools, and bulky yarn -- all belonging to the same hobby. Standard storage solutions don't accommodate this variety without some intentional planning.
If clutter has spread from your craft area into the rest of your home, a room-by-room decluttering approach can help you tackle the bigger picture while you work on your craft space specifically.
How Do You Sort and Declutter Craft Supplies?
This is the step most people want to skip, and it's the one that matters most. You cannot organize your way out of having too much stuff. Reducing the volume first makes every subsequent step easier, cheaper, and more sustainable.
Step 1: Pull everything out. Every drawer, every bag, every box, every random stash in the closet. Gather it all into one area -- a large table, the floor, or even a bed covered with a sheet. Seeing the full scope of what you own is genuinely eye-opening and provides the motivation to make tough decisions.
Step 2: Sort into broad categories. Group everything by type: paper and cardstock, paints and inks, adhesives and tapes, cutting tools, sewing supplies, beads and jewelry-making materials, yarn and fiber, stamps and stencils, brushes and applicators, and so on. Don't get too granular at this stage -- you're just creating piles.
Step 3: Purge ruthlessly within each category. Throw away anything that's dried out, broken, rusty, or damaged beyond use. Markers that don't write, paint that's separated and won't remix, glue that's hardened in the bottle, scissors that don't cut cleanly -- all of it goes. Toss any scraps of paper or fabric that are too small to realistically use. Be honest with yourself about this. A two-inch square of cardstock is not a future project; it's trash.
Step 4: Identify and consolidate duplicates. If you own six rolls of double-sided tape because you could never find one when you needed it, that's a storage problem, not a supply problem. Keep the freshest duplicates and donate or share the rest. Consolidate partially used items -- combine two half-empty bottles of the same paint color, for example.
Step 5: Separate supplies by activity level. Create three groups: active projects (things you're working on right now), regular supplies (tools and materials you use frequently across multiple projects), and archive items (supplies for hobbies you do occasionally or seasonally). This distinction drives how and where each group gets stored.
What Are the Best Storage Solutions for Craft Supplies?
The right containers and storage tools make the difference between a system that works for a week and one that lasts for years. The guiding principle is simple: you should be able to see what you have and reach it without moving other things out of the way.
Clear Containers Are Non-Negotiable
For craft supplies, visibility is everything. If you can't see it, you'll forget you have it and buy another one. Clear stackable storage bins in various sizes are the foundation of any good craft organization system. Use small ones for beads, buttons, and embellishments. Use medium ones for paints, inks, and adhesive products. Use large ones for fabric, yarn, and bulk materials.
Avoid opaque decorative boxes and baskets for supplies you use regularly. They look beautiful on Pinterest but hide everything inside, which defeats the purpose. Save decorative storage for items you access rarely, like holiday-specific craft supplies.
Drawer Organizers for Small Items
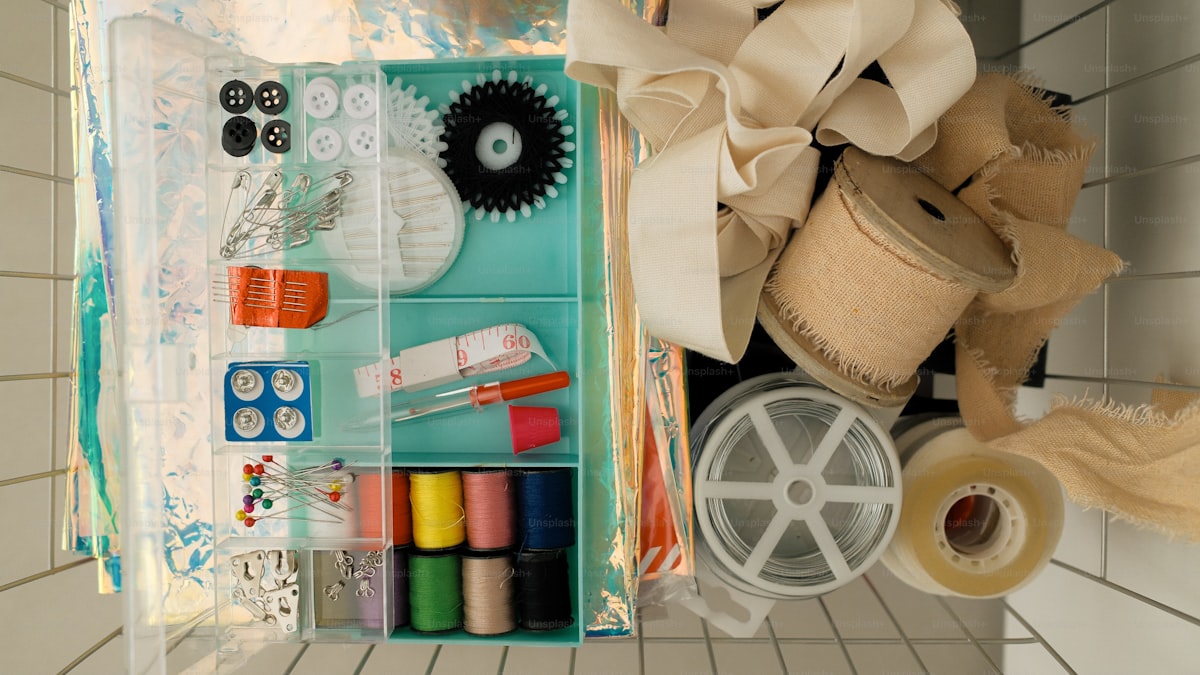
Small items -- beads, sequins, brads, eyelets, charms -- vanish into chaos without proper containment. Adjustable drawer organizer trays with moveable dividers let you customize compartment sizes to match your specific inventory. These work equally well inside desk drawers, in rolling carts, or stacked on shelves.
For extremely small items like seed beads or tiny findings, multi-compartment bead organizer boxes with individual snap-shut lids prevent the nightmare scenario of dropping and mixing everything together. One good container saves hours of frustration and keeps tiny supplies separated by color, size, or type.
Rolling Carts for Flexible Workspaces
If you don't have a dedicated craft room -- and most people don't -- a rolling utility cart is one of the smartest investments you can make. A three-tier cart holds a surprising amount of supplies, rolls to wherever you're working, and tucks into a closet or corner when you're done. Use each tier for a different category: tools on top, current project materials in the middle, and general supplies on the bottom.
This approach works especially well if you craft at the kitchen table, in the living room, or in a shared space where your supplies can't live permanently. The same principle of mobile, contained storage applies to organizing a home office for productivity -- if the space does double duty, your storage needs to be portable.
3-Tier Rolling Utility Cart with Accessories
Sturdy steel construction with three deep mesh baskets that hold craft supplies, tools, and project materials. Includes hanging cups, hooks, and a pegboard panel for customizable organization. Lockable wheels keep it in place while you work and roll smoothly when you need to move it.
Check Price on Amazon →Vertical and Wall Storage
Wall space is prime real estate in any craft area, and most people waste it entirely. Pegboard panels with hooks, baskets, and shelves turn a blank wall into a fully visible, fully accessible storage system. Hang scissors, tape dispensers, rulers, and spools of ribbon where you can see and grab them instantly.
Wall-mounted shelves above your work surface keep containers within arm's reach without eating into your table space. Magnetic strips hold metal tools and small tins of supplies. Even the inside of a closet door can hold an over-the-door organizer loaded with paint tubes, markers, or adhesive sticks.
For more ideas on maximizing storage in tight spaces, our guide to the best storage bins and organizers covers containers and systems that work across every room in your home, including craft areas.

How Should You Label and Categorize Everything?
Labels are what separate a temporarily tidy space from a permanently organized one. Without them, items migrate, categories blur, and within a few weeks your system breaks down because nobody -- including you -- remembers where things go.
Step 1: Label every container, bin, drawer, and shelf. Use a label maker, printed labels, or even painter's tape and a marker. The method matters less than actually doing it. Every container should clearly state what belongs inside: "Acrylic Paint," "Adhesives & Tape," "Ribbon & Twine," "Current Project -- Birthday Cards."
Step 2: Use subcategories where it matters. For large collections, a label that says "Beads" isn't specific enough when you have twenty types. Subcategorize by material (glass, wood, seed), color family, or project type. The level of detail should match the size of your collection -- if you have six containers of beads, each one needs a specific label. If you have one container, "Beads" is sufficient.
Step 3: Color-code by craft type if you dabble in multiple hobbies. Use green labels or tape for sewing supplies, blue for paper crafting, yellow for painting, and so on. This visual shorthand makes it instant to identify which category you're pulling from, even from across the room.
Step 4: Label your workspace zones, not just containers. If you have a dedicated area, designate zones: cutting station, painting station, sewing station, drying area. Even in a small space, knowing that the left side of the table is for cutting and the right side is for assembly reduces decision fatigue and keeps supplies flowing back to where they belong.
This same labeling discipline works brilliantly in other organizational projects. If you're also tackling your junk drawer or a small closet, labeling is the single habit that keeps those spaces organized permanently.
How Do You Organize an Active Project Without Losing Track of Supplies?
One of the biggest sources of craft chaos is the mid-project mess -- supplies pulled out for a current project that spread across the workspace and never get put back because the project isn't finished yet. You need a system that keeps active projects contained without requiring you to disassemble and re-gather everything each time you sit down to work.
Step 1: Assign each active project its own container. A large clear zippered pouch, a dedicated bin, or even a large resealable bag works. When you stop working for the day, everything related to that project goes into its container. Patterns, cut pieces, specific tools, thread, reference images -- all of it stays together.
Step 2: Limit the number of active projects. This is hard for crafters who love starting new things, but having more than two or three projects going simultaneously is a guaranteed path to disorganization. Each active project takes up physical space and mental bandwidth. Finish or formally pause projects before starting new ones.
Step 3: Create a "staging area" for project supplies. Before you begin a crafting session, pull only what you need for that session from your organized storage. Work from the staging area and return everything to its home when you're done. This prevents the gradual drift of supplies from their designated containers to random spots around the workspace.
If you find that kids' craft supplies are mixing with yours and creating additional chaos, our guide to organizing kids' toys covers strategies for containing children's creative materials that work alongside your own system.

How Can You Prevent Craft Supplies From Taking Over Your Home?
Even with great storage, craft supplies have a tendency to colonize spaces beyond their designated area. Yarn ends up in the living room. Scissors migrate to the kitchen. Half-finished projects appear on every horizontal surface. Preventing this spread requires boundaries -- both physical and behavioral.
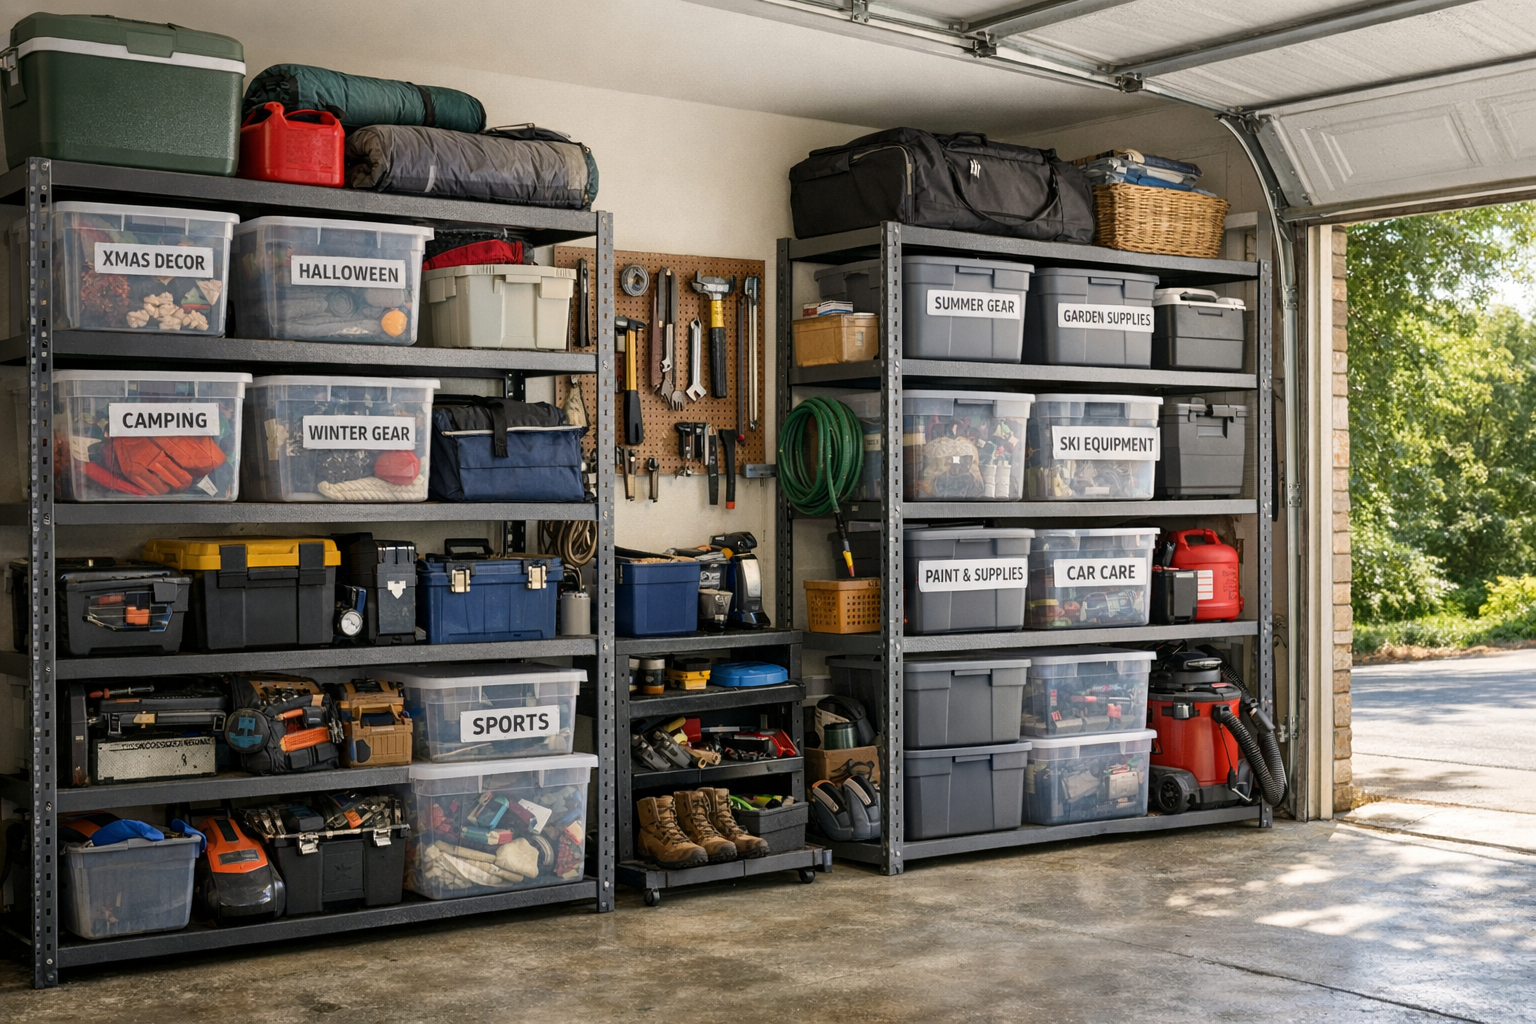
Step 1: Establish a hard boundary for your craft supplies. Whether it's a room, a closet, a cabinet, or a single rolling cart, define the physical space that belongs to crafting and commit to keeping supplies within it. If your collection outgrows the space, the answer is to declutter -- not to expand into other rooms.
Step 2: Adopt a one-in, one-out rule for new purchases. Every time a new supply comes into the house, something of equal size leaves -- either used up, donated, or discarded. This prevents the slow accumulation that led to the mess in the first place. Before buying, check your inventory first. You'd be surprised how often you already own what you need.
Step 3: Schedule a monthly fifteen-minute maintenance session. Set a reminder to spend just fifteen minutes going through your craft area once a month. Toss anything that's dried out or broken. Return borrowed tools to their homes. Consolidate partially used supplies. Straighten containers. This tiny investment of time prevents the gradual slide back into chaos.
Step 4: Resist the clearance aisle. Craft stores are designed to make you buy things you don't need. Clearance bins, seasonal sales, and bulk deals are only savings if you'll actually use the items within the next few months. Buying three packs of scrapbook paper because they were 70% off isn't a deal if they sit untouched for two years and eventually become clutter.
This principle of intentional purchasing applies far beyond crafting. If you find yourself accumulating things you don't use across multiple areas of your home, our guide to organizing your garage on a budget addresses the overflow problem from a whole-home perspective.
Frequently Asked Questions
How do you organize craft supplies in a small space?
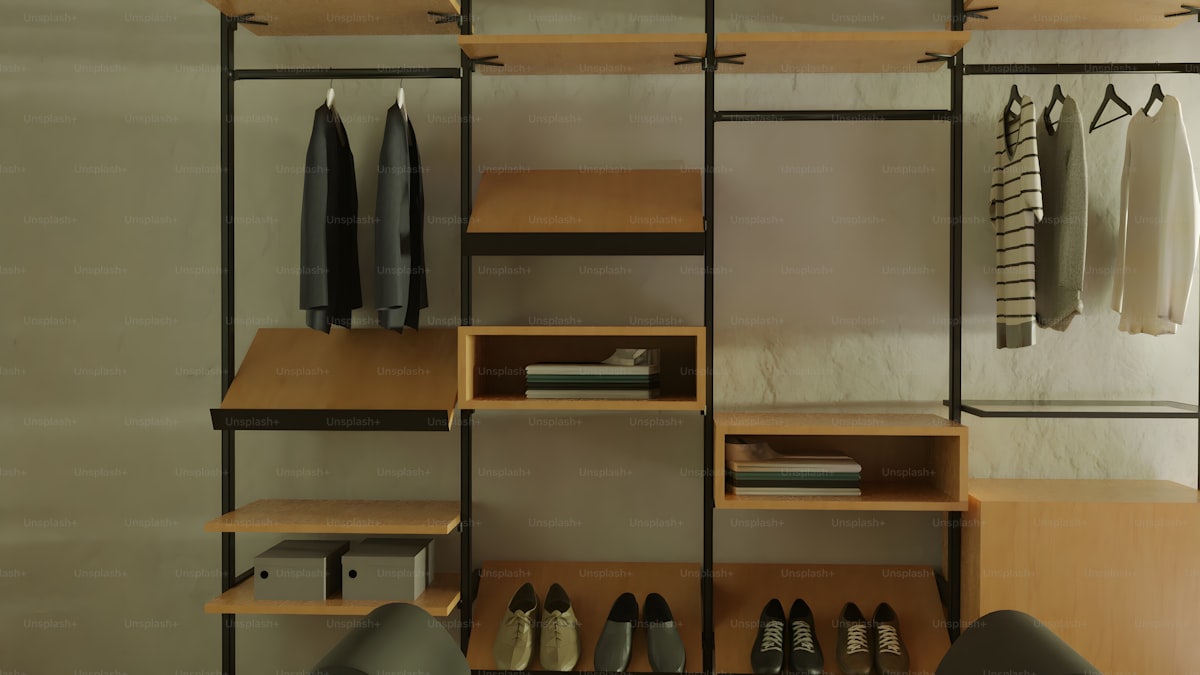
Focus on vertical storage and portable solutions. A pegboard on the wall, a rolling cart that tucks into a closet, and a set of stackable clear bins on a single shelf can hold a substantial craft collection without requiring a dedicated room. Use the inside of closet doors for hanging organizers, and keep your active collection lean by rotating seasonal or project-specific supplies in and out of an archive bin stored elsewhere in the house. The same space-maximizing strategies used for organizing a closet in a small space apply directly to compact craft storage.
What is the best way to store fabric and yarn?
Fabric should be folded or rolled and stored in clear bins sorted by color or type. Avoid plastic bags for long-term fabric storage because trapped moisture can cause mildew. Yarn is best stored in clear bins or hanging shoe organizers where each pocket holds one or two skeins -- you can see every color at a glance and pull what you need without disturbing the rest. Keep both fabric and yarn away from direct sunlight, which fades colors over time.
How often should you go through and declutter craft supplies?
A thorough declutter every three to four months works well for active crafters. Between major sessions, do a quick check whenever you finish a project -- toss scraps too small to use, discard anything that dried out or broke, and return borrowed supplies to their proper containers. The monthly fifteen-minute maintenance session mentioned above catches most problems before they snowball into a full reorganization.
How do you organize shared craft supplies when multiple family members craft?
Assign each person a designated zone, shelf, or set of containers labeled with their name. Keep shared tools -- scissors, rulers, cutting mats, hot glue guns -- in a clearly labeled communal area that everyone returns items to after use. If kids are involved, use the same picture-label system that works for toy organization so younger crafters can find and return supplies independently. Establish a simple rule: if you take it out, you put it back. Shared supplies only stay organized when everyone treats the system as a shared responsibility.
Final Thoughts
Organizing craft supplies is one of those projects that pays for itself almost immediately. The first time you sit down to craft and every single thing you need is visible, accessible, and exactly where you expect it to be -- that feeling alone makes the effort worthwhile. You stop wasting time searching. You stop wasting money on duplicates. And you start actually enjoying the creative process again instead of dreading the setup and cleanup.
The system doesn't need to be elaborate or expensive. Clear containers, labels, and a commitment to putting things back where they belong will get you 90% of the way there. The other 10% is maintenance -- the monthly check-in, the one-in-one-out habit, and the willingness to let go of supplies you realistically won't use.
Start this weekend with the declutter. Pull everything out, be ruthless about what stays, and sort what remains into categories. Then choose storage solutions that match your space and budget, label everything, and build the habit of returning supplies to their homes after every session. Within a few weeks, your craft area will be a space that inspires creativity rather than stress -- and it will stay that way because the system is built for how you actually work, not for how it looks in a photo.
Get weekly home tips that actually work
Join thousands of homeowners getting practical cleaning hacks, DIY fixes, and money-saving tips every week. Free, and you can unsubscribe anytime.

Written by
Beth SullivanFounder & Editor-in-Chief
Beth Sullivan is the founder of Practical Home Guides. With over a decade of hands-on experience tackling every home challenge imaginable, she started this site to share the practical, no-nonsense solutions she wishes she had found years ago. When she's not testing cleaning hacks or organizing pantries, you'll find her in the garden or working on her next DIY project.
Recommended Products
Looking for specific product recommendations? Check out our tested picks.
Best Garage Shelving Systems (2026 Tested)
Wire shelving, freestanding steel, wall-mounted, and overhead — we tested the garage shelving systems that hold real weight without sagging.
5 Best Closet Organizer Systems Under $100 (2026)
Transform your cluttered closet without spending a fortune. We compared the top closet organizer systems under $100 — here are the 5 best for different closet sizes and needs.
Best Storage Bins and Organizers for Every Room (2026)
The best storage bins, baskets, and organizers for closets, pantries, bathrooms, and garages. Practical picks at every price point to get your home organized.
Related Articles
The Complete Home Organization System: A Room-by-Room Master Plan
A room-by-room home organization master plan with a proven system, product picks, and a realistic schedule to organize your entire house without burning out.
Hurricane Season Prep: June 1 Home Readiness Checklist for Coastal Areas
A June 1 hurricane readiness checklist for coastal homes: build your emergency kit, harden the property, and stockpile supplies before the season peaks in fall.

Graduation Gift: Tech Essentials for College Success
The 2026 graduation tech gift list that balances budget and function: laptop, noise-canceling earbuds, power bank, and the upgrades worth your money.

Summer Bedroom Comfort: Cooling Bedding & Sleep Setup Guide
A sleep coach's guide to staying cool in hot weather: breathable bedding, pillow placement, and temperature hacks for better rest from May through August.