How to Transplant Tomato Seedlings Without Shock (Step-by-Step)
This article may contain affiliate links. If you make a purchase through these links, we may earn a small commission at no extra cost to you. Learn more
Quick Answer
How to Transplant Tomato Seedlings Without Shock (Step-by-Step)
Harden off seedlings over 7 to 10 days by gradually increasing outdoor time. Transplant on a cloudy day or in late afternoon. Bury two-thirds of the stem deep, water thoroughly with a diluted fish emulsion solution, and shade the plants for 2 to 3 days. Don't fertilize again for 2 weeks.
Healthy seedlings can sit and sulk for weeks after a rough transplant — sometimes never fully recovering. The wilting, yellowing, leggy stems people blame on bad soil or pests are usually transplant shock from skipping the hardening-off step.
Here's the routine I use every spring on dozens of tomato seedlings, and the small details that make a huge difference in how fast plants take off after transplant.
What Transplant Shock Actually Is
Indoor seedlings live in stable conditions: 70F, low light, no wind, plenty of moisture. Outdoor garden conditions are wild by comparison — bright sun, cool nights, wind, rain, and inconsistent moisture. Throwing a tender seedling into that on day one stresses it severely.
Hardening off teaches the plant to handle outdoor life gradually. Skipping it can kill 30 to 50 percent of seedlings, even ones that looked perfect indoors.
Step 1: Time the Transplant Right
Tomatoes need three things to thrive after transplant:
- Last frost has passed for your area (check your zone)
- Nighttime soil temperature consistently above 50F — use a soil thermometer
- Daytime temps reliably 65F or warmer
Planting tomatoes a week too early in cold soil sets them back a month. Patience here pays.
Step 2: Harden Off Over 7 to 10 Days
This is the step nobody wants to do but it's everything. Start a week before your planned transplant date.
- Day 1: 1 hour outside in a sheltered, partly shaded spot. Bring back inside.
- Day 2: 2 hours, still shaded.
- Day 3: 3 hours with some morning sun.
- Day 4: 4 hours, more direct sun, tolerate a little wind.
- Day 5-7: Most of the day outside, returning inside only if temps drop below 45F at night.
- Day 8-10: Full days and nights outside (if frost is past).
Skip a day if it rains hard or temps drop. The point is gradual exposure, not a checklist.
If you can't supervise that closely, a cold frame or a pop-up greenhouse does the job — open the lid more each day to expose plants gradually.
Step 3: Pick the Right Day for Transplanting
Cloudy, mild day with no wind is ideal. Late afternoon or early evening is second best — gives plants the cool night to recover before facing direct sun.
Avoid hot, sunny, windy days. The combination dries out new transplants in hours.
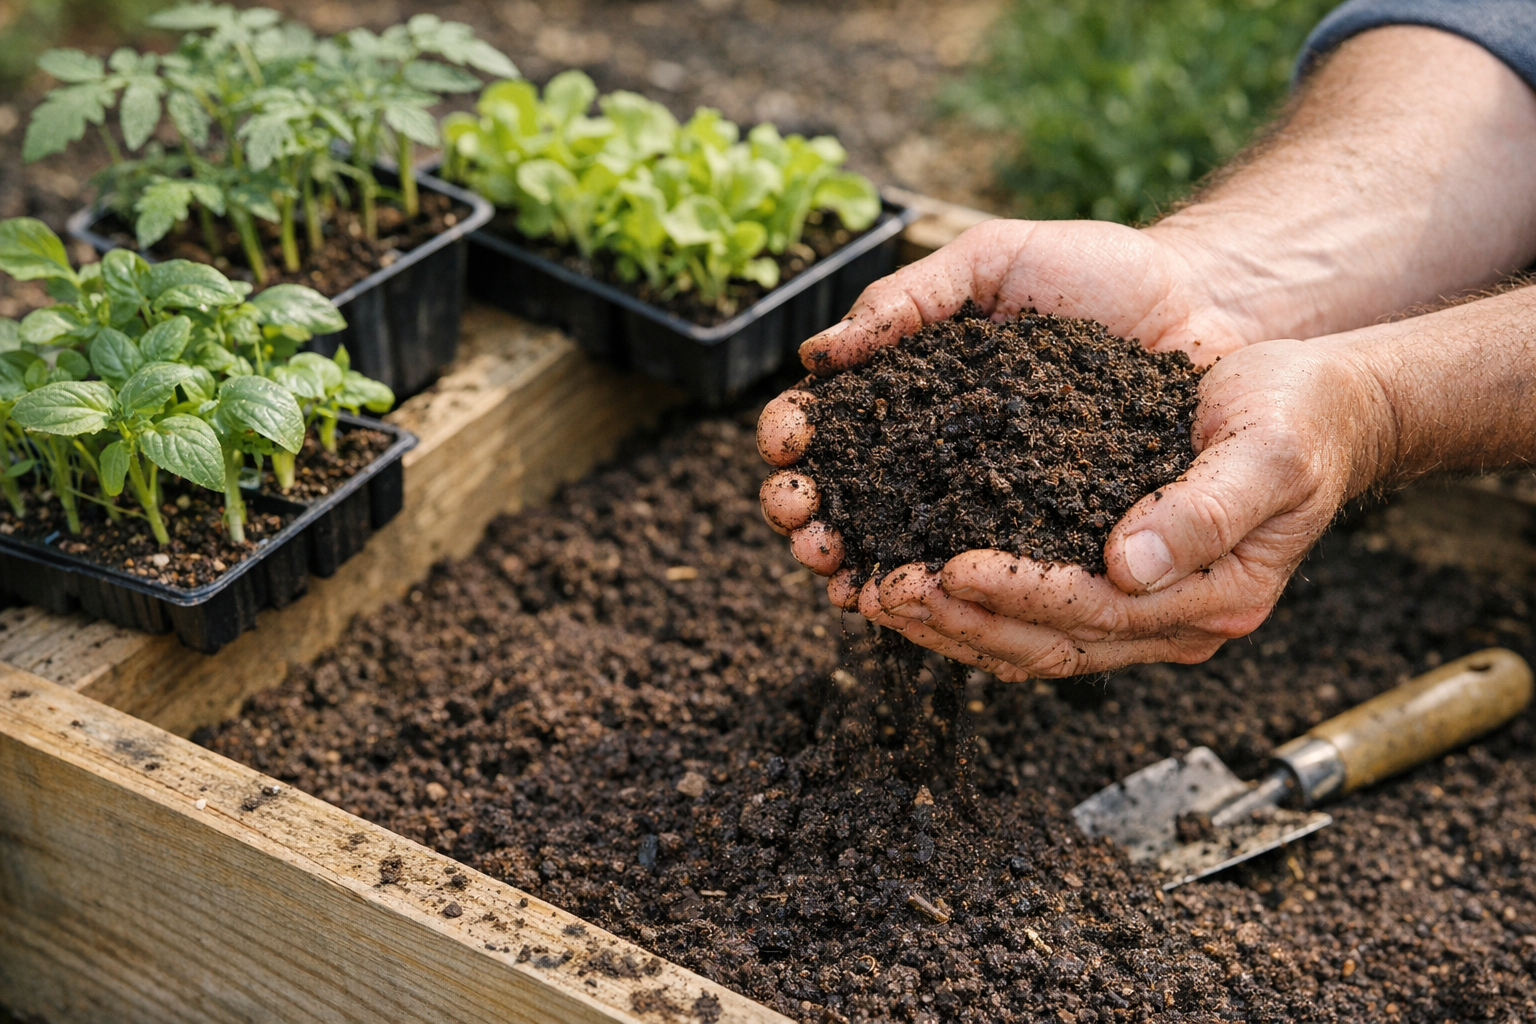
Step 4: Prep the Hole
Dig a hole at least twice as wide and deep as the seedling's root ball. Tomato seedlings get planted DEEP — much deeper than they grew in the pot. The buried part of the stem grows roots, giving you a much stronger plant.
In each hole, mix in:
- A handful of compost
- A handful of worm castings
- 1/4 cup of crushed eggshells or calcium carbonate — prevents blossom end rot
Skip high-nitrogen fertilizer at planting. Too much nitrogen at this stage grows leaves at the expense of fruit.
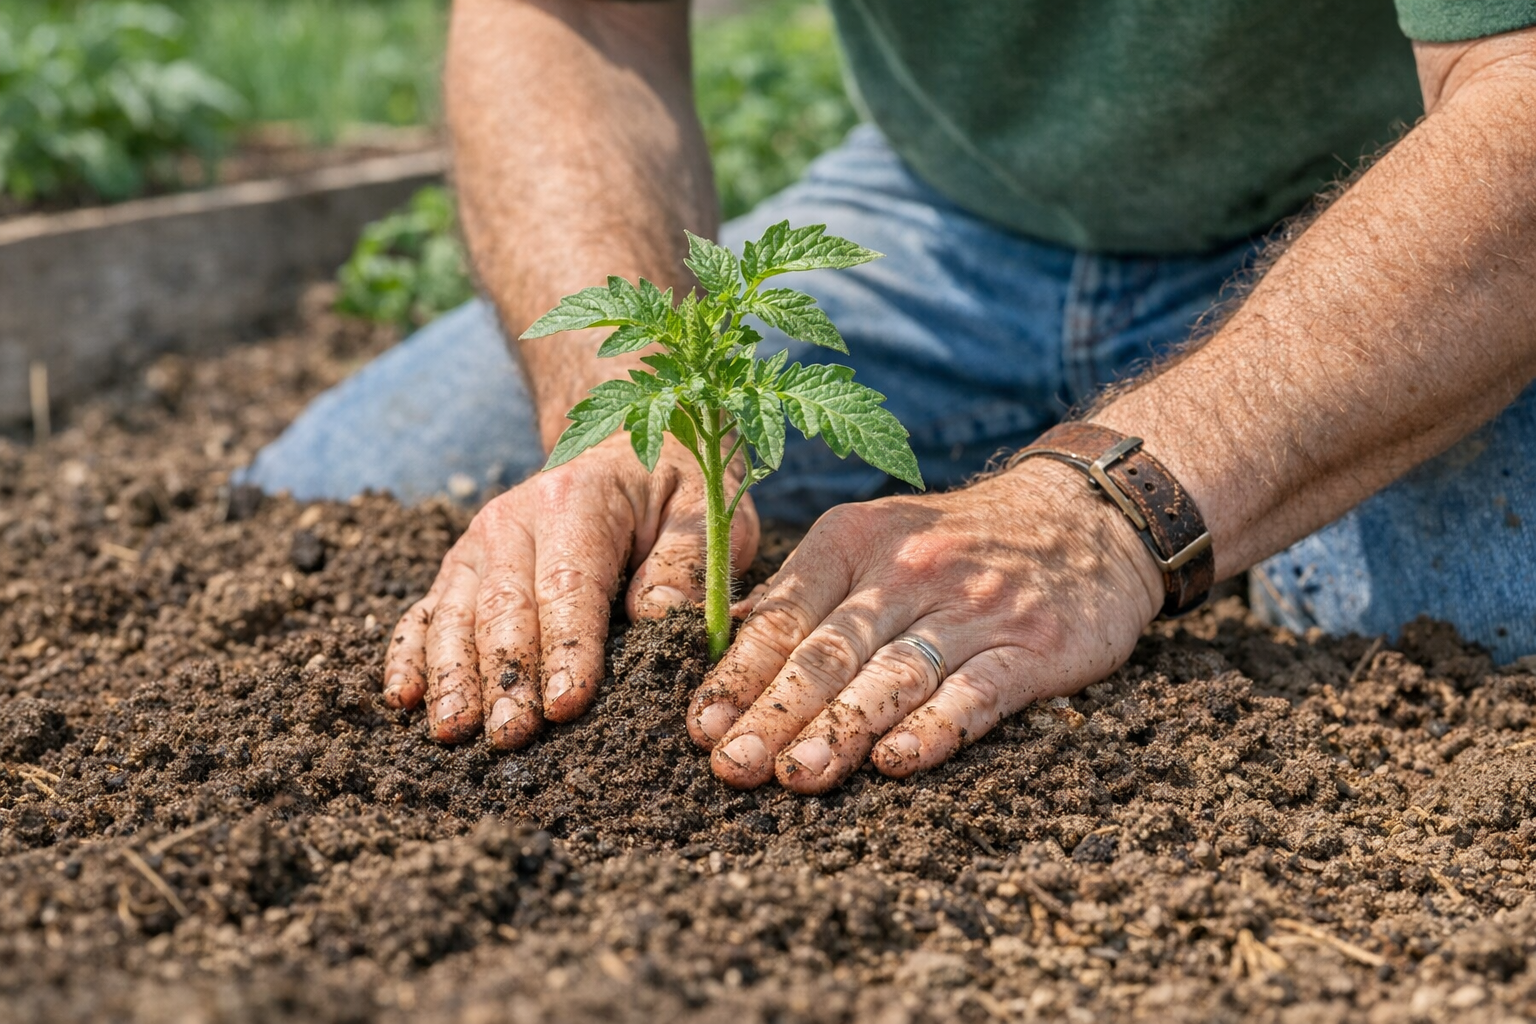
Step 5: Plant Deep
Strip the bottom leaves off the stem until you have only the top 3 to 4 sets of leaves. Place the seedling in the hole so that two-thirds of the stem is buried.
Backfill with the amended soil. Press firmly to remove air pockets but don't compact hard.
The buried stem grows roots within a week. A 6-inch tall seedling planted with 4 inches of stem buried becomes a much sturdier and faster-growing plant than one planted shallow.
Step 6: Water Thoroughly with a Tonic
Mix liquid fish emulsion at half the package strength. Water each transplant slowly with a gallon or two of this mix.
The diluted fish emulsion provides a gentle nutrient boost that doesn't burn new roots, plus the trace minerals tomatoes love.
Water the soil, not the leaves. Wet leaves at planting promote fungal disease.
Step 7: Stake and Cage Now
The biggest mistake new gardeners make is waiting to stake until tomatoes are 3 feet tall. Plant the tomato cage or stake the same day you transplant. Driving stakes through established roots damages them.
A tall heavy gauge tomato cage is far better than the small flimsy ones at hardware stores. Indeterminate tomatoes grow 6+ feet tall.
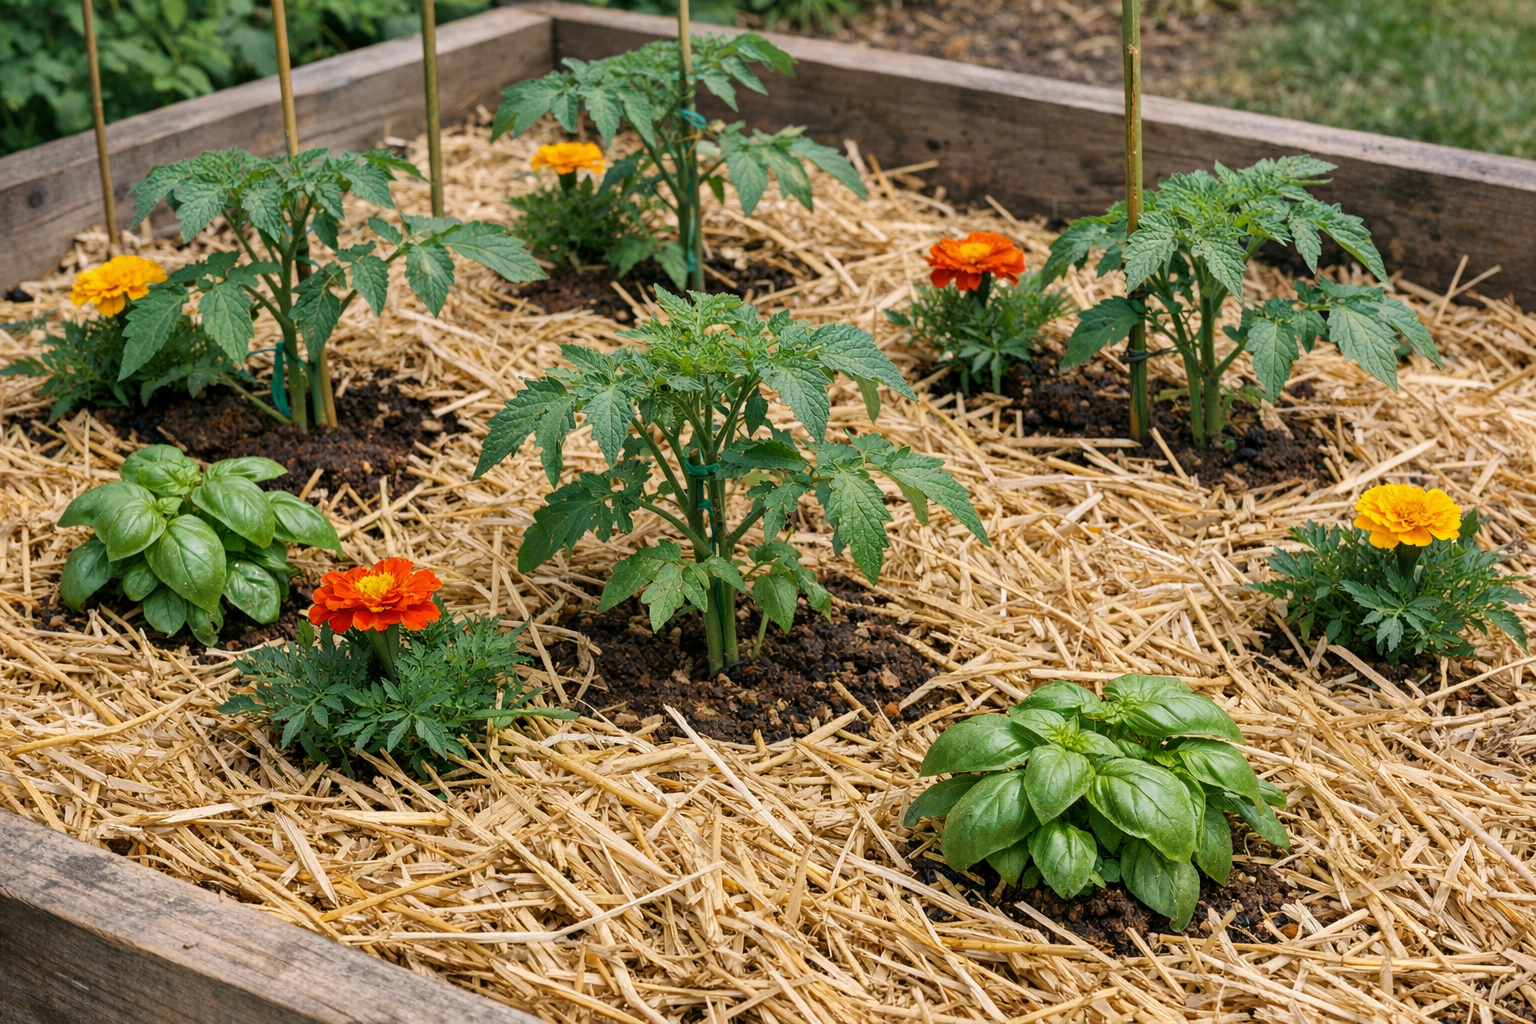
Step 8: Mulch
A 2 to 3-inch layer of straw mulch or shredded leaves around each plant:
- Holds moisture (cuts watering needs by half)
- Keeps soil temperature stable
- Suppresses weeds
- Prevents soil from splashing onto leaves (which spreads fungal disease)
Don't push mulch right against the stem — leave a 2-inch gap.
Step 9: Shade for 2 to 3 Days
Even hardened-off seedlings benefit from light shade right after transplant. A piece of garden shade cloth, an old bedsheet on stakes, or even a couple of cardboard panels lean-to'd over each plant works.
After 2 to 3 days, the plants have rooted in and can handle full sun.
What NOT to Do
- Don't fertilize at full strength for 2 weeks. New roots burn easily.
- Don't bury the leaves. Only the bare stem.
- Don't transplant during a heat wave. Wait it out.
- Don't plant in cold wet soil. Tomato roots rot in cold soil.
- Don't water from above. Drip irrigation or hand watering at soil level only.
How to Recognize Transplant Shock (And Fix It)
If a transplanted tomato wilts the day after planting in spite of moist soil, it's shock. The plant looks droopy and the leaves feel soft.
Recovery:
- Make sure the soil is moist but not waterlogged
- Add shade for 3 to 5 days
- Spray the leaves with diluted kelp foliar spray at half strength
Most plants recover within a week. If the leaves yellow and drop after 7 to 10 days with no recovery, the plant is too far gone — pull it and replant.
Frequently Asked Questions
Should I prune off flowers on a newly transplanted tomato?
Yes — pinch off any flowers or fruit clusters at planting. The plant should put energy into roots first, fruit second. Once it's established (2 to 3 weeks later), let new flowers stay.
Can I transplant tomato seedlings into pots instead of the ground?
Yes. Use a 5-gallon pot minimum (10-gallon is much better) and the same deep-planting technique. Use a quality potting mix like FoxFarm Happy Frog. Tomatoes in pots need water more often — possibly daily in summer.
What if I bought leggy seedlings from a store?
Plant them even deeper. The tall whippy stem becomes mostly buried roots, and the plant ends up much sturdier. Strip leaves and bury 60 to 75 percent of the total height if needed.
Can I plant tomatoes if I'm getting another frost?
No. One frost will damage or kill a tomato seedling. If a late cold snap is forecast, cover plants with a floating row cover, an upturned bucket, or a plant frost cover. Otherwise, hold off on transplanting until the cold passes.
Final Thoughts
Tomatoes that get the harden-off and deep-plant treatment outproduce same-variety plants that didn't by 30 to 50 percent. The week of patience at transplant is the highest-leverage gardening time you'll spend all year.
Get weekly home tips that actually work
Join thousands of homeowners getting practical cleaning hacks, DIY fixes, and money-saving tips every week. Free, and you can unsubscribe anytime.

Written by
Sarah RodriguezGardening & Pet Care Contributor
Sarah Rodriguez is a certified Master Gardener and former veterinary technician. She lives on a half-acre lot in central Texas with three rescue dogs, two backyard chickens, and a very ambitious vegetable garden. She covers gardening, sustainable yard care, and everyday pet care for Practical Home Guides.
Recommended Products
Looking for specific product recommendations? Check out our tested picks.
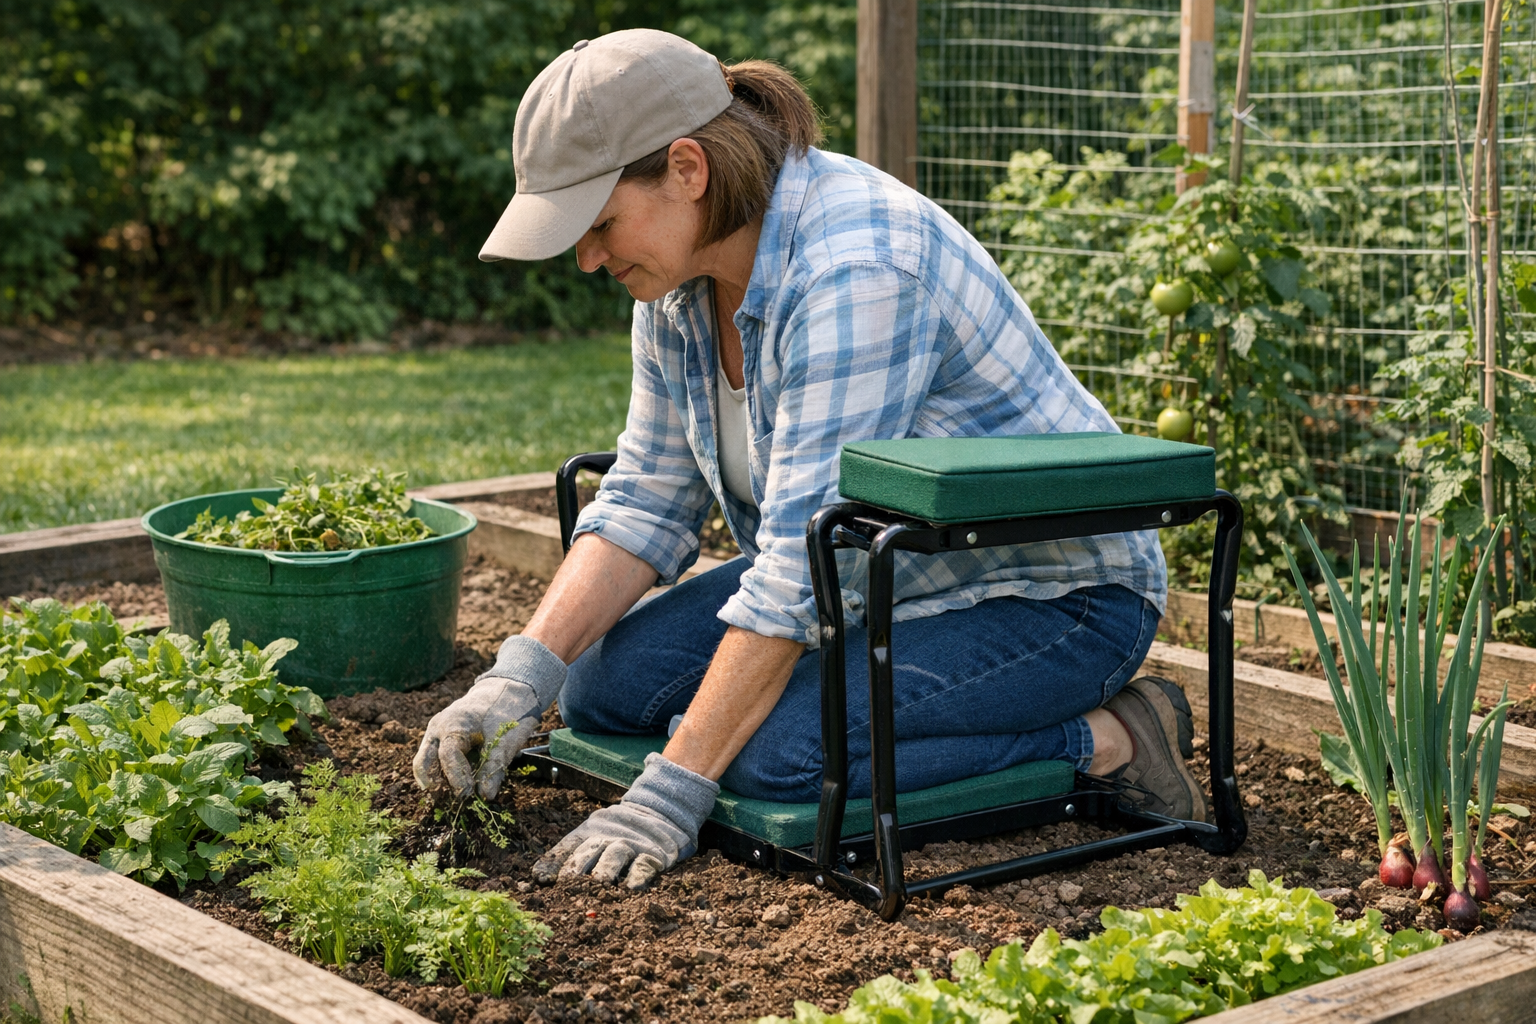
Best Garden Kneelers and Seats (2026 Tested)
Gardening shouldn't wreck your knees and back. We tested kneelers, foldable seats, and rolling carts to find the picks worth the price.
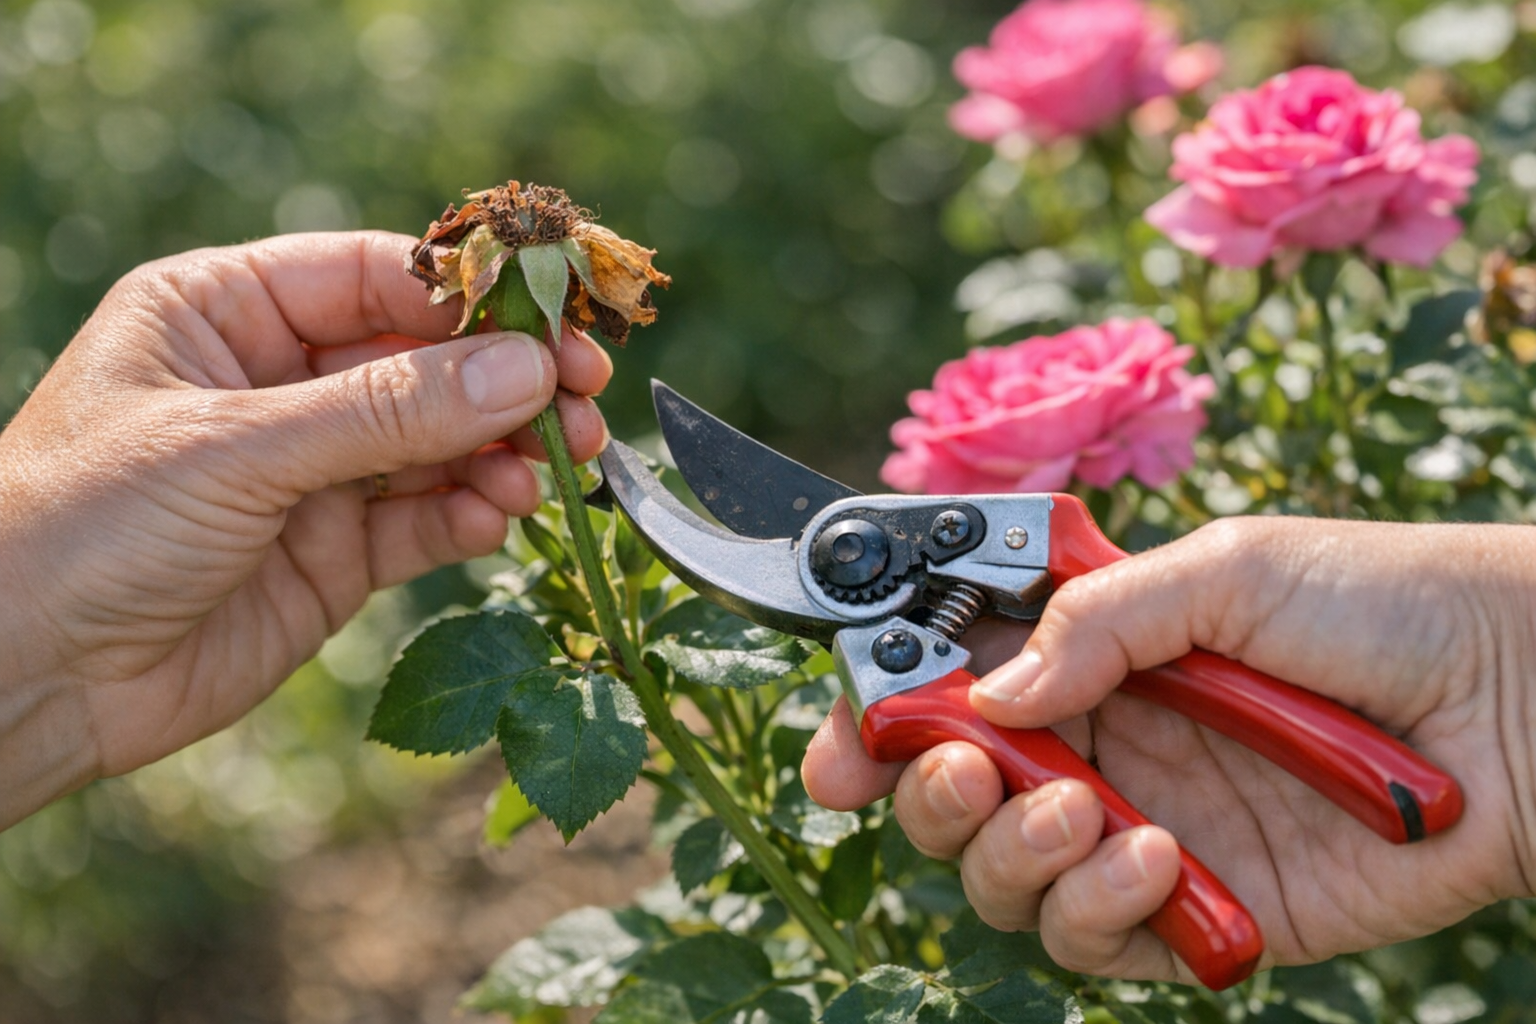
Best Pruning Shears for Gardeners (2026 Guide)
We tested bypass and anvil pruning shears across roses, fruit trees, perennials, and tomato vines. Here are the picks worth your money — and the one to avoid.
Best Raised Bed Soil Mixes (2026 Buyer's Guide)
Bagged soil for raised beds is a minefield. We tested the top brands for vegetable yield, drainage, and value to find the soil mixes that actually grow food.
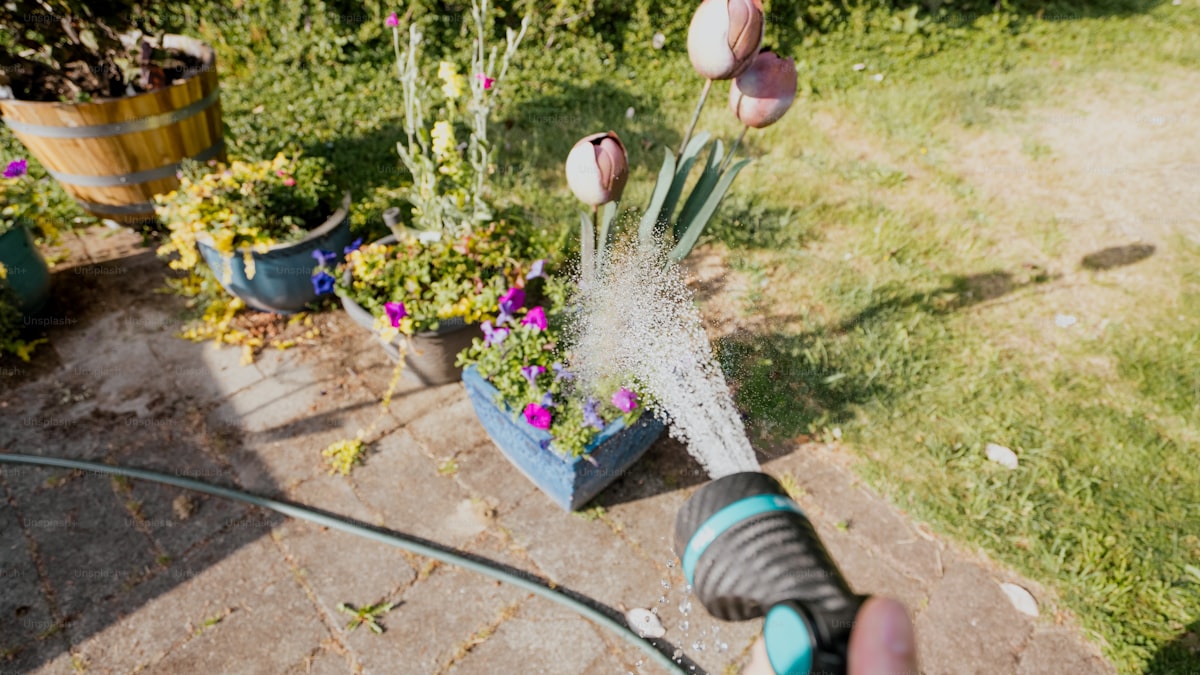
5 Best Garden Hose Nozzles and Sprayers (2026)
Find the perfect garden hose nozzle for watering plants, washing cars, and cleaning patios. We compared the top sprayers — here are the 5 best for every job.
Best Raised Garden Bed Kits You Can Order Online (2026)
The best raised garden bed kits for beginners and experienced gardeners. We compare wood, metal, and composite options with honest reviews and setup tips.
Related Articles
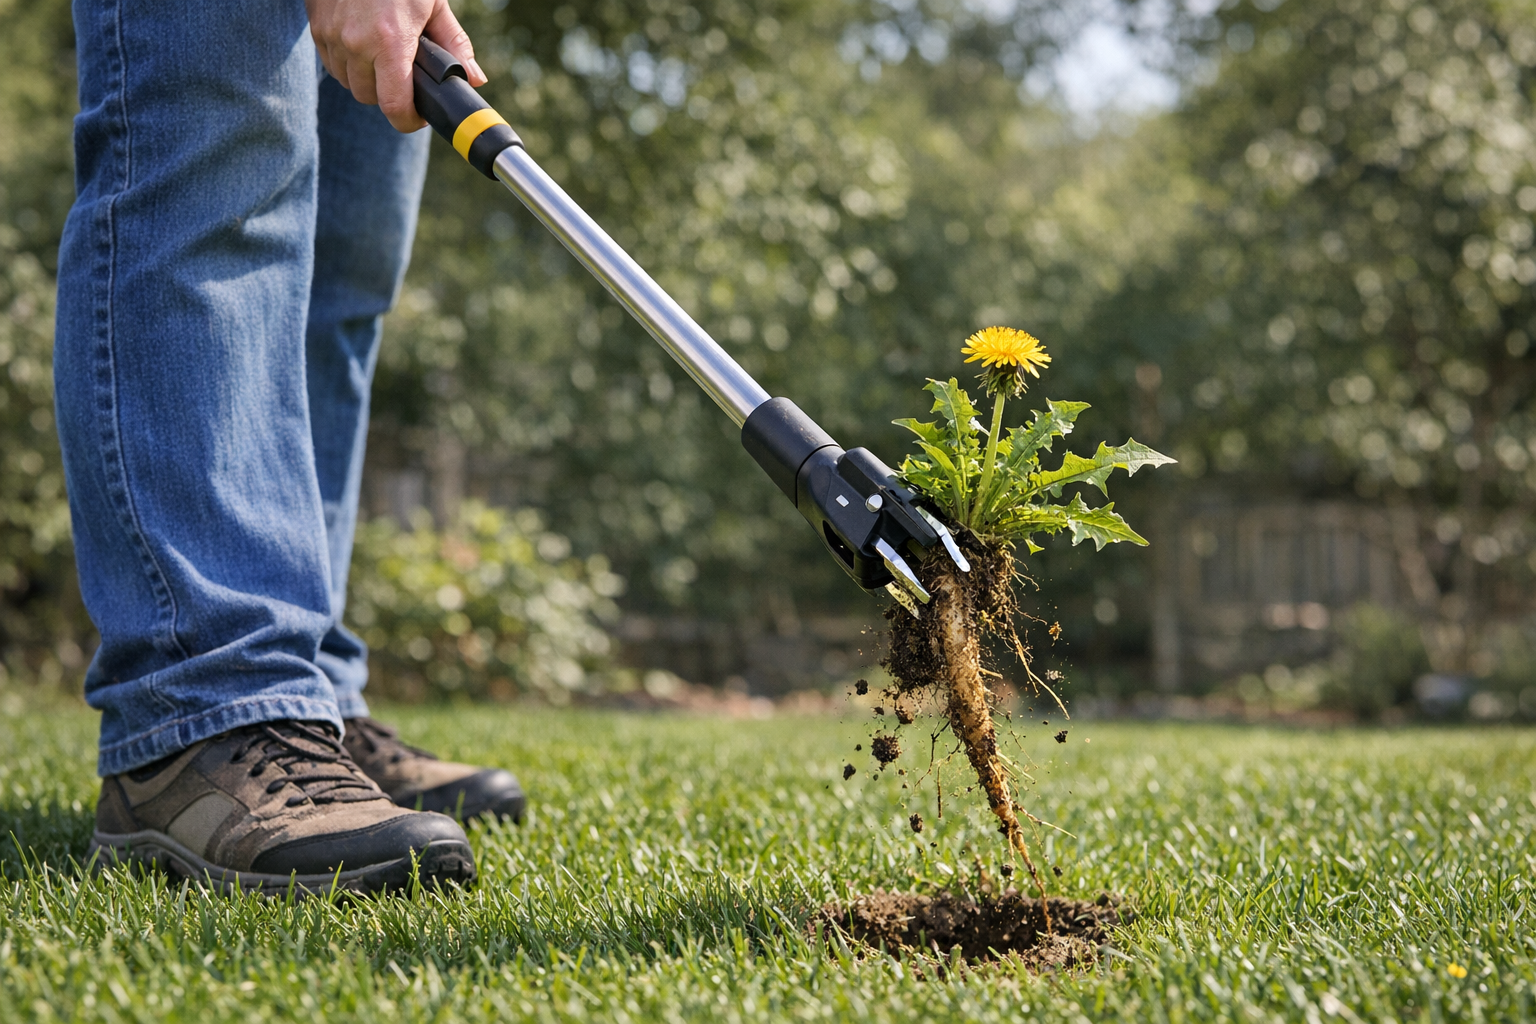
How to Get Rid of Dandelions Naturally (Without Killing the Lawn)
Dandelions are stubborn but beatable without chemical herbicides. Here's the 3-pronged natural approach that works long-term — and the tools that make it easy.
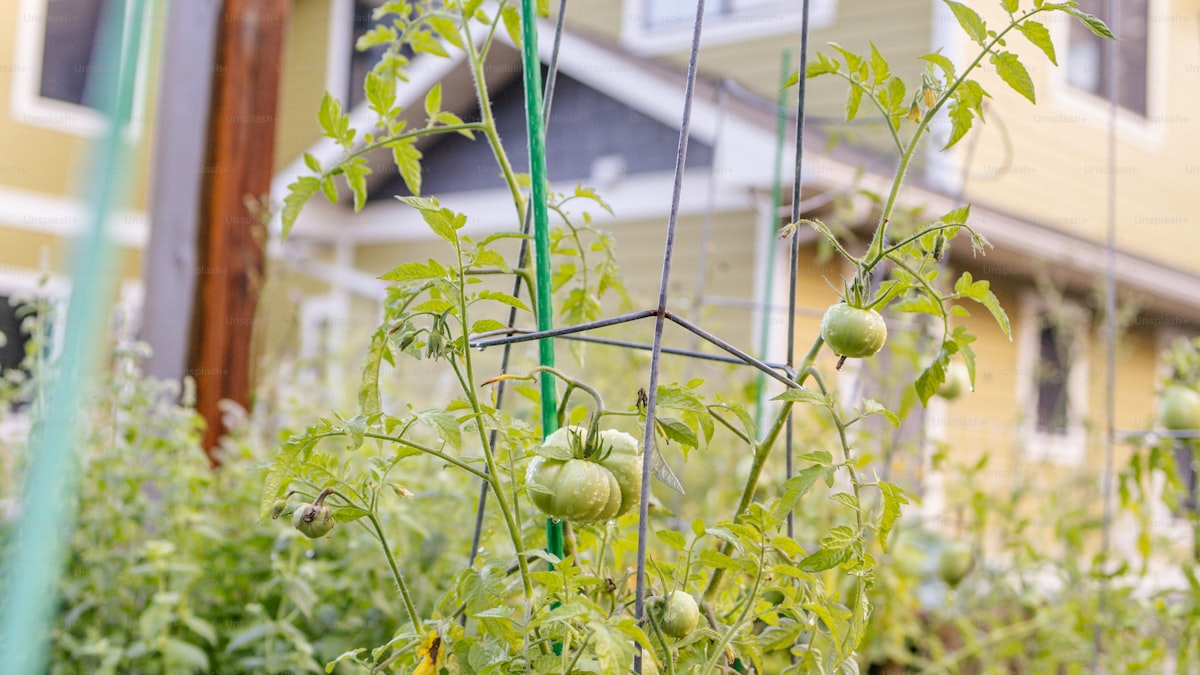
When to Plant Warm-Weather Annuals (And Which Are Easiest)
Tomato, pepper, basil, marigold — all are warm-weather plants that hate cold soil. Here's how to time the transplant for the longest possible harvest.
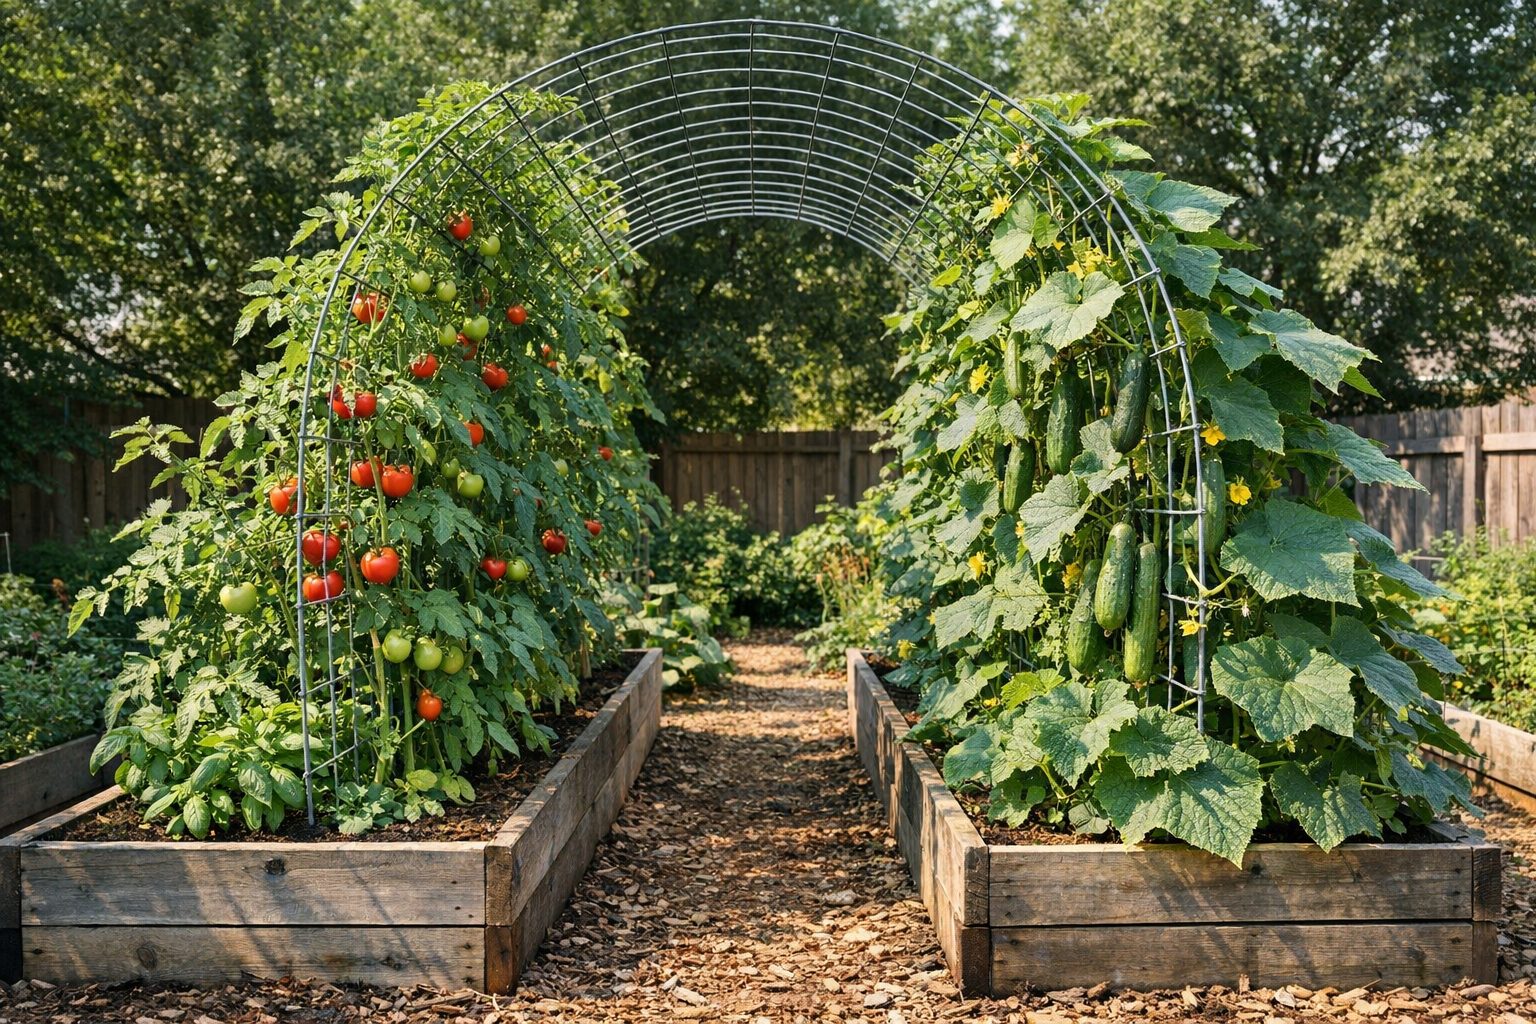
How to Build a DIY Garden Trellis for Climbing Vegetables
A sturdy trellis doubles your garden's yield per square foot. Here's how to build three easy styles using cheap materials in under an hour each.
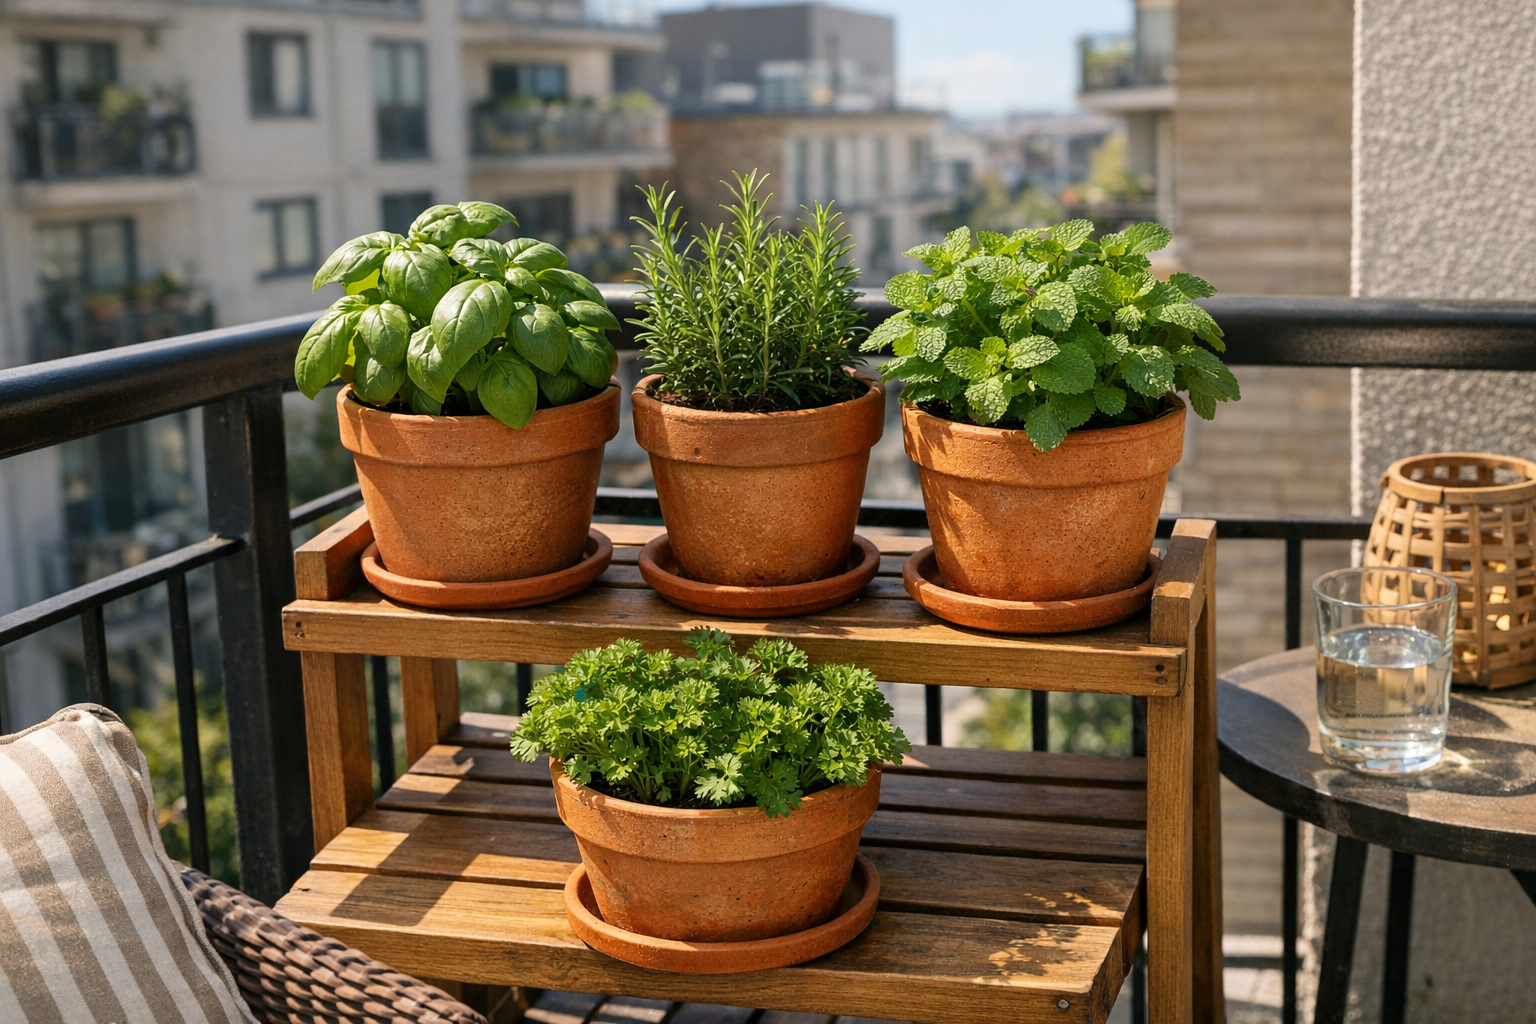
How to Start a Container Herb Garden on a Balcony
Fresh herbs all summer from a small apartment balcony or porch — even with limited sun. Picks for the easiest herbs, the right pots, and the soil that actually works.