Grilling Season Setup: Build the Perfect Backyard Cook Station
This article may contain affiliate links. If you make a purchase through these links, we may earn a small commission at no extra cost to you. Learn more
Quick Answer
Grilling Season Setup: Build the Perfect Backyard Cook Station
Plan a backyard grill station in this order: location and clearances, a level fire-resistant base, the gas supply, then the grill, prep counter, and ventilation. Keep the grill 10 feet from anything combustible, build on a paver or concrete pad, and use propane unless you hire a licensed pro for a natural gas line.
Every May I get the same call. Somebody bought a nice grill on a holiday sale, wheeled it onto the deck, and now the back wall of the house has a heat-blistered stripe up the vinyl and there is nowhere to set a plate down. I have been a general contractor for nineteen years, and I will tell you what I tell them: a great cook station is ninety percent planning and ten percent shopping. Get the order of operations right and a $900 setup will out-cook a $9,000 island that was thrown together backwards.
The mistake is almost always sequencing. People buy the grill first, fall in love with it, and then try to wedge it into a spot that was never going to work. Do it the other way around. Stake out the location, prove the clearances, settle the base and the fuel, and then go shopping. Below is exactly how I lay one of these out on a Saturday with a tape measure and a can of marking paint before anything heavy gets delivered.
Start With a Footprint, Not a Grill
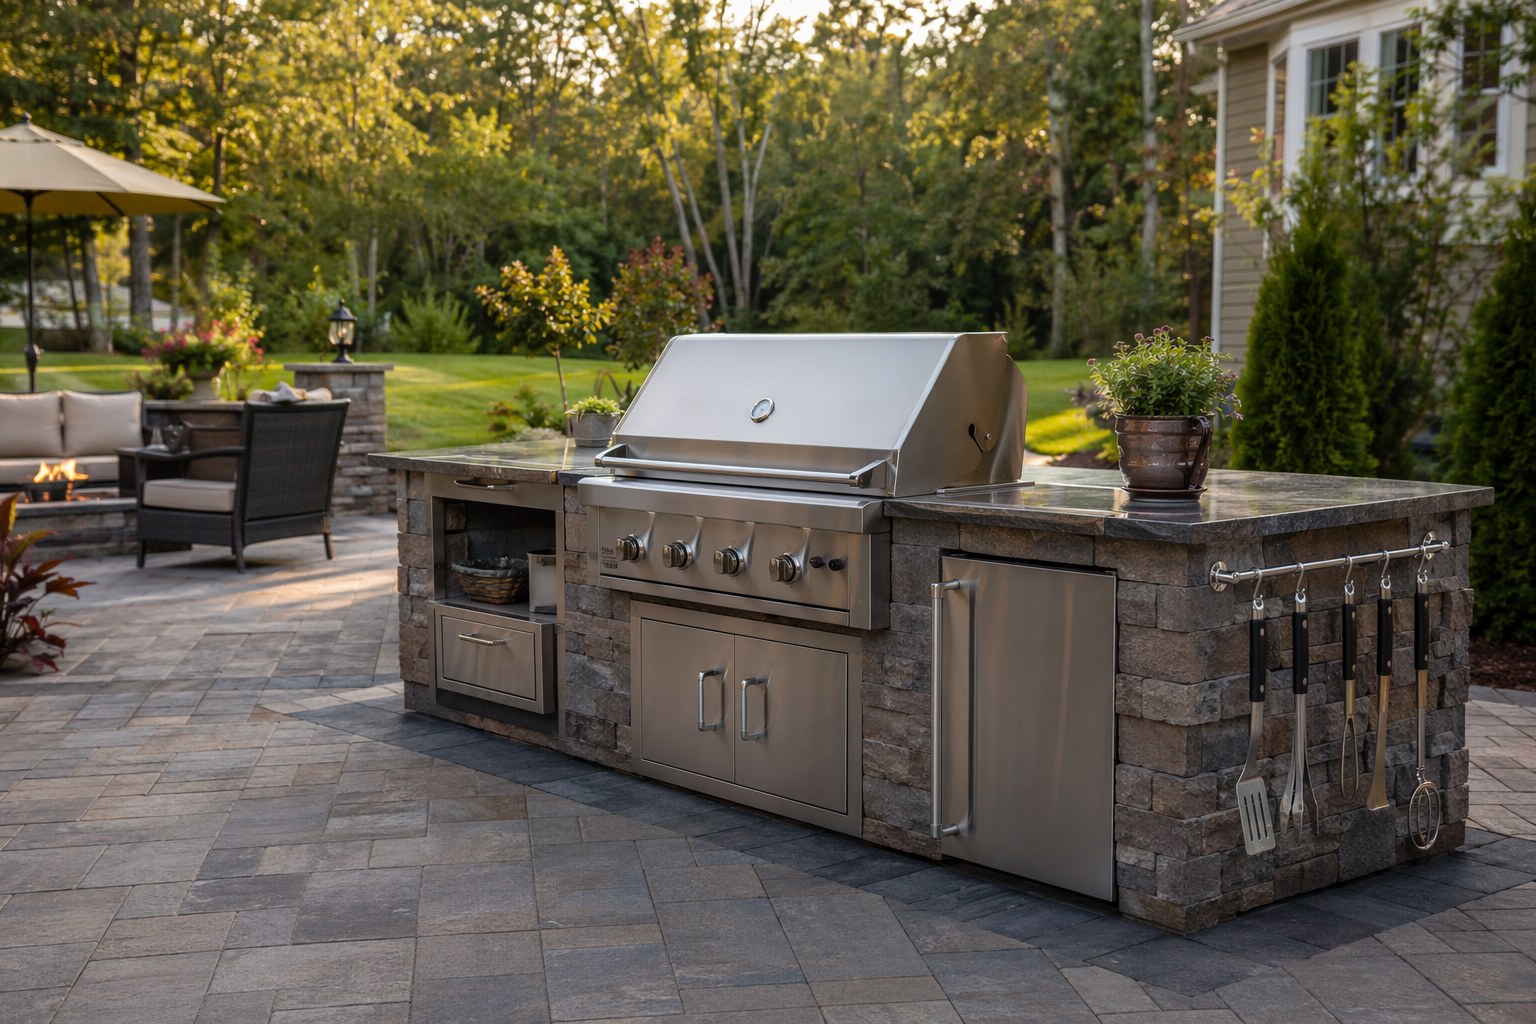
Before you measure a single thing, walk your yard and think in zones. A cook station is really three zones stacked next to each other: a hot zone (the grill), a cold zone (prep and landing space), and a traffic zone (where you stand and where people pass behind you). When any one of those gets squeezed, the whole thing feels cramped and you stop using it.
Here is the footprint I plan around for a freestanding setup: a pad at least 8 feet wide by 5 feet deep. That sounds generous until you actually stand a 4-burner grill on it and add a prep table to one side. You want a clear 3-foot aisle behind you so a guest can walk past without brushing a hot lid, and you want at least 18 inches of counter on each flank of the grill — one side for raw food going on, one side for cooked food coming off.
Mark the footprint on the ground with marking paint or a garden hose and live with it for a few days. Carry a plate of imaginary burgers from the back door to the spot. If the walk is long, dark, or across wet grass, you will grill less. The single best location predictor I have found is distance to the kitchen door: stations within about 20 feet of the door get used three times as often as the ones tucked in the far corner because the view looked nice.
Clearances Are a Fire Code, Not a Suggestion
This is the part people skip, and it is the part that burns houses down. A gas grill throws serious radiant heat sideways and up, plus the occasional grease flare-up that licks a foot or two above the lid.
The rule I build to is conservative on purpose: keep the grill at least 10 feet from the house, the fence, the garage, and any neighbor's wall, with 3 feet of clear space on every side of the firebox. Never park a grill under a low roof overhang, a wood pergola, a vinyl soffit, or tree limbs hanging within roughly 10 feet overhead. Vinyl siding starts to warp around 160°F, which is nothing — I have torn off rippled, sagging siding from a wall where the grill sat 20 inches away. If the manufacturer prints a clearance-to-combustibles number in the manual (built-in units always do), that number wins over my rule of thumb, and it is not negotiable.
While you are eyeballing the spot, watch your prevailing wind for a few evenings. If the breeze carries smoke straight into the dining table or the kids' play set, rotate the station 90 degrees or move it. Smoke management is free at the planning stage and impossible to fix once the concrete cures.
Build a Level, Fire-Resistant Base
A station is only as good as what it sits on. A wobbly grill on uneven pavers makes the lid swing shut on its own and the grease pool in one corner of the firebox; a settled built-in island cracks its own veneer.
For most homeowners the best value is a paver or poured-concrete pad: 4 inches of compacted gravel, a sand setting bed, and pavers on top gives you a flat, fireproof, drainable surface that will outlast three grills. Slope it a quarter-inch per foot away from the house so storm water runs off instead of pooling under your cabinet legs and rotting them. Check it dead level in both directions with a 4-foot level before you set anything down — a base that is off by half an inch over the width of a grill will drive you nuts all summer.
If your only viable spot is a wood deck, you can still make it work, but you need a non-combustible barrier — a cement-board-and-tile pad or a steel grill mat rated for the purpose — under and behind the grill. If that deck is tired anyway, get it sound and sealed first; our spring deck and patio deep clean and reseal guide walks through prepping the surface before the station lands on it.
Plan the Gas Supply Honestly
There are two ways to fuel this thing, and they are not equally DIY-friendly. Know your limit here.
Propane (LP) is the simplest option, full stop. A standard 20-pound tank, a good regulator, and a sound hose — no permit, no trenching, no pro. The keys are giving the tank a ventilated home (LP is heavier than air and pools low, so never seal it in an airtight cabinet) and leak-testing every season. After you connect it, brush soapy water on each fitting and open the valve; growing bubbles mean a leak, and you fix that before you ever strike a flame. Replace hoses that have gone stiff or cracked rather than gambling on a brittle fitting.
Propane Tank Regulator Hose Assembly
A heavy-duty regulator with a braided hose and leak indicator. Swap a tired hose every few years instead of risking a brittle fitting at a live gas connection.
Check Price on Amazon →Natural gas (NG) means never refilling a tank again, and it is genuinely wonderful — but running a dedicated line to the patio is a job for a licensed plumber or gas fitter. It involves tapping the home supply, sizing the pipe to the grill's BTU load, pulling a permit, and pressure-testing. I run gas lines for a living and I still pull the permit. If you go NG, budget for the pro and confirm your grill is configured or convertible for natural gas — LP and NG orifices are not interchangeable. One non-negotiable either way: never store a spare propane tank indoors, in a garage, or in a sealed deck box. Full tanks vent in heat by design.
Choose the Grill and Do the BTU Math
Now the fun part. For a permanent station I steer people to a 3- or 4-burner gas grill in 304-grade stainless steel, which shrugs off weather far better than painted steel or the cheaper 430 stainless on bargain units. Independent burner control matters more than a big headline BTU number — you need a hot zone to sear and a cooler zone to finish without scorching, and you cannot do that on a single-burner box.
A quick reality check on BTUs: aim for roughly 80 to 100 BTU per square inch of primary cooking area. A 500-square-inch grill wants somewhere around 40,000 to 50,000 BTU across its main burners. More than that is mostly marketing; way less and you will struggle to recover heat after lifting the lid in a breeze.
Gas Grill Built-in 4-Burner Stainless Steel
A 304-stainless 4-burner grill gives you true multi-zone cooking and the corrosion resistance to live outdoors year-round. Buy it before you cut any built-in opening.
Check Price on Amazon →If you are doing a built-in island, measure the manufacturer's required cutout and their clearance to combustibles, then buy the grill before you build the hole. I have demolished beautiful stonework because the homeowner sized the opening to a grill that was discontinued by install day.
Add the Prep Counter, Ventilation, and Workflow
A grill with no landing zone is half a kitchen. The upgrade that changes everything is counter space on both sides of the grill. A restaurant-style stainless prep table is the cheapest way to get a wipe-clean, weatherproof counter, and it gives you a shelf underneath for the platter stack and paper towels. Set it to about 36 inches high — the same as an indoor counter — so you are not hunched over all night.
Outdoor Kitchen Prep Table Stainless Steel
A wipe-clean stainless prep table at counter height gives you a raw-side and a cooked-side landing zone plus an under-shelf for supplies. The cheapest workflow upgrade there is.
Check Price on Amazon →On ventilation: for any open-air station, your real job is keeping smoke off the cook and the guests, which is mostly about orientation and overhead clearance, not a vent hood. If you ever enclose a grill under a roof, three walls, or a solid pergola, you have created a confined space and you now need a UL-listed outdoor vent hood sized to the grill's BTU load — that is a different project with its own code requirements. Open-air is simpler and safer; keep it open if you can.
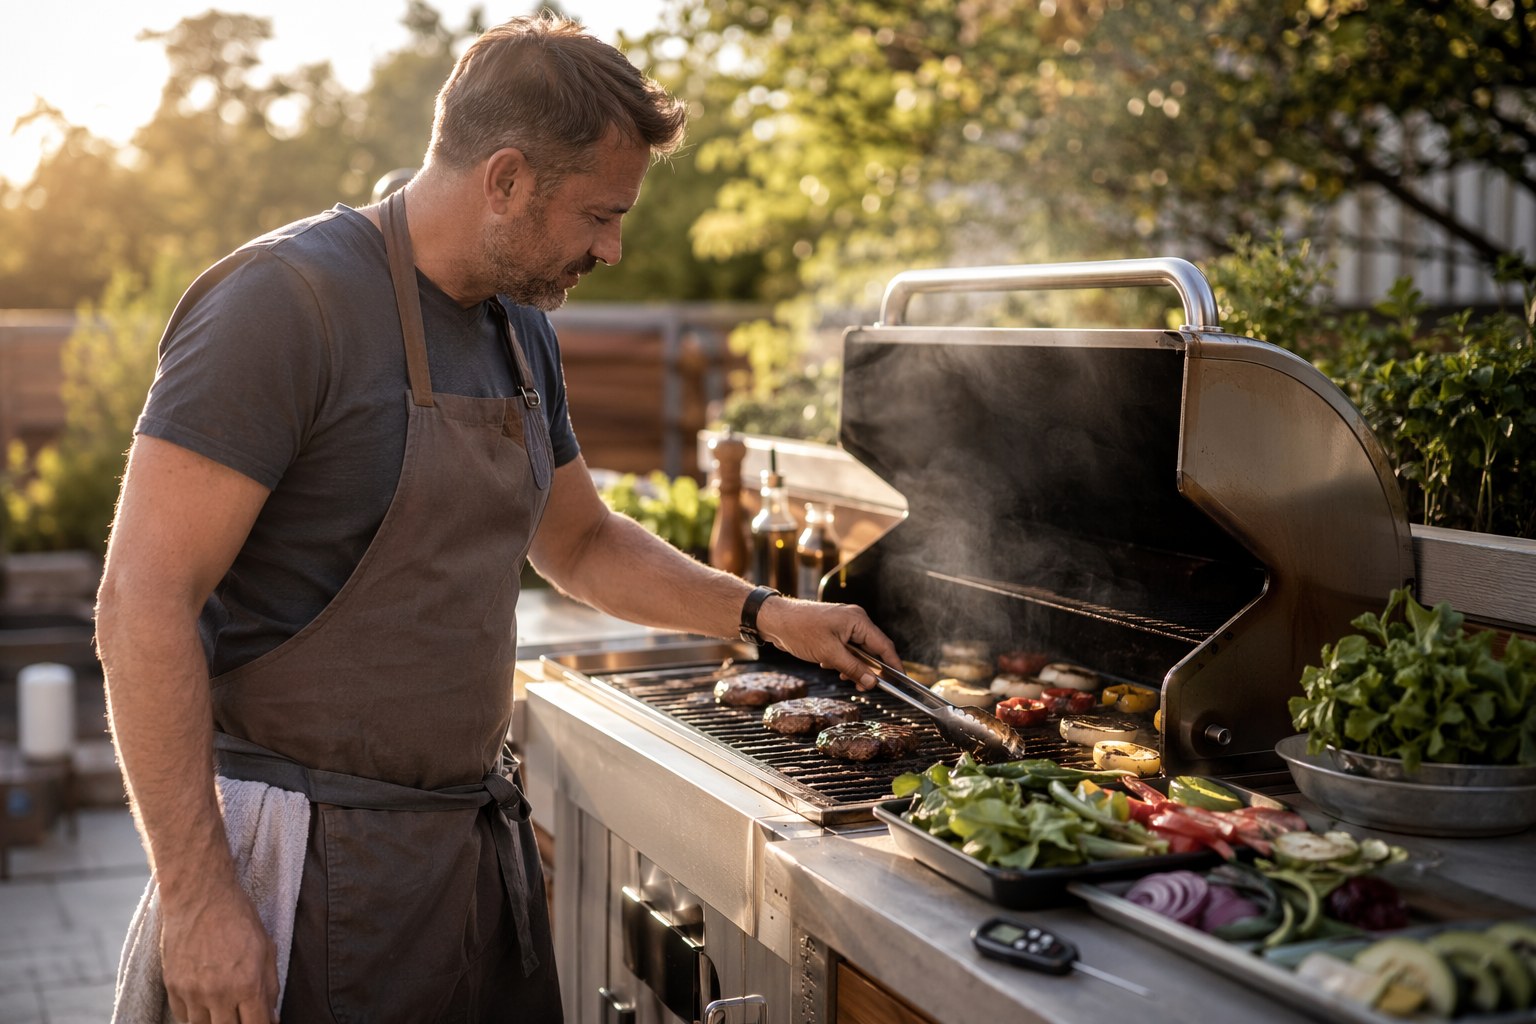
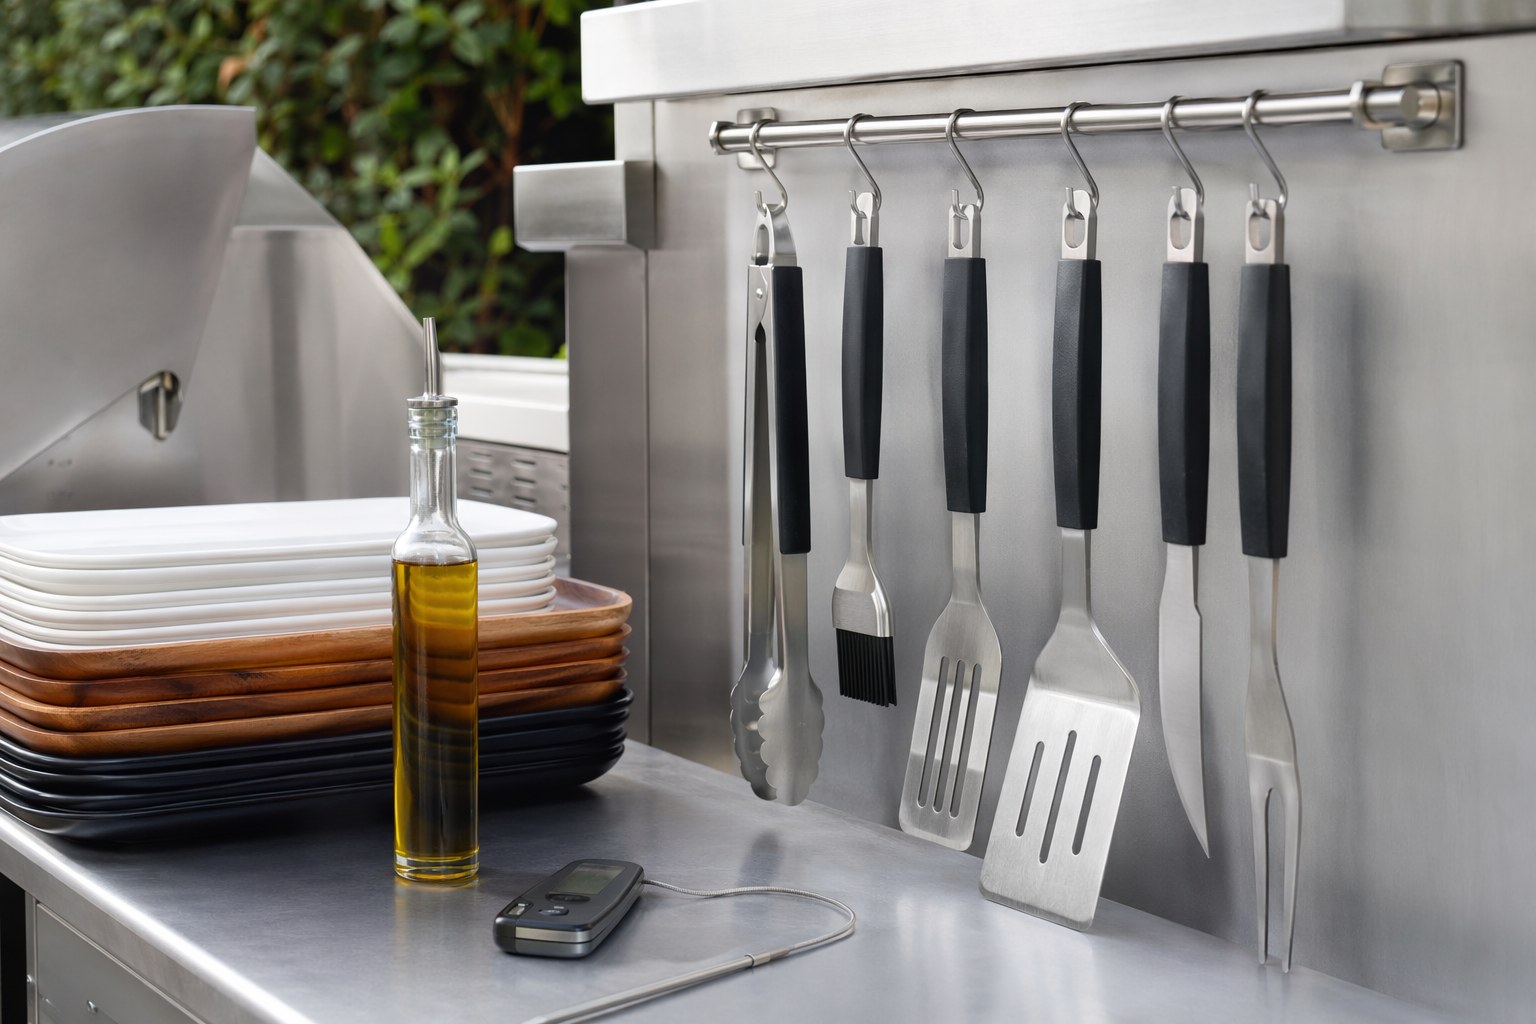
Think like a line cook about the rest. Stage a tool rail so tongs and a spatula are at arm's reach, a trash bin at your hip, and a small bin of supplies — instant-read thermometer, oil, scraper, foil — set out before you light up so you are never running inside mid-cook. A clean, organized set of tools is worth more than another burner.
Grill Tool Set Professional 6-Piece
A heavy stainless set with a spatula, tongs, fork, and brush that actually hold up to a hot firebox. Hang them on a rail by the prep table, not in a drawer ten feet away.
Check Price on Amazon →Two links worth bookmarking before your first cookout: pull meat by temperature, not by guessing, using one of the best instant-read meat thermometers, and make the day smoother by batching sides and sauces ahead with our prep cookout staples ahead plan.
Protect It So It Lasts a Decade
You just put a stainless appliance out in the weather 24/7. The single best habit is a heavy-duty, waterproof cover — let the grill cool fully first, and choose one with a vent or breathable panel so trapped moisture does not condense and rust the lid from the inside.
Grill Cover Heavy Duty Waterproof
A UV-resistant fitted cover with tie-downs keeps rain, sun, and pollen off the grill. It is the cheapest insurance you can buy for an expensive appliance.
Check Price on Amazon →Build the rest into your routine: burn off and brush the grates while warm after every cook, empty the grease tray often (a full one is a genuine fire hazard), and leak-test the gas hose every spring. Deep clean and de-rust the grates at the start and end of the season — if yours are already pitted, our guide on removing rust from grill grates brings them back to bare, seasonable steel.
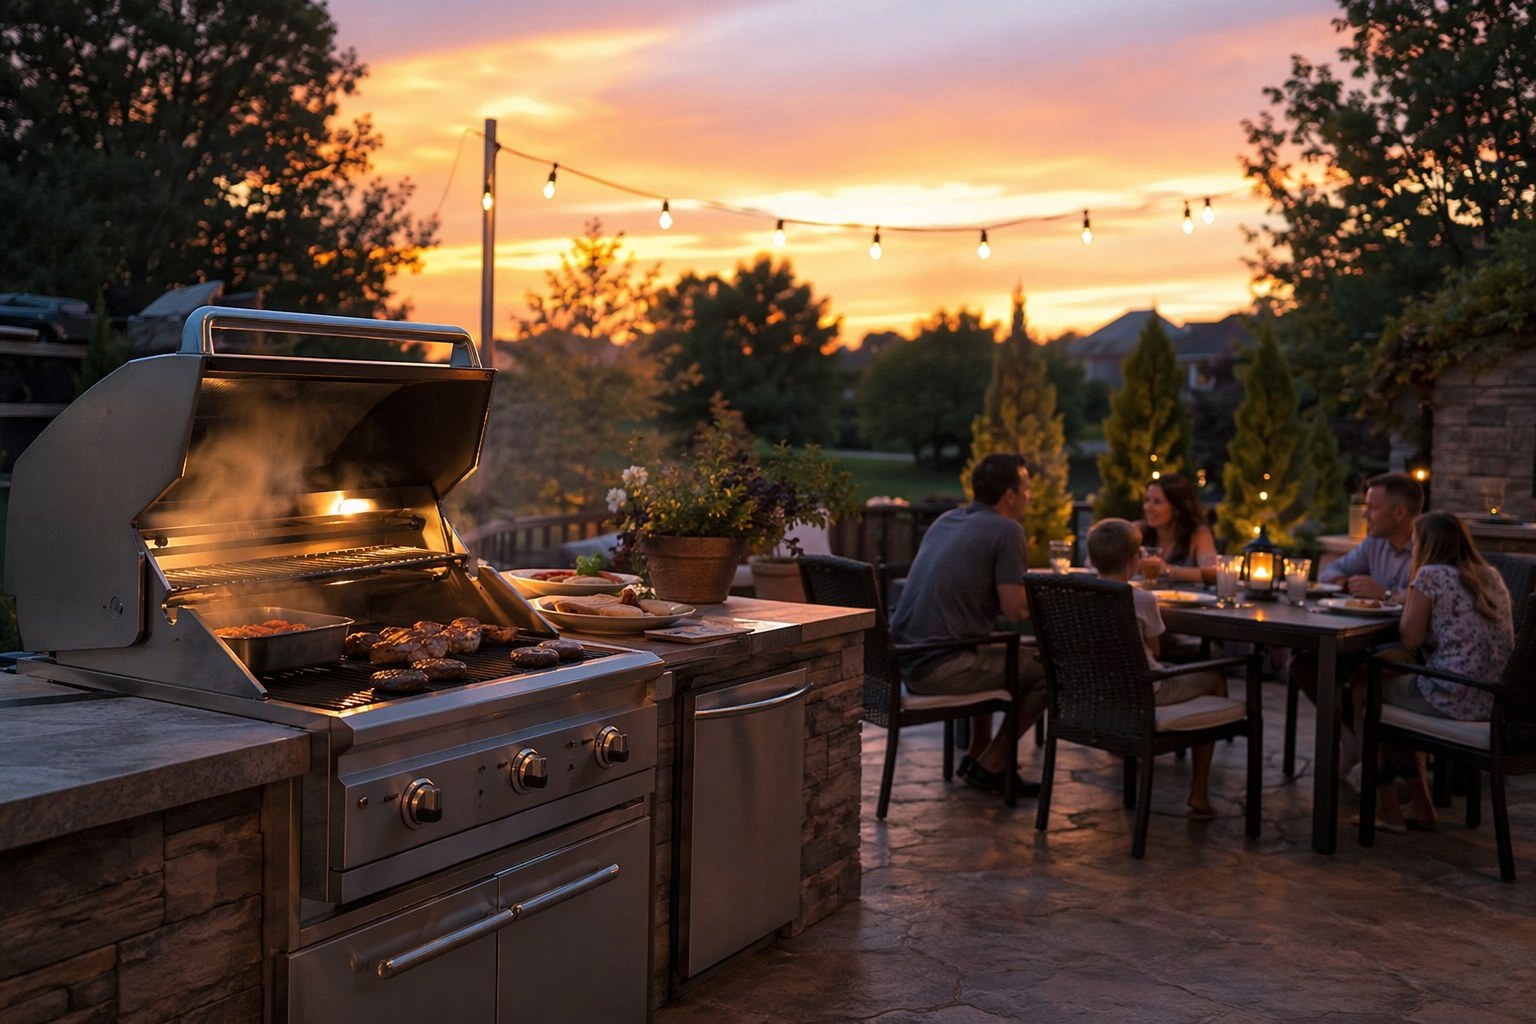
While the patio is torn up for this project, finish the living space around it — comfortable seating turns a cook station into the spot everyone hangs out. We track the best outdoor patio furniture deals through the season.
Frequently Asked Questions
How far does a grill need to be from the house?
At least 10 feet from the house and any combustible structure, with 3 feet of clearance on every side, and never under a low overhang, wood pergola, or vinyl soffit. Built-in installs must follow the manufacturer's printed clearance-to-combustibles number exactly. Vinyl siding can warp around 160°F, so if your only spot is near a wall or wood deck, add a non-combustible barrier behind and under the grill.
Do I need a permit to run gas to my grill station?
For a natural gas line, almost always yes, and it should be done by a licensed plumber or gas fitter who pulls the permit and pressure-tests the line. Propane from a standard 20-pound tank needs no permit and is the simplest setup — just keep the tank ventilated and leak-test every fitting with soapy water before lighting.
What size base do I need for a backyard grill station?
Plan a pad at least 8 feet wide by 5 feet deep so you have room for the grill, prep counter, and a 3-foot aisle to stand and pass behind. A compacted gravel base topped with pavers or a poured concrete slab is the best value — flat, fireproof, and drainable. Slope it a quarter-inch per foot away from the house and check it dead level before setting anything on it.
How many BTUs should an outdoor grill have?
Aim for roughly 80 to 100 BTU per square inch of primary cooking area, so a 500-square-inch grill wants about 40,000 to 50,000 BTU across its main burners. Independent burner control for two-zone cooking matters far more than a huge total BTU figure, which is mostly a marketing number.
How much should a backyard grill station cost?
A solid freestanding setup — a 304-stainless 3- or 4-burner grill, a stainless prep table, a cover, a tool set, and a paver pad — lands around $900 to $1,600 and serves a family for years. Full built-in masonry kitchens with a natural gas line run several thousand and up. Start freestanding and movable; you can always upgrade once you know how you actually use the space.
Final Thoughts
The perfect grill station is not the one with the most stainless steel. It is the one that keeps the fire a safe distance from everything that can burn, sits dead level on a fireproof base, handles the gas honestly, and puts the right tools within arm's reach. Stake out the footprint this weekend, prove your clearances with a tape measure, set the pad, and have it ready before the first long summer evening. Standing over a hot grill with a cold drink and everything exactly where it belongs beats fighting your own setup every single time.
Get weekly home tips that actually work
Join thousands of homeowners getting practical cleaning hacks, DIY fixes, and money-saving tips every week. Free, and you can unsubscribe anytime.

Written by
Marcus ChenDIY & Home Repair Editor
Marcus Chen spent fifteen years as a licensed general contractor in the Pacific Northwest before joining Practical Home Guides full time. He specializes in plumbing, electrical, and weekend warrior projects that save homeowners thousands. Marcus has personally tested every tool he recommends in his own century-old fixer-upper.
Recommended Products
Looking for specific product recommendations? Check out our tested picks.

Best Cordless String Trimmers (2026 Tested)
Battery-powered string trimmers have caught up to gas. We tested the top models on bermuda, fescue, and overgrown areas to find the picks worth your money.

Best Basement Dehumidifiers (2026 Buyer's Guide)
Damp basements destroy stored items, grow mold, and stink. We tested dehumidifiers for capacity, durability, and energy use to find the picks worth the money.

Best Wet/Dry Shop Vacs (2026 Tested)
Whether you need to clean a flooded basement, dust the garage, or pick up workshop debris, here are the wet/dry shop vacs worth the money.

Best Electric Leaf Blowers (2026 Buyer's Guide)
Cordless and corded electric leaf blowers tested for power, runtime, and noise. Our picks for small yards, large yards, and pro-grade home use.

Best Cordless Lawn Mowers (2026 Spring Buyer's Guide)
Battery-powered mowers have caught up to gas. We tested the top cordless mowers on grass length, slopes, and runtime to find the picks worth your money.

5 Best Cordless Drills for Homeowners (2026)
Find the right cordless drill for home projects without overspending. We compared the top drills for DIYers — here are the 5 best for everyday home use.

Best Home Tool Kits for Beginners (2026)
The best home tool kits for new homeowners and renters. We compare 6 tool sets from basic to comprehensive, so you can handle common repairs without calling a handyman.
Related Articles
Cordless vs. Corded vs. Pneumatic: The Homeowner's Tool System Buying Guide
Cordless, corded, or pneumatic? A homeowner's guide to choosing a power tool ecosystem (DeWalt, Milwaukee, Makita, Ryobi) with a starter-to-advanced path.
End-of-May Home Audit: Fix 5 Summer Safety Issues Before June Heat
A contractor's final spring safety audit. Five critical ventilation, electrical, plumbing, and cooling checks to fix before extreme June heat hits your home.
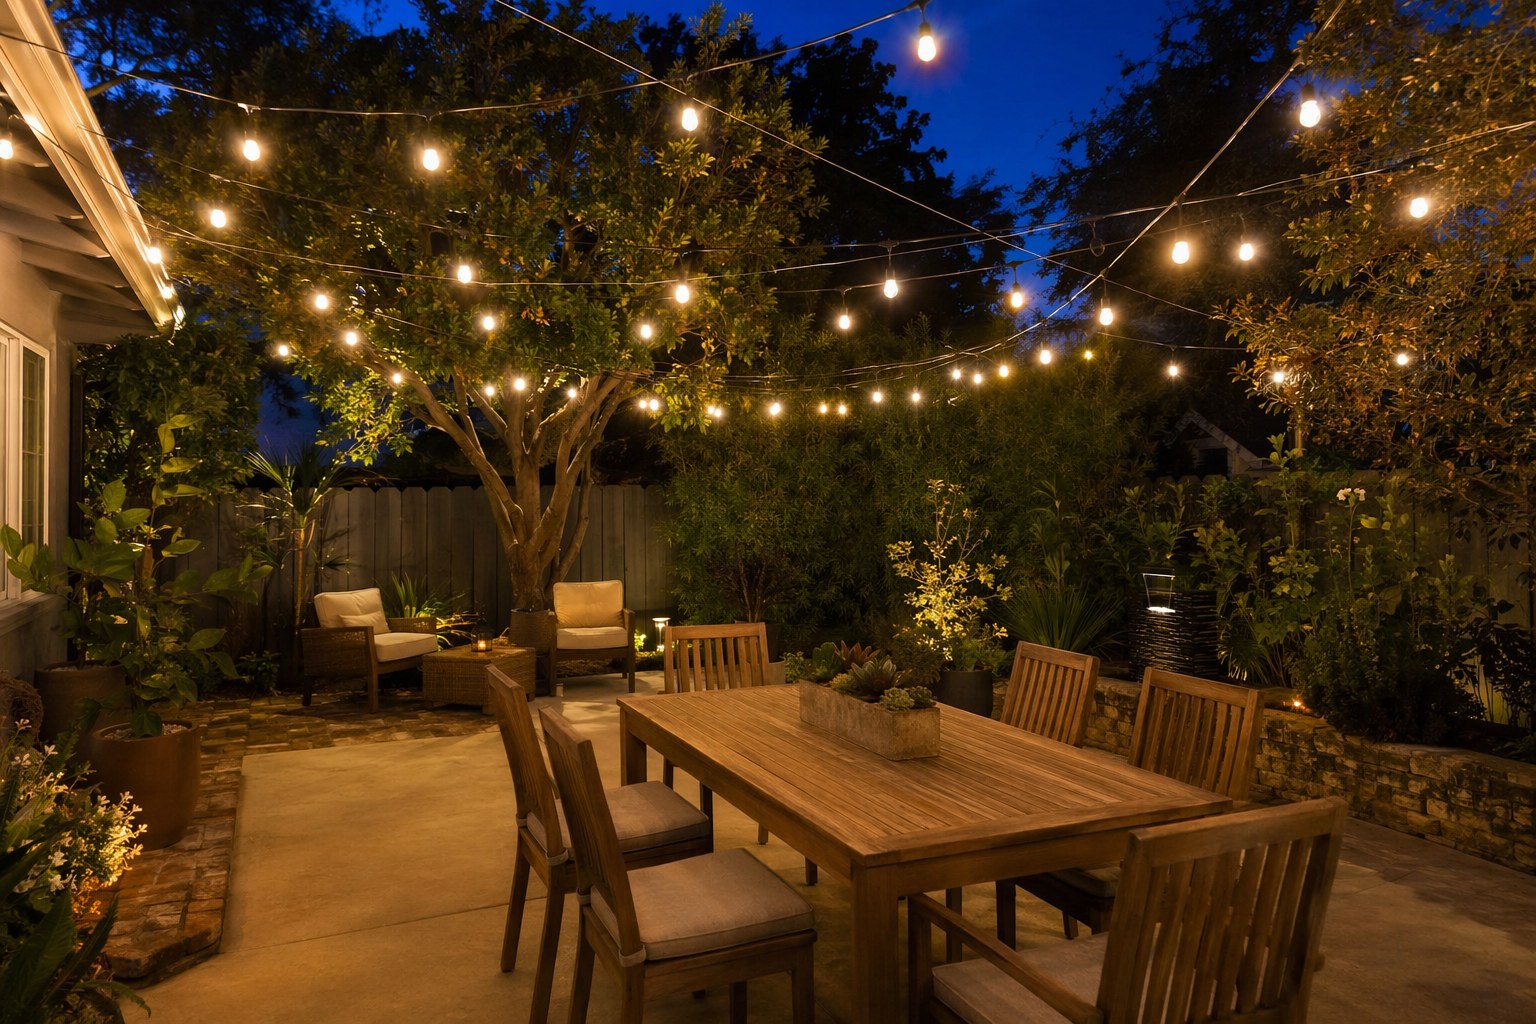
Backyard Lighting Design: Create Ambiance for Summer Evenings
An electrician's guide to safe backyard lighting design. Layer string lights, path lights, and uplighting in zones for ambiance plus task lighting that lasts.
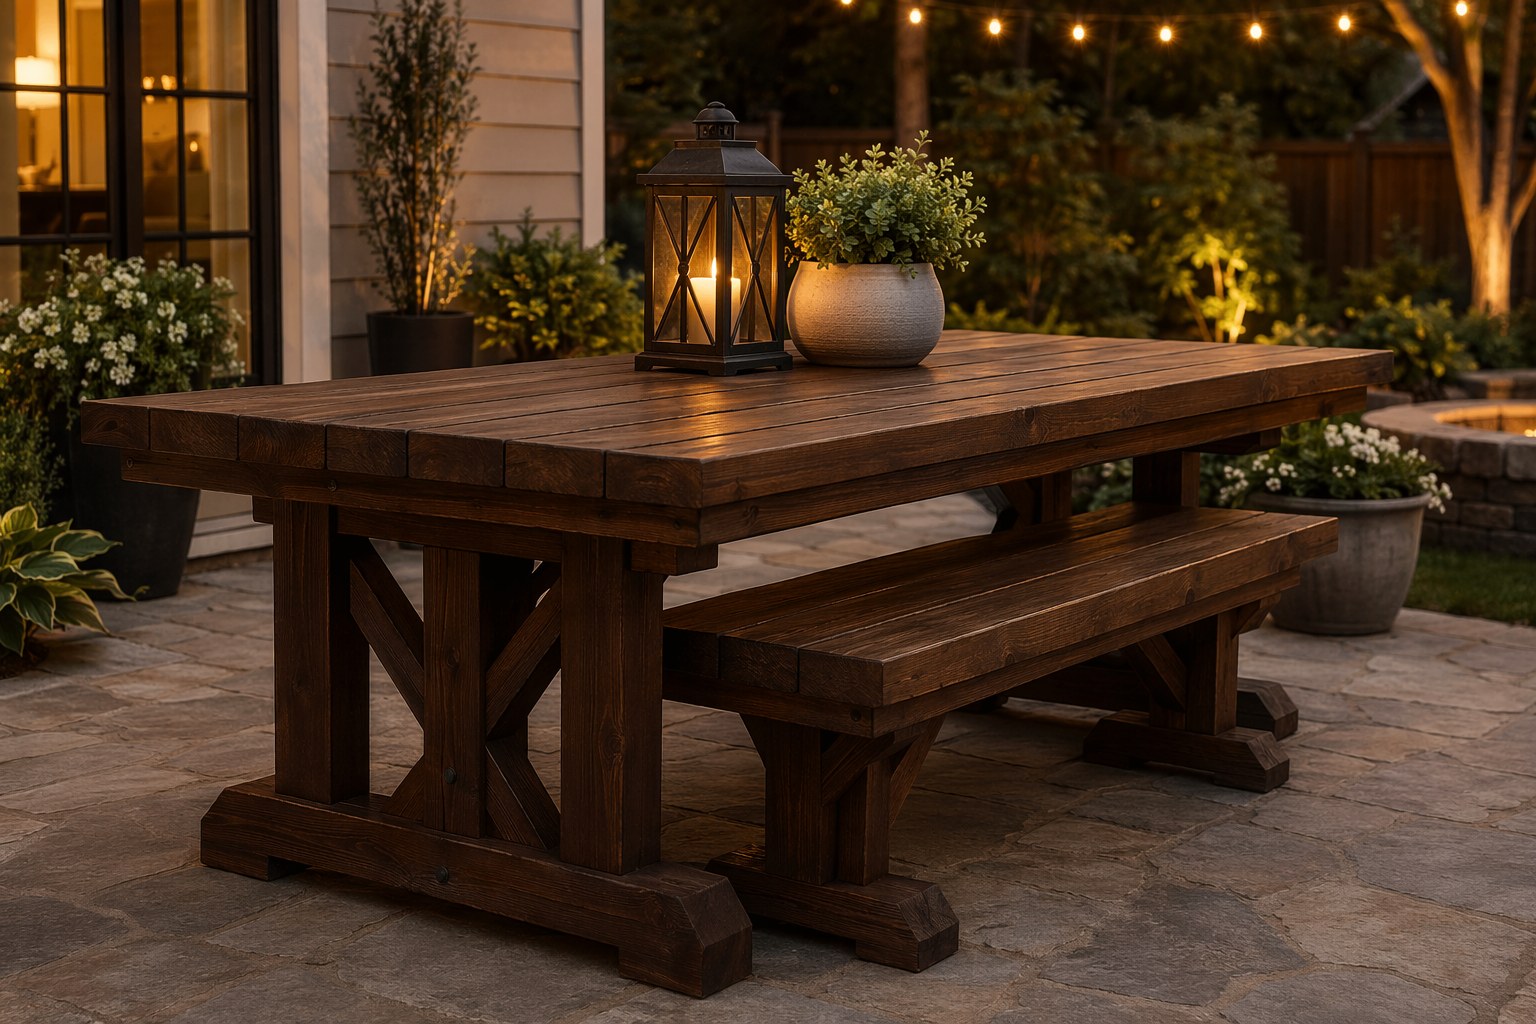
Budget Outdoor Dining: Building a Patio Table & Bench Setup
A carpenter's plans for a sturdy 2x4 outdoor dining table and bench set that seats 8, costs about 300 dollars in materials, and lasts 20 years.