Budget Outdoor Dining: Building a Patio Table & Bench Setup
This article may contain affiliate links. If you make a purchase through these links, we may earn a small commission at no extra cost to you. Learn more
Quick Answer
Budget Outdoor Dining: Building a Patio Table & Bench Setup
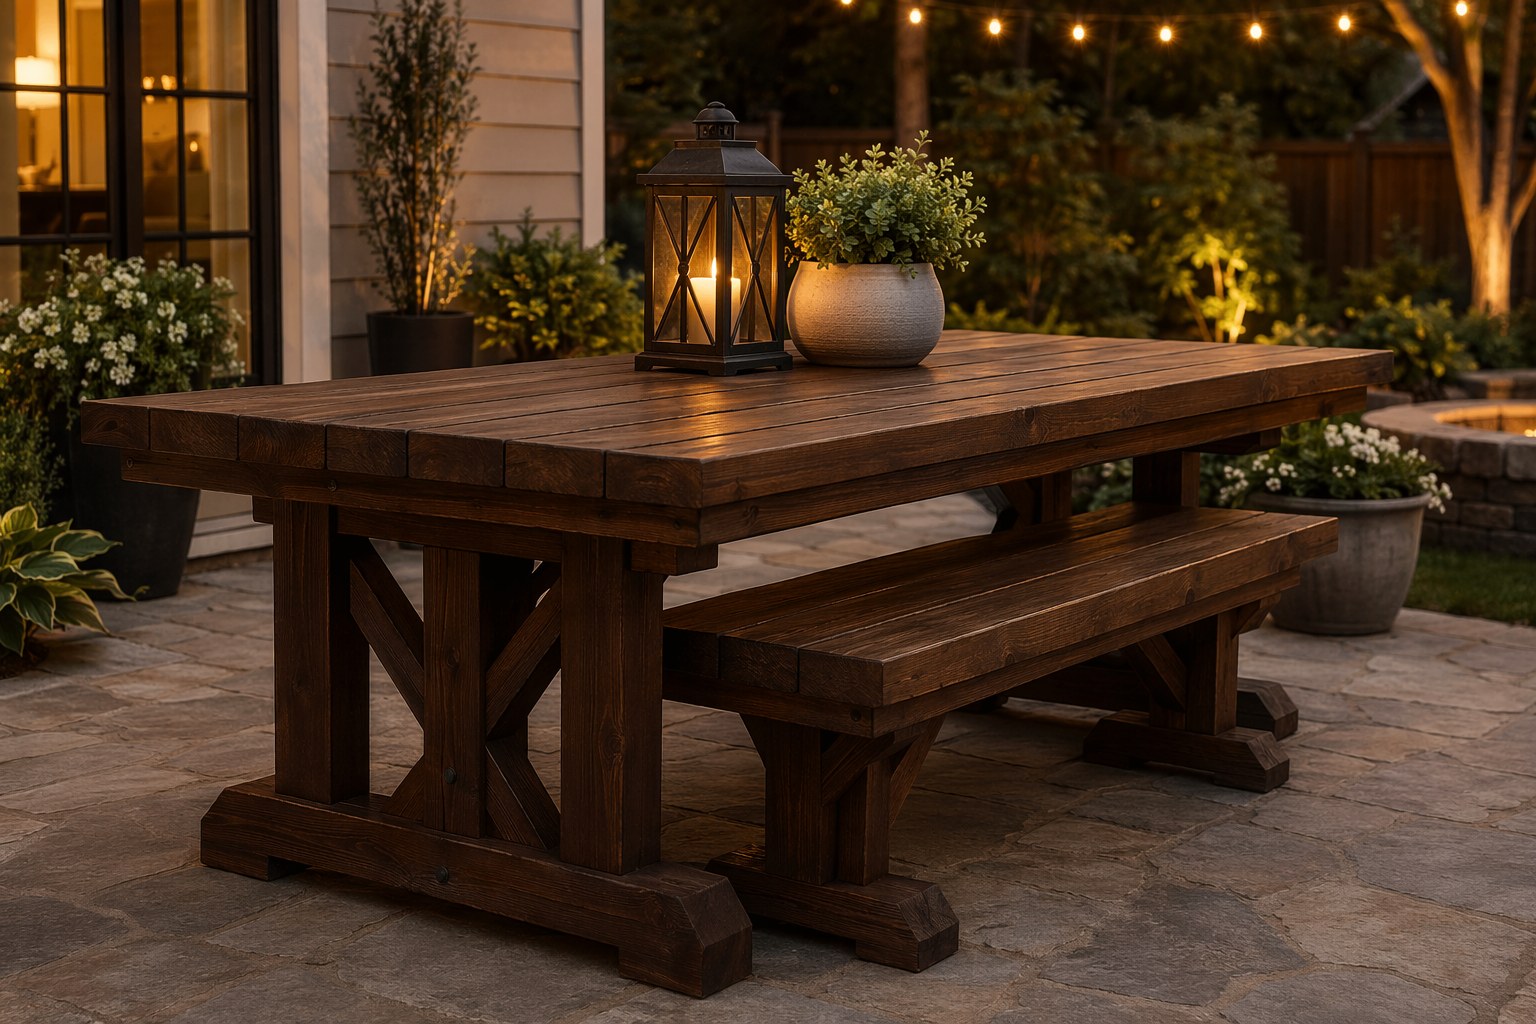
You can build a sturdy 8-seat outdoor dining set from 2x4 lumber for about 300 dollars in materials. Use pressure-treated 2x4s, stainless or galvanized bolts and exterior screws, a dark walnut stain, and two coats of waterproof polyurethane. The table is a 72-inch top on a trestle base; two matching benches slide underneath. With a drill, an impact driver, and a circular saw, it's a one-weekend build that lasts 20 years.
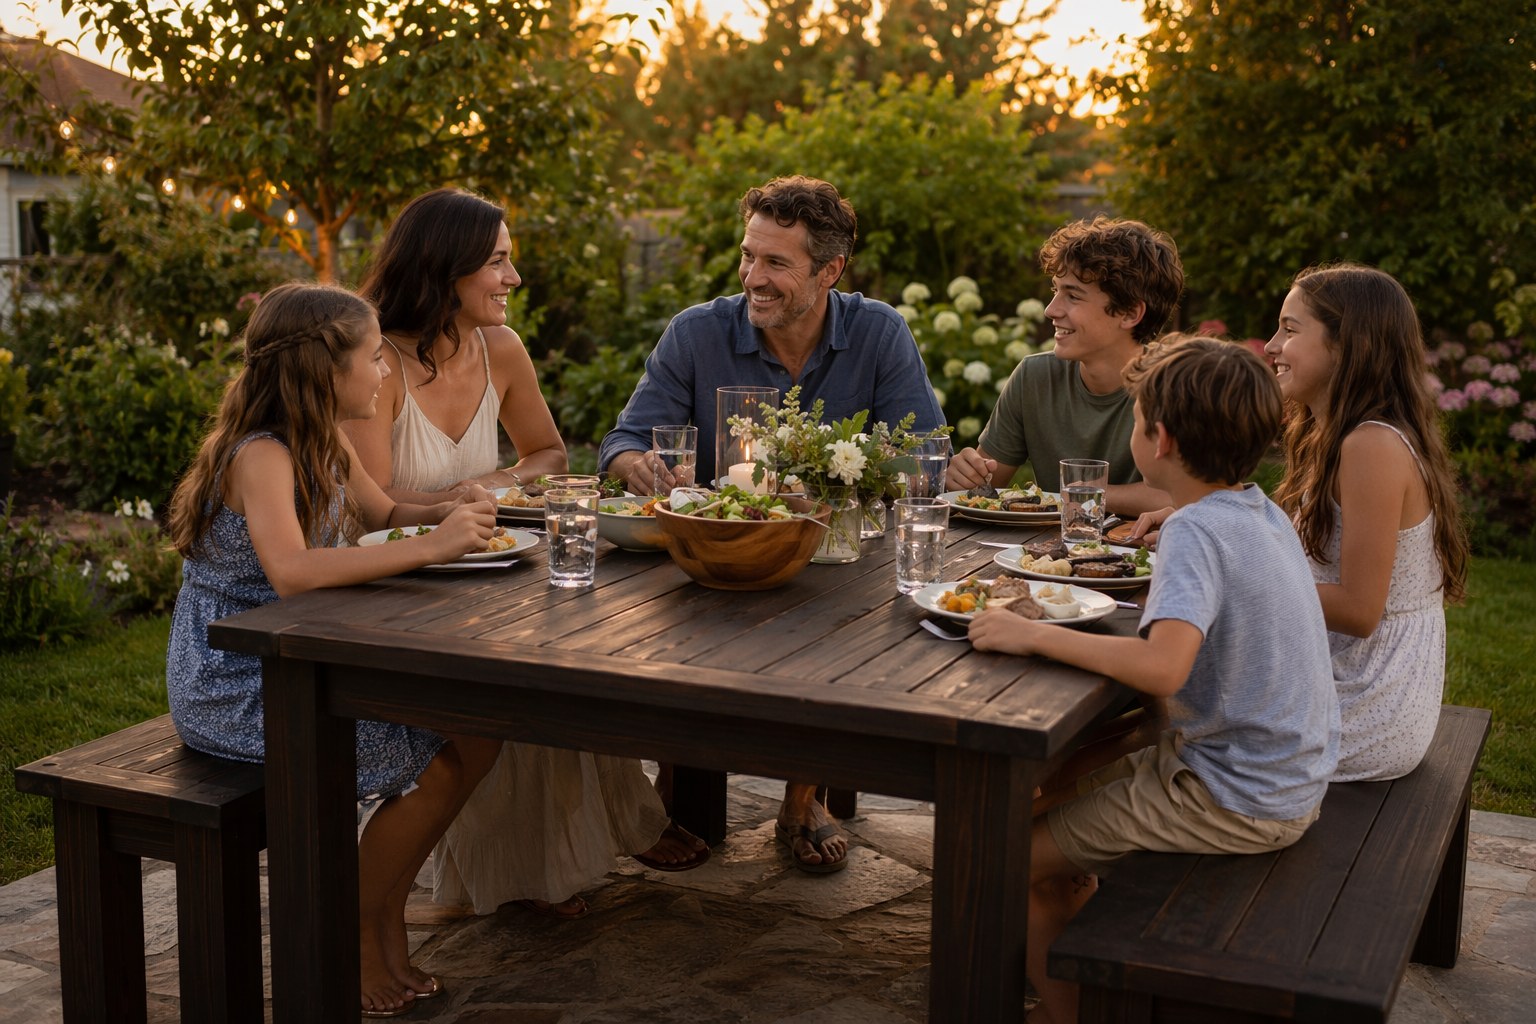
A retail patio dining set that seats eight runs 800 to 2,000 dollars, and most of it is hollow aluminum or particleboard wrapped in a "teak look" laminate that swells and peels by the second summer. I've hauled three of those to the dump for clients who were fed up. You can build a real one — solid 2x4 framing, stainless hardware, a finish that actually sheds water — for about 300 dollars in materials and one weekend of work. It seats eight, weighs enough that the wind won't move it, and if you reseal it every couple of years it'll outlast your patio.
This is the set I build for my own family and the plan I hand to clients who want to do it themselves. No fancy joinery, no router, no domino jig. If you can cut a straight line and drive a screw, you can build this.
What You're Building and What It Costs
The set is three pieces: one trestle table and two long benches that slide underneath when you're done eating. The table top is 72 inches long and 35 inches wide — enough for four place settings per side, eight people total without anyone bumping elbows. The benches are 60 inches each, seating three adults comfortably or four kids.
Here's the honest materials breakdown at the prices I paid this spring. Lumber jumps around, so call it a range:
| Item | Quantity | Cost |
|---|---|---|
| Pressure-treated 2x4x8 | 14 boards | 95 to 120 dollars |
| Stainless or galvanized carriage bolts, washers, nuts (3/8 x 4 in) | ~16 | 25 to 35 dollars |
| Exterior structural screws (2.5 and 3.5 in) | 1 lb box each | 30 dollars |
| Exterior wood stain, dark walnut | 1 quart | 18 dollars |
| Waterproof polyurethane / spar finish | 1 quart | 22 dollars |
| Wood glue (Titebond III) | 1 bottle | 8 dollars |
| Sandpaper, brushes, rags | — | 20 dollars |
That lands between 220 and 260 dollars if you already own tools. Round up to 300 to cover a wasted board or two and a second quart of finish, which I always recommend. Compare that to the 800-dollar floor on a comparable retail set and you see why I keep building these.
Pressure Treated 2x4x8 Lumber 10 Pack
Ground-contact rated pressure-treated 2x4s — the backbone of the whole set. Buy a couple extra; you'll find a warped one in every bundle.
Check Price on Amazon →A note on lumber: buy it in person if you can and sight down every board for crook and twist. Pressure-treated stock is wet when you buy it and will move as it dries, so pick the straightest boards and let them sit in your garage for a week before building if you have the time. If you can only get it delivered, order two or three extra boards and use the worst ones for the hidden cross-braces.
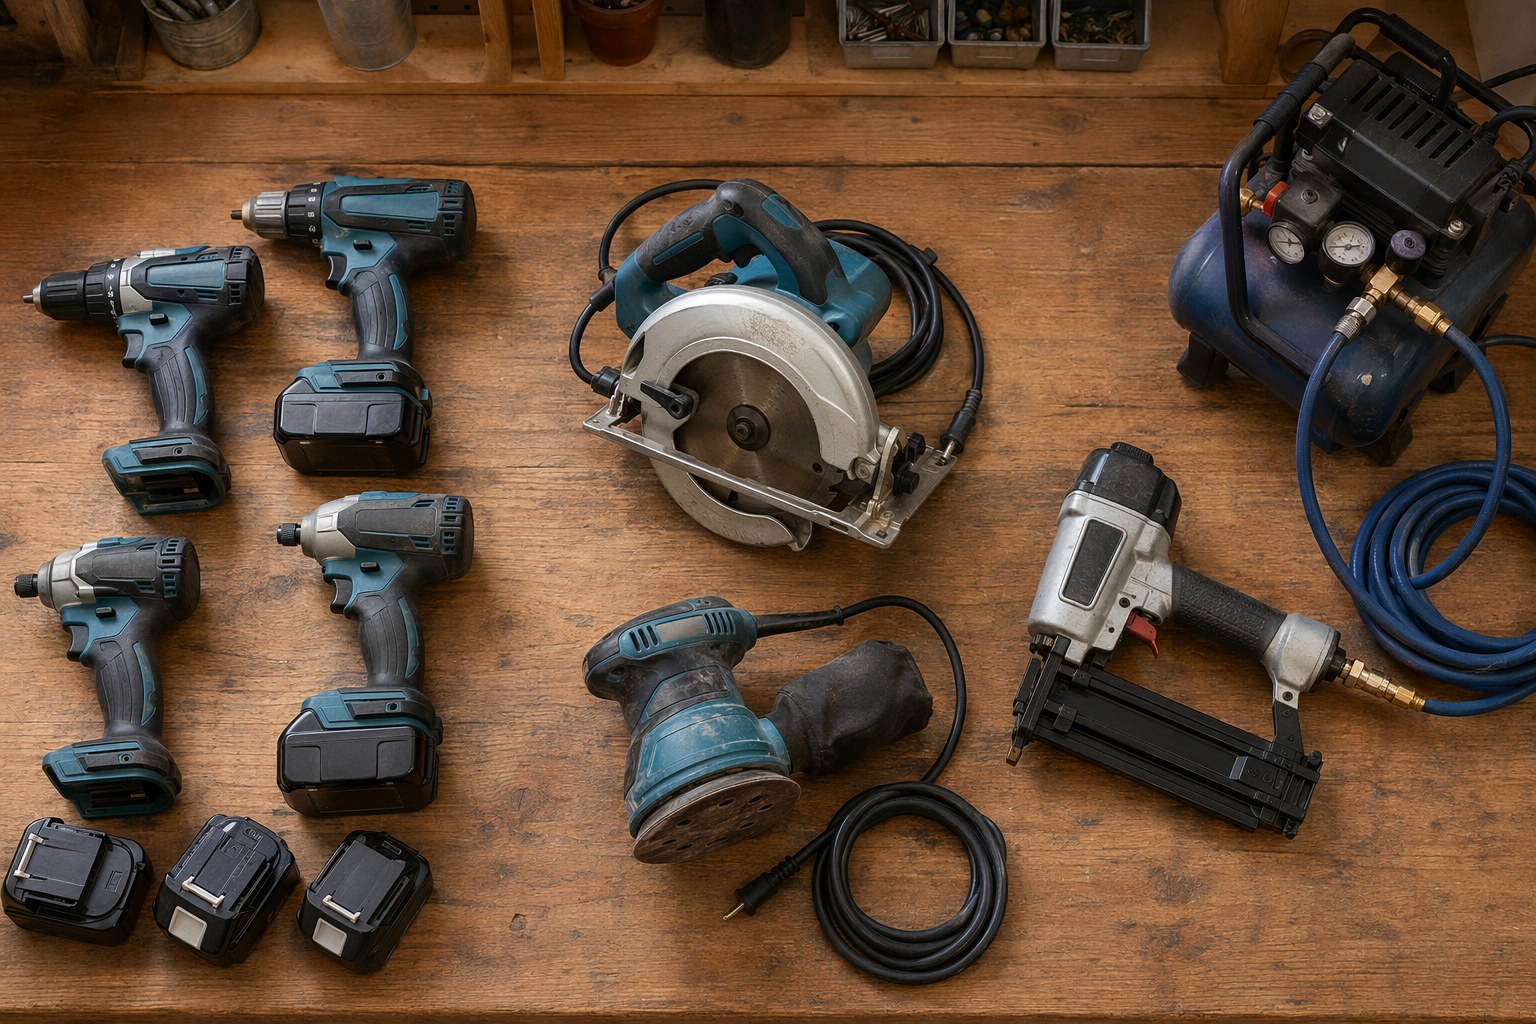
Tools You Actually Need
You don't need a shop. I've built this set on a driveway with sawhorses. The non-negotiables:
- A circular saw (or a miter saw if you have one — faster and squarer)
- A cordless drill for pilot holes
- An impact driver for driving structural screws
- A 9/16-inch socket or wrench for the bolts
- A speed square, tape measure, and clamps
- A drill bit set including a 3/8-inch bit for the bolt holes
If you're buying tools, the drill-and-impact combo is the purchase that pays off forever. A single drill makes you swap bits constantly; running pilot holes on the drill and screws on the impact cuts the build time in half. I get into the specifics in our best cordless drills for homeowners guide, and if this is your first real project, the beginner tool kit roundup covers everything else on this list.
Power Drill Cordless Impact Driver Combo
A drill plus impact driver in one kit. The drill bores pilot holes, the impact sinks structural screws without stripping them. The single most useful purchase for this build.
Check Price on Amazon →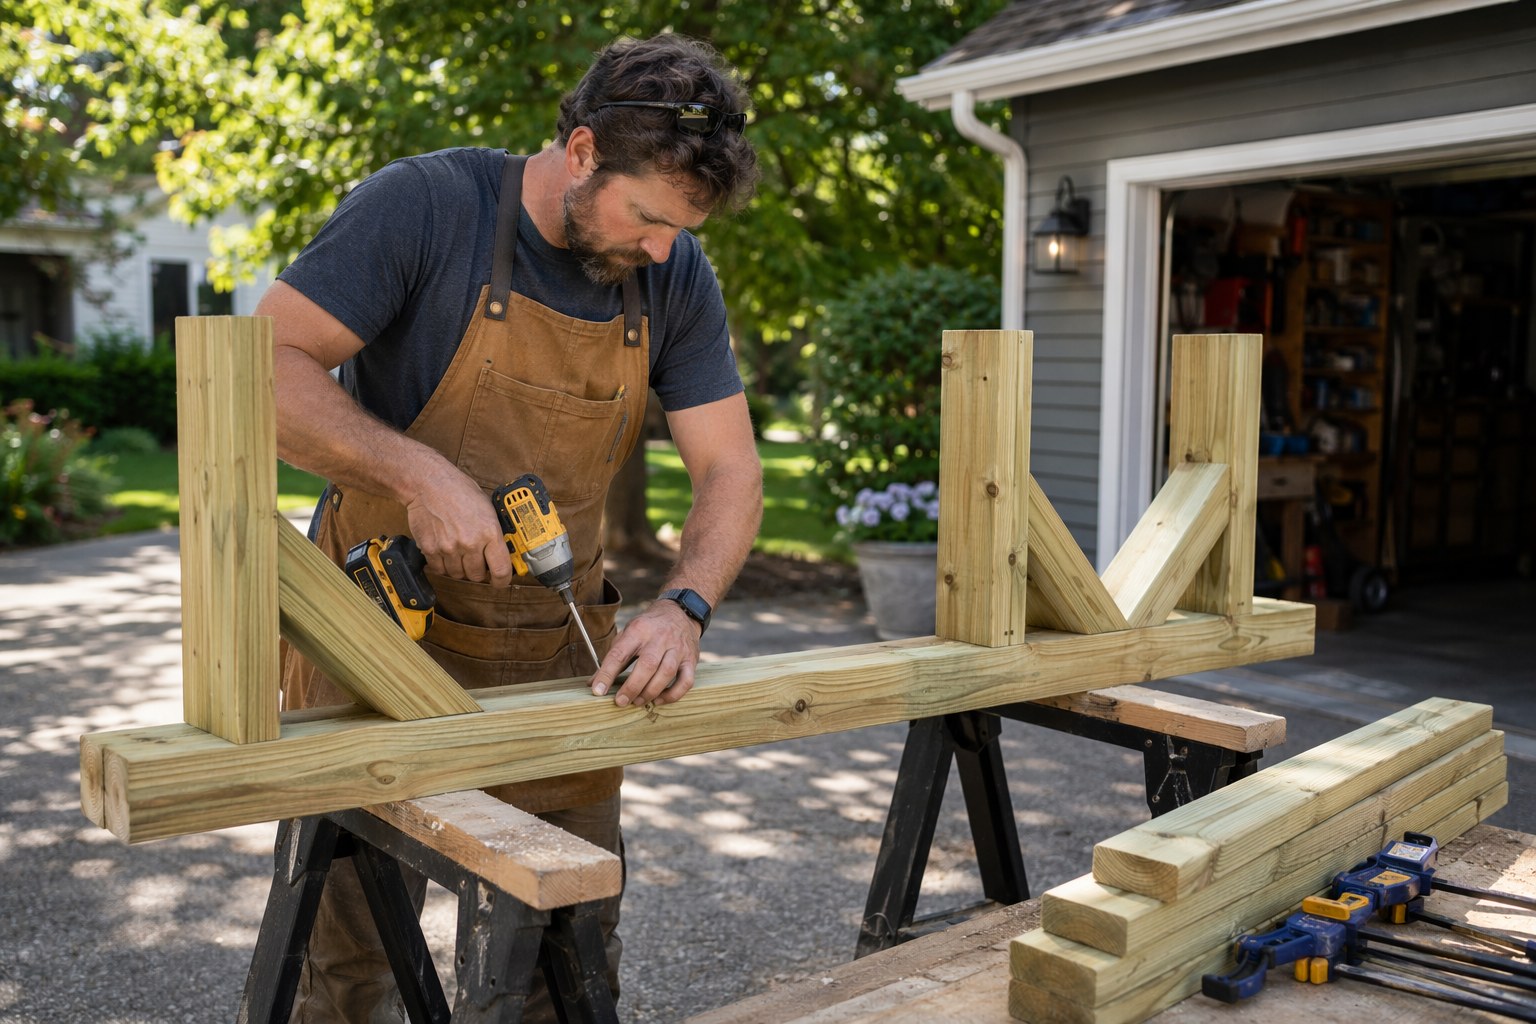
The Cut List
Mark and cut everything first, label each piece with a pencil, and the assembly goes fast. From your 14 boards:
Table top: 5 pieces at 72 inches (the planks you eat off of).
Table frame and legs:
- 2 legs assemblies — cut 4 pieces at 28 inches (uprights) and 2 at 30 inches (feet) and 2 at 24 inches (top cross-pieces)
- 1 stretcher at 56 inches (the long beam tying the two leg assemblies together)
Each bench (build two):
- 3 pieces at 60 inches (seat planks)
- 4 legs at 16 inches
- 2 top cross-pieces at 11 inches
- 2 feet at 13 inches
- 1 stretcher at 48 inches
I cut the table legs at a 28-inch height so the finished top sits at about 29.5 inches — standard dining height. The benches finish at 17.5 inches, which tucks them just under the table apron. If you're tall or short, adjust the leg lengths in 1-inch steps and keep roughly a 12-inch gap between the seat and the underside of the table top.
Assembly, Step by Step
1. Build the two leg assemblies
Each end of the table is an "H" shape: two uprights joined by a top cross-piece and standing on a foot. Lay two 28-inch uprights flat, set the 24-inch cross-piece across the top and the 30-inch foot across the bottom, and check everything with the speed square. Glue the joints with Titebond III (the only wood glue rated for full outdoor immersion), then drive two 3.5-inch structural screws through each joint. Build both ends identical.
2. Connect them with the stretcher
Stand both H-assemblies upright, about 56 inches apart. The 56-inch stretcher runs between them at the top, just under where the cross-pieces sit. This is where bolts matter: drill a 3/8-inch hole through each upright and the stretcher end, then run a carriage bolt through with a washer and nut. Screws alone will eventually wallow out here from the racking force of people leaning on the table. Bolts won't.
Stainless Steel Bolts Hardware Assortment Kit
Carriage bolts, washers, and nuts in 304 stainless. The connections that take racking stress — leg-to-stretcher joints — need bolts, not screws. Stainless won't bleed rust streaks down your stain.
Check Price on Amazon →Use stainless or hot-dipped galvanized hardware only. Regular zinc-plated bolts react with the copper in pressure-treated wood and bleed black-brown stains down your freshly finished legs within a season. I learned that one the hard way on my own first table.
3. Lay the top
Set your five 72-inch planks across the leg cross-pieces, leaving a 1/8-inch gap between them — a credit card makes a perfect spacer. Those gaps let rain drain and the wood breathe instead of trapping water and cupping. The top should overhang the legs by about 8 inches on each end so people can sit at the ends too. Screw each plank down into the cross-pieces from above with 2.5-inch exterior screws, two per plank per end. Countersink the heads slightly so they sit below the surface.
4. Build the benches
The benches are just miniature versions of the table — same H-leg, stretcher, and plank-top sequence at smaller dimensions. Three 60-inch planks per bench, again with 1/8-inch drainage gaps. Bolt the stretcher, screw the rest. Each bench takes about 45 minutes once you've done the table and have the rhythm down.
The whole assembly is the same wall-into-stud logic I lean on for floating shelves — find the structural members, pre-drill, and let the fasteners do real work instead of relying on the wood to hold a screw at the edge.
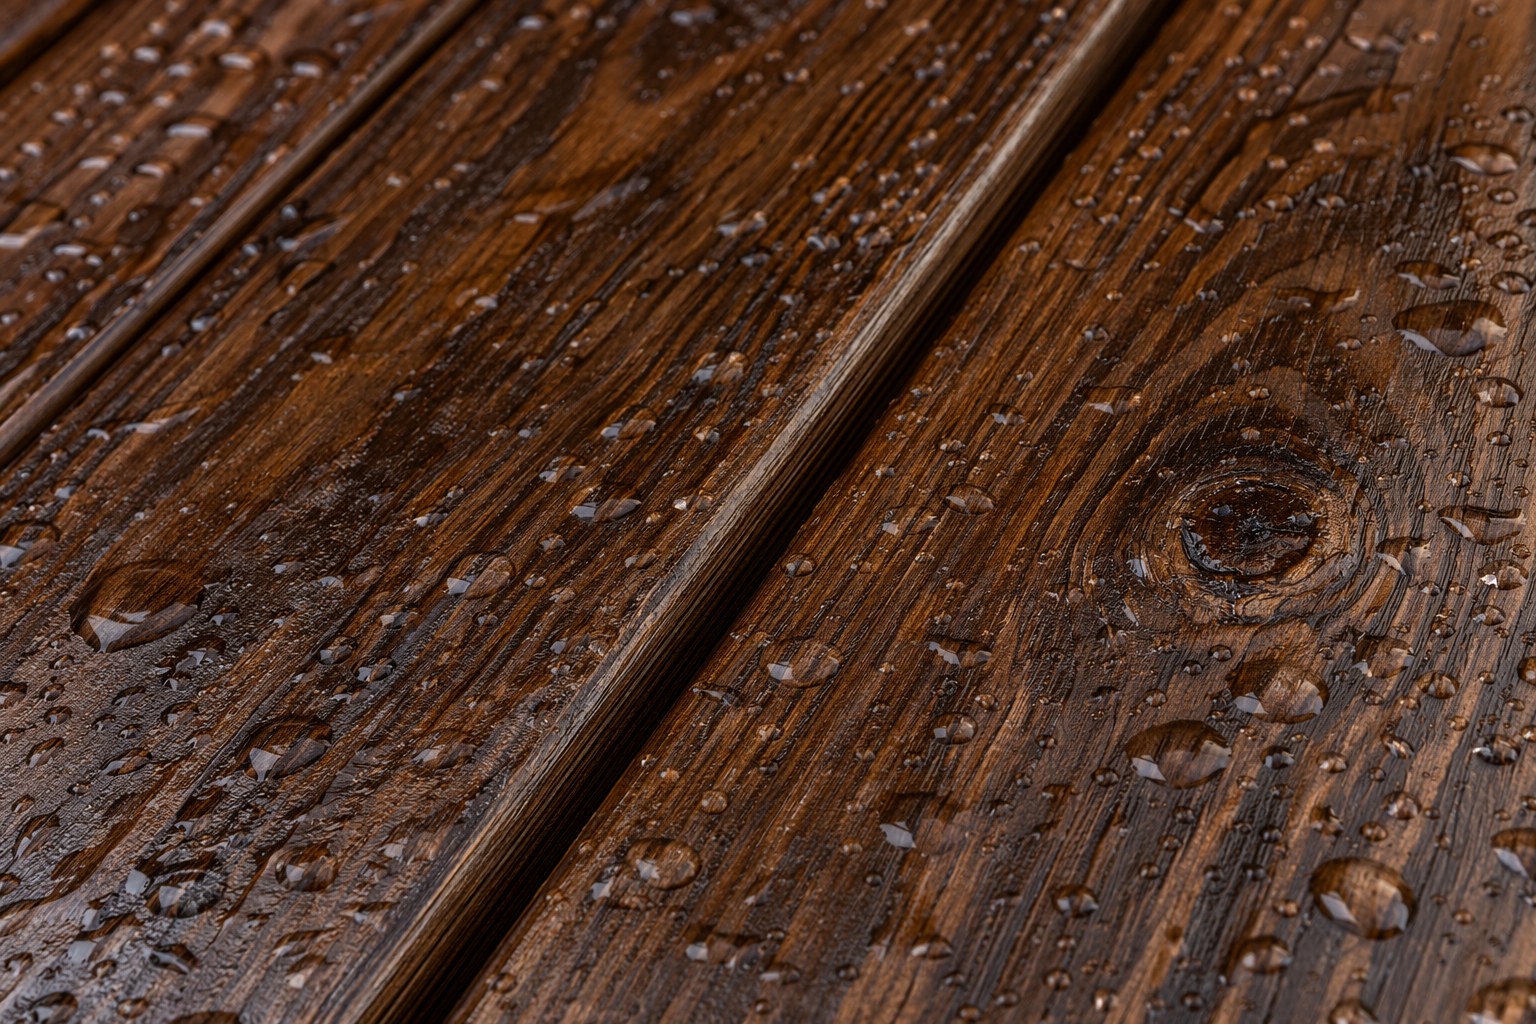
Finishing So It Lasts 20 Years
This is where most DIY sets fail. People build solid furniture and then slap one coat of stain on it and call it done. Stain colors the wood; it does almost nothing to keep water out. You need a film-forming sealer on top.
Wait at least two to four weeks if your pressure-treated lumber was wet at purchase — finish won't stick to damp wood. Sand everything to 120 grit, knock down every splinter and sharp edge (kids will run their hands along these), and wipe off the dust.
Brush on the dark walnut stain, let it sit 5 to 10 minutes, then wipe off the excess. One even coat is plenty; a second deepens the color if you want it darker. Let it cure overnight.
Exterior Wood Stain Dark Walnut Gallon
A penetrating exterior stain that gives pressure-treated pine a rich, almost teak-like tone. A quart covers this whole set with some to spare; buy the gallon if you have a deck to match.
Check Price on Amazon →Then comes the part that actually protects the table: two coats of waterproof polyurethane or spar finish, sanding lightly with 220 grit between coats. Spar finish stays slightly flexible so it doesn't crack when the wood expands and contracts through summer and winter. Pay special attention to the end grain on every cut — that's where water wicks in and rot starts. Flood the end grain.
Waterproof Wood Sealant Polyurethane Finish
The film-forming top coat that does the real waterproofing. Two coats over your stain, with extra attention to end grain. This is the step that turns a 3-year table into a 20-year one.
Check Price on Amazon →A finished set wants a light reseal every two to three years — a quick scuff-sand and one fresh coat of poly. That's the same maintenance rhythm I walk through in our spring deck and patio deep-clean and reseal guide, and it's the entire difference between furniture that lasts two decades and furniture you're rebuilding in five years.
Mistakes I See People Make
- Using interior screws. Drywall screws and standard wood screws rust and snap. Buy screws rated for exterior or ACQ-treated lumber, every time.
- No drainage gaps. Butting the top planks tight traps water and the boards cup into a washboard. Keep the 1/8-inch gaps.
- Skipping the bolts. Screws at the leg-to-stretcher joints loosen within a year of normal use. Bolt those four to eight connections and the table stays rock-solid.
- Finishing wet lumber. If the stain beads or won't soak in, the wood is still too wet. Wait.
- One coat and done. Stain is not waterproofing. The poly top coats are non-negotiable.
Make It Yours
The basic set is a blank canvas. Stain the legs dark walnut and leave the top a lighter natural tone for a two-tone look. Add a center umbrella by drilling a 1.5-inch hole through the middle plank and the stretcher below it. If your patio could use more than furniture, a freshly built dining set pairs beautifully with a bold new front-door color and a couple of planters to pull the whole outdoor space together.
Build this on a Saturday, finish it over the following weekend, and you've got an eight-seat dining set for the price of a single cheap table — one your kids will eventually be eating off of too.
Get weekly home tips that actually work
Join thousands of homeowners getting practical cleaning hacks, DIY fixes, and money-saving tips every week. Free, and you can unsubscribe anytime.

Written by
Marcus ChenDIY & Home Repair Editor
Marcus Chen spent fifteen years as a licensed general contractor in the Pacific Northwest before joining Practical Home Guides full time. He specializes in plumbing, electrical, and weekend warrior projects that save homeowners thousands. Marcus has personally tested every tool he recommends in his own century-old fixer-upper.
Recommended Products
Looking for specific product recommendations? Check out our tested picks.

Best Cordless String Trimmers (2026 Tested)
Battery-powered string trimmers have caught up to gas. We tested the top models on bermuda, fescue, and overgrown areas to find the picks worth your money.

Best Basement Dehumidifiers (2026 Buyer's Guide)
Damp basements destroy stored items, grow mold, and stink. We tested dehumidifiers for capacity, durability, and energy use to find the picks worth the money.

Best Wet/Dry Shop Vacs (2026 Tested)
Whether you need to clean a flooded basement, dust the garage, or pick up workshop debris, here are the wet/dry shop vacs worth the money.

Best Electric Leaf Blowers (2026 Buyer's Guide)
Cordless and corded electric leaf blowers tested for power, runtime, and noise. Our picks for small yards, large yards, and pro-grade home use.

Best Cordless Lawn Mowers (2026 Spring Buyer's Guide)
Battery-powered mowers have caught up to gas. We tested the top cordless mowers on grass length, slopes, and runtime to find the picks worth your money.

5 Best Cordless Drills for Homeowners (2026)
Find the right cordless drill for home projects without overspending. We compared the top drills for DIYers — here are the 5 best for everyday home use.

Best Home Tool Kits for Beginners (2026)
The best home tool kits for new homeowners and renters. We compare 6 tool sets from basic to comprehensive, so you can handle common repairs without calling a handyman.
Related Articles
Cordless vs. Corded vs. Pneumatic: The Homeowner's Tool System Buying Guide
Cordless, corded, or pneumatic? A homeowner's guide to choosing a power tool ecosystem (DeWalt, Milwaukee, Makita, Ryobi) with a starter-to-advanced path.
End-of-May Home Audit: Fix 5 Summer Safety Issues Before June Heat
A contractor's final spring safety audit. Five critical ventilation, electrical, plumbing, and cooling checks to fix before extreme June heat hits your home.
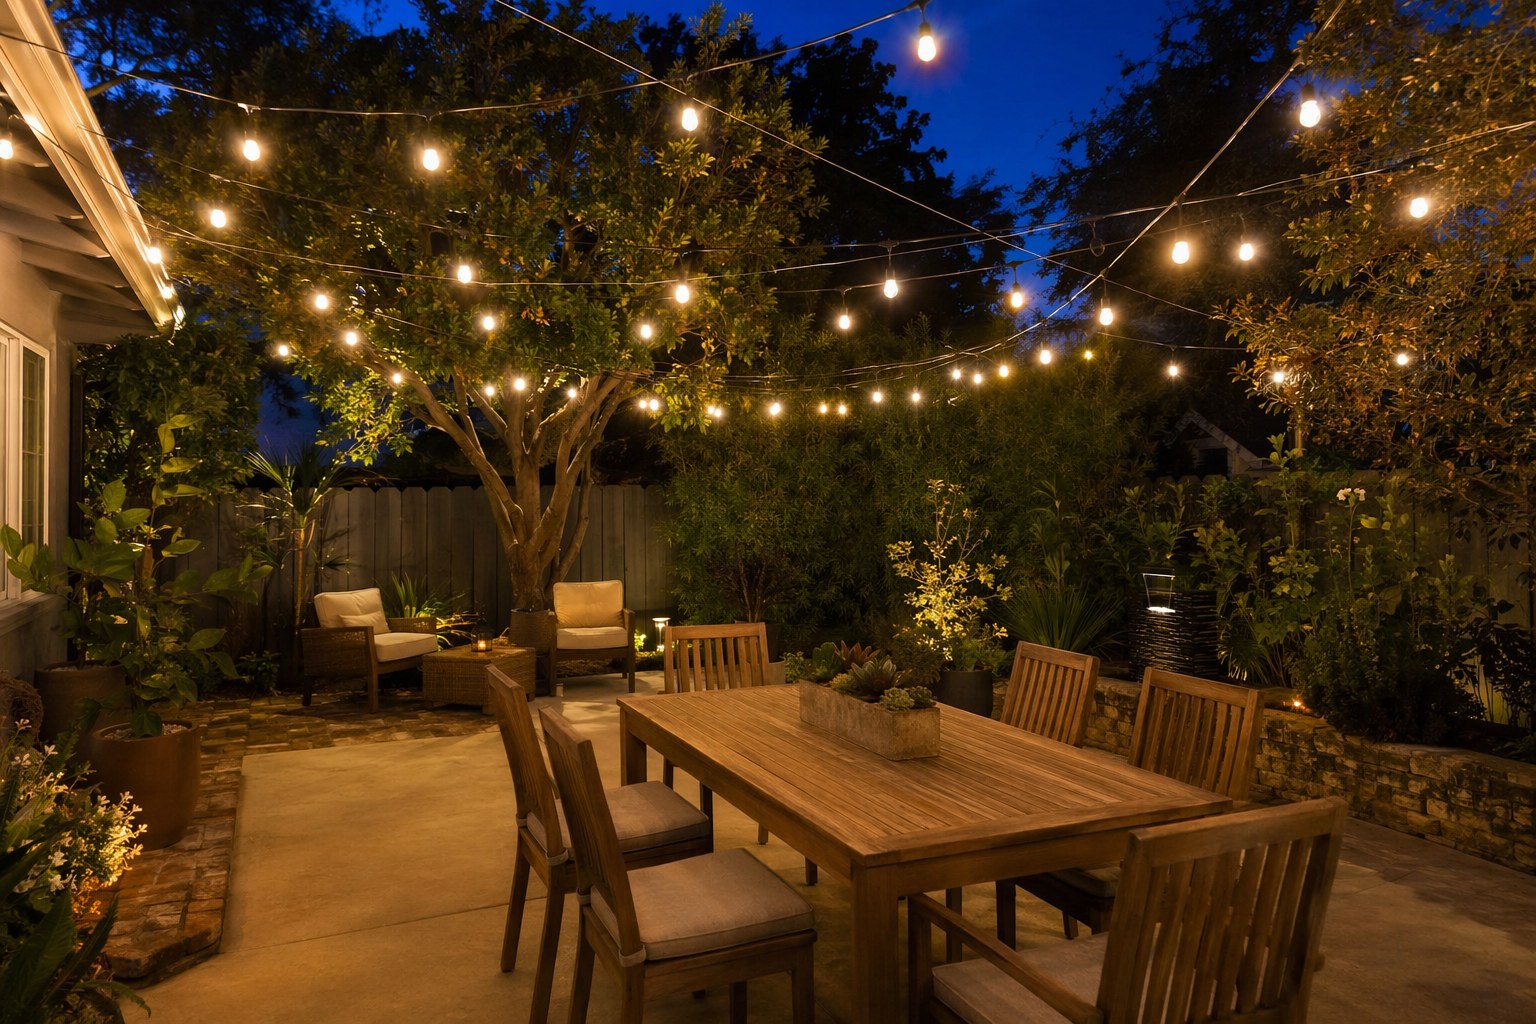
Backyard Lighting Design: Create Ambiance for Summer Evenings
An electrician's guide to safe backyard lighting design. Layer string lights, path lights, and uplighting in zones for ambiance plus task lighting that lasts.
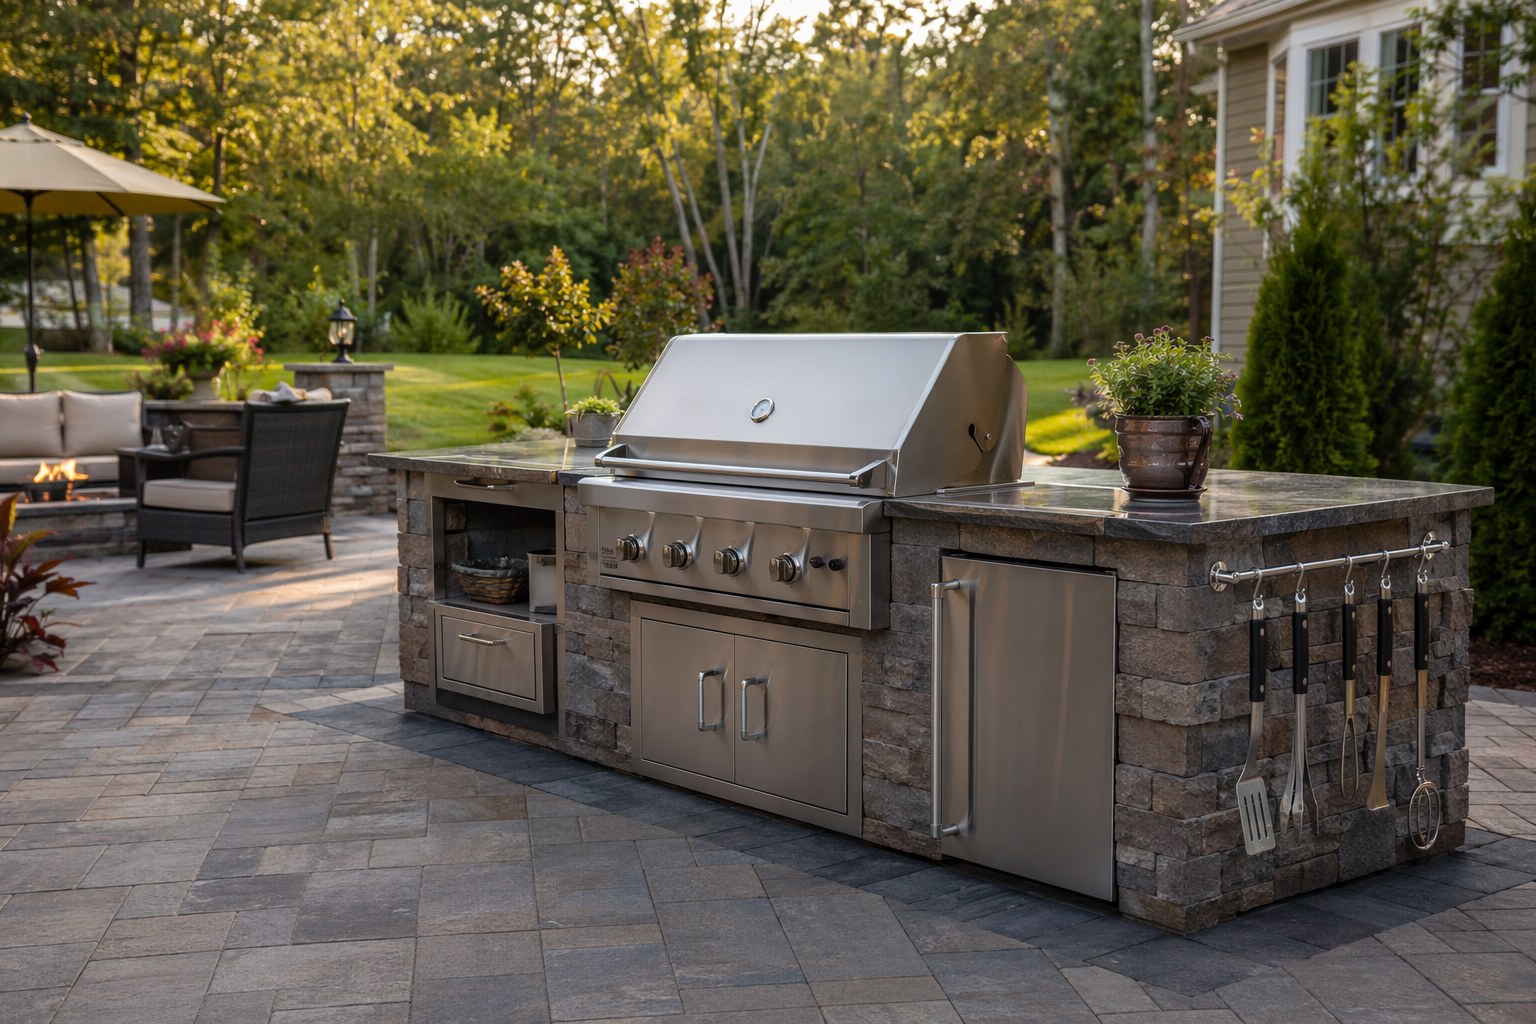
Grilling Season Setup: Build the Perfect Backyard Cook Station
A contractor's guide to a backyard grill station setup for outdoor cooking: gas hookup, clearances, ventilation, and a prep counter so you cook cool and safe all summer.