How to Clean and Deodorize Trash Cans
This article may contain affiliate links. If you make a purchase through these links, we may earn a small commission at no extra cost to you. Learn more
Quick Answer
How to Clean and Deodorize Trash Cans
Empty the trash can completely, then spray the interior with a 50/50 mix of white vinegar and water. Sprinkle a generous layer of baking soda over all surfaces and let it sit for 15–20 minutes. Scrub with a long-handled brush and hot soapy water, rinse thoroughly, and let the can dry completely in the sun before putting a new bag in. For ongoing odor control, sprinkle baking soda in the bottom of the can under each new bag.
How to Clean and Deodorize Trash Cans
Even if you always use a liner, your trash can is almost certainly hiding something unpleasant. Bags leak. Liquids drip. Bits of food slip between the bag and the can wall. Over time, all of that accumulates into a sticky, bacteria-rich layer at the bottom that no amount of air freshener can mask. You tie the bag, carry it out, drop a new one in -- and the smell is still there, waiting.
Most people never actually clean their trash cans. The can itself becomes a source of persistent odor that seeps into the kitchen, the garage, or wherever you keep it. The fix is straightforward. With a few common household supplies and about 20 minutes of effort, you can get any trash can -- indoor or outdoor -- smelling like new. Here's exactly how to do it.
Why Does Your Trash Can Smell Even With a Bag?
Trash bags are not watertight seals. Even the best bags develop tiny tears, fold gaps, and condensation on the outside. Every time you toss something wet into the trash -- a used paper towel, a food wrapper, a coffee filter -- moisture works its way between the bag and the can.
Once that moisture settles at the bottom, bacteria get to work. The warm, dark, enclosed space inside a trash can is an ideal breeding ground. Those bacteria break down organic residue and produce volatile sulfur compounds, which is exactly what you're smelling when you open the lid.
Grease is another major culprit. Cooking-related waste like meat packaging, oily containers, and food scraps leave behind a residue that coats the interior walls. That greasy film traps more particles with each bag change, creating layers of buildup that get worse over time. If you've noticed a similar problem with lingering smells elsewhere in your home, the approach is the same as when you get rid of musty smells in your house -- address the source, not just cover it up.
Outdoor trash cans face an even tougher situation. Sun exposure heats the contents and accelerates decomposition. Rain gets in. And if you've battled fruit flies swarming around your kitchen trash, you know how quickly a dirty can becomes a pest magnet.
What Supplies Do You Need to Clean a Trash Can?
You don't need any specialty products. Everything on this list is inexpensive and likely already in your home:
- White distilled vinegar -- A natural disinfectant and deodorizer that kills bacteria on contact and neutralizes odors.
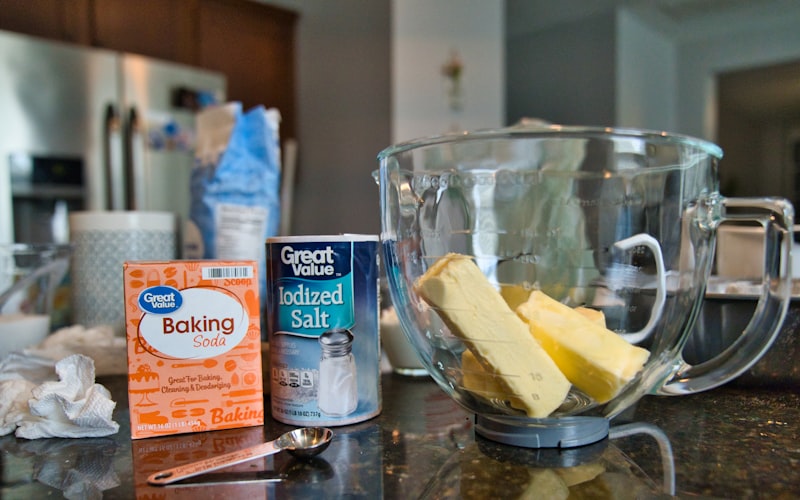
- Baking soda -- Absorbs odors and works as a gentle abrasive for scrubbing buildup.
- Dish soap -- Cuts through grease and lifts stuck-on residue.
- A long-handled scrub brush -- Essential for reaching the bottom of tall cans without climbing inside. A toilet brush style scrub brush works perfectly for this.
- A spray bottle -- For applying the vinegar solution evenly.
- A garden hose or bathtub -- For rinsing. Outdoor cans are easiest to hose down on the driveway.
- Old towels or rags -- For drying and wiping.
- Rubber gloves -- Because you're about to get up close with the grimiest thing in your house.
If you like to keep cleaning costs low, most of these supplies overlap with what you'd use for a dozen other household tasks. That's the beauty of sticking with simple, affordable cleaning supplies rather than buying a different specialty product for every job.
How Do You Deep Clean an Indoor Trash Can?
Indoor kitchen trash cans tend to be smaller and easier to manage, but they also harbor some of the worst odors because they're exposed to food waste daily. Here's the step-by-step process for getting yours thoroughly clean.
Step 1: Empty the can completely and take it outside if possible. Remove the bag and shake out any loose debris stuck to the bottom or sides. If you can bring the can outside to your driveway or patio, the rinsing and drying process will be much easier. If not, the bathtub works fine.
Step 2: Rinse the interior with hot water. Use a hose or the bathtub faucet to flush out loose grime. Hot water softens greasy residue and makes scrubbing easier. Don't worry about perfection yet -- this is just the preliminary rinse.
Step 3: Spray generously with a vinegar and water solution. Fill a spray bottle with equal parts white vinegar and water. Spray every interior surface -- bottom, walls, the underside of the lid, and the rim. Vinegar kills odor-causing bacteria and dissolves organic buildup. Let it sit for five minutes.
Step 4: Sprinkle baking soda over all surfaces. With the vinegar still wet, add a generous layer of baking soda. You'll see it fizz as it reacts with the vinegar, and that reaction helps lift stuck-on grime. Focus extra baking soda at the bottom where the worst buildup tends to collect.
Step 5: Scrub with a long-handled brush and dish soap. Squirt a few drops of dish soap onto your brush and scrub every surface thoroughly. Work the bottom first, then move up the walls and around the rim. Pay special attention to grooves, ridges, or textured surfaces where grime hides.
Step 6: Rinse thoroughly with clean water. Flush out all the soap, baking soda, and loosened grime. Repeat until the rinse water runs clear and there's no residue left behind.
Step 7: Dry the can completely before putting it back in service. This step matters more than most people realize. Moisture left inside the can creates exactly the environment bacteria need to start the odor cycle all over again. Towel dry the interior, then leave the can open in the sun or near a window for at least an hour.
Once it's fully dry, drop in a new bag and you're done. The difference in smell will be immediate and dramatic.
How Do You Clean Outdoor Trash Cans and Recycling Bins?
Outdoor trash cans take more abuse than indoor ones. They sit in the heat, collect rainwater, and deal with everything from rotting food waste to lawn clippings. Cleaning them follows the same basic principles but requires a bit more muscle.
Step 1: Wait for trash pickup day. Start with completely empty cans right after collection. Shake out any remaining debris and knock loose anything stuck to the bottom.
Step 2: Add hot water and dish soap. Pour several gallons of hot water into the can along with a generous squirt of dish soap. If hot water isn't available, fill the can about a quarter of the way with your garden hose and add the soap.
Step 3: Let it soak for 15–20 minutes. The soaking time loosens caked-on residue that would otherwise require serious scrubbing. If the can is particularly filthy, extend the soak to 30 minutes.
Step 4: Scrub the interior with a long-handled brush. Scrub the bottom, the walls, and especially the rim where the lid closes. This is where flies lay eggs and bacteria colonies establish themselves. For outdoor cans, a stiff-bristled deck brush on a long handle is ideal.
Step 5: Dump the dirty water and rinse with the hose. Tip the can to pour out the soapy water, aiming toward a drain or into the yard. Rinse the interior thoroughly until the water runs clear.
Step 6: Disinfect with vinegar. Spray the interior with undiluted white vinegar. This kills remaining bacteria and neutralizes lingering odors.
Step 7: Leave the can upside down in the sun. Sunlight is a natural disinfectant. UV rays kill bacteria and mold spores. Leave the can inverted on your driveway for a few hours to fully dry.
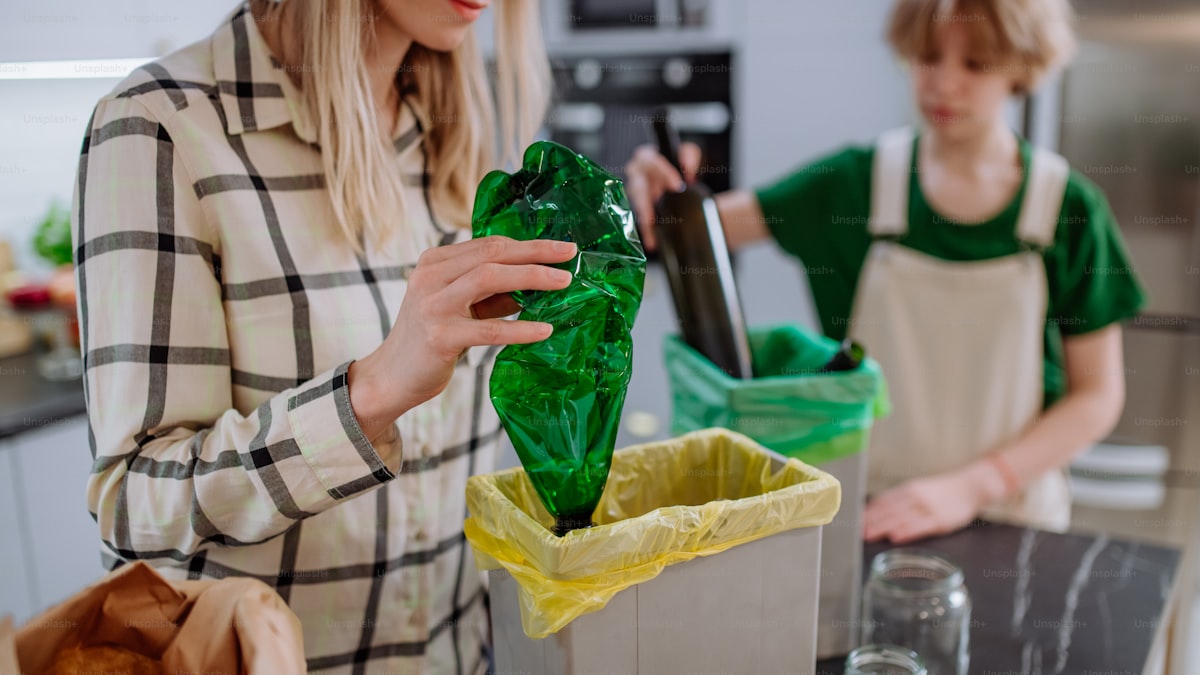
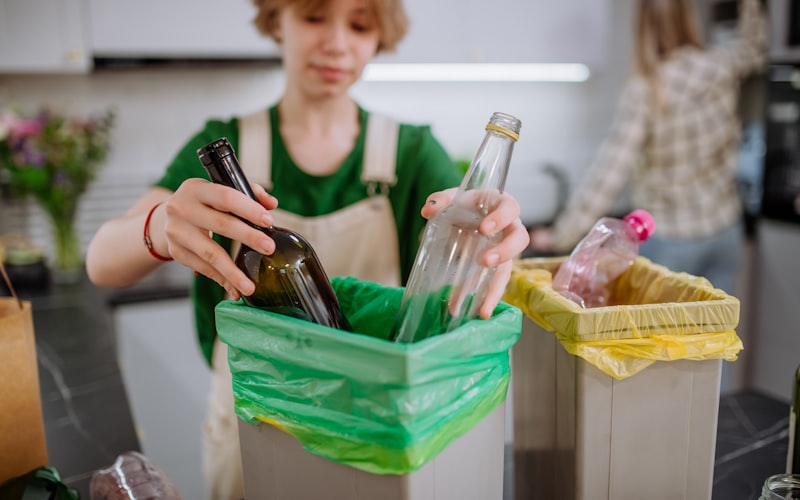
Recycling bins need the same treatment, especially if you don't always rinse containers before tossing them in. A sour milk carton at the bottom of your recycling bin in July will produce a smell you won't soon forget.
What Are the Best Ways to Deodorize a Trash Can?
Cleaning removes the source of the odor, but deodorizing adds an extra layer of freshness and helps prevent smells from returning between deep cleans. Here are the most effective methods.
Baking soda at the bottom. Sprinkle two to three tablespoons of baking soda in the bottom of the can before putting in a new bag. Baking soda absorbs odors continuously and costs almost nothing. Replace it each time you change the bag.
Dryer sheets. Place a fresh dryer sheet at the bottom of the can under the bag. It absorbs moisture and adds a light scent. Swap it out weekly or with each bag change.
Cat litter. A thin layer of unscented cat litter at the bottom of the can absorbs liquids that leak through the bag and prevents that soggy bottom problem. This trick is especially useful for outdoor cans.
Activated charcoal. Small activated charcoal bags taped to the inside of the lid or placed at the bottom absorb odors without adding any scent. They last for weeks and can be recharged by placing them in direct sunlight.
Trash Can Deodorizer Pods
Long-lasting odor absorbers that stick to the inside of your trash can lid. Neutralize odors for up to 30 days using activated carbon technology -- no fragrance masking, just clean air.
Check Price on Amazon →Essential oil cotton balls. Dab a few drops of tea tree, lemon, or eucalyptus essential oil onto a cotton ball and place it at the bottom of the can. These oils have natural antibacterial properties and leave a subtle scent. Refresh every few days.
White vinegar wipe-down. Keep a spray bottle of vinegar and water handy. Each time you change the bag, give the interior a quick spray and wipe. It takes 30 seconds and prevents buildup from gaining a foothold. This same approach works for cleaning your washing machine to keep it smelling fresh.

How Often Should You Clean Your Trash Cans?
The answer depends on the type of can and what goes into it, but here's a practical schedule:
Kitchen trash cans: Deep clean once a month. Kitchen cans deal with food waste daily, and residue accumulates fast. Between deep cleans, do a quick vinegar spray and wipe each week when you change the bag.
Bathroom trash cans: Deep clean every one to two months. Bathroom cans generally produce less odor, but they still collect moisture and organic waste.
Outdoor trash cans: Deep clean every one to two months during warm weather, and every two to three months during cooler months. Heat dramatically accelerates bacterial growth, so summer demands more frequent attention. While you're at it, consider whether your garbage disposal could also use a refresh -- kitchen waste tends to create odor problems in multiple places.
Recycling bins: Deep clean monthly if you recycle food containers regularly. If you rinse containers before recycling, you can stretch this to every two months.
When in doubt, use your nose. If you smell something even without a bag in the can, it's time for a scrub.
What Are Some Tips to Keep Trash Cans Cleaner Longer?
Prevention is always easier than cleaning, and a few simple habits dramatically extend the time between deep cleans.
Double-bag for messy waste. When throwing away raw meat packaging, leaky containers, or anything particularly wet, place it in a smaller bag first. This extra barrier prevents leaks from reaching the can.
Freeze smelly waste until trash day. Raw meat trimmings, fish scraps, and shrimp shells don't belong in an open kitchen trash can for days. Seal them in a freezer bag and stash them in the freezer until trash day.
Use the right size bags. Bags that are too small bunch up and slip down -- creating gaps where waste contacts the can directly. A properly fitted trash bag that drapes over the rim makes a significant difference.
Take out the trash before it overflows. An overstuffed bag is more likely to tear, leak, or press waste against surfaces above the bag line. Taking it out at three-quarters full prevents most messes.
Keep the can in a cool, dry spot. Heat and humidity accelerate bacterial growth. If your kitchen trash sits next to the stove or dishwasher, the warmth makes odors develop faster.
Rinse food containers before trashing them. A quick rinse of a yogurt cup or sauce jar removes most of the organic material that causes odors. This habit also helps if you're working on keeping your kitchen clean with a busy household -- less smell means fewer pest problems.
Can You Use Bleach to Clean a Trash Can?
You can, but it should be diluted and used carefully. A solution of one tablespoon of bleach per gallon of water is effective for disinfecting trash cans and killing bacteria, mold, and mildew. Spray or pour it into the can, let it sit for 10 minutes, then scrub and rinse thoroughly.
There are a few important cautions. Never mix bleach with vinegar -- the combination produces toxic chlorine gas. If you've already used vinegar, rinse the can completely before applying any bleach solution. Bleach can also discolor colored plastic, so test a small area first.
For most households, the vinegar and baking soda method is effective enough and carries none of these risks. Bleach is best reserved for situations involving something particularly unsanitary, such as spoiled raw meat or pet waste. When you clean your oven without the self-clean feature, the same principle applies -- gentle but effective methods consistently outperform harsh chemicals.
How Do You Deal With Maggots in a Trash Can?
Nobody wants to talk about this, but it happens -- especially in outdoor cans during summer. Flies lay eggs on exposed food waste, and within 24 hours, maggots appear. Here's how to handle it.
Step 1: Remove all trash from the can. Bag everything up tightly and get it to the curb or dumpster immediately.
Step 2: Pour boiling water into the can. Boiling water kills maggots on contact. Pour enough to cover the bottom and swish it around the walls.
Step 3: Follow with the full deep clean process. Proceed with the soap, vinegar, and baking soda cleaning routine described earlier. Scrub extra thoroughly.
Step 4: Prevent future infestations. Make sure the can lid closes tightly. Bag all food waste securely before it goes in the can. During hot months, take the trash out more frequently. A light sprinkle of diatomaceous earth at the bottom of the can after cleaning creates a natural barrier that deters insects.
Keeping your outdoor trash cans clean is one of the best ways to prevent pest problems. The same principle applies inside -- a clean garbage disposal and a clean trash can together eliminate the two biggest attractors for kitchen pests.
Frequently Asked Questions
Can you clean a trash can in the dishwasher?
Small bathroom trash cans made of hard plastic can technically go in the dishwasher, but it's not recommended. The residue may contaminate the dishwasher interior and spread bacteria to your dishes in future cycles. Clean trash cans by hand instead. If your dishwasher has developed odors, a thorough deep clean of the dishwasher will get it back on track.
What is the best homemade trash can deodorizer?
A mixture of baking soda and a few drops of essential oil is the most effective and economical option. Combine half a cup of baking soda with 10–15 drops of tea tree, lemon, or lavender essential oil in a small jar. Sprinkle a tablespoon at the bottom of the can under each new bag. The baking soda absorbs odors while the essential oil adds antibacterial properties. A single batch lasts for months.
How do you get rid of trash can smell in the garage?
Garage trash cans are especially prone to odors because garages trap heat. Start with a full deep clean using the method above. After cleaning, improve ventilation around the can -- don't push it into a tight corner where air can't circulate. Use a tight-fitting lid, sprinkle baking soda under the bag, and take the trash out before it sits for more than a week. If the garage itself still smells after cleaning the can, address the broader space using strategies for eliminating musty smells throughout your home.
Should you wash trash cans with hot or cold water?
Hot water is significantly more effective. Heat dissolves grease, loosens stuck-on residue, and kills bacteria. Use the hottest water you can safely handle for both washing and rinsing. Cold water is fine for a quick rinse between deep cleans, but for a thorough scrub, hot water cuts your effort in half.
Final Thoughts
A smelly trash can is one of those household problems that's easy to ignore and even easier to fix. The whole process takes about 20 minutes, uses supplies that cost practically nothing, and produces results you'll notice immediately. Once the can is clean, a few simple habits -- baking soda at the bottom, a quick vinegar spray at bag changes, and a monthly deep clean -- keep the odor from ever building up again.
Your trash can works hard every single day. It handles the worst of what your household produces, and it deserves a little maintenance in return. A clean can means a fresher kitchen, fewer pests, and one less source of mystery odor in your home.
If you're on a cleaning streak, this pairs naturally with a few other high-impact tasks. A clean microfiber couch removes embedded odors from your living space, and tackling carpet stains rounds out the kind of deep refresh that makes your whole home feel different. Start with the trash can -- it's quick, it's satisfying, and your nose will notice the difference the moment you walk into the room.
Get weekly home tips that actually work
Join thousands of homeowners getting practical cleaning hacks, DIY fixes, and money-saving tips every week. Free, and you can unsubscribe anytime.

Written by
Beth SullivanFounder & Editor-in-Chief
Beth Sullivan is the founder of Practical Home Guides. With over a decade of hands-on experience tackling every home challenge imaginable, she started this site to share the practical, no-nonsense solutions she wishes she had found years ago. When she's not testing cleaning hacks or organizing pantries, you'll find her in the garden or working on her next DIY project.
Recommended Products
Looking for specific product recommendations? Check out our tested picks.
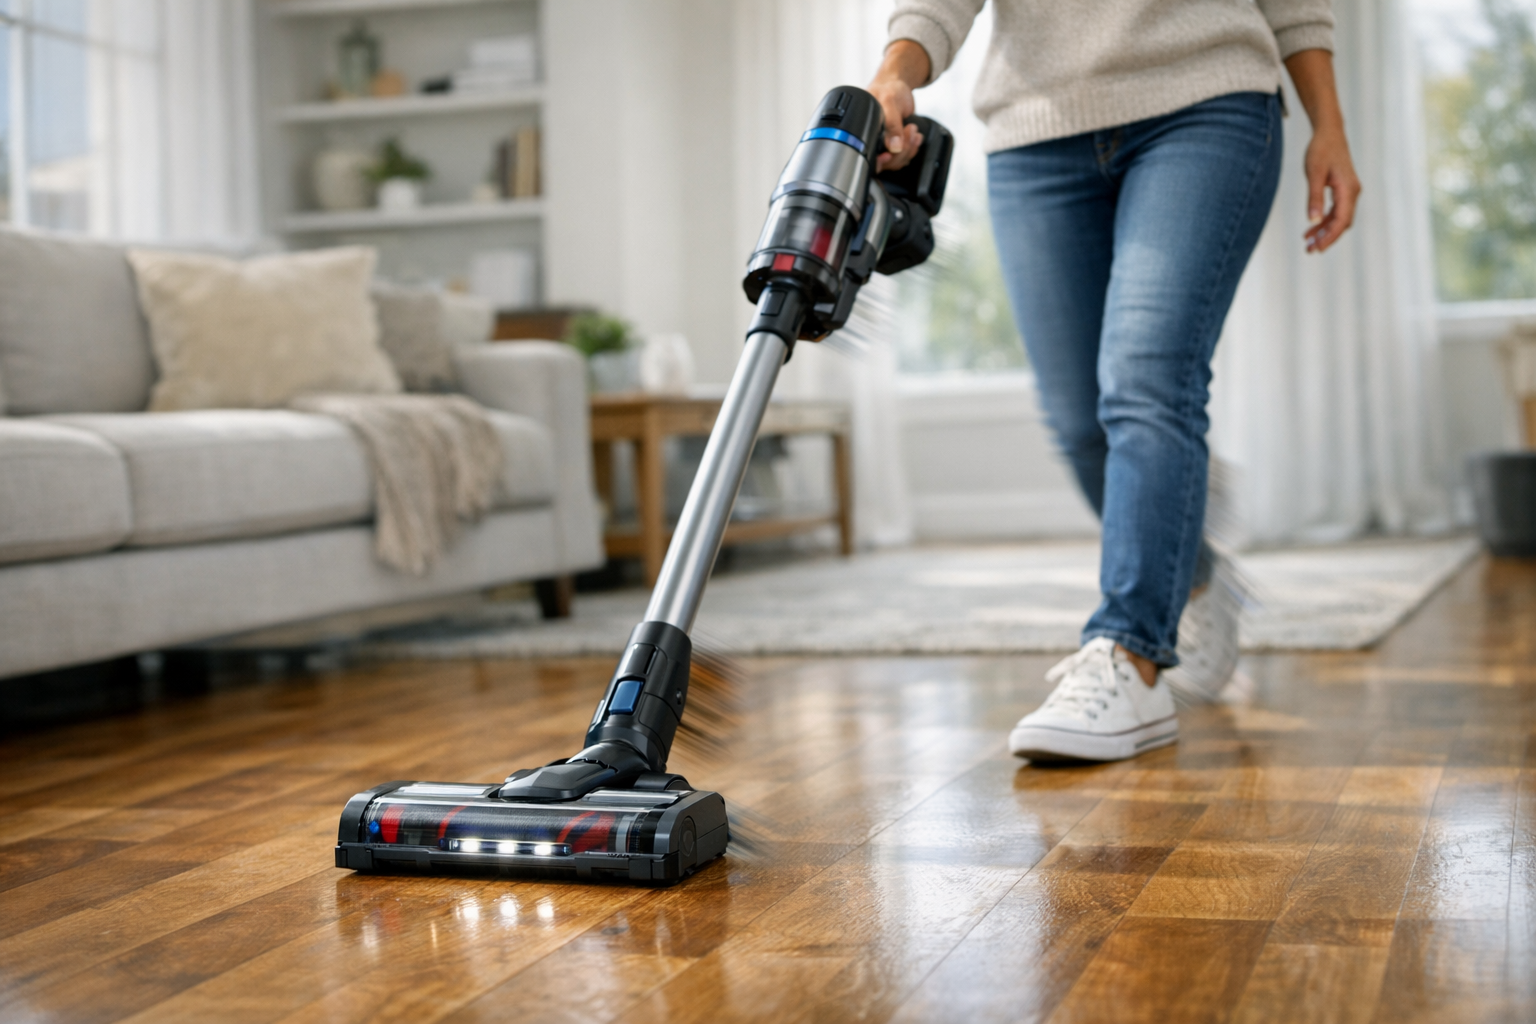
Best Cordless Stick Vacuums (2026 Buyer's Guide)
We tested cordless stick vacuums on hardwood, carpet, pet hair, and stairs. Here are the picks worth the price for every home and budget in 2026.
Best Pressure Washers for Home Use (2026 Buyer's Guide)
We tested electric and gas pressure washers for siding, decks, driveways, and patio furniture. Here are the best picks for every budget and home size.
Best Self-Emptying Robot Vacuums (2026 Tested)
Self-emptying robot vacuums let you forget about the dust bin for weeks. We tested the top models on hardwood, carpet, pet hair, and floor plans.

5 Best Steam Mops for Tile Floors (2026)
We tested the top steam mops for tile, grout, and hard floors. Here are the 5 best picks with honest pros, cons, and who each one is best for.

7 Best Robot Vacuums Under $300 (2026)
We compared the top robot vacuums under $300 for pet hair, hardwood floors, and carpet. Here are the 7 best picks with pros, cons, and who each is best for.
Related Articles
How to Remove Rust From Grill Grates (Without Replacing Them)
Rusted grill grates can be revived if rust is surface-only. Here's the safe restoration method that gets cast iron and steel grates back to cooking-ready.
How to Remove Grass Stains From Clothes (Even After Drying)
Grass stains are protein and chlorophyll bonded into fabric. Here's the order of treatments that gets them out — even on jeans that already went through the dryer.

How to Refresh Outdoor Rugs Without Replacing Them
Before you toss that faded, grimy outdoor rug, try this simple revival routine. Most polypropylene outdoor rugs come back like new with 30 minutes of work.

How to Deep Clean Window Screens (The Bathtub Method)
Window screens accumulate a winter's worth of dust, pollen, and grime. The bathtub method gets them all clean in one shot — cleaner than cleaning them individually.