How to Clean and Condition Leather Furniture (Without Ruining It)
This article may contain affiliate links. If you make a purchase through these links, we may earn a small commission at no extra cost to you. Learn more
Quick Answer
How to Clean and Condition Leather Furniture (Without Ruining It)
For regular cleaning, vacuum leather with a soft brush attachment, then wipe down with a microfiber cloth dampened with a solution of equal parts water and white vinegar. For conditioning, apply a leather conditioner every 6-12 months -- work it in with a soft cloth using circular motions, let it absorb for 15 minutes, then buff with a dry cloth. Never use baby wipes, bleach, or harsh chemicals on leather. The key to leather longevity is consistent maintenance: dust weekly, clean monthly, condition twice a year.

How to Clean and Condition Leather Furniture (Without Ruining It)
Leather furniture is one of those investments that can genuinely last a lifetime -- if you treat it right. A well-maintained leather sofa develops a beautiful patina over the years, getting softer and more characterful with age. But neglect it, or clean it with the wrong products, and you'll end up with cracked, faded, peeling leather that looks decades older than it actually is.
The tricky thing about leather care is that most of the "quick tips" floating around online are either outdated or flat-out wrong. Baby wipes, all-purpose cleaners, olive oil -- these common suggestions can actually strip the finish, clog the pores, or leave a sticky residue that attracts more dirt. Leather is animal skin, and it needs to be cleaned and moisturized much like you'd care for your own skin.
In this guide, I'll walk you through exactly how to clean, condition, and protect your leather furniture the right way -- using methods that professional leather care specialists actually recommend. Whether you're dealing with everyday grime, stubborn stains, or leather that's already starting to dry out, you'll find a solution here.
How Do You Clean a Leather Couch Without Damaging It?
The key to cleaning leather without damage is using gentle, pH-balanced solutions and always testing in a hidden spot first. Leather finishes vary widely -- from aniline (natural, no protective coating) to pigmented (sealed with a topcoat) -- and what's safe for one type can destroy another.
For most household leather furniture, which is typically pigmented or semi-aniline, the process below is safe and effective. If you have unfinished aniline or nubuck leather, skip ahead to the section on special leather types.
What You'll Need
- A vacuum with a soft brush attachment
- Several clean microfiber cloths (white or light-colored preferred)
- White vinegar
- Warm distilled water
- A small bowl for mixing
- A dry towel for buffing
Step 1: Vacuum Every Surface
Start by vacuuming the entire piece of furniture using a soft brush attachment. Get into all the crevices between cushions, along the seams, under the armrests, and between the back cushions. Dirt, crumbs, and grit that sit on leather act like sandpaper every time someone sits down, gradually wearing through the finish.
If you have pets, you'll likely find a surprising amount of hair hiding in the folds. A quick pass with a lint roller after vacuuming catches what the vacuum misses. For a deeper dive on that particular battle, our guide on removing pet hair from furniture covers every technique worth trying.
Step 2: Mix a Gentle Cleaning Solution
In a small bowl, mix equal parts white vinegar and warm distilled water. This creates a mildly acidic solution that's close to leather's natural pH, making it effective at cutting through grime without stripping the finish. Using distilled water matters because tap water can contain minerals that leave spots on leather.
For a more thorough clean, you can use a dedicated leather cleaner instead. Commercial leather cleaners are specifically formulated to lift dirt without disrupting the finish, and they're a worthwhile investment if you're maintaining expensive leather pieces.
Step 3: Test in a Hidden Area
Before cleaning the visible surfaces, dampen a corner of your microfiber cloth with the solution and test it on the back of the sofa or underneath a cushion. Wait a few minutes and check for any discoloration, darkening, or texture changes. If everything looks good, proceed with confidence.
Step 4: Wipe Down Section by Section
Dampen a clean microfiber cloth with your cleaning solution -- you want it damp, not dripping wet. Excess water is one of the biggest threats to leather. Work in small sections, wiping in gentle circular motions. You'll see dirt transferring to the cloth. Once a section of the cloth gets dirty, switch to a clean area or grab a fresh cloth.
Pay extra attention to the headrest area, armrests, and the front edge of seat cushions -- these are the spots that accumulate the most body oils, sweat, and grime from daily use.
Step 5: Dry Immediately
Once you've wiped down a section, go over it right away with a clean, dry microfiber cloth. Leather should never be left to air dry while wet, as this can cause water spots or even warping. Buff gently in circular motions until the surface feels dry to the touch.
Step 6: Let It Breathe
After the entire piece is clean and dry, let it air out for at least an hour before sitting on it or applying conditioner. If possible, open a window or run a fan to keep air circulating around the furniture.
How Often Should You Condition Leather Furniture?
Conditioning is what keeps leather soft, supple, and crack-free. Think of it as moisturizer for your couch. Without regular conditioning, leather dries out -- especially in homes with forced-air heating, air conditioning, or low humidity -- and once it cracks, the damage is very difficult to reverse.
For most homes, conditioning every 6 to 12 months is the sweet spot. If your house runs dry (you notice static, dry skin, or your wood furniture is showing signs of drying out too), lean toward every 6 months. In more humid climates, once a year is usually plenty.
Leather Cleaning and Conditioning Kit
Professional-grade leather cleaner and conditioner set. pH-balanced formula safe for all finished leather -- sofas, chairs, car seats, and bags. Includes applicator cloth and microfiber buffing towel.
Check Price on Amazon →How to Condition Leather Furniture
Step 1: Make sure the leather is clean and completely dry before conditioning. Applying conditioner over dirt just seals the grime into the leather.
Step 2: Apply a small amount of leather conditioner to a soft, clean cloth. Don't apply the conditioner directly to the leather -- putting it on the cloth first gives you much better control over how much product goes on.
Step 3: Work the conditioner into the leather using gentle circular motions. Cover the entire surface, but don't overdo it -- a thin, even coat is all you need. Too much conditioner can leave the leather feeling greasy or actually clog the pores of the hide.
Step 4: Let the conditioner absorb for 15 to 20 minutes. You'll notice the leather darkening slightly as it drinks in the moisture. This is completely normal.
Step 5: Buff the entire surface with a clean, dry microfiber cloth using light, circular strokes. This removes any excess conditioner and brings out a subtle, healthy-looking sheen.
The leather may look slightly darker immediately after conditioning, but it will return to its normal color within a day as the conditioner fully absorbs. If you're also caring for wood furniture in the same room, the timing works well -- leather and wood both benefit from seasonal conditioning. Our guide on removing water stains from wood furniture covers how to keep your wood pieces in great shape too.
How Do You Remove Stains From Leather?
Different stains require different approaches. The golden rule with leather stains is to act fast -- the longer a stain sits, the deeper it penetrates, and the harder it becomes to remove. Here's how to handle the most common culprits.
Ink Stains
Dip a cotton swab in rubbing alcohol and gently dab the ink stain. Don't rub, as this can spread the ink and push it deeper. The ink should transfer to the cotton swab. Rotate to a clean section of the swab and repeat. Once the stain is gone, wipe the area with a damp cloth and apply conditioner, since alcohol can be drying.
Grease and Oil Stains
Blot up as much oil as possible with a clean dry cloth, then sprinkle the stain with cornstarch or baking soda. Let the powder sit for several hours -- overnight is ideal -- to absorb the oil. Brush it away gently and repeat if needed. Do not use water on grease stains, as it can spread the oil further.
Food and Drink Spills
Blot immediately with a clean, dry cloth. Don't rub. Once you've absorbed as much liquid as possible, wipe the area with a cloth dampened with your vinegar-water solution. Dry thoroughly and condition the spot if it looks dry afterward.
Pet Accidents
Blot the area immediately, then clean with an enzyme-based cleaner designed for leather (check the label to confirm it's leather-safe). Enzyme cleaners break down the organic compounds in pet urine, eliminating both the stain and the odor. After cleaning, condition the area to restore moisture. For broader pet-related cleaning challenges, check out our guide on removing pet hair from furniture.
Dark Marks From Jeans and Dye Transfer
This is one of the most common leather complaints -- dark dye from jeans transferring onto light-colored leather. A gentle leather cleaner applied with a microfiber cloth usually handles fresh dye transfer. For set-in dye stains, a paste of equal parts cream of tartar and lemon juice can help. Apply it, let it sit for 10 minutes, then wipe clean and condition.
What Should You Never Use on Leather Furniture?
Knowing what to avoid is just as important as knowing what to use. These common products can cause serious, sometimes irreversible damage to leather.
Baby wipes -- They contain chemicals, fragrances, and moisturizers that can break down the leather finish over time. They seem convenient, but they're one of the worst things you can use.
Bleach or ammonia-based cleaners -- These strip the color and protective coating right off the leather. Keep your all-purpose sprays far away from leather furniture.
Olive oil or coconut oil -- While these seem like natural moisturizers, they can go rancid inside the leather, creating unpleasant odors and actually accelerating deterioration. Always use products specifically designed for leather.
Saddle soap -- Despite the name suggesting leather care, saddle soap is far too harsh for furniture leather. It's designed for thick, hardy saddle leather and will strip the finish off most upholstery-grade leather.
Furniture polish or wax -- Products designed for wood will coat leather with a film that traps dirt and prevents the leather from breathing.
Hairdryers and direct heat -- Never try to speed up drying with a hairdryer, and keep leather furniture away from radiators, heating vents, and direct sunlight. Heat pulls the natural oils out of leather and causes cracking.
How Do You Protect Leather Furniture Long-Term?
Regular cleaning and conditioning form the foundation, but a few additional habits can dramatically extend the life of your leather furniture.
Apply a Leather Protector
After cleaning and conditioning, apply a leather protector spray to create an invisible barrier against stains, UV damage, and everyday wear. Leather protectors work by coating the surface with a thin layer that repels liquids and blocks UV rays. Reapply every 6 to 12 months, ideally right after conditioning.
Keep It Out of Direct Sunlight
UV rays are leather's silent killer. Prolonged sun exposure fades the color, dries out the natural oils, and causes the surface to crack and peel. If your leather sofa sits near a window, use curtains or blinds during peak sun hours. Rearranging your furniture seasonally can also help distribute sun exposure more evenly.
Maintain Proper Humidity
Leather thrives in environments with 40-55% relative humidity. Homes that are too dry (common in winter with central heating) cause leather to crack and stiffen. Homes that are too humid can promote mildew growth. A simple hygrometer can help you monitor levels, and a humidifier during winter months makes a noticeable difference. If you're working on reducing energy costs at the same time, our guide on saving money on your heating bill covers strategies that also help maintain better indoor humidity.
Vacuum Weekly, Clean Monthly
A quick weekly vacuum with a soft brush attachment keeps grit and debris from grinding into the leather. Once a month, do a full wipe-down with your vinegar-water solution. Condition every 6 to 12 months. This simple schedule prevents most leather problems before they start.
Rotate and Fluff Cushions
If your leather sofa has removable cushions, rotate and flip them every couple of weeks. This distributes wear evenly, prevents one side from developing a permanent body impression, and helps all surfaces age at the same rate.

What About Different Types of Leather?
Not all leather is created equal, and the cleaning approach that works for a standard pigmented leather sofa could ruin an aniline leather armchair. Here's a quick breakdown of the main types and what each one needs.
Pigmented (Protected) Leather
This is the most common type used in household furniture. It has a polymer coating that gives it a uniform color and added durability. The cleaning methods described above work perfectly for pigmented leather. It's the most forgiving type to maintain.
Semi-Aniline Leather
Semi-aniline has a thinner protective coating than pigmented leather, so the natural grain is more visible. Clean it the same way as pigmented leather, but use a lighter touch and slightly less moisture. Condition it more frequently -- every 4 to 6 months -- since the thinner coating means it dries out faster.
Full Aniline Leather
Aniline leather has no protective topcoat at all, which gives it a beautiful, natural look but makes it extremely sensitive to stains and moisture. For aniline leather, avoid the vinegar-water solution entirely. Instead, dust with a dry microfiber cloth and use only products specifically labeled for aniline leather. When in doubt, consult the manufacturer or a professional leather care specialist.
Nubuck and Suede
These aren't technically the same as smooth leather, and they require completely different care. A nubuck brush and specialized nubuck cleaner are essential. Water and most liquid cleaners will permanently stain nubuck and suede. If your furniture is nubuck or suede, invest in a nubuck and suede care kit designed specifically for these materials.
Frequently Asked Questions
Can you clean leather with vinegar and water?
Yes, a solution of equal parts white vinegar and distilled water is one of the safest and most effective DIY cleaners for pigmented and semi-aniline leather. The mild acidity cuts through grime without damaging the finish. Always test in a hidden spot first, and follow up with a dry cloth immediately -- never let liquid sit on leather. For aniline, nubuck, or suede leather, skip the vinegar and use products specifically designed for those materials.
How do you fix leather that's already cracked?
Minor surface cracks can often be improved with a good leather conditioner -- the moisture plumps up the fibers and reduces the appearance of fine cracks. For deeper cracks, a leather repair kit with a filler compound and colorant can help restore the surface. For severe cracking, peeling, or flaking, professional reupholstering or leather restoration is the most reliable fix. The best approach, of course, is to prevent cracking in the first place by conditioning regularly and keeping leather away from direct heat and sunlight.
Is it safe to use a steam cleaner on leather furniture?
No. Steam cleaners produce moisture and heat -- two things that can seriously damage leather. The high temperature can warp the leather, strip its natural oils, and cause the finish to bubble or peel. The moisture can soak into the hide and promote mildew growth. Stick to the gentle hand-cleaning methods described in this guide. Steam cleaners are great for other upholstery though -- our guide on cleaning a microfiber couch covers how to clean fabric sofas effectively.
How do you remove odors from a leather couch?
Baking soda is your best friend here. Sprinkle a light layer over the leather, let it sit for several hours or overnight, and then vacuum it up with a soft brush attachment. For tougher odors like smoke or pet smells, wipe the surface with a cloth dampened with a mixture of one part white vinegar and two parts water, then dry immediately and condition. For persistent pet odors throughout your home beyond just the furniture, our guide on cleaning a mattress and removing stains covers odor elimination techniques that work on multiple surfaces.
Final Thoughts
Caring for leather furniture is less about expensive products and more about consistent habits. A weekly vacuum, a monthly wipe-down, and conditioning twice a year -- that's genuinely all it takes to keep leather looking beautiful for 20, 30, or even 40 years. The time investment is minimal compared to the cost of replacing a leather sofa.
The biggest mistakes people make are using the wrong products and waiting too long between conditioning sessions. Leather is skin, and just like skin, it needs regular moisture to stay soft and crack-free. Get into a routine now, and your future self will thank you every time you sink into that perfectly aged, buttery-soft couch.
If you're on a broader furniture care kick, we've got you covered. Check out our guide on saving money on furniture for smart buying tips, or browse our best robot vacuums under $300 picks if you want to automate the weekly dust and debris removal that keeps all your furniture -- leather included -- in top shape.
Get weekly home tips that actually work
Join thousands of homeowners getting practical cleaning hacks, DIY fixes, and money-saving tips every week. Free, and you can unsubscribe anytime.

Written by
Beth SullivanFounder & Editor-in-Chief
Beth Sullivan is the founder of Practical Home Guides. With over a decade of hands-on experience tackling every home challenge imaginable, she started this site to share the practical, no-nonsense solutions she wishes she had found years ago. When she's not testing cleaning hacks or organizing pantries, you'll find her in the garden or working on her next DIY project.
Recommended Products
Looking for specific product recommendations? Check out our tested picks.
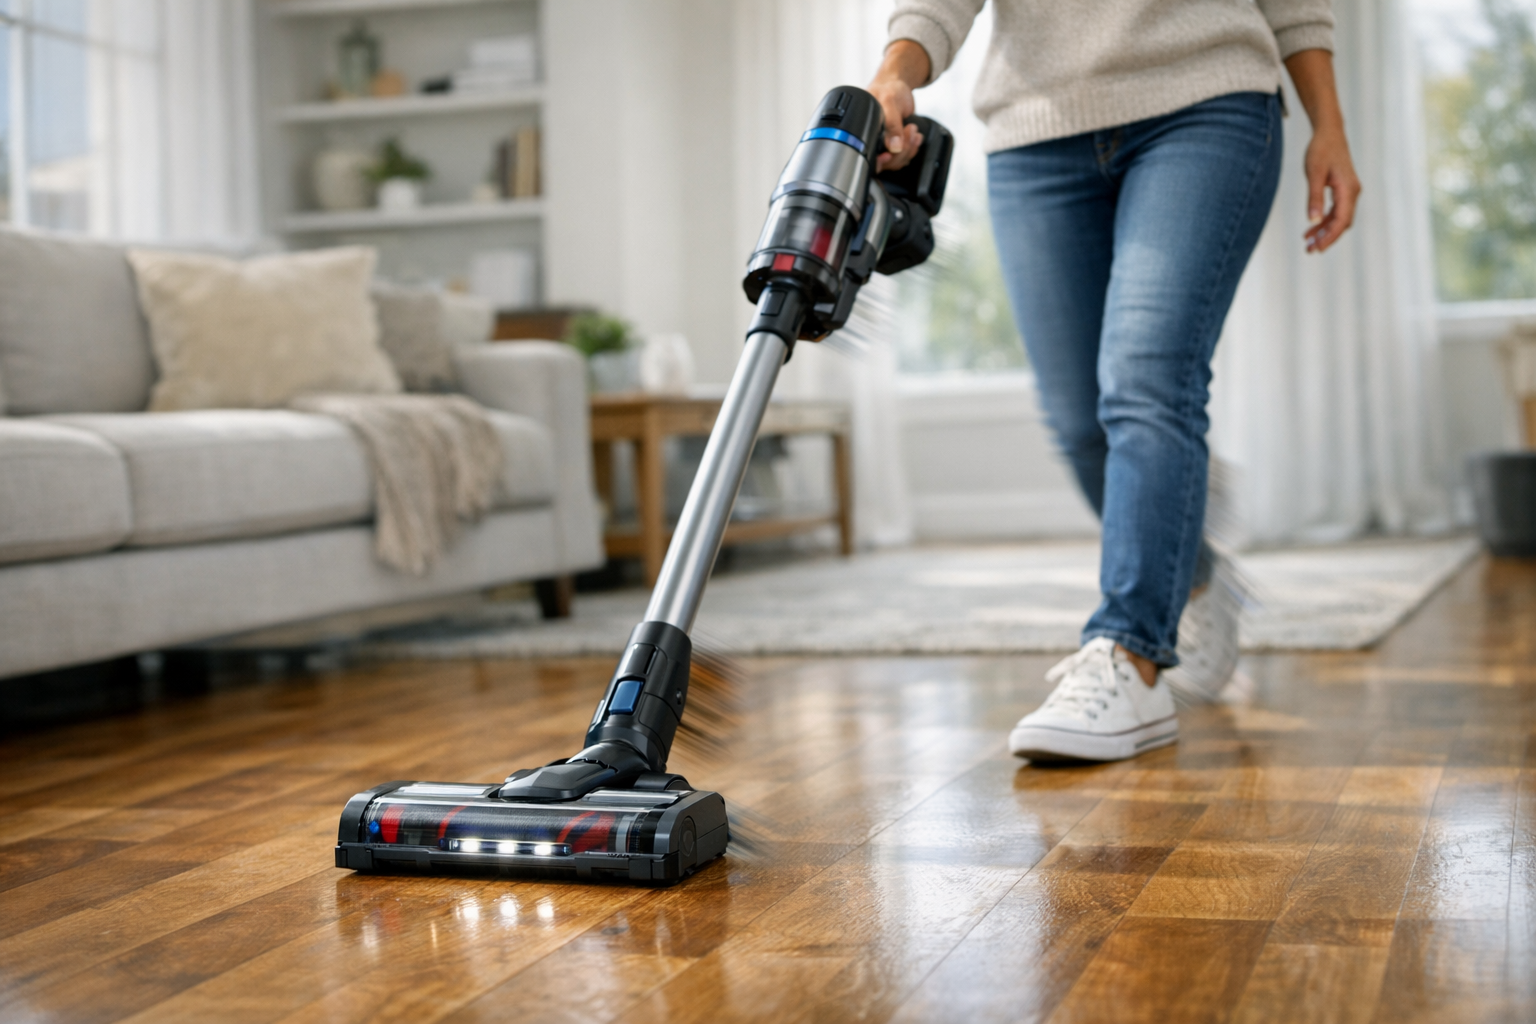
Best Cordless Stick Vacuums (2026 Buyer's Guide)
We tested cordless stick vacuums on hardwood, carpet, pet hair, and stairs. Here are the picks worth the price for every home and budget in 2026.
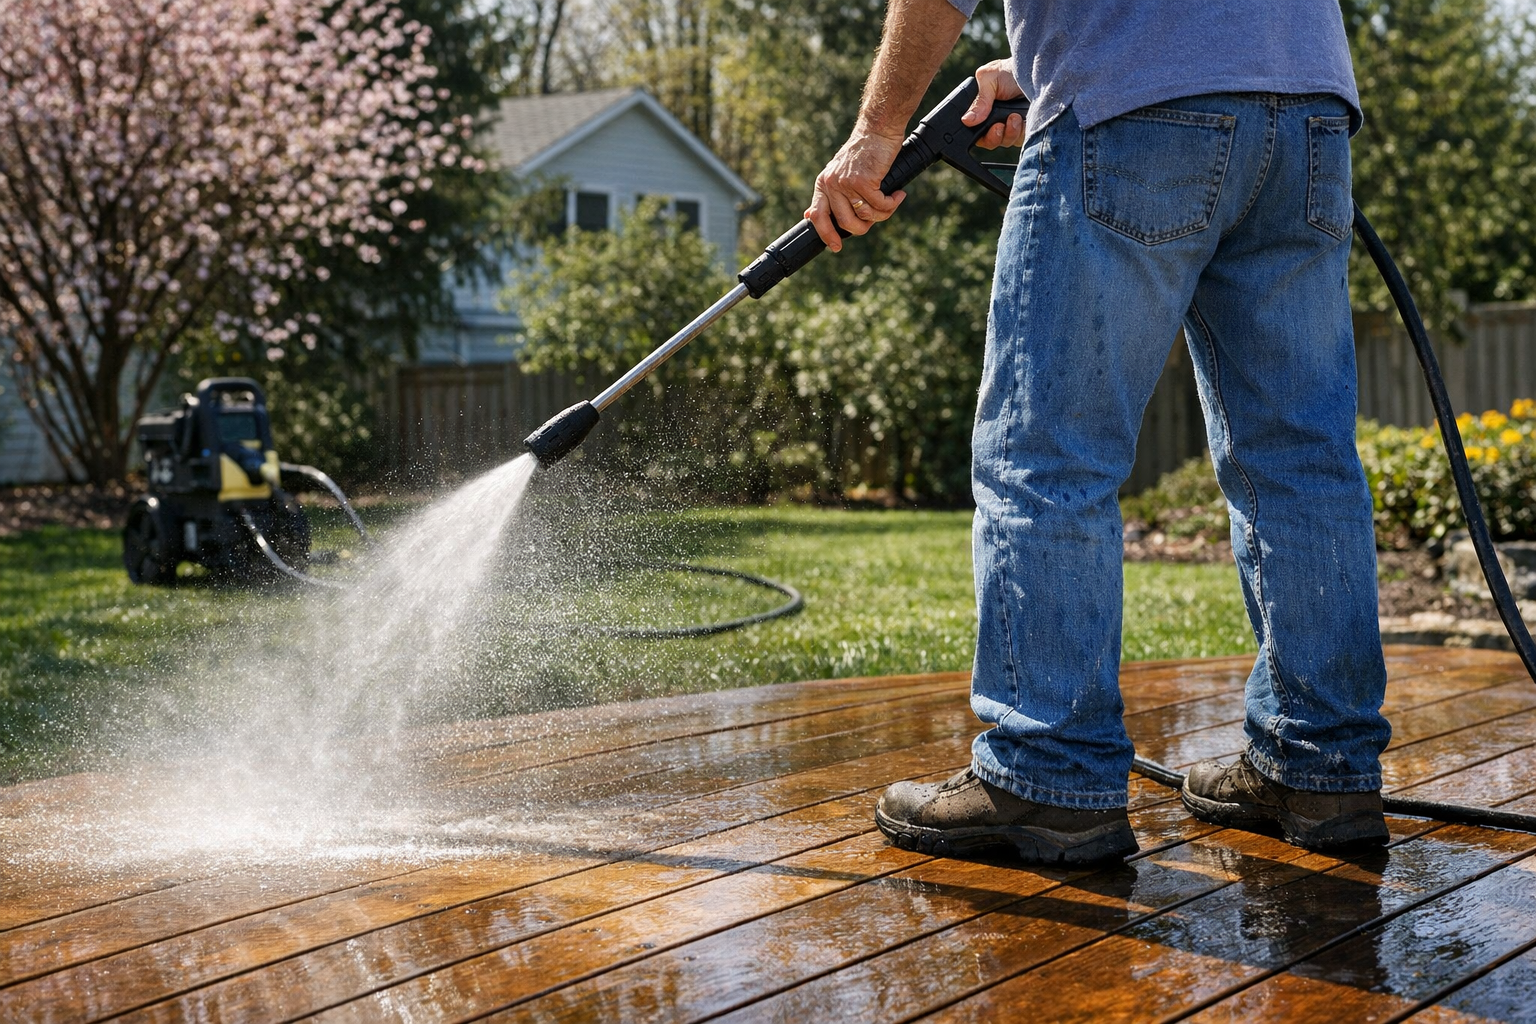
Best Pressure Washers for Home Use (2026 Buyer's Guide)
We tested electric and gas pressure washers for siding, decks, driveways, and patio furniture. Here are the best picks for every budget and home size.
Best Self-Emptying Robot Vacuums (2026 Tested)
Self-emptying robot vacuums let you forget about the dust bin for weeks. We tested the top models on hardwood, carpet, pet hair, and floor plans.

5 Best Steam Mops for Tile Floors (2026)
We tested the top steam mops for tile, grout, and hard floors. Here are the 5 best picks with honest pros, cons, and who each one is best for.
7 Best Robot Vacuums Under $300 (2026)
We compared the top robot vacuums under $300 for pet hair, hardwood floors, and carpet. Here are the 7 best picks with pros, cons, and who each is best for.
Related Articles
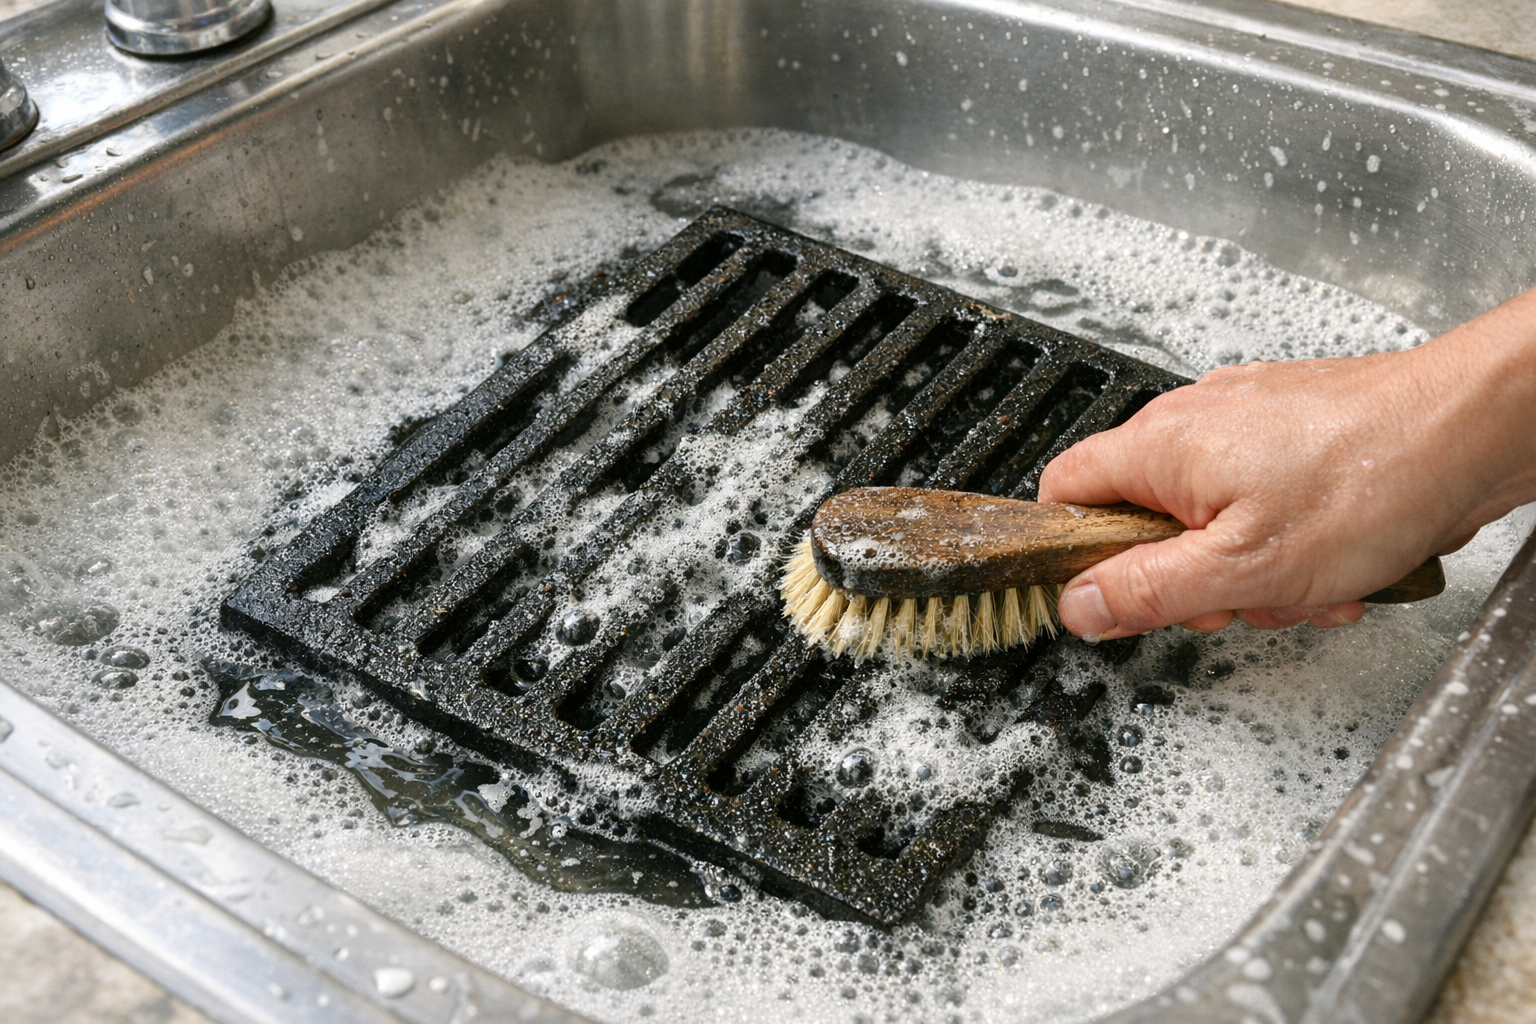
How to Remove Rust From Grill Grates (Without Replacing Them)
Rusted grill grates can be revived if rust is surface-only. Here's the safe restoration method that gets cast iron and steel grates back to cooking-ready.
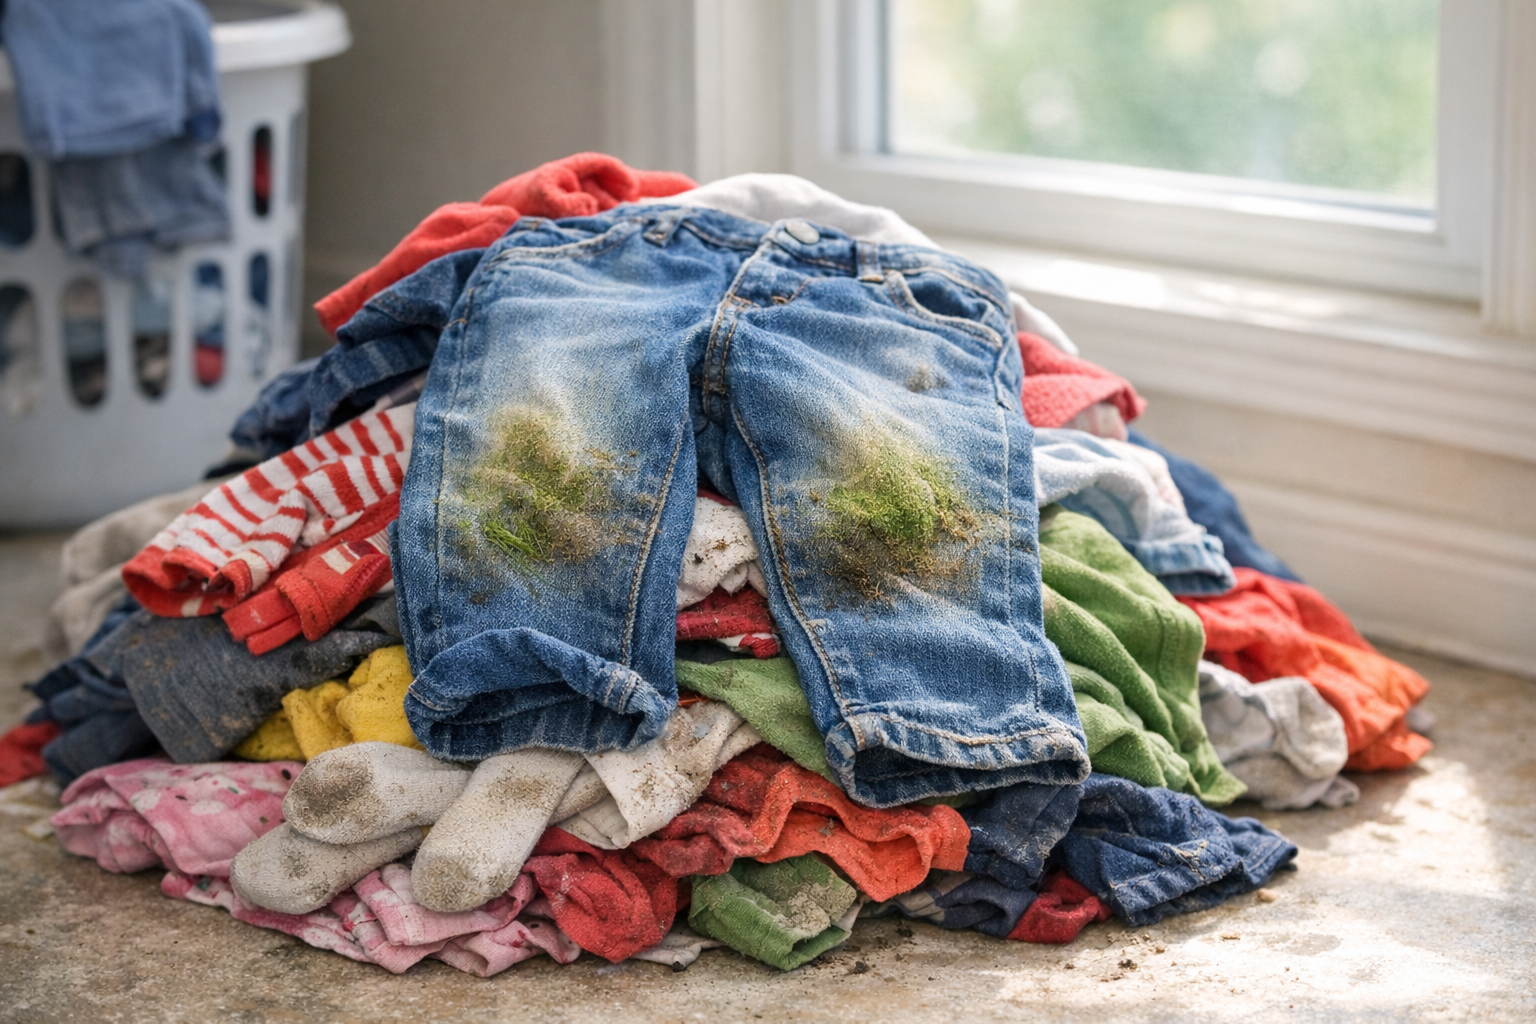
How to Remove Grass Stains From Clothes (Even After Drying)
Grass stains are protein and chlorophyll bonded into fabric. Here's the order of treatments that gets them out — even on jeans that already went through the dryer.

How to Refresh Outdoor Rugs Without Replacing Them
Before you toss that faded, grimy outdoor rug, try this simple revival routine. Most polypropylene outdoor rugs come back like new with 30 minutes of work.

How to Deep Clean Window Screens (The Bathtub Method)
Window screens accumulate a winter's worth of dust, pollen, and grime. The bathtub method gets them all clean in one shot — cleaner than cleaning them individually.