How to Clean Painted Walls Without Damaging the Finish
This article may contain affiliate links. If you make a purchase through these links, we may earn a small commission at no extra cost to you. Learn more
Quick Answer
How to Clean Painted Walls Without Damaging the Finish
To clean painted walls without damaging them, start by dusting with a microfiber cloth or vacuum brush attachment, then spot-clean stains with a solution of warm water and a few drops of dish soap using a soft sponge. Always wring your cloth nearly dry, work from bottom to top to prevent drip streaks, and test your cleaning method on a hidden area first -- especially on flat or matte finishes, which are the most vulnerable to damage.
How to Clean Painted Walls Without Damaging the Finish
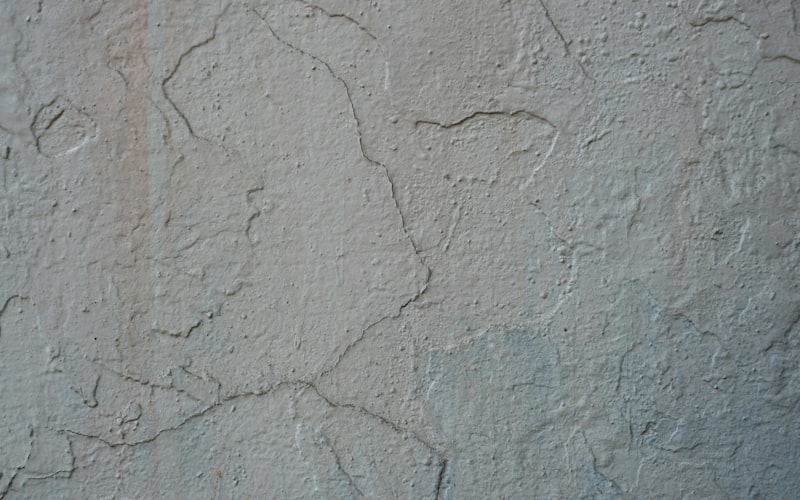
Painted walls take more abuse than most people realize. Fingerprints appear around light switches, grease splatters creep up behind the stove, mysterious smudges show up in hallways, and dust settles into a dull film that makes every room look tired. Over months and years, walls that once looked fresh start looking dingy -- and no amount of new decor can fix it.
The problem is that most people either ignore dirty walls entirely or go after them too aggressively with harsh cleaners and rough scrubbing, which strips the paint, leaves shiny spots, or creates patchy discoloration that looks worse than the original stain. The finish on your walls matters enormously when it comes to cleaning, and what works safely on a semi-gloss bathroom wall can destroy a flat-finish living room wall in seconds.
This guide walks you through exactly how to clean every type of painted wall safely, remove common stains without damaging the finish, and keep your walls looking fresh between deep cleans.
Why Does Paint Finish Matter When Cleaning Walls?
Paint finish is the single most important factor in how you should clean your walls. Different finishes have different levels of durability, and using the wrong cleaning method on the wrong finish is the number one cause of wall damage during cleaning.
Here's what you're working with:
- Flat/Matte finish -- The most delicate. It has no sheen, hides imperfections beautifully, but absorbs moisture and stains easily. Scrubbing or using too much water can remove the paint entirely or leave visible marks. This is the finish most commonly ruined by aggressive cleaning.
- Eggshell finish -- Slightly more durable with a very subtle sheen. It can handle gentle damp wiping but still shows damage from scrubbing or harsh chemicals.
- Satin finish -- A soft, velvety sheen that holds up well to cleaning. This is the most popular finish for kitchens, bathrooms, hallways, and kids' rooms because it can be wiped down without damage.
- Semi-gloss and gloss finish -- The most durable and washable. These finishes resist moisture and stains, and you can clean them more aggressively without worrying about damage. Common on trim, doors, bathrooms, and baseboards.
If you don't know what finish your walls have, rub your finger across the surface. Flat paint feels chalky and dry. Eggshell has a barely-there smoothness. Satin feels silky. Semi-gloss and gloss are noticeably shiny and slick. When in doubt, treat your walls like they have a flat finish and use the gentlest method possible.
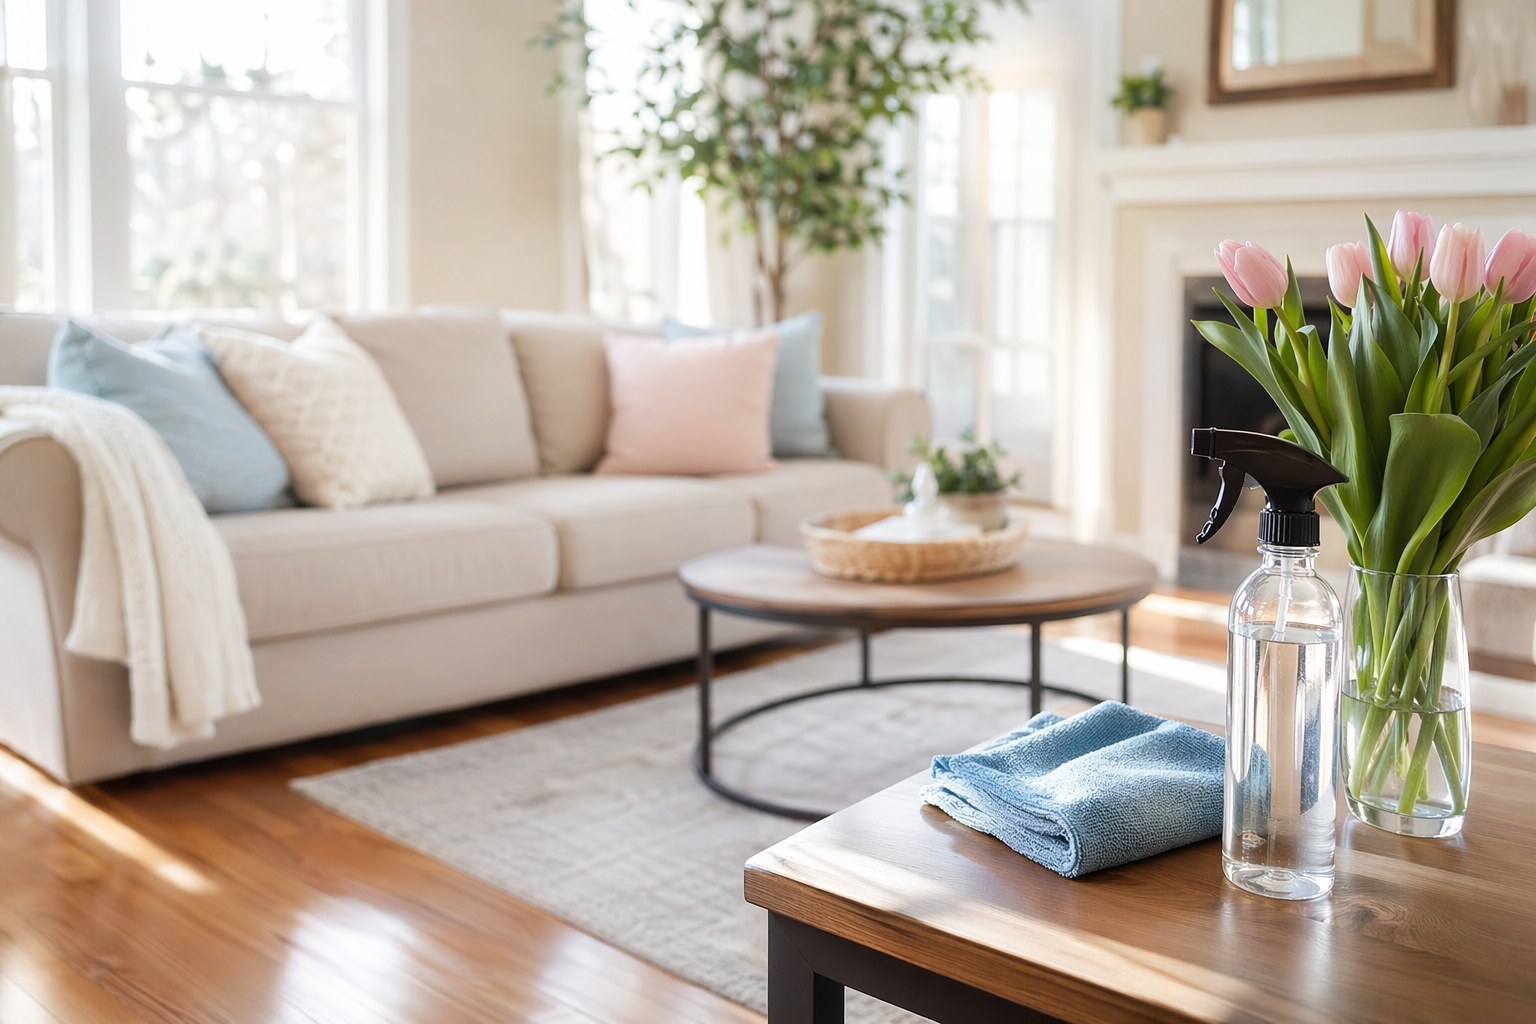
What Supplies Do You Need to Clean Painted Walls?
Gathering the right supplies before you start prevents mid-project trips to the store and ensures you don't grab something that will damage your walls. Here's what to have on hand:
- Microfiber cloths -- These are non-abrasive, highly absorbent, and won't leave lint behind. They're the safest cloth for every paint finish.
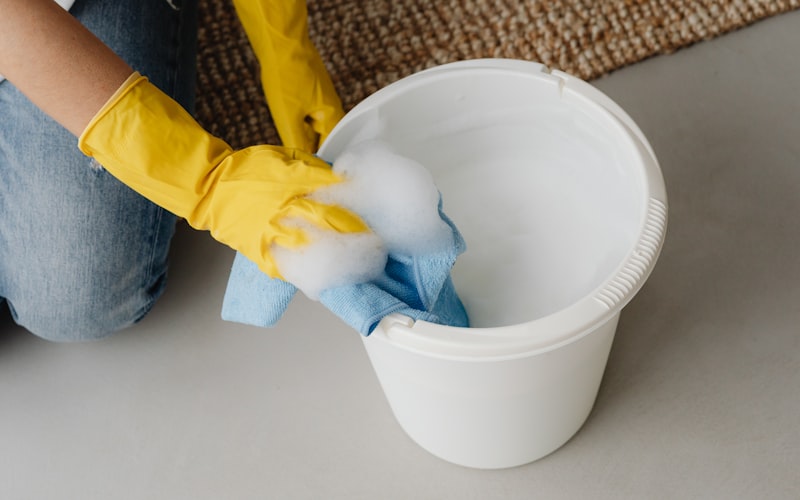
- Two buckets -- One for your cleaning solution, one for clean rinse water. This prevents you from spreading dirty water back onto the wall.
- Mild dish soap -- A few drops in warm water is the safest all-purpose wall cleaner. Avoid anything with bleach, ammonia, or heavy degreasers unless you're on a semi-gloss or gloss surface.
- Large natural sponge -- Softer than synthetic sponges and less likely to scuff delicate paint. Never use the abrasive green side of a kitchen sponge on walls.
- Vacuum with brush attachment -- For the dry dusting step. This removes surface dust and cobwebs without touching the wall with moisture.
- Soft-bristle broom or duster -- For reaching high areas, especially along the ceiling line where cobwebs gather.
- Drop cloths or old towels -- Place these along the base of the wall to catch drips. This also saves you from having to clean your baseboards again afterward.
- Step ladder -- For safely reaching the top portion of walls. Don't stand on chairs or furniture.
Avoid these products on painted walls: abrasive cleaners, powdered cleansers like Comet, undiluted vinegar on flat paint, alcohol-based cleaners on flat or eggshell finishes, and colored cloths or sponges that might transfer dye.
How Do You Dust Walls Before Wet Cleaning?
Dusting is the critical first step that most people skip entirely. If you apply a wet cloth or sponge to a dusty wall, the dust turns into muddy streaks that smear across the surface and are harder to remove than the original dust layer. Always dry-clean first, wet-clean second.
Step 1: Start at the top of the wall and work downward. Attach a microfiber duster with an extendable handle or use the brush attachment on your vacuum to sweep along the ceiling line, where cobwebs and dust collect most heavily. If your home has a musty smell, these dust pockets along ceiling edges are often contributing to the problem.
Step 2: Work your way down the wall in broad, overlapping strokes. A flat microfiber mop head works well for large wall areas -- the same tool you might use on floors covers wall surfaces quickly.
Step 3: Pay special attention to areas around air vents, behind furniture, and above doorframes. These spots accumulate the thickest dust layers and are easy to miss.
Step 4: Dust the baseboards at the bottom of the wall while you're at it. Any dust you knock off the wall will settle on the baseboards, so cleaning them last makes sense.
For walls that haven't been dusted in a long time, you may need to vacuum rather than dry-wipe. The brush attachment on a vacuum picks up heavy dust without pushing it around, which is more effective than a cloth for badly neglected walls.
How Do You Wash Painted Walls Without Leaving Streaks or Damage?
Once the walls are dusted, you can wet-clean them. The key principles are: use minimal water, work from the bottom up, and rinse frequently.
Step 1: Fill one bucket with warm water and 2-3 drops of mild dish soap. Fill the second bucket with plain warm water for rinsing. The cleaning solution should be barely sudsy -- if you see a thick layer of bubbles, you've added too much soap, and it will leave a residue on the wall.
Step 2: Dip your microfiber cloth or natural sponge into the cleaning solution and wring it out thoroughly. The cloth should be damp, not dripping. Excess water is the enemy of painted walls -- it can seep under the paint, cause bubbling, or leave water marks, especially on flat and eggshell finishes.
Step 3: Start washing from the bottom of the wall and work upward. This seems counterintuitive, but it prevents dirty water from dripping down onto dry, dusty wall surface and creating streaks that are difficult to remove. When drips run down over an already-damp, clean section, they wipe away easily.
Step 4: Work in small sections -- about 3 feet by 3 feet at a time. Wipe gently in overlapping circular or up-and-down motions. Don't scrub. Let the soap do the work. If a spot needs extra attention, hold the damp cloth on it for 15-20 seconds to loosen the grime before wiping.
Step 5: Rinse your cloth or sponge in the clean water bucket, wring it out, and go back over the same section to remove soap residue. Soap left on the wall attracts dirt faster and can leave a dull film.
Step 6: Dry the section with a clean, dry microfiber cloth. This step is especially important on flat and eggshell finishes. Air drying can leave water spots, and the moisture sitting on the surface too long increases the chance of paint damage.
For large rooms, change your cleaning and rinse water frequently. Dirty water redistributes grime instead of removing it. If you're working through multiple rooms, this is also a good time to tackle other overlooked surfaces like ceiling fans or baseboards.
How Do You Remove Specific Stains from Painted Walls?
General washing handles everyday dust and light grime, but specific stains need targeted approaches. The paint finish on your wall determines how aggressive you can be.
Fingerprints and Hand Smudges
These are the most common wall stains, especially around light switches, door handles, and hallways. On satin, semi-gloss, or gloss walls, a damp microfiber cloth with a drop of dish soap removes fingerprints easily. On flat or eggshell walls, try the damp cloth first with plain warm water and the lightest possible pressure. If that doesn't work, add the tiniest amount of soap.
Scuff Marks
Shoe scuffs and furniture rubs leave dark marks, especially in hallways and near entryways. A Magic Eraser dampened with water works extremely well on scuff marks on satin, semi-gloss, and gloss walls. Use very light pressure -- the melamine foam is mildly abrasive. On flat paint, test in a hidden area first, because a Magic Eraser can remove flat paint or leave a shiny spot where the texture has been rubbed smooth.
Grease and Cooking Splatter
Kitchen walls behind the stove and near the cooking area absorb grease that regular soap and water may not fully cut through. Mix one tablespoon of baking soda into a quart of warm water for a gentle degreasing solution. Apply with a soft sponge, let it sit for a minute, then wipe clean and rinse. For stubborn kitchen grease on semi-gloss walls, a small amount of white vinegar in warm water works well. If your kitchen walls constantly battle grease, you might want to consider repainting with a satin or semi-gloss finish that's easier to maintain -- the same planning approach you'd take when painting a room like a pro.
Crayon and Marker
If you have kids, crayon on walls is practically inevitable. For crayon, apply a small amount of baking soda to a damp cloth and rub gently. The mild abrasive lifts the wax without harsh chemicals. WD-40 also dissolves crayon -- spray a tiny amount on a cloth, wipe the mark, then clean the area with soap and water to remove the oily residue. For permanent marker, dab rubbing alcohol onto a white cloth and blot the mark. Don't rub aggressively or you'll spread the ink and potentially damage the paint.
Water Stains and Drip Marks
Water stains on walls usually indicate a leak or condensation issue that needs to be addressed at the source. Clean the stain with a solution of one part white vinegar to three parts water, but understand that severe water stains may have permanently discolored the paint. In that case, spot-priming with a stain-blocking primer and touching up the paint is the real fix -- similar to how you'd patch a hole in drywall and repaint the area.
Mr. Clean Magic Eraser Extra Durable
These heavy-duty melamine foam pads remove scuff marks, fingerprints, crayon, and stubborn grime from painted walls without harsh chemicals. The extra durable version lasts longer than standard erasers and works on satin, semi-gloss, and gloss paint finishes with minimal pressure.
Check Price on Amazon →Mold and Mildew Spots
If you see dark spots on walls -- especially in bathrooms, basements, or near windows -- you may be dealing with mold. Mix one part hydrogen peroxide (3% concentration) with two parts water and spray it on the affected area. Let it sit for 10 minutes, then wipe clean. Avoid bleach on painted walls because it can discolor the paint. More importantly, address the moisture source causing the mold. If you're also dealing with mold on your bathroom ceiling, the root cause is likely a ventilation issue that needs fixing.
How Do You Clean Walls with Flat or Matte Paint?
Flat paint deserves its own section because it's the most commonly damaged finish during cleaning. Flat paint has a porous, chalky surface that absorbs moisture and stains more easily than other finishes. It also shows every touch -- even rubbing too hard with a dry cloth can leave a visible mark called "burnishing," where the rubbed area appears shinier than the surrounding paint.
Step 1: Dust gently using a soft microfiber duster or the brush attachment on your vacuum set to low suction. Don't press the duster or brush against the wall -- let it glide lightly across the surface.
Step 2: For stains, try a dry cleaning sponge (also called a chemical sponge or soot sponge). These rubbery sponges lift dirt and marks from flat paint without water or chemicals. They're used by professional restoration companies and work remarkably well on flat-finish walls.
Step 3: If a dry sponge doesn't remove the stain, dampen a microfiber cloth with plain warm water -- no soap initially -- and blot the stain gently. Don't rub in circles. Press the cloth against the stain, lift, rotate the cloth to a clean area, and press again.
Step 4: If water alone doesn't work, add one drop of dish soap to a cup of warm water. Dip just the corner of your cloth, and blot the stain with the soapy section. Immediately follow with a cloth dampened with plain water to rinse, then blot dry.
Step 5: Let the area air-dry completely before judging the results. Flat paint looks darker when wet, which can make you think the stain is still there when it's actually gone. Wait at least 30 minutes before deciding if another pass is needed.
The honest truth about flat paint is that some stains simply won't come out without damaging the finish. In those cases, touching up the paint is the better option. Keep a small container of matching paint on hand for spot touch-ups -- it's faster and more effective than fighting a stubborn stain on a delicate finish. If you're planning a repaint anyway, check out tips for painting a room like a pro and consider switching high-traffic walls to a more cleanable finish like eggshell or satin.
How Do You Clean High Walls and Hard-to-Reach Areas?
Most homes have 8- to 9-foot ceilings, and the upper third of the wall is where dust and cobwebs accumulate most heavily because nobody ever touches it. Cleaning these areas safely requires the right tools and approach.
Step 1: Use an extendable microfiber duster that telescopes to reach ceiling height. These extend 4-6 feet beyond your normal reach and let you dust the upper wall and ceiling line while standing on the floor.
Step 2: For wet cleaning high areas, wrap a damp microfiber cloth around a flat mop head and use the mop handle to reach the upper wall. Work in controlled strokes -- you have less precision at arm's length, so gentle, even passes prevent uneven pressure marks.
Step 3: If you must use a step ladder, place it on a stable, level surface and never lean or overreach. Move the ladder frequently rather than stretching to cover more area. Have someone nearby to hold the ladder if possible.
Step 4: For stairwell walls -- which are notoriously difficult due to the height and angle -- an extendable handle tool is almost always safer and more effective than a ladder on stairs. If the walls in your stairwell are truly filthy and need heavy cleaning, consider having them professionally cleaned rather than risking a fall.
While you're dealing with high walls and corners, this is also a good time to address related cleaning tasks. Many of the same tools you use for walls work for cleaning ceiling fans, and tackling both at once is more efficient than doing them separately.
How Often Should You Clean Your Walls?
The right cleaning frequency depends on your household, but here are general guidelines:
- Dust walls every 1-2 months -- A quick pass with a duster or vacuum brush attachment prevents dust from building up to the point where it's visible and sticky.
- Spot-clean stains as they happen -- Fresh stains are always easier to remove than old ones. The longer a stain sits on the wall, the deeper it absorbs into the paint.
- Full wash every 6-12 months -- For most rooms, a thorough wall washing once or twice a year keeps them looking fresh.
- Kitchen and bathroom walls every 3-4 months -- These rooms generate more grime (grease, steam, humidity) and need more frequent attention.
- Kids' rooms and hallways every 3-6 months -- High-traffic and high-touch areas accumulate fingerprints and scuff marks faster.
If you stay on top of regular dusting and spot-cleaning, the full washing sessions go much faster because there's less buildup to tackle. This is the same principle behind most home maintenance -- frequent light effort beats infrequent heavy effort. It's the approach behind saving money on cleaning supplies too, since prevention uses fewer products than deep cleaning.
What Should You Never Use on Painted Walls?
Knowing what to avoid is just as important as knowing what to use. These common mistakes damage paint finishes:
- Abrasive scrub pads or steel wool -- These scratch and strip paint off the wall instantly. Even the green scrub side of a standard kitchen sponge is too abrasive for most paint finishes.
- Undiluted vinegar or bleach -- Both are too harsh for painted surfaces. Vinegar can etch flat and eggshell finishes. Bleach discolors paint and weakens the bond to the wall. Always dilute heavily if you must use either.
- Pressure or excessive rubbing -- Scrubbing hard in one spot creates burnish marks on flat paint and can rub through to the primer or drywall on any finish.
- Colored cloths or sponges -- Dye from colored cleaning cloths can transfer to light-colored walls, creating new stains while you're trying to remove old ones. Always use white or undyed cloths.
- All-purpose cleaners with ammonia -- Products containing ammonia can dull and streak paint finishes. Stick to dish soap and water for routine cleaning.
- Soaking the wall -- Never spray cleaner directly onto the wall or use a dripping-wet cloth. Excess moisture seeps into drywall, causes paint bubbling, and can lead to mold growth behind the wall.
If you accidentally damage paint while cleaning -- whether it's a burnish mark, a stripped spot, or a discolored area -- the fix is usually touch-up paint rather than more cleaning. Keep leftover paint from your last paint job stored in a cool, dry place for exactly this purpose.
Frequently Asked Questions
Can you use vinegar to clean painted walls?
You can use diluted vinegar (one part vinegar to three parts water) on satin, semi-gloss, and gloss finishes for cutting through grease and grime. However, avoid vinegar on flat and eggshell finishes -- the acidity can etch the porous surface and leave permanent marks. Even on durable finishes, always rinse with plain water after using vinegar to prevent residue buildup.
How do you remove sticker or tape residue from painted walls?
Apply a small amount of cooking oil or Goo Gone to a cloth and hold it against the residue for 30-60 seconds. The oil softens the adhesive, allowing you to wipe it away gently. Follow up with soap and water to remove the oily residue. On flat paint, use the oil sparingly and blot rather than rub. For tape that's been on the wall for years, you may need to repeat the process several times before the adhesive fully releases. If the paint comes off with the tape, you'll need to patch and repaint the damaged area.
Should you wash walls before painting them?
Absolutely. Painting over dirty walls is one of the most common mistakes that leads to paint failure. Dust, grease, and grime prevent new paint from bonding properly, which causes peeling, bubbling, and poor coverage. Wash walls with a mild TSP (trisodium phosphate) substitute solution, rinse with clean water, and let them dry completely before priming and painting. If you want the new paint job to last, proper wall prep is essential -- it's one of the key steps when you paint a room like a pro.
How do you clean smoke stains or nicotine off painted walls?
Smoke and nicotine stains are among the toughest wall stains to remove because they penetrate the paint. Mix a solution of one tablespoon of trisodium phosphate (TSP) substitute per gallon of warm water and wash the walls with a sponge, working in sections. For heavy staining, you may need multiple passes. Once the walls are clean and dry, apply a stain-blocking primer before repainting -- regular paint won't seal in nicotine stains and the yellow will bleed through. You can find effective TSP substitute cleaners at most hardware stores.
Final Thoughts
Clean walls make a bigger difference in how your home looks and feels than almost any other single cleaning task. Rooms appear brighter, paint colors look richer, and the entire space feels fresher -- even without any new furniture or decor. The key is matching your cleaning method to your paint finish. Treat flat and eggshell walls with extreme gentleness, and save the more aggressive cleaning for satin, semi-gloss, and gloss surfaces where the paint can handle it.
Start with the room that bothers you most. Kitchen walls near the stove and bathroom walls around the vanity are usually the grimiest, and the difference after cleaning is dramatic. Once those are done, work through the rest of the house one room at a time. With regular dusting and prompt spot-cleaning, you'll rarely need a full wall wash -- and when you do, the process is quick because there's never heavy buildup to fight. If you're also tackling stains on floors while you're in cleaning mode, check out the guide on removing carpet stains to knock out both projects in the same session.
Get weekly home tips that actually work
Join thousands of homeowners getting practical cleaning hacks, DIY fixes, and money-saving tips every week. Free, and you can unsubscribe anytime.

Written by
Beth SullivanFounder & Editor-in-Chief
Beth Sullivan is the founder of Practical Home Guides. With over a decade of hands-on experience tackling every home challenge imaginable, she started this site to share the practical, no-nonsense solutions she wishes she had found years ago. When she's not testing cleaning hacks or organizing pantries, you'll find her in the garden or working on her next DIY project.
Recommended Products
Looking for specific product recommendations? Check out our tested picks.
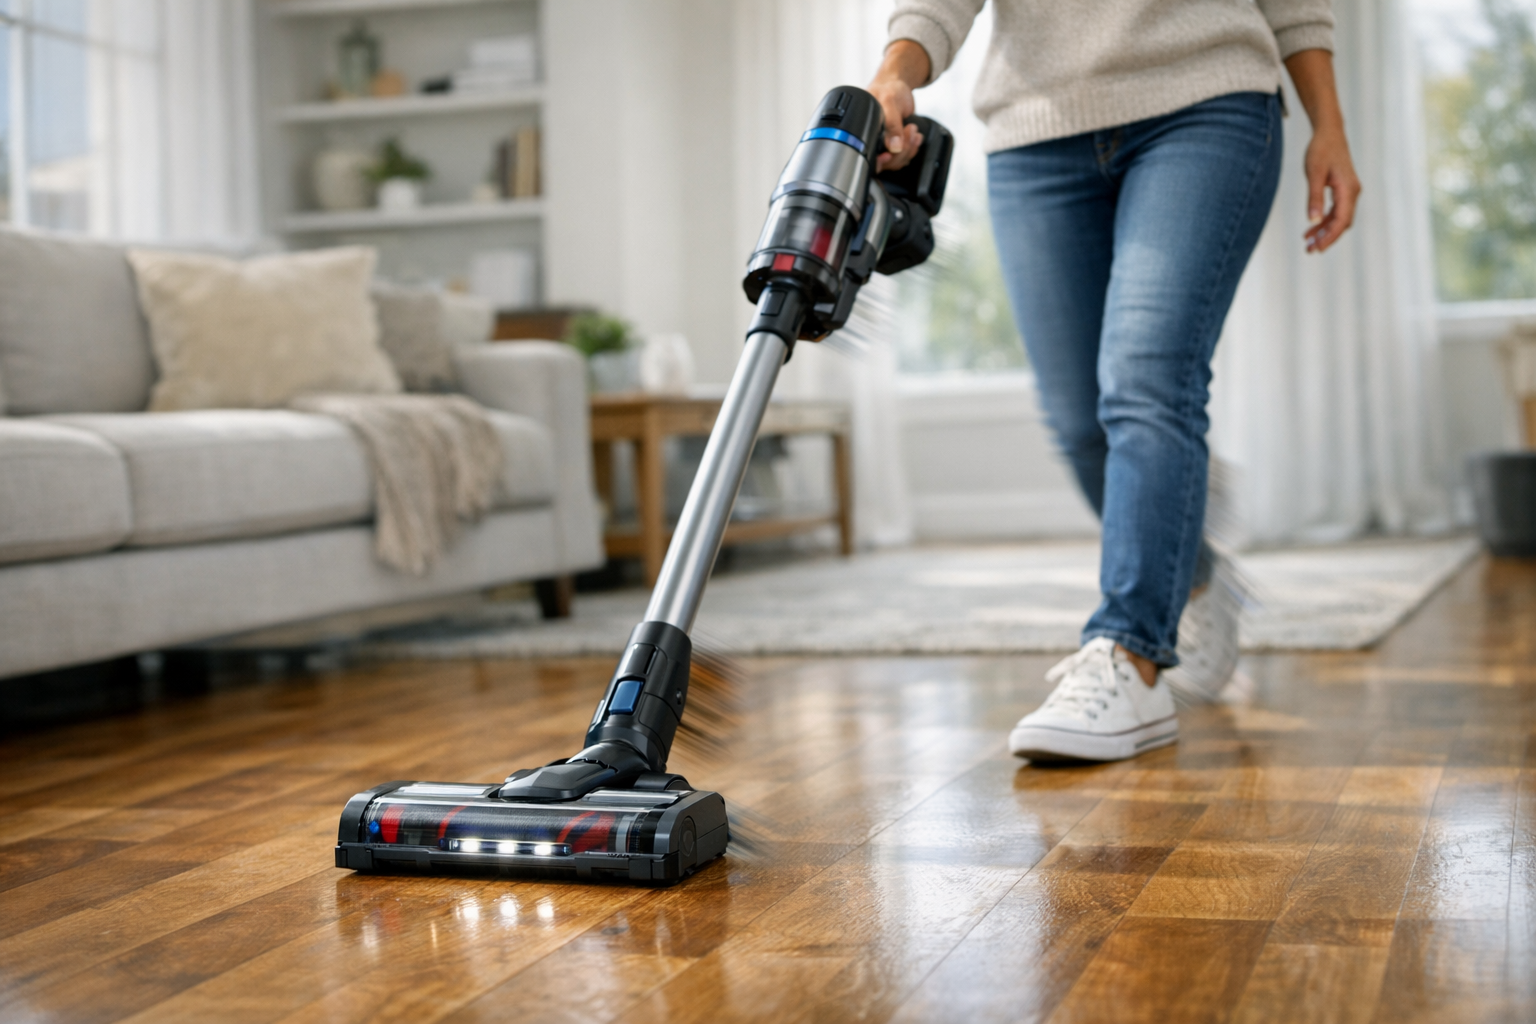
Best Cordless Stick Vacuums (2026 Buyer's Guide)
We tested cordless stick vacuums on hardwood, carpet, pet hair, and stairs. Here are the picks worth the price for every home and budget in 2026.
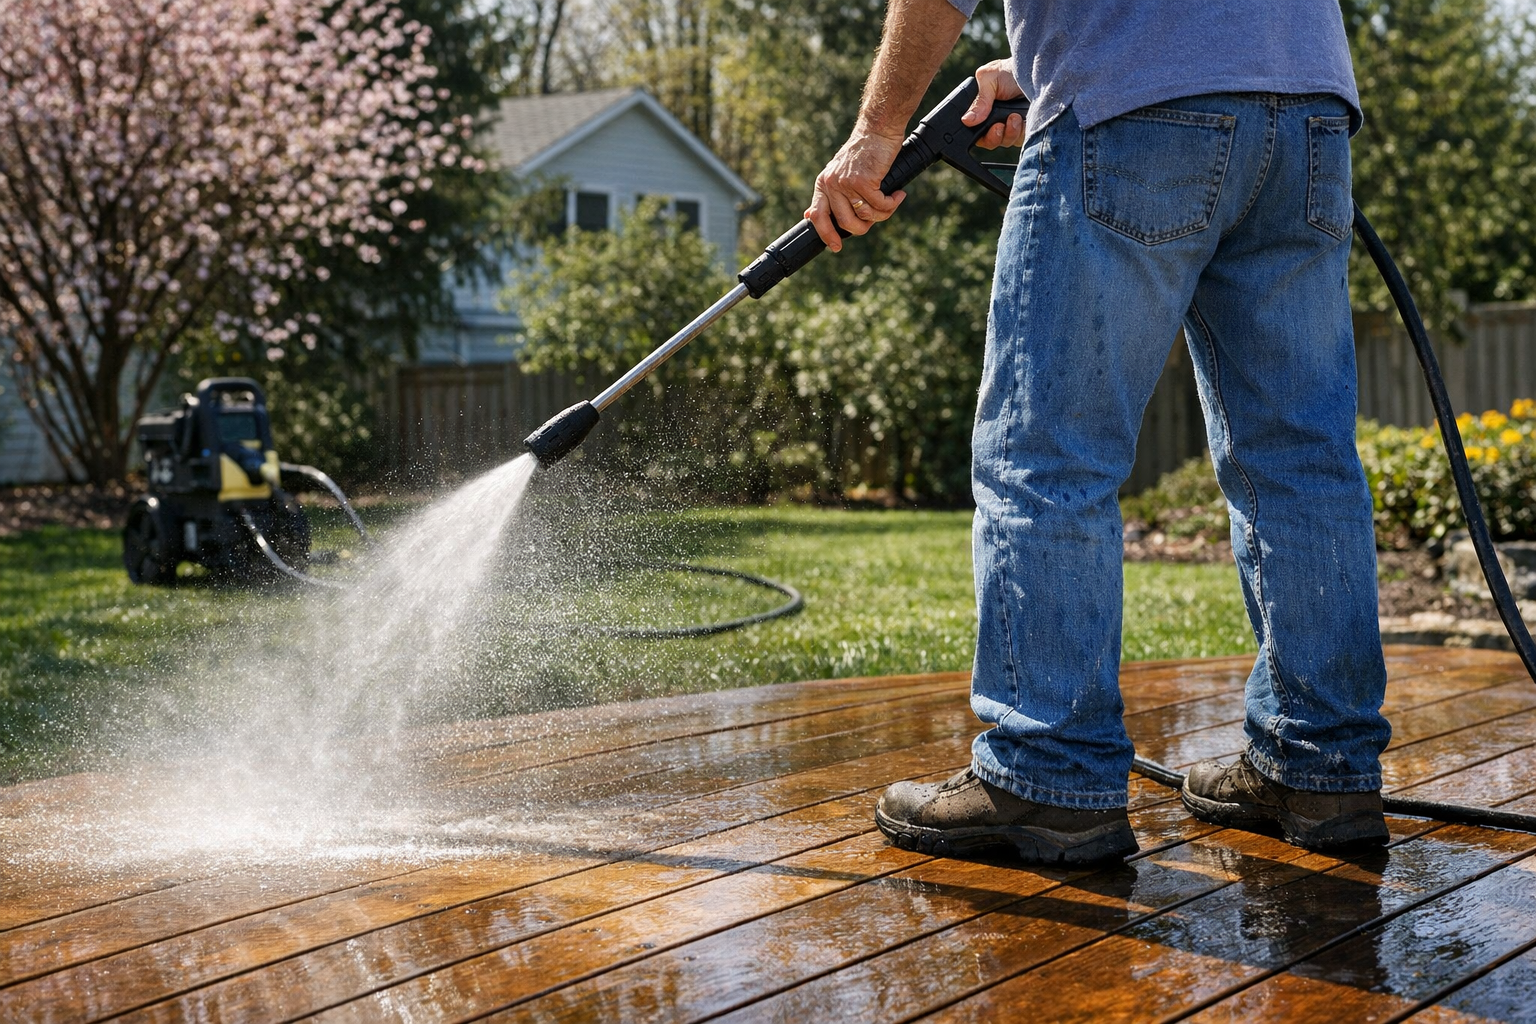
Best Pressure Washers for Home Use (2026 Buyer's Guide)
We tested electric and gas pressure washers for siding, decks, driveways, and patio furniture. Here are the best picks for every budget and home size.
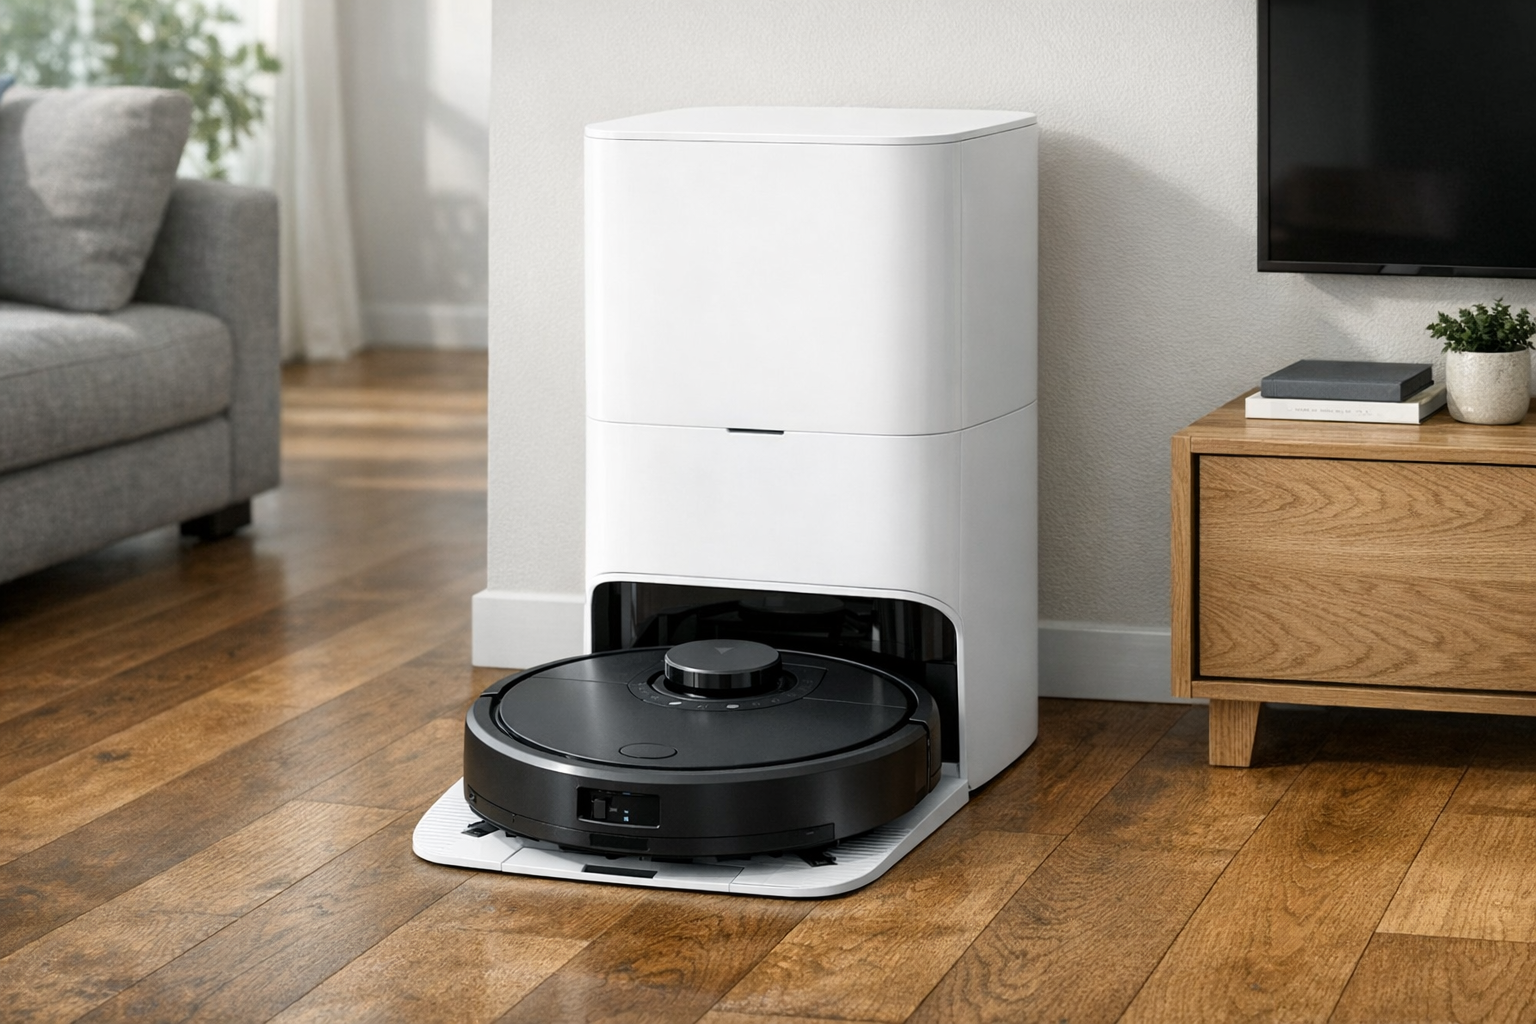
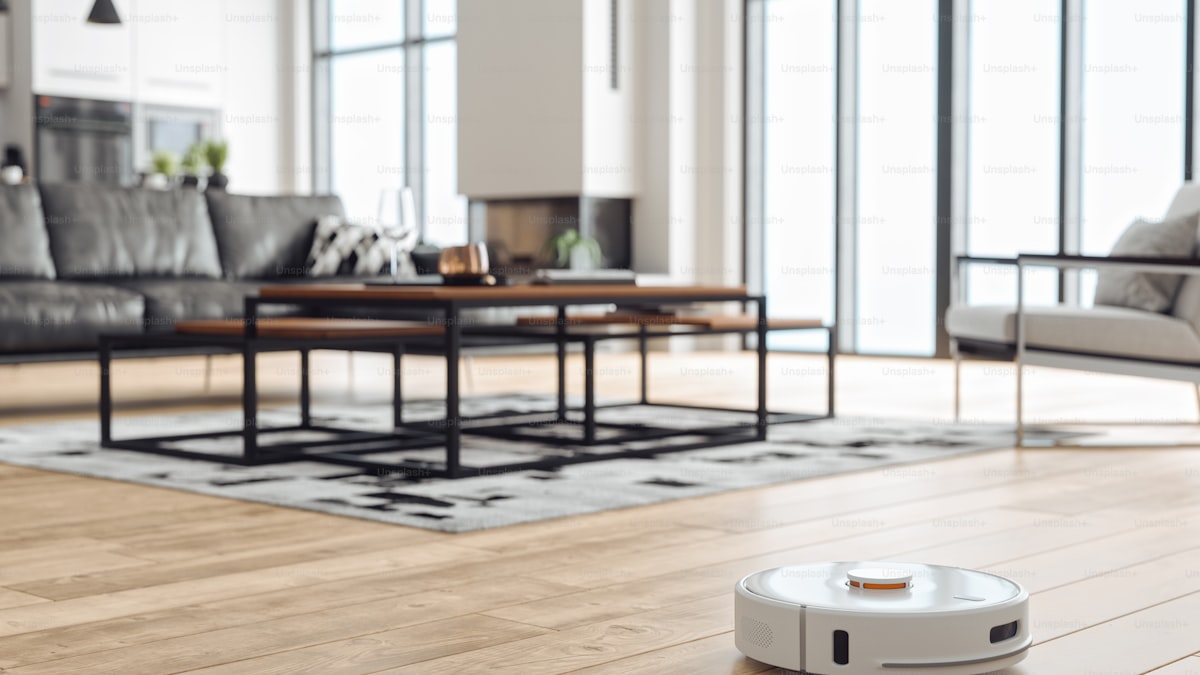
Best Self-Emptying Robot Vacuums (2026 Tested)
Self-emptying robot vacuums let you forget about the dust bin for weeks. We tested the top models on hardwood, carpet, pet hair, and floor plans.
5 Best Steam Mops for Tile Floors (2026)
We tested the top steam mops for tile, grout, and hard floors. Here are the 5 best picks with honest pros, cons, and who each one is best for.
7 Best Robot Vacuums Under $300 (2026)
We compared the top robot vacuums under $300 for pet hair, hardwood floors, and carpet. Here are the 7 best picks with pros, cons, and who each is best for.
Related Articles
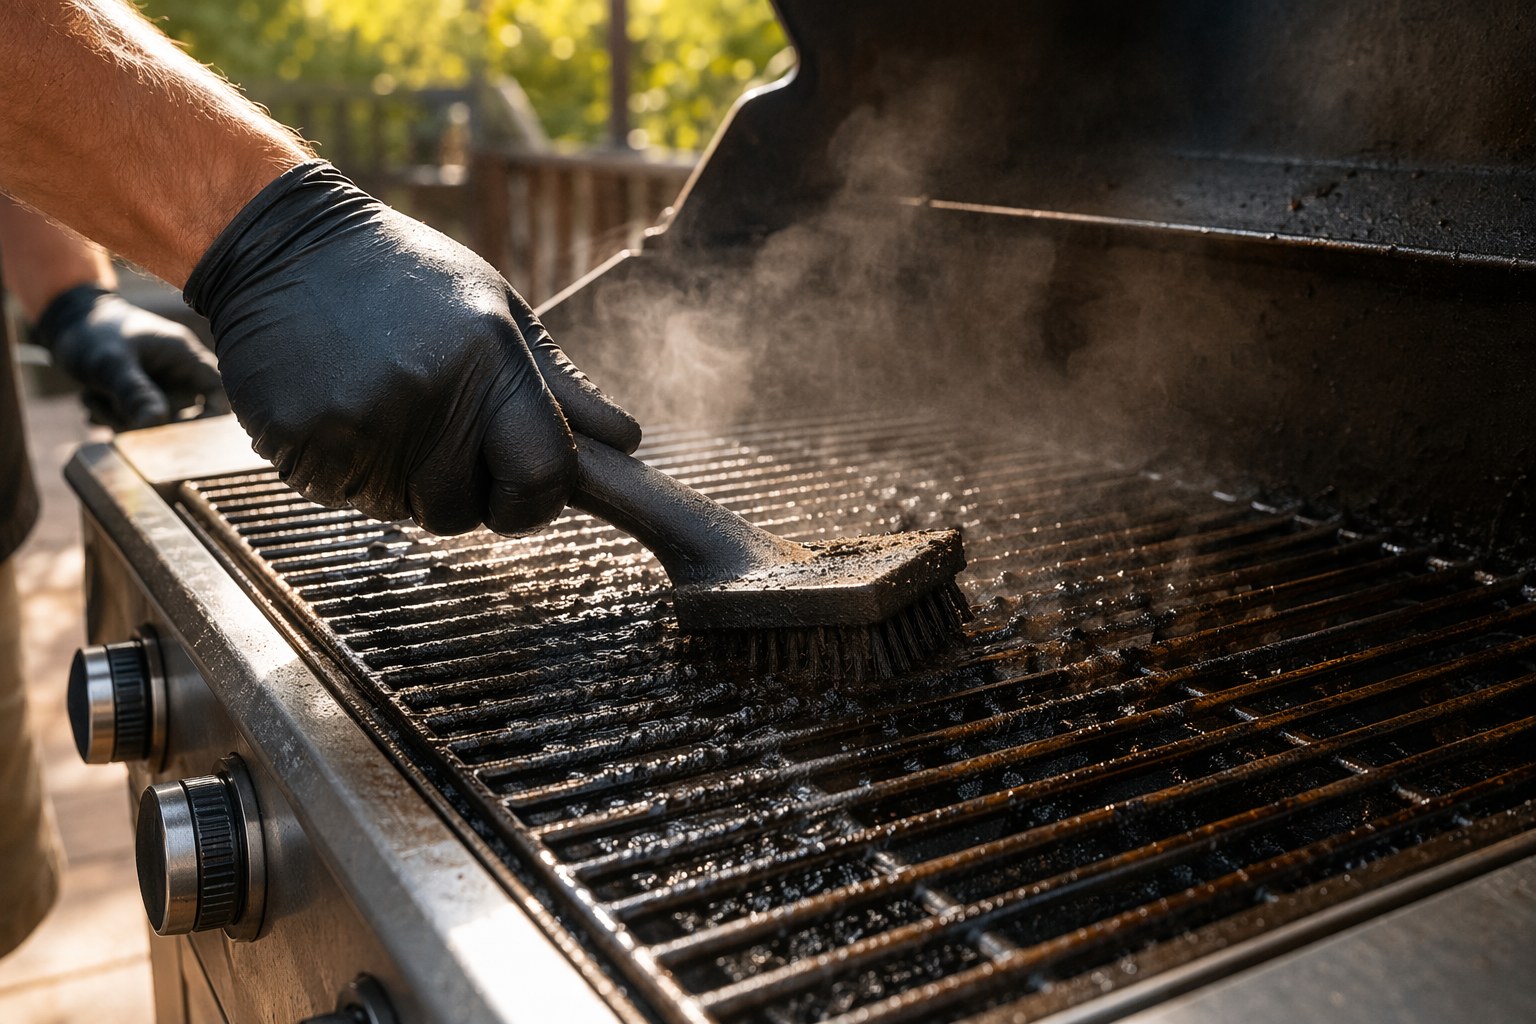
Post-Cookout Cleanup: Fast Grill & Patio Restoration Strategy
Turn a trashed post-party patio back to perfect in 45 minutes flat. A timed grill, furniture, and deck cleanup strategy that beats the morning-after dread.
Post-Spring-Break Deep Clean: Restore Your House Room by Room
Restore your house after spring break travel and guests with this room-by-room deep clean plan. Finish a full reset in one weekend, no chaos required.
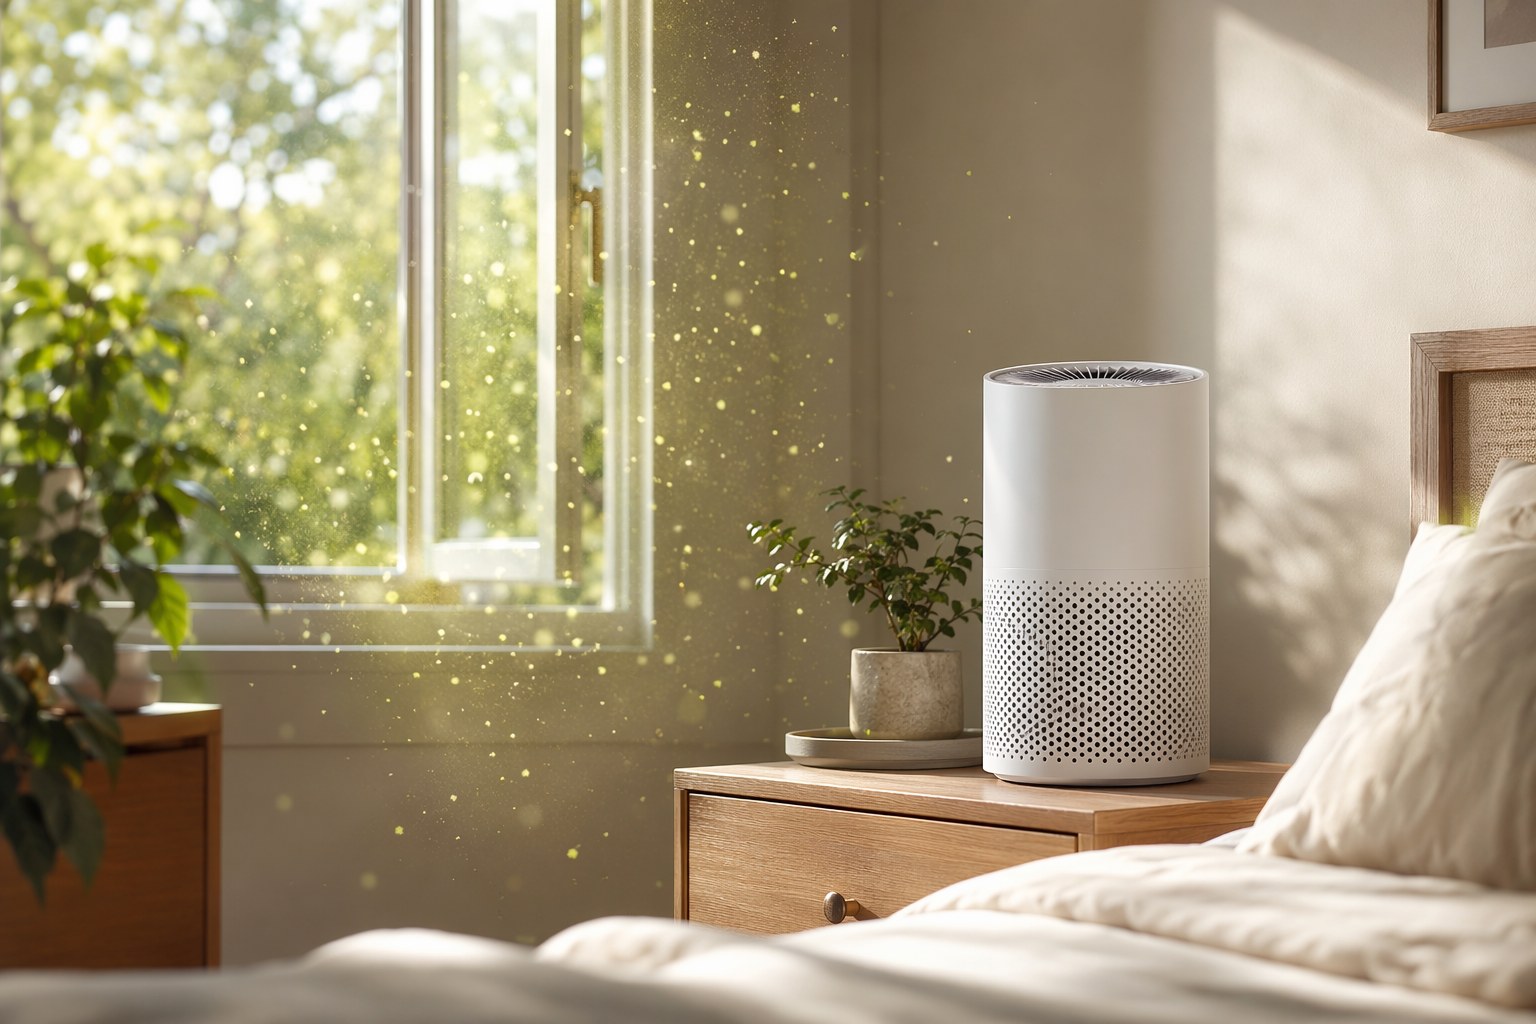
Spring Pollen Defense: Air Purifiers vs. HEPA Filters (Testing Results)
We tested 6 HEPA air purifiers against pollen during spring allergy season. See real efficacy data, room-size guidance, and ROI to pick the right one for you.
How to Remove Rust From Grill Grates (Without Replacing Them)
Rusted grill grates can be revived if rust is surface-only. Here's the safe restoration method that gets cast iron and steel grates back to cooking-ready.