Lawn Care Basics for Beginners (A Simple Seasonal Guide)
This article may contain affiliate links. If you make a purchase through these links, we may earn a small commission at no extra cost to you. Learn more
Quick Answer
Lawn Care Basics for Beginners (A Simple Seasonal Guide)
A healthy lawn comes down to four fundamentals: mow high (never removing more than one-third of the blade), water deeply but infrequently (about one inch per week), fertilize at the right time for your grass type, and stay ahead of weeds with proper cultural practices. Follow a simple seasonal schedule and your lawn will thicken, green up, and crowd out most problems on its own.
Lawn Care Basics for Beginners (A Simple Seasonal Guide)
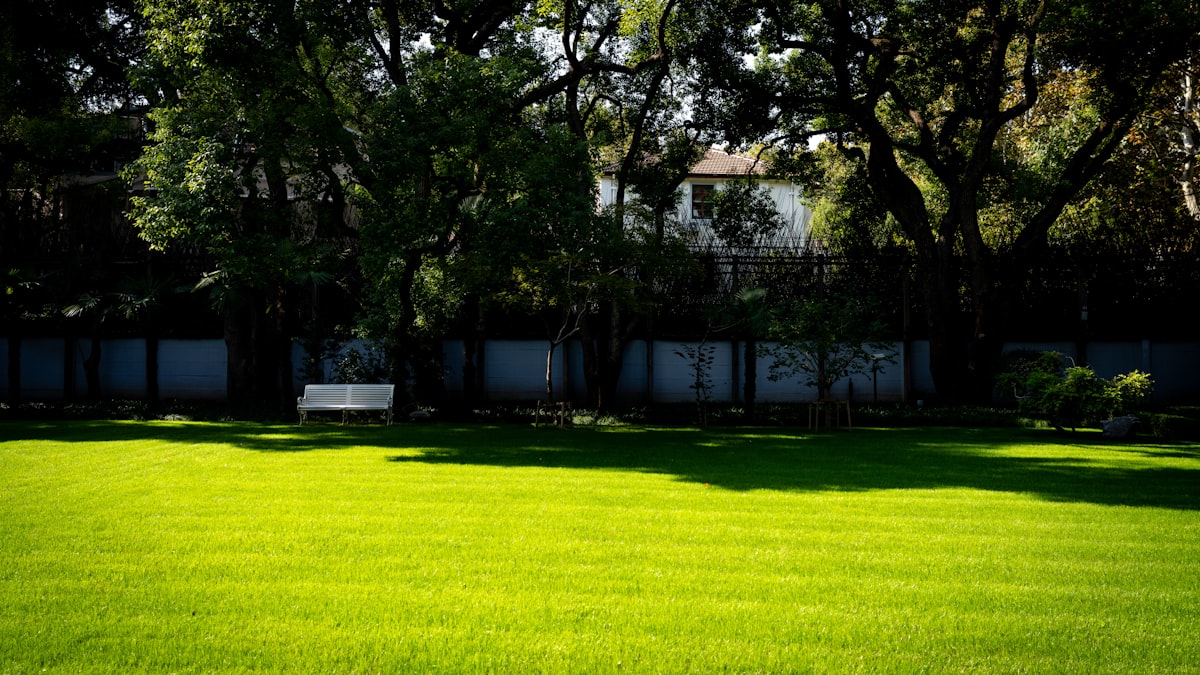
A lush, green lawn can transform the look of your entire property -- but if you have never maintained one before, it can feel like there are a thousand things to learn at once. Between fertilizer numbers, mowing heights, weed killers, and watering schedules, the information overload is real.
Here is the good news: lawn care is not nearly as complicated as the internet makes it seem. The vast majority of a healthy lawn comes down to a handful of basic practices done consistently and at the right time of year. You do not need a turf science degree or a garage full of expensive equipment. You just need a simple plan and the willingness to spend a few hours outside each month.
This guide breaks down everything a beginner needs to know -- season by season, step by step -- so you can stop guessing and start growing a lawn you are actually proud of. And if you are also working on preparing your garden for spring planting, many of the same timing principles apply.
What Type of Grass Do You Have and Why Does It Matter?
Before you can take proper care of your lawn, you need to know what you are working with. Grass types fall into two broad categories -- cool-season and warm-season -- and each has different needs for mowing, watering, and fertilizing.
Cool-Season Grasses
If you live in the northern half of the United States (roughly above the 36th parallel), your lawn is most likely a cool-season grass. The most common types include:
- Kentucky Bluegrass -- the classic, dark green lawn grass with a fine texture. It spreads by underground runners and fills in bare spots on its own, but it requires more water and fertilizer than most grasses.
- Tall Fescue -- a tough, drought-tolerant grass with a coarser texture. It grows in bunches rather than spreading, which means bare spots need reseeding. Excellent for high-traffic yards.
- Perennial Ryegrass -- germinates quickly and establishes fast. Often mixed with bluegrass and fescue for a well-rounded lawn.
Cool-season grasses grow most actively in spring and fall when temperatures are between 60°F and 75°F. They slow down or go dormant during the heat of summer.
Warm-Season Grasses
If you live in the southern half of the country, your lawn likely features a warm-season grass. Common types include:
- Bermuda Grass -- aggressive, heat-loving, and extremely durable. It spreads quickly and handles heavy foot traffic well, but it goes brown in winter.
- Zoysia Grass -- a dense, carpet-like grass that tolerates both heat and moderate cold. Slower to establish but beautiful once mature.
- St. Augustine Grass -- a broad-bladed grass common in humid coastal areas. It thrives in heat and handles shade better than most warm-season grasses.
Warm-season grasses grow most vigorously when temperatures are between 80°F and 95°F. They go dormant and turn brown once nighttime temperatures consistently drop below 55°F.
Knowing your grass type tells you when to fertilize, how high to mow, how much water it needs, and when to overseed. If you are not sure what you have, take a sample to your local cooperative extension office or a good garden center -- they can identify it for you in minutes.
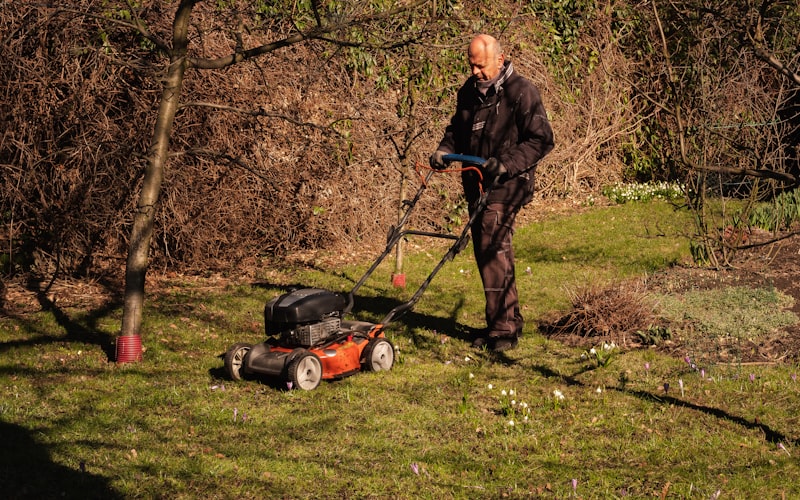
How Should You Mow Your Lawn for the Best Results?
Mowing is the single most frequent lawn care task, and how you do it has a bigger impact on your lawn's health than almost anything else. Most beginners mow too short and too infrequently -- both of which stress the grass and invite weeds.
The One-Third Rule
Never remove more than one-third of the grass blade in a single mowing. Cutting more than that shocks the plant, weakens the root system, and opens the door for weeds and disease. If your target mowing height is 3 inches, you should mow when the grass reaches about 4.5 inches.
Recommended Mowing Heights
Different grasses perform best at different heights:
- Kentucky Bluegrass: 2.5 to 3.5 inches
- Tall Fescue: 3 to 4 inches
- Perennial Ryegrass: 2.5 to 3.5 inches
- Bermuda Grass: 1 to 2 inches
- Zoysia Grass: 1.5 to 2.5 inches
- St. Augustine Grass: 3 to 4 inches
When in doubt, mow higher rather than lower. Taller grass shades the soil, which reduces water evaporation and makes it harder for weed seeds to germinate. A taller blade also means a deeper root system, which makes the plant more drought-resistant.
Mowing Best Practices
Step 1: Sharpen your mower blade at least once per season, ideally twice. A dull blade tears the grass instead of cutting it cleanly, leaving ragged tips that turn brown and become entry points for disease. You can sharpen it yourself with a blade sharpening kit or take it to a local hardware store.
Step 2: Alternate your mowing pattern each time you mow. If you mowed north-south last time, go east-west this time. Varying the pattern prevents the grass from developing a "grain" and compacting the soil in ruts.
Step 3: Leave the clippings on the lawn. Grass clippings decompose quickly and return valuable nitrogen to the soil -- up to 25% of your lawn's annual fertilizer needs. This is called "grasscycling," and it is free fertilizer. The only exception is if you have let the grass get so tall that clumps of clippings smother the turf underneath.
Step 4: Never mow wet grass. Wet blades clump together, clog your mower, and cut unevenly. Wait until the lawn has dried, ideally in the late afternoon when morning dew has evaporated.
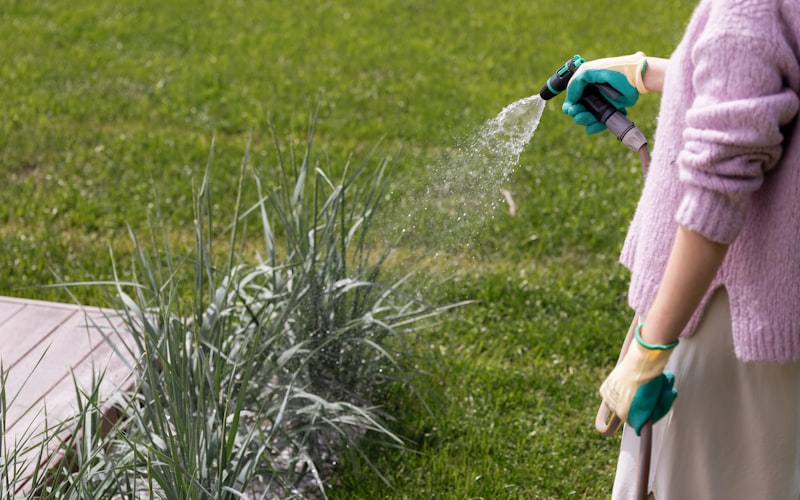
How Much Water Does Your Lawn Actually Need?
Overwatering is just as harmful as underwatering, and most beginners err on the side of too much. A lawn that gets frequent, shallow watering develops shallow roots that cannot survive heat or drought. The goal is to train your grass to grow deep roots by watering deeply and infrequently.
The One-Inch Rule
Most lawns need about one inch of water per week, including rainfall. That single inch, applied in one or two deep sessions, is better than a little bit of water every day.
Step 1: Place a few empty tuna cans or rain gauges around your lawn before you water. Run your sprinklers and check how long it takes to collect one inch of water in the cans. That tells you exactly how long to water each session.
Step 2: Water early in the morning, ideally between 6 a.m. and 10 a.m. Morning watering gives the grass time to absorb moisture before the heat of the day, and the blades dry quickly, which reduces the risk of fungal disease. Evening watering leaves the lawn wet overnight -- a recipe for problems.
Step 3: Water two to three times per week rather than every day. Each session should deliver about half an inch of water, allowing it to soak 4 to 6 inches into the soil. You can check penetration depth by pushing a screwdriver into the ground after watering -- it slides easily through moist soil and stops at dry soil.
A good oscillating sprinkler covers a rectangular area evenly and is one of the most affordable, effective watering tools for a home lawn. For more advanced watering, a programmable hose timer lets you automate the schedule so you never have to think about it. Pair it with a quality nozzle and hose -- our guide on the best garden hose nozzles can help you choose the right setup.
Signs Your Lawn Needs Water
Your grass will tell you when it is thirsty before it turns brown. Watch for these early signs:
- Footprints that stay visible after you walk across the lawn (healthy, well-watered grass springs back immediately).
- A bluish-gray tint instead of the normal bright green.
- Leaf blades that fold or curl along their length.
If you notice any of these, water within the next 24 hours to prevent the grass from going dormant.
When and How Should You Fertilize Your Lawn?
Fertilizer feeds your grass the nutrients it needs to grow thick and green, but timing and application rate matter enormously. Fertilizing at the wrong time or in the wrong amount can burn your lawn, promote disease, or feed weeds instead of grass.
Understanding Fertilizer Numbers
Every bag of fertilizer shows three numbers separated by dashes -- for example, 20-5-10. These represent:
- Nitrogen (N) -- promotes green, leafy growth. This is the most important nutrient for lawns.
- Phosphorus (P) -- supports root development. Most established lawns need very little additional phosphorus.
- Potassium (K) -- strengthens the plant against stress, disease, and cold.
For most home lawns, a fertilizer with a higher first number (nitrogen) and moderate third number (potassium) is ideal. Something like 24-0-11 or 20-0-10 works well for maintenance applications.
Fertilizing Cool-Season Lawns
Step 1: Apply your first fertilizer in early to mid-spring (around April) when the grass starts actively growing. Use a light application -- about half the rate listed on the bag.
Step 2: Skip summer fertilizing entirely. Cool-season grasses are stressed by heat and do not need the extra push. Fertilizing in summer can actually promote disease.
Step 3: Apply the most important fertilizer of the year in early fall (September). This feeds the grass during its peak growth period and helps it thicken up and store energy for winter.
Step 4: Apply a final "winterizer" fertilizer in late fall (November) after the grass has stopped growing but before the ground freezes. This application feeds the roots through winter and gives your lawn a strong start the following spring.
Fertilizing Warm-Season Lawns
Step 1: Wait until late spring (May or June) when the grass is fully green and actively growing before applying the first fertilizer. Fertilizing too early feeds cool-season weeds more than your lawn.
Step 2: Apply additional fertilizer every 6 to 8 weeks through the summer growing season, following label rates.
Step 3: Stop fertilizing by mid-September. Late fertilizing encourages tender new growth that will be damaged by the first frost.
A broadcast spreader gives you the most even coverage and is worth the investment over hand-throwing or cheap handheld spreaders. Uneven application creates striping -- alternating dark green and light green bands that look terrible and indicate some areas are getting too much while others get too little.
Scotts Turf Builder EdgeGuard Mini Broadcast Spreader
Compact broadcast spreader with EdgeGuard technology that keeps fertilizer off sidewalks and driveways. Holds up to 5,000 square feet of product. Ideal for small to medium lawns and easy to store in a garage or shed.
Check Price on Amazon →How Do You Deal with Weeds Without Destroying Your Lawn?
Weeds are inevitable, but a thick, healthy lawn is the best weed prevention there is. Dense turf shades the soil surface and leaves no room for weed seeds to germinate. Most weed problems are a symptom of a thin, stressed lawn -- not the cause of one.
Cultural Weed Prevention
Before you reach for any herbicide, make sure you are doing the basics right:
- Mow at the correct height. Taller grass shades out weed seedlings.
- Water deeply and infrequently. Shallow watering favors weeds with shallow roots, like crabgrass.
- Fertilize on schedule. A well-fed lawn outcompetes most weeds.
- Overseed thin areas. Bare soil is an open invitation for weeds.
If you prefer to avoid chemicals entirely, our guide on how to get rid of weeds naturally covers effective organic methods in detail.
Pre-Emergent Herbicides
Pre-emergent herbicides create a chemical barrier in the top layer of soil that prevents weed seeds from germinating. They are your best weapon against annual weeds like crabgrass and foxtail.
Step 1: Apply pre-emergent in early spring before soil temperatures reach 55°F consistently. In most areas, this coincides with forsythia blooming.
Step 2: Water in the product lightly after application -- about a quarter inch is enough to activate it.
Step 3: Do not aerate or dethatch after applying pre-emergent, as this breaks the barrier.
Important note: pre-emergent also prevents grass seed from germinating, so do not apply it if you plan to overseed within the next 6 to 8 weeks.
Post-Emergent Herbicides
For weeds that are already growing, a selective post-emergent herbicide targets broadleaf weeds (like dandelions and clover) without harming grass. Spot-treat individual weeds rather than blanket-spraying the entire lawn -- it is cheaper, more effective, and better for the environment.
Hand-pulling is perfectly effective for small infestations. A stand-up weed puller lets you remove dandelions and other taproot weeds without bending over and gets the entire root so they do not grow back.
What Does a Simple Seasonal Lawn Care Schedule Look Like?
The key to a great lawn is doing the right thing at the right time. Here is a straightforward seasonal schedule that covers the essentials without overcomplicating things. Adjust the timing based on your specific grass type and climate zone.
Spring (March through May)
Step 1: Clean up debris, fallen branches, and any matted leaves left over from winter. Rake lightly to lift matted grass and improve airflow.
Step 2: Apply pre-emergent herbicide when forsythia blooms or soil temperatures approach 55°F.
Step 3: Begin mowing once the grass starts actively growing. Set your mower to the recommended height for your grass type and follow the one-third rule.
Step 4: Service your mower -- change the oil, replace the spark plug, and sharpen the blade. A well-maintained mower makes better cuts and lasts years longer. This is one of the easiest ways to save money on home maintenance in the long run.
Step 5: Apply a light spring fertilizer to cool-season lawns. Hold off on warm-season lawns until they are fully green.
Summer (June through August)
Step 1: Raise your mowing height by half an inch during the hottest months. Taller grass tolerates heat better and needs less water.
Step 2: Water deeply and infrequently -- one inch per week, adjusting for rainfall. Early morning watering is essential.
Step 3: Spot-treat any weeds that break through. Avoid blanket herbicide applications in extreme heat, as stressed grass is more susceptible to chemical damage.
Step 4: Stay off the lawn as much as possible during drought stress. Foot traffic on dormant grass can damage the crowns permanently.

Fall (September through November)
Fall is the most important season for cool-season lawn care. This is when your grass is growing most vigorously and when your efforts pay off the most.
Step 1: Aerate compacted lawns in early fall. A core aerator pulls small plugs of soil out of the ground, reducing compaction and allowing water, air, and nutrients to reach the root zone. You can rent a core aerator from most home improvement stores for about $75 per day.
Step 2: Overseed thin or bare areas immediately after aerating. The combination of aeration and overseeding is the fastest way to thicken a lawn. Keep the newly seeded areas consistently moist for two to three weeks until germination.
Step 3: Apply fall fertilizer -- the most important feeding of the year for cool-season grasses. This application fuels root growth, energy storage, and spring green-up.
Step 4: Continue mowing until the grass stops growing. Gradually lower your mowing height for the final cut of the season to about 2 inches. This prevents matting under snow and reduces the risk of snow mold.
Step 5: Rake or mulch fallen leaves. A heavy blanket of leaves smothers the grass and promotes disease. Mulching them with your mower returns nutrients to the soil and saves you the effort of bagging.
Winter (December through February)
Step 1: Stay off frozen grass. Walking on frosted or frozen turf breaks the blades and damages the crown of the plant.
Step 2: Service and store your mower properly. Drain or stabilize the fuel, clean the deck, and sharpen the blade so it is ready for spring.
Step 3: Plan your spring lawn care schedule. Order seed, fertilizer, and any supplies you need so you are ready when the season starts. If you enjoy planning ahead for the outdoor season, this is also a great time to think about composting at home or starting a vegetable garden in your backyard.
What About Aeration, Dethatching, and Overseeding?
These three practices are the "next level" of lawn care. You do not need to do them every year, but knowing when and how to use them makes a dramatic difference over time.
Aeration
Aeration relieves soil compaction -- the number one problem in lawns that get regular foot traffic. Compacted soil prevents water, air, and nutrients from reaching the root zone, leading to thin, stressed grass.
Core aeration is the gold standard. The machine pulls small plugs (about 2 to 3 inches long) from the soil and deposits them on the surface. Leave the plugs where they fall -- they break down within a week or two and return organic matter to the lawn.
Aerate cool-season lawns in early fall and warm-season lawns in late spring or early summer, when the grass is actively growing and can recover quickly.
Dethatching
Thatch is a layer of dead grass, roots, and organic debris that accumulates between the green grass blades and the soil surface. A thin layer (less than half an inch) is actually beneficial -- it insulates the soil and retains moisture. But when thatch builds up beyond half an inch, it becomes a barrier that blocks water and nutrients.
If your lawn feels spongy when you walk on it, you probably have a thatch problem. Use a dethatching rake for small areas or rent a power dethatcher for larger lawns. Dethatch cool-season grasses in early fall and warm-season grasses in late spring.
Overseeding
Overseeding introduces new grass seed into an existing lawn to fill in thin spots, improve density, and introduce improved grass varieties with better disease resistance.
Step 1: Mow the lawn shorter than usual and rake up the clippings to expose the soil surface.
Step 2: Spread seed at the rate recommended on the bag using a broadcast spreader for even coverage.
Step 3: Lightly rake or topdress with a thin layer of compost to ensure good seed-to-soil contact.
Step 4: Keep the seeded area consistently moist -- light watering twice a day for two to three weeks until the new grass is established.
For the best results, aerate immediately before overseeding. The holes created by the aerator are perfect little seed beds that protect the seed and give it direct contact with soil.
If you are building new garden beds alongside your lawn renovation, our guide on how to build a raised garden bed on a budget pairs well with this kind of outdoor improvement project.
Frequently Asked Questions
How often should you mow your lawn?
During peak growing season, most lawns need mowing once per week. Cool-season grasses may need mowing every 5 days in spring and fall when growth is fastest, while warm-season grasses may need it every 4 to 5 days in the heat of summer. Always follow the one-third rule -- mow when the grass is about 50% taller than your target height rather than sticking to a rigid calendar schedule. If growth slows during heat or drought, you may only need to mow every 10 to 14 days.
Can you water your lawn too much?
Absolutely. Overwatering is one of the most common mistakes beginners make. Too much water suffocates the roots, promotes shallow root growth, encourages fungal diseases like brown patch and dollar spot, and creates a perfect environment for weeds. Stick to one inch of water per week (including rainfall), applied in deep, infrequent sessions. If your soil stays soggy for more than 24 hours after watering, you are overdoing it. Sandy soils drain faster and may need slightly more frequent watering, while clay soils hold moisture longer and need less.
Is it better to bag grass clippings or leave them on the lawn?
Leave them. Grass clippings decompose rapidly and return nitrogen, potassium, and other nutrients back to the soil -- effectively providing up to 25% of your lawn's annual fertilizer needs for free. Clippings do not cause thatch buildup, which is a common myth. The only time you should bag clippings is when the grass has gotten so tall that large clumps sit on top of the lawn and smother the grass beneath, or when the lawn is actively diseased and you want to reduce the spread of fungal spores.
When is the best time to plant new grass seed?
For cool-season grasses, early fall (late August through mid-September in most regions) is the ideal window. The soil is still warm enough for fast germination, the air is cooling down to reduce heat stress on seedlings, and weed competition is declining. Spring is the second-best option, but spring-seeded lawns face a tough first summer. For warm-season grasses, late spring through early summer (May through June) is best, when soil temperatures are consistently above 65°F and the grass has a full growing season ahead to establish.
Final Thoughts
Lawn care does not have to be overwhelming. At its core, a beautiful lawn comes from four simple habits: mow high and often, water deeply and infrequently, fertilize at the right time, and stay ahead of weeds through good cultural practices rather than reactive chemical treatments.
Start with the basics this season. Get your mowing height right, set up a consistent watering schedule, and apply fertilizer according to the seasonal calendar for your grass type. Those three changes alone will produce a noticeably healthier lawn within a few weeks.
As your lawn improves, you can layer in more advanced practices like aeration, overseeding, and soil testing. But do not try to do everything at once -- a simple, consistent routine beats an ambitious plan that falls apart by June.
Your lawn is also just one part of a larger outdoor space that can work together beautifully. A healthy lawn alongside productive garden beds, a thriving compost system, and smart home maintenance habits creates a property that looks great, functions well, and saves you money year after year. Take it one season at a time, stay consistent, and enjoy the process of watching your yard transform.
Get weekly home tips that actually work
Join thousands of homeowners getting practical cleaning hacks, DIY fixes, and money-saving tips every week. Free, and you can unsubscribe anytime.

Written by
Beth SullivanFounder & Editor-in-Chief
Beth Sullivan is the founder of Practical Home Guides. With over a decade of hands-on experience tackling every home challenge imaginable, she started this site to share the practical, no-nonsense solutions she wishes she had found years ago. When she's not testing cleaning hacks or organizing pantries, you'll find her in the garden or working on her next DIY project.
Recommended Products
Looking for specific product recommendations? Check out our tested picks.
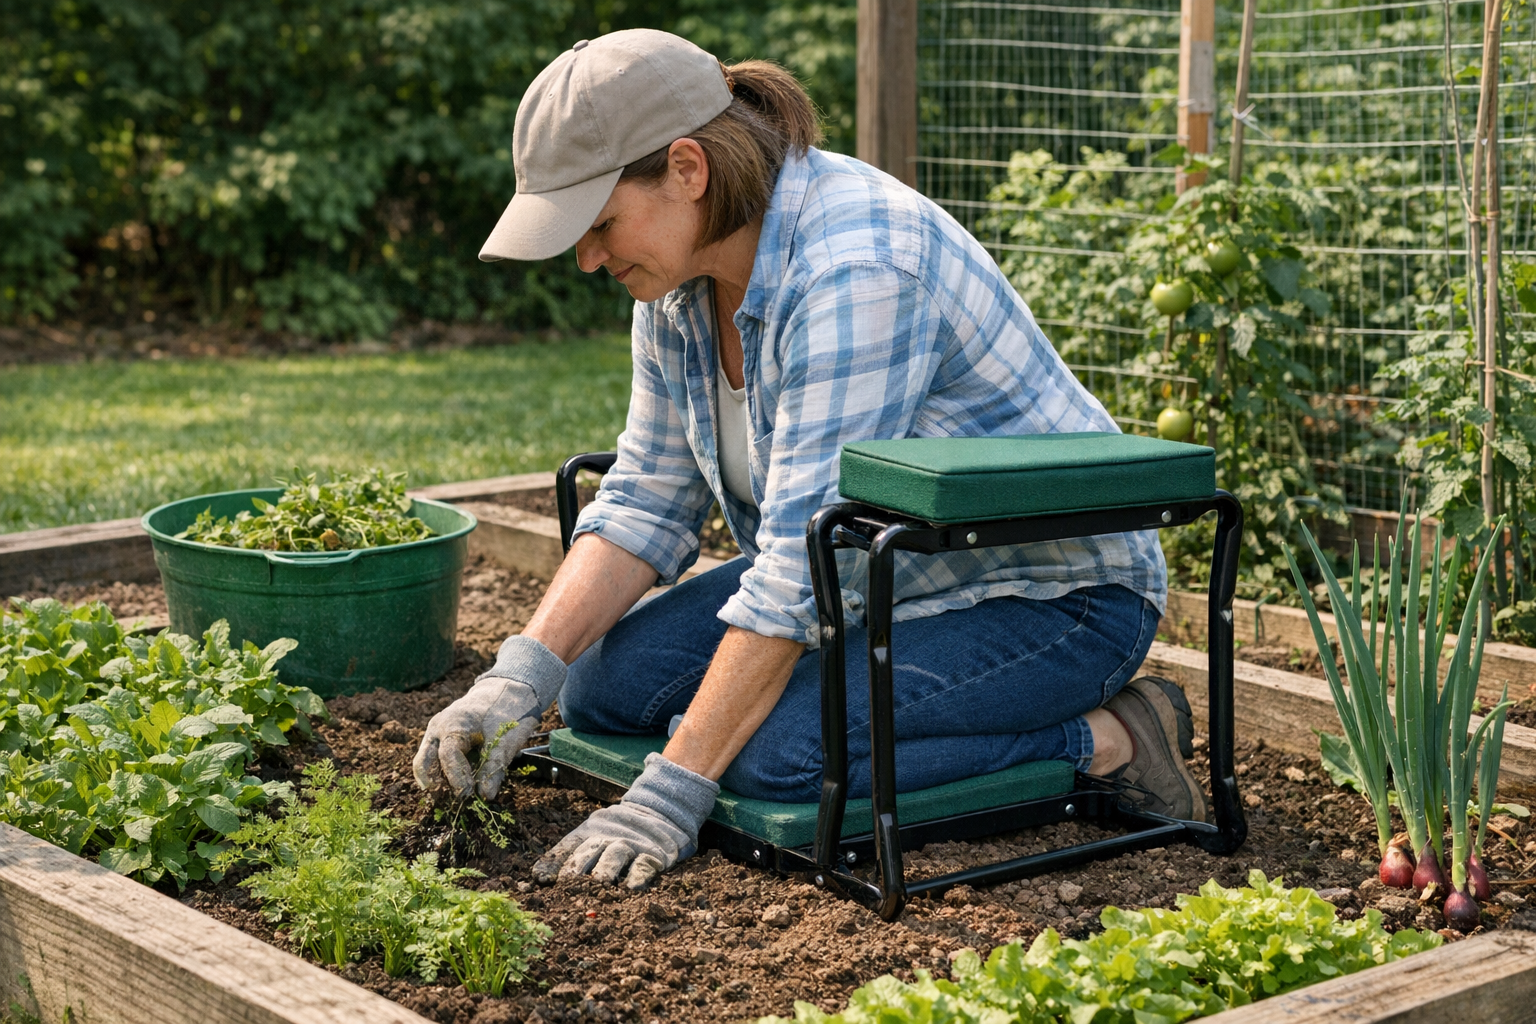
Best Garden Kneelers and Seats (2026 Tested)
Gardening shouldn't wreck your knees and back. We tested kneelers, foldable seats, and rolling carts to find the picks worth the price.
Best Pruning Shears for Gardeners (2026 Guide)
We tested bypass and anvil pruning shears across roses, fruit trees, perennials, and tomato vines. Here are the picks worth your money — and the one to avoid.
Best Raised Bed Soil Mixes (2026 Buyer's Guide)
Bagged soil for raised beds is a minefield. We tested the top brands for vegetable yield, drainage, and value to find the soil mixes that actually grow food.
5 Best Garden Hose Nozzles and Sprayers (2026)
Find the perfect garden hose nozzle for watering plants, washing cars, and cleaning patios. We compared the top sprayers — here are the 5 best for every job.
Best Raised Garden Bed Kits You Can Order Online (2026)
The best raised garden bed kits for beginners and experienced gardeners. We compare wood, metal, and composite options with honest reviews and setup tips.
Related Articles
Pest Control Spring Refresh: Natural Solutions for Summer Prevention
Set up your garden's natural defenses now and you'll coast through summer. A master gardener's spring plan using companion planting, neem oil, and trap crops.
Summer Plants & Watering: Automate Your Garden While on Vacation
A master gardener's guide to automating summer watering with timers, drip lines, and moisture sensors so you can travel in June through August worry-free.

Herb Garden on Your Balcony: Fresh Basil to Cilantro in 4 Weeks
A master gardener's container herb system for apartments: the sunlight hack, watering schedule, and harvesting tricks to grow fresh basil to cilantro in 4 weeks.
Low-Water Garden Design: 8 Beautiful Plants for Drought-Tolerant Landscaping
A Master Gardener's guide to drought-tolerant landscaping. Cut watering by 50% with these 8 beautiful plants, smart drip irrigation, and proven design tips.