How to Prepare Your Garden for Spring Planting
This article may contain affiliate links. If you make a purchase through these links, we may earn a small commission at no extra cost to you. Learn more
Quick Answer
How to Prepare Your Garden for Spring Planting
Start 6-8 weeks before your last frost date. First, clean up debris and pull any remaining weeds. Test your soil pH and amend with compost -- spread 2-3 inches and work it into the top 6 inches. Start seeds indoors for tomatoes, peppers, and herbs under grow lights. Sharpen and oil your tools. Plan your garden layout, rotating crops from last year's positions. Two weeks before last frost, harden off seedlings by setting them outside for increasing periods. After last frost, transplant seedlings and direct-sow beans, squash, and cucumbers.
How to Prepare Your Garden for Spring Planting
There's a moment in late February or early March when the days start stretching just a little longer, and you catch yourself staring out the window at your garden thinking, "It's almost time." That urge to get your hands in the dirt again is one of the best parts of being a gardener -- and the good news is that there's plenty you can do right now, even while the ground is still cold, to make sure this growing season is your best one yet.
Spring garden prep isn't just a single weekend task. It's a series of small, manageable steps that start weeks before your last frost and continue right up until transplant day. The gardeners who have the most productive summers are the ones who use late winter wisely -- testing soil, sharpening tools, starting seeds indoors, and planning their layout before the rush of warm weather hits.
Whether you're returning to a vegetable garden you started last year or preparing a brand-new plot, this guide walks you through everything you need to do -- and exactly when to do it -- so your garden is ready to thrive the moment warm weather arrives.
When Should You Start Preparing Your Garden for Spring?
The short answer: earlier than you think. Most spring garden prep begins six to eight weeks before your last expected frost date. For gardeners in USDA Zones 5-7 (which covers a huge chunk of the country), that means getting started in late February or early March.
Your last frost date is the key to everything. It determines when you start seeds indoors, when you can safely transplant, and when you can direct-sow warm-season crops. If you don't know yours, search your zip code on the USDA Plant Hardiness Zone Map or ask your local cooperative extension office.
Here's the critical thing to understand: spring prep isn't about doing everything at once. It's about doing the right tasks at the right time. Cleaning up beds in February, testing soil in early March, starting seeds indoors under grow lights, and then gradually transitioning outdoors as temperatures climb. Each step builds on the last, and by the time your last frost passes, you'll have strong transplants, rich soil, and a clear plan -- instead of scrambling to catch up.
How Do You Clean Up Your Garden After Winter?
Before you can build something great, you need to clear the slate. Winter leaves behind a mess -- dead plant stalks, matted leaves, fallen branches, and weeds that started creeping in during those last warm days of autumn.
Start by removing all dead plant material. Pull out last year's spent vegetable plants, dried flower stalks, and any annual plants that didn't survive winter. Toss healthy plant debris into your compost bin -- it's free organic matter that will feed your garden later this season. However, if any plants showed signs of disease last year (blight, mildew, fungal spots), bag those and throw them away. You don't want to reintroduce pathogens into your garden through compost.
Rake out matted leaves and debris. A thick layer of wet leaves smothers the soil surface, blocks airflow, and creates a haven for slugs and fungal diseases. Clear it all out so the soil can breathe and begin warming up in the spring sunshine.
Pull early weeds now. Those little green sprouts poking through the soil in late winter? Those are weeds getting a head start on your vegetables. Pull them now while the roots are small and the soil is soft from winter moisture. It's ten times easier to pull a weed in February than to fight an established one in June. For more strategies on keeping weeds under control without chemicals, check out our guide on how to get rid of weeds naturally.
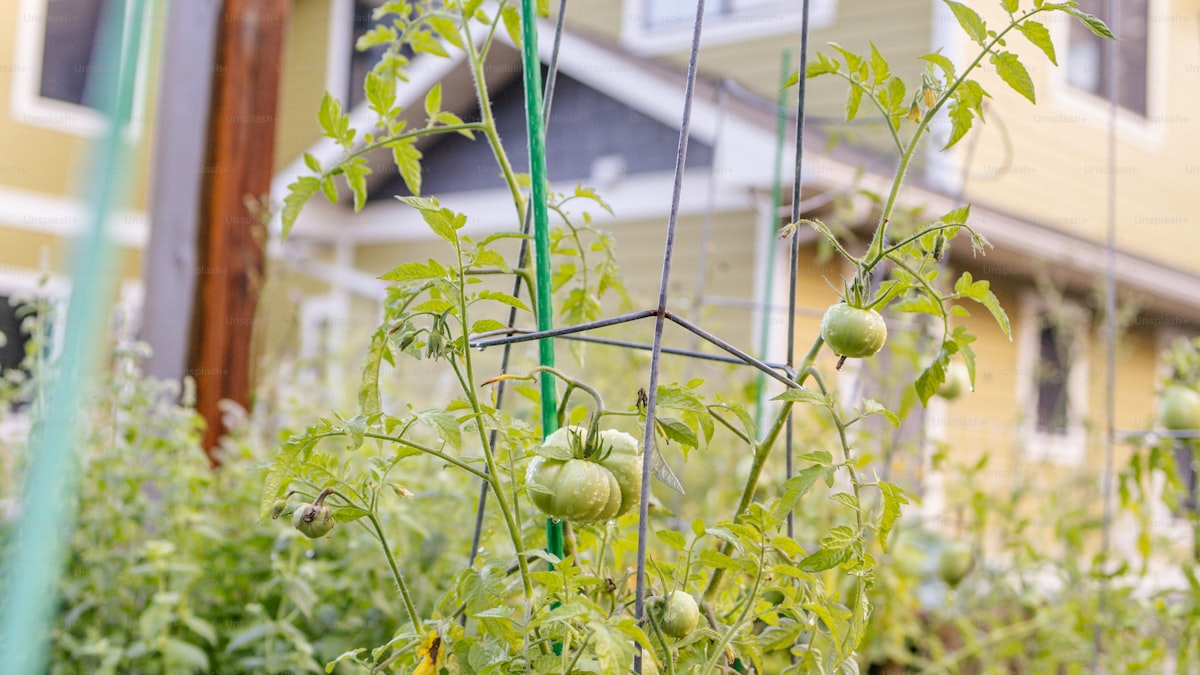
Check your garden structures. Walk your beds and inspect trellises, raised bed frames, fencing, and stakes. Winter freeze-thaw cycles can loosen posts, crack boards, and shift structures out of alignment. Repair these now while you have time, not in May when you're racing to get plants in the ground. If your raised beds need replacing, late winter is the ideal time to rebuild.
What Soil Preparation Does Your Garden Need?
Soil prep is the single most impactful thing you can do for your garden this spring. You can buy the best seeds and the most expensive transplants, but if your soil is depleted, compacted, or out of balance, nothing will perform well.
Test Your Soil First
Before adding anything to your soil, find out what it actually needs. A soil test kit costs $10-15 and tells you your pH level along with nitrogen, phosphorus, and potassium levels. Most vegetables thrive in slightly acidic to neutral soil with a pH between 6.0 and 7.0.
If your pH is too low (acidic), you'll add garden lime. If it's too high (alkaline), sulfur or peat moss brings it down. Without testing, you're guessing -- and guessing leads to wasted money on amendments your soil might not even need.
Amend with Compost
Compost is the great equalizer. It improves drainage in heavy clay soil, increases water retention in sandy soil, feeds beneficial microorganisms, and adds slow-release nutrients that synthetic fertilizers can't match.
Spread two to three inches of finished compost over your garden beds and work it into the top six inches of soil with a garden fork or broadfork. If you've been composting at home, this is the moment all that effort pays off. If you don't have your own compost yet, bagged compost from your local garden center works perfectly -- or check whether your municipality sells bulk compost, which is almost always cheaper.
For gardeners who want to take their compost game to the next level, a compost bin makes it easy to start producing your own supply for next season.
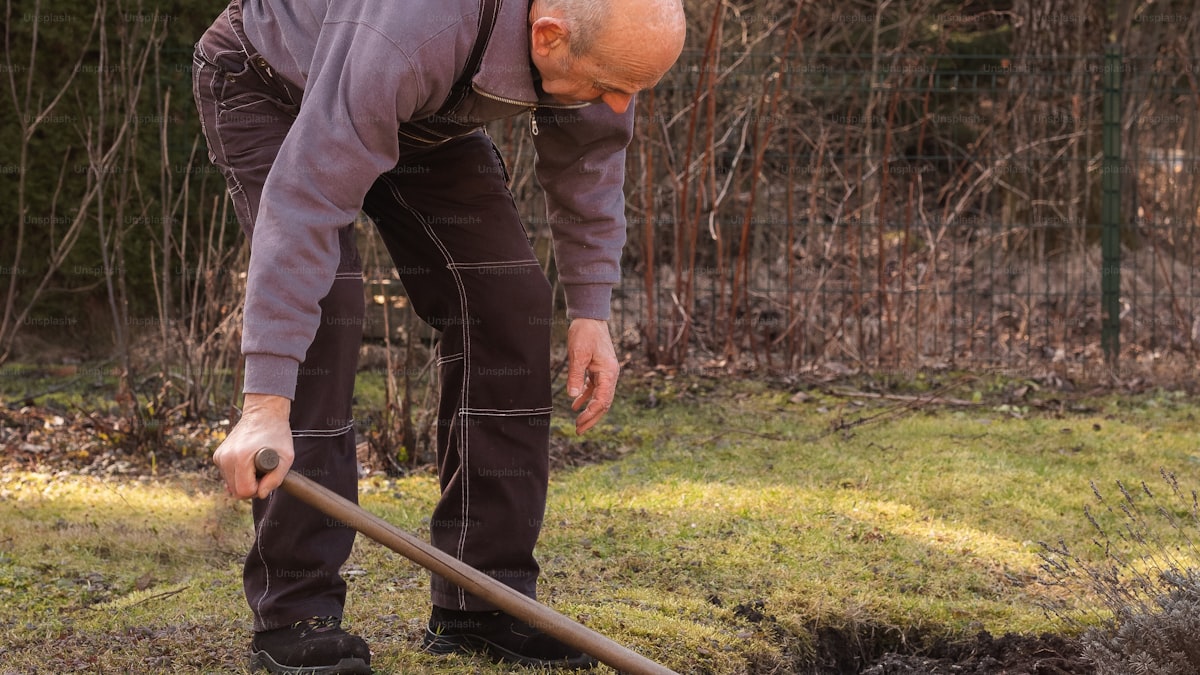
Loosen Compacted Soil
Winter rain, snow, and foot traffic compact garden soil, squeezing out the air pockets that roots need to grow. Use a broadfork or garden fork to loosen the top 8-12 inches without fully turning the soil over. This preserves the soil structure and the beneficial organisms living in it while restoring the loose, crumbly texture that vegetable roots love.
If you're working with a brand-new bed, double-digging (turning the soil two shovel depths deep) is worth the effort the first year. After that, annual compost additions and minimal disturbance will keep the soil in great shape.
How Should You Maintain and Prepare Your Garden Tools?
Your tools have been sitting in the shed all winter, and they need attention before the busy season begins. Dull, rusty tools make every garden task harder and less enjoyable -- and dull pruning shears can actually damage plants by crushing stems instead of cutting them cleanly.
Sharpen your cutting tools. Pruning shears, loppers, and hoe blades all benefit from a good sharpening. A basic mill file or sharpening stone is all you need. Hold the blade at the original bevel angle and draw the file across in smooth, consistent strokes. Sharp tools cut cleaner, require less effort, and make pruning for growth much more effective.
Remove rust and oil metal surfaces. Use steel wool or a wire brush to scrub rust off shovels, rakes, trowels, and hoe blades. Once the rust is gone, wipe the metal with a thin coat of linseed oil or spray-on tool oil. This prevents new rust from forming and keeps soil from sticking to the blade.
Inspect handles for cracks. Wooden handles dry out and crack over winter. Sand any rough spots, then rub the wood with linseed oil to restore moisture and prevent splintering. Replace any handles that are cracked through -- a broken handle mid-dig is frustrating at best and dangerous at worst.
Clean and test your hose and watering equipment. Reconnect hoses, check for leaks at the connections, and make sure spray nozzles aren't clogged. Replace cracked hose washers (they're pennies each and prevent maddening drips).
Stock up on essentials. Late winter is a great time to grab a pair of quality garden gloves if yours are worn out. Good gloves protect your hands from blisters, thorns, and splinters while still giving you the dexterity to handle small seeds and seedlings.
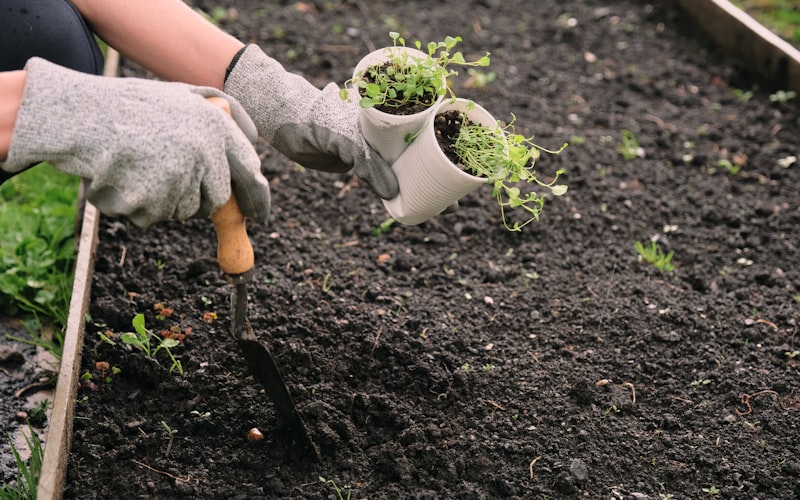
How Do You Start Seeds Indoors for Spring Transplanting?
Starting seeds indoors is one of the most rewarding parts of spring preparation. It gives you a six-to-eight-week head start on the growing season and lets you grow varieties you'd never find at a local nursery.
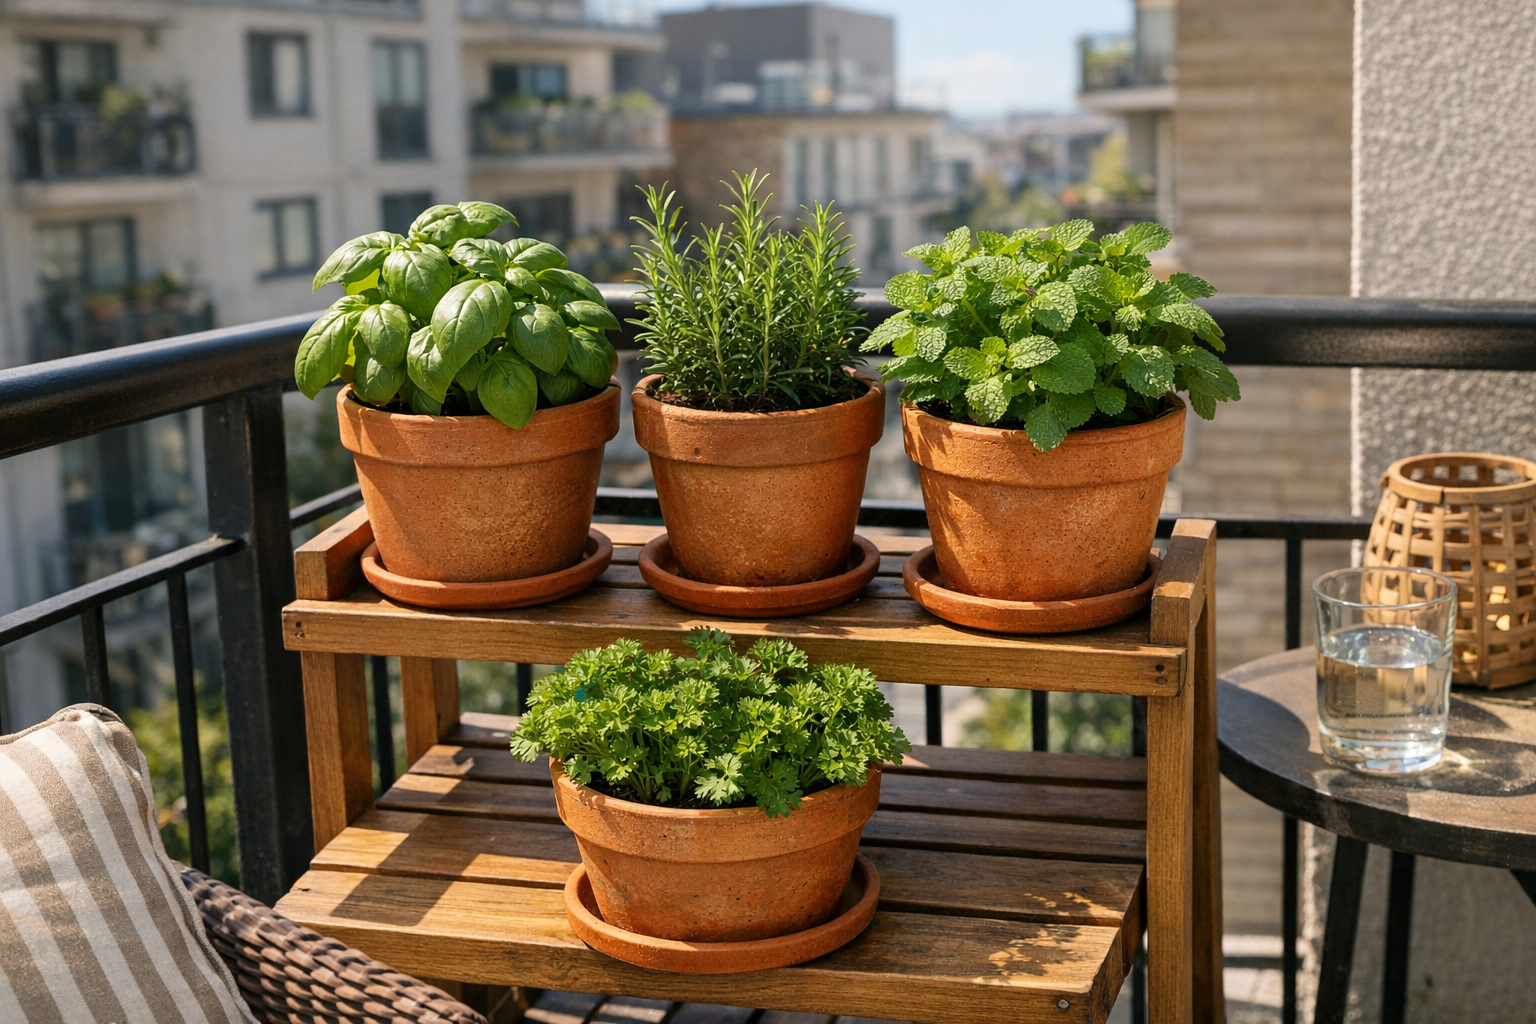
Tomatoes, peppers, eggplant, broccoli, and many herbs all benefit from an indoor start. These warm-season crops need a long growing period, and starting them from seed indoors means they're strong, established transplants by the time outdoor conditions are right.
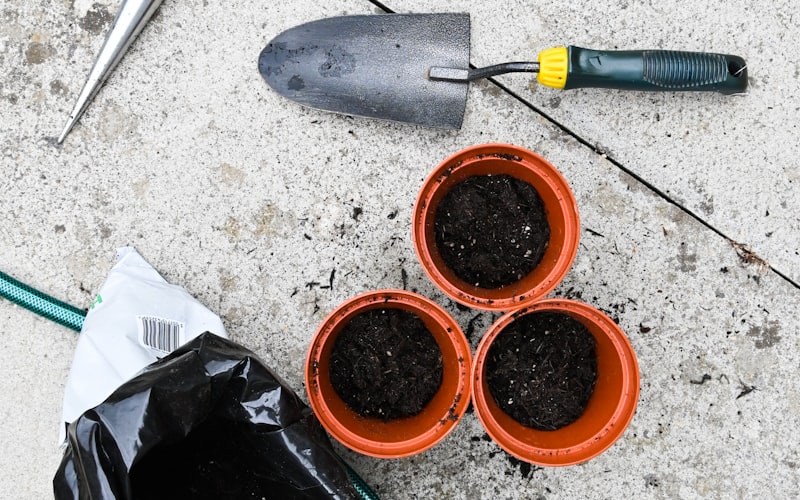
You'll need containers (cell trays or recycled cups with drainage holes), seed starting mix (not regular potting soil -- it's too heavy for delicate seedlings), and a light source. A sunny south-facing window works in a pinch, but a basic LED grow light produces dramatically stockier, healthier seedlings because it delivers consistent light directly from above.
Seed Starting Kit with Grow Light
Complete indoor seed starting system with 72-cell tray, humidity dome, adjustable LED grow light, and plant markers. Everything you need to start seedlings indoors 6-8 weeks before transplanting.
Check Price on Amazon →Quick Seed Starting Steps
- Moisten your seed starting mix until it feels like a wrung-out sponge
- Fill cells or containers and press down gently to remove air pockets
- Plant seeds at the depth listed on the packet -- usually 2-3 times the seed's diameter
- Cover with a humidity dome or plastic wrap and place in a warm spot (65-80 degrees F)
- Remove the cover as soon as sprouts appear and move them under grow lights
- Run lights 14-16 hours per day, keeping them 2-3 inches above the seedlings
- Water from the bottom to encourage deep root growth and prevent damping off
- Fertilize with half-strength liquid fertilizer once true leaves appear
We have an entire in-depth walkthrough on this process in our guide to starting seeds indoors for spring, including timing charts for dozens of vegetables and flowers.
What Should Your Spring Garden Layout and Crop Rotation Look Like?
Planning your garden layout before planting season is one of those tasks that feels optional but pays enormous dividends. A good plan prevents overcrowding, maximizes sunlight, and -- most importantly -- keeps your crops healthy through rotation.
Why Crop Rotation Matters
If you grew tomatoes in the same spot last year, don't plant them there again. Tomatoes, peppers, and eggplant (all in the nightshade family) are susceptible to the same soil-borne diseases. Growing them in the same location year after year lets those pathogens build up in the soil until your plants get hammered by blight, wilt, or root rot.
The basic rule: rotate crop families to a different bed or section of your garden each year on at least a three-year cycle. Nightshades (tomatoes, peppers, eggplant) should follow legumes (beans, peas), which should follow brassicas (broccoli, cabbage, kale), which should follow root crops (carrots, beets, onions).
Sketch a Simple Map
Grab a piece of paper and draw your garden beds to rough scale. Mark where each crop family went last year, then assign new positions for this year. Note the sun exposure in each area -- tall crops like tomatoes and corn go on the north side so they don't shade shorter plants.
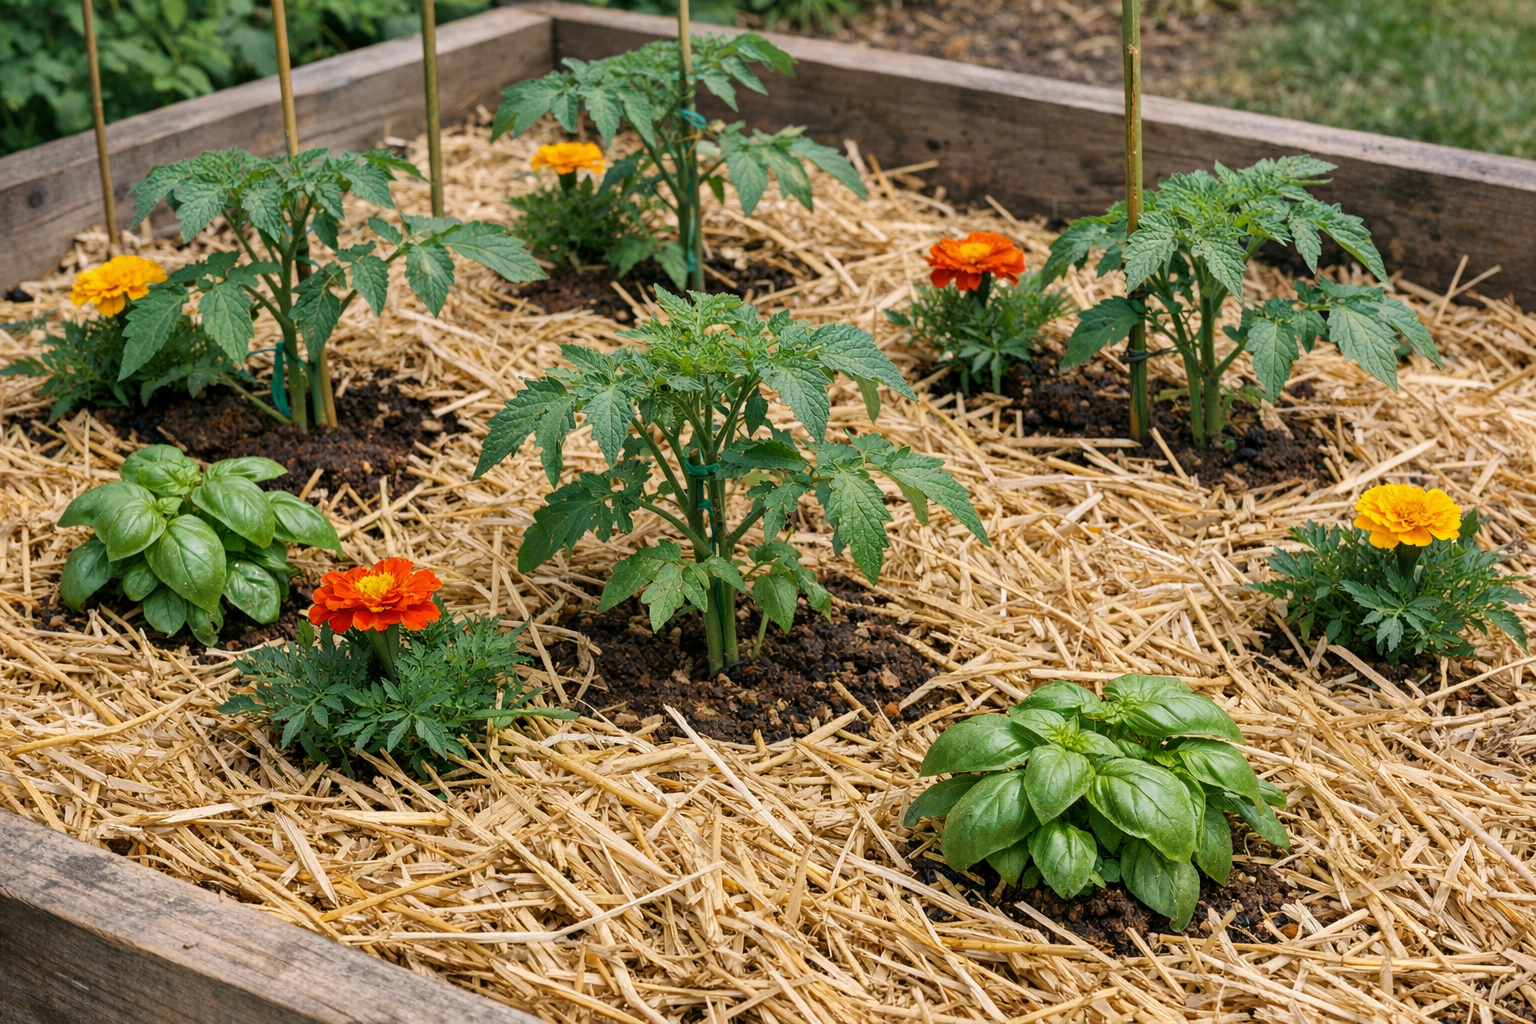
Consider companion planting while you're at it. Basil next to tomatoes, marigolds along borders to deter pests, and beans near heavy feeders like corn to fix nitrogen in the soil. These combinations aren't magic, but they do provide small, cumulative benefits over a season.
If you're growing in containers, this is also a great time to plan which pots go where. Our guide on growing tomatoes in pots covers everything you need for a productive container setup.
What Does a Week-by-Week Spring Garden Prep Timeline Look Like?
Here's your complete timeline, counting backward from your last expected frost date. Adjust the weeks based on your specific zone and local conditions.
8 Weeks Before Last Frost
- Clean up all garden beds -- remove dead plant material, rake out leaves and debris
- Pull any early-emerging weeds while roots are still shallow
- Order seeds if you haven't already (popular varieties sell out fast)
- Start seeds indoors for tomatoes, peppers, eggplant, and broccoli
- Sharpen, clean, and oil all garden tools
6 Weeks Before Last Frost
- Test your soil pH and nutrient levels with a soil test kit
- Begin amending soil based on test results -- add lime, sulfur, or compost as needed
- Start seeds indoors for herbs (basil, parsley, cilantro) and flowers (marigolds, zinnias)
- Check seedlings started two weeks ago -- thin to one per cell, begin fertilizing with half-strength liquid fertilizer
- Repair raised beds, trellises, and garden structures
4 Weeks Before Last Frost
- Spread 2-3 inches of compost over all garden beds and work into the top 6 inches
- Direct-sow cool-season crops outdoors: lettuce, spinach, peas, radishes, and kale (these tolerate light frost)
- Start seeds indoors for cucumbers, squash, and melons (these grow fast and only need 3-4 weeks inside)
- Install or repair irrigation systems, soaker hoses, and rain barrels
- Lay down raised bed liner in any new beds before filling with soil
2 Weeks Before Last Frost
- Begin hardening off indoor seedlings -- set them outside in a sheltered spot for 1-2 hours the first day, gradually increasing time and sun exposure over 10 days
- Prepare planting holes or rows for transplants
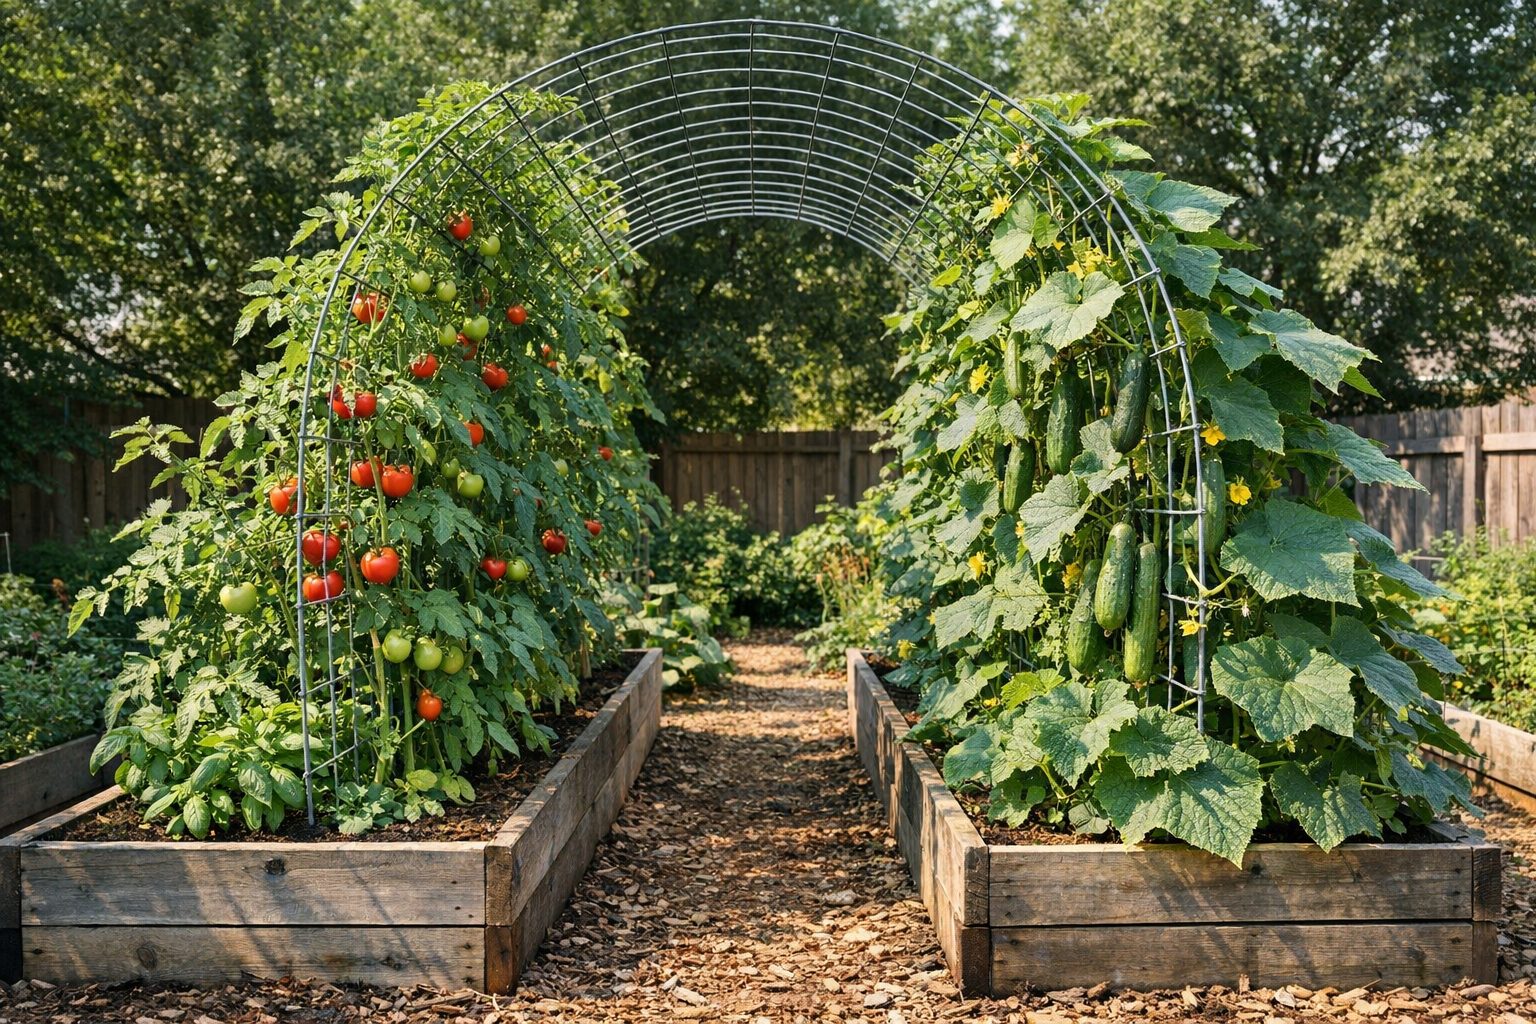
- Set up stakes, cages, and trellises for tomatoes and climbing crops
- Apply mulch around cool-season crops already in the ground
- Monitor weather forecasts closely for late frost warnings
Last Frost Week
- Transplant hardened-off tomatoes, peppers, eggplant, broccoli, and herbs into the garden
- Direct-sow warm-season seeds: beans, squash, cucumbers, corn, and melons
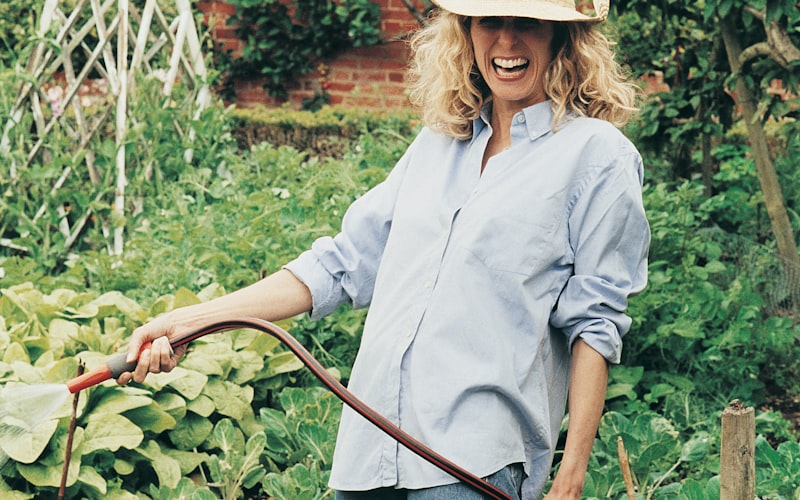
- Water all new transplants deeply and consistently for the first week
- Apply 2-3 inches of mulch around transplants to retain moisture and suppress weeds
- Celebrate -- your spring garden is officially planted!
How Do You Harden Off Seedlings the Right Way?
Hardening off is the process of gradually acclimating your indoor-grown seedlings to outdoor conditions. Skip this step and your plants will likely suffer transplant shock -- wilting, sunburn, or even death from the sudden change in environment.
Indoor seedlings have never experienced direct sunlight, wind, or temperature swings. Their stems are softer, their leaves are thinner, and their root systems haven't had to work hard for water. Toughening them up takes about 10 days, and the patience is absolutely worth it.
Days 1-2: Place seedlings outside in full shade, protected from wind, for one to two hours. Bring them back inside.
Days 3-4: Increase outdoor time to three to four hours. Introduce a little morning sun but keep them mostly in shade.
Days 5-7: Move to five to six hours outside with increasing direct sunlight. Let them experience a gentle breeze.
Days 8-9: Leave seedlings outside for the full day in mostly sun. Bring inside only if nighttime temperatures drop below 50 degrees F.
Day 10: Leave them out overnight. If they look healthy the next morning, they're ready to transplant.
The biggest mistake gardeners make is rushing this process. Two or three days of "hardening off" is not enough. Give your seedlings the full 10 days, and they'll establish faster and grow stronger once they're in the ground.
What Are the Most Common Spring Garden Prep Mistakes?
Even experienced gardeners fall into these traps. Avoiding them puts you ahead of the game before a single seed hits the soil.
Working wet soil. If you squeeze a handful of soil and it forms a sticky ball that doesn't crumble, it's too wet to work. Digging or tilling wet soil destroys its structure, creating dense clumps that take an entire season to break down. Wait a few dry days and test again.
Skipping the soil test. Adding lime to soil that's already alkaline or dumping nitrogen fertilizer on beds that are already nitrogen-rich wastes money and can actually harm your plants. Test first, amend second. It takes five minutes and saves you from guessing.
Starting seeds too early. Eager gardeners start tomato seeds in January, and by transplant time in May, they have leggy, root-bound plants that struggle to adapt outdoors. Follow the timing chart and resist the urge to get ahead of schedule.
Ignoring crop rotation. It's tempting to plant tomatoes in the same sunny corner every year because that's where they've always gone. But disease pressure builds in the soil over time, and rotating your crops is the simplest way to prevent it.
Forgetting to mulch. Bare soil dries out fast, grows weeds like crazy, and doesn't regulate temperature well. A two-to-three-inch layer of straw, shredded leaves, or wood chips around your plants solves all three problems at once.
Frequently Asked Questions
Can I prepare my garden if the ground is still frozen?
Yes -- there's plenty you can do before the soil thaws. Start seeds indoors, clean and sharpen tools, order seeds and supplies, plan your garden layout, and repair structures like raised beds and trellises. Once the ground thaws enough to pass the "squeeze test" (a handful crumbles instead of forming a solid clump), you can begin working compost into the soil and pulling weeds. Don't try to dig or till frozen ground -- you'll damage your tools and accomplish nothing. Patience during the frozen weeks sets you up for fast, efficient action once the soil is workable.
How do I know if my soil needs compost or fertilizer?
A soil test kit is the only reliable way to know. Testing reveals your soil's pH and levels of nitrogen, phosphorus, and potassium -- the three major nutrients plants need. Compost is almost always beneficial because it improves soil structure, drainage, and microbial life regardless of nutrient levels. Fertilizer is more targeted and should be added based on test results to address specific deficiencies. When in doubt, start with compost. It's nearly impossible to over-apply, and it addresses the widest range of soil issues.
What vegetables can I plant before the last frost date?
Cool-season crops tolerate light frost and can go in the ground four to six weeks before your last frost date. These include lettuce, spinach, kale, peas, radishes, carrots, beets, broccoli, cabbage, and cauliflower. Some of these, like peas and spinach, actually prefer cool weather and produce better harvests when planted early. Warm-season crops like tomatoes, peppers, beans, squash, and cucumbers must wait until after the last frost. Planting them too early risks losing them entirely to a late cold snap.
Is it worth starting seeds indoors or should I just buy transplants?
Starting seeds indoors is absolutely worth it if you have a basic setup -- a sunny window or inexpensive grow light, seed starting mix, and small containers. A $3 seed packet gives you dozens of plants, while the same number of nursery transplants could cost $30-60. You also get access to hundreds of varieties that no garden center carries. That said, buying transplants is a perfectly valid shortcut if you're short on time or space. Many gardeners do both -- starting their main crops from seed and buying a few specialty transplants to fill gaps. Our full guide on starting seeds indoors walks through every detail of the process.
Final Thoughts
Preparing your garden for spring isn't glamorous work, but it's the foundation that everything else is built on. The gardeners with the overflowing tomato harvests and the gorgeous flower borders in July are the ones who spent February and March quietly doing the unglamorous prep work -- testing soil, sharpening tools, starting seeds under grow lights, and working compost into their beds.
The beautiful thing about spring garden prep is that none of it is complicated. It's just a matter of doing the right task at the right time. Follow the week-by-week timeline above, and you'll enter planting season with everything in place -- healthy soil, strong transplants, sharp tools, and a clear plan for what goes where.
If you're just getting started with gardening, our guides on starting a vegetable garden in your backyard and building a raised garden bed on a budget will give you the foundation you need. Already growing? Check out our tips on attracting pollinators to your garden and growing tomatoes in pots to make this season even more productive.
Now get out there and get your garden ready. Spring is coming, and your best growing season is ahead of you.
Get weekly home tips that actually work
Join thousands of homeowners getting practical cleaning hacks, DIY fixes, and money-saving tips every week. Free, and you can unsubscribe anytime.

Written by
Beth SullivanFounder & Editor-in-Chief
Beth Sullivan is the founder of Practical Home Guides. With over a decade of hands-on experience tackling every home challenge imaginable, she started this site to share the practical, no-nonsense solutions she wishes she had found years ago. When she's not testing cleaning hacks or organizing pantries, you'll find her in the garden or working on her next DIY project.
Recommended Products
Looking for specific product recommendations? Check out our tested picks.
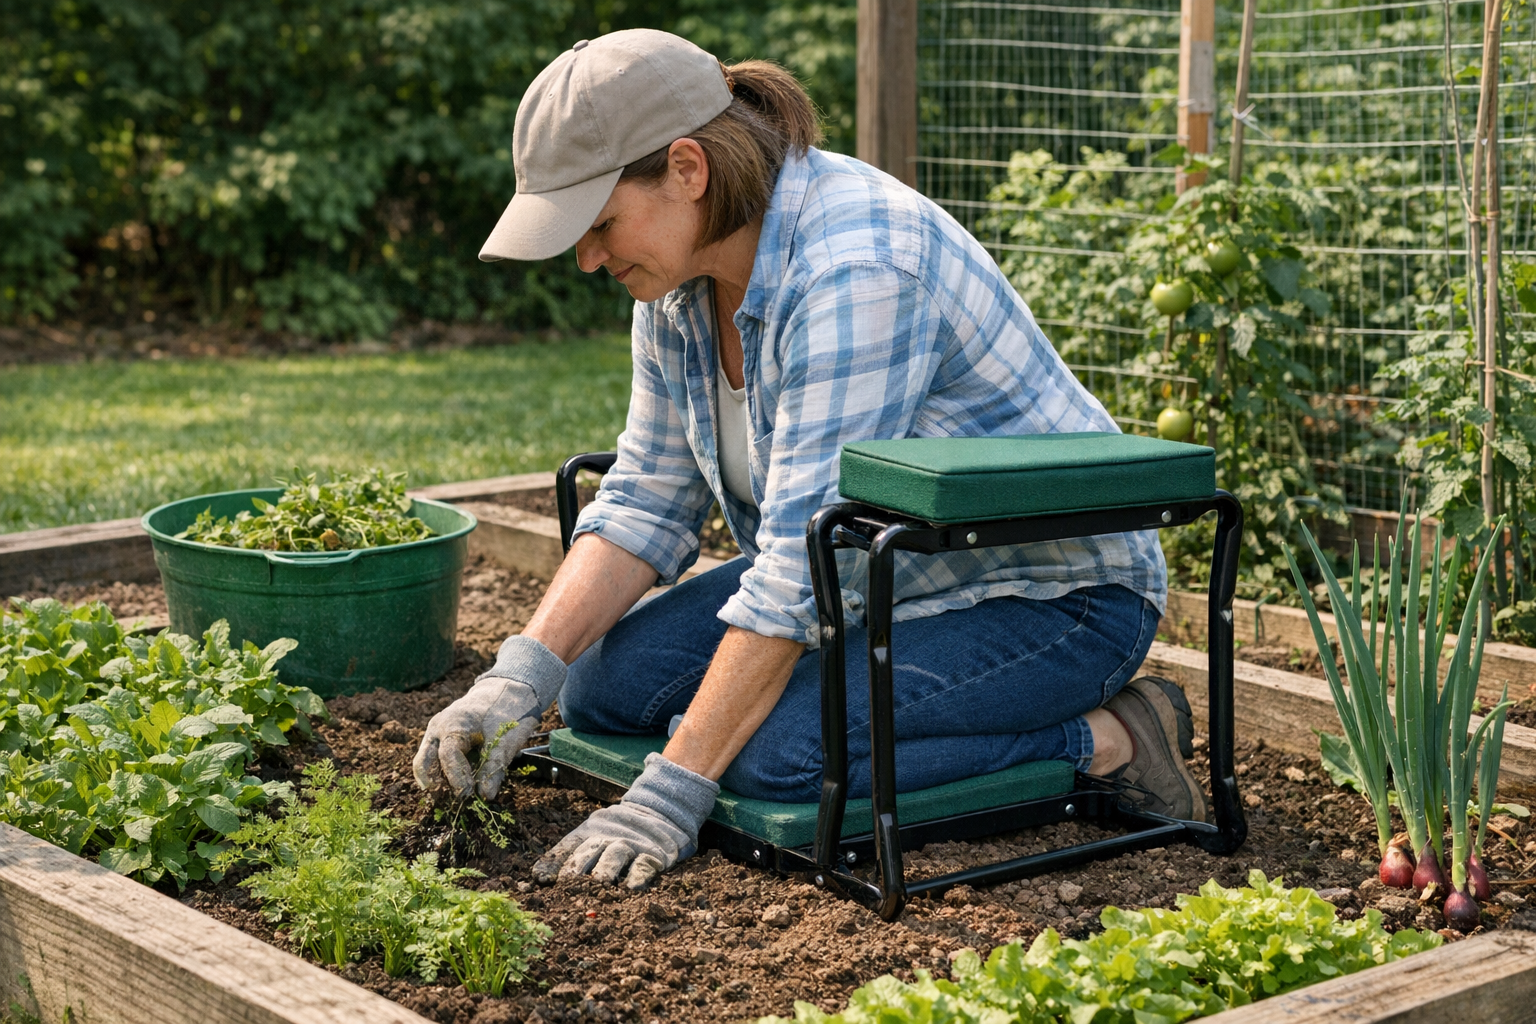
Best Garden Kneelers and Seats (2026 Tested)
Gardening shouldn't wreck your knees and back. We tested kneelers, foldable seats, and rolling carts to find the picks worth the price.
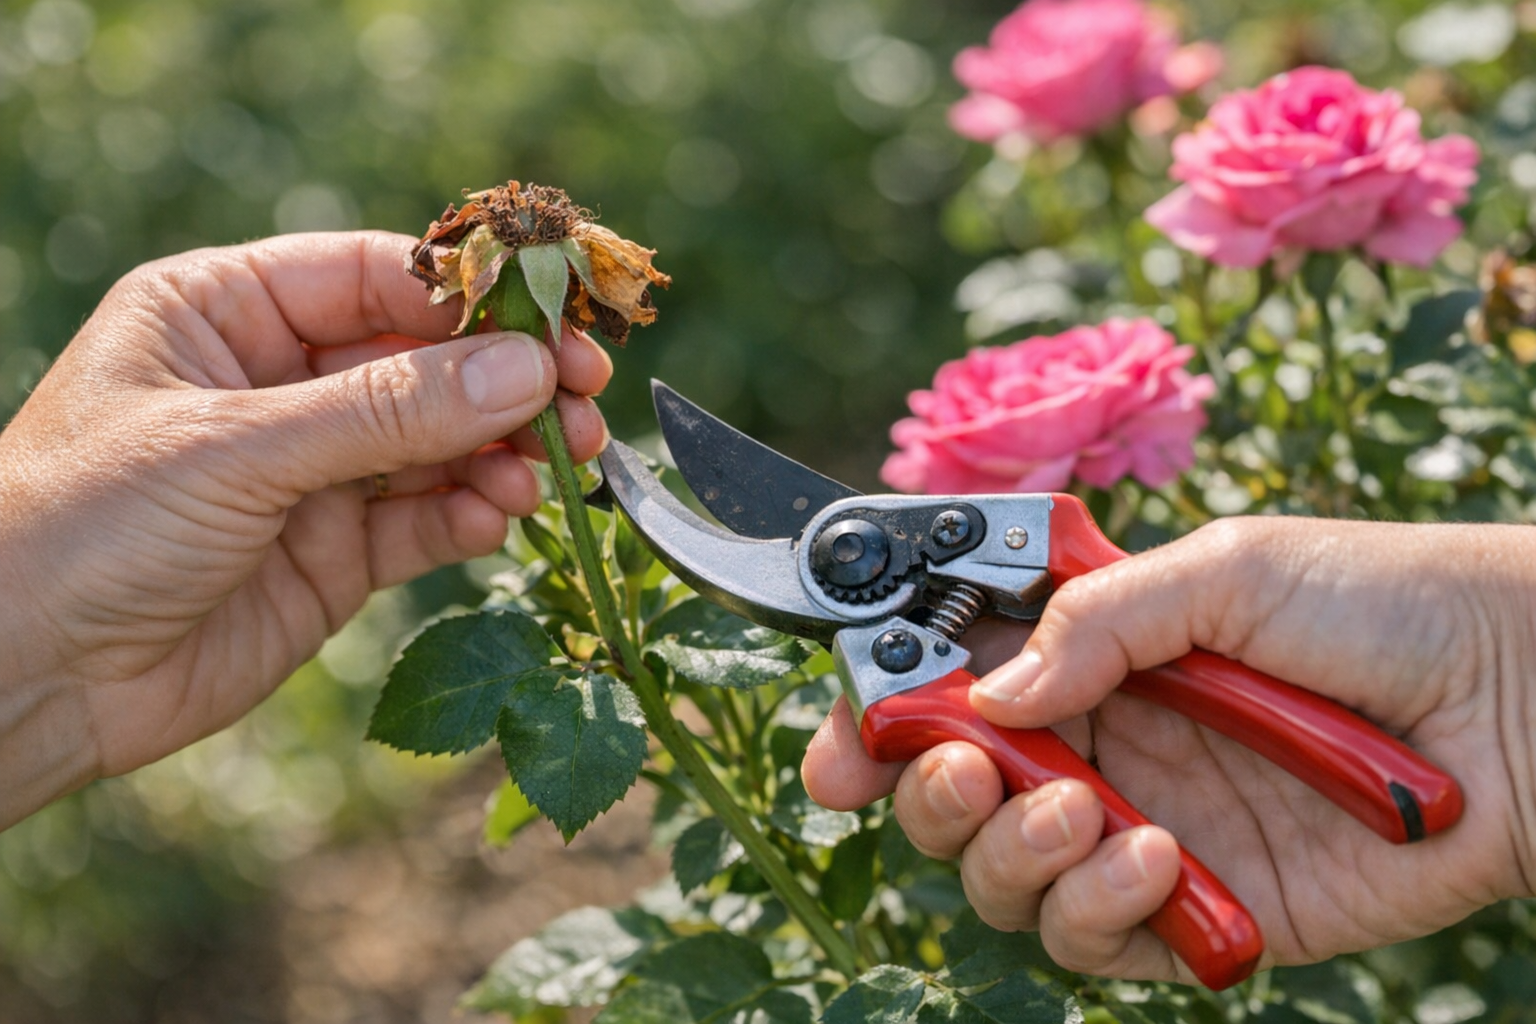
Best Pruning Shears for Gardeners (2026 Guide)
We tested bypass and anvil pruning shears across roses, fruit trees, perennials, and tomato vines. Here are the picks worth your money — and the one to avoid.
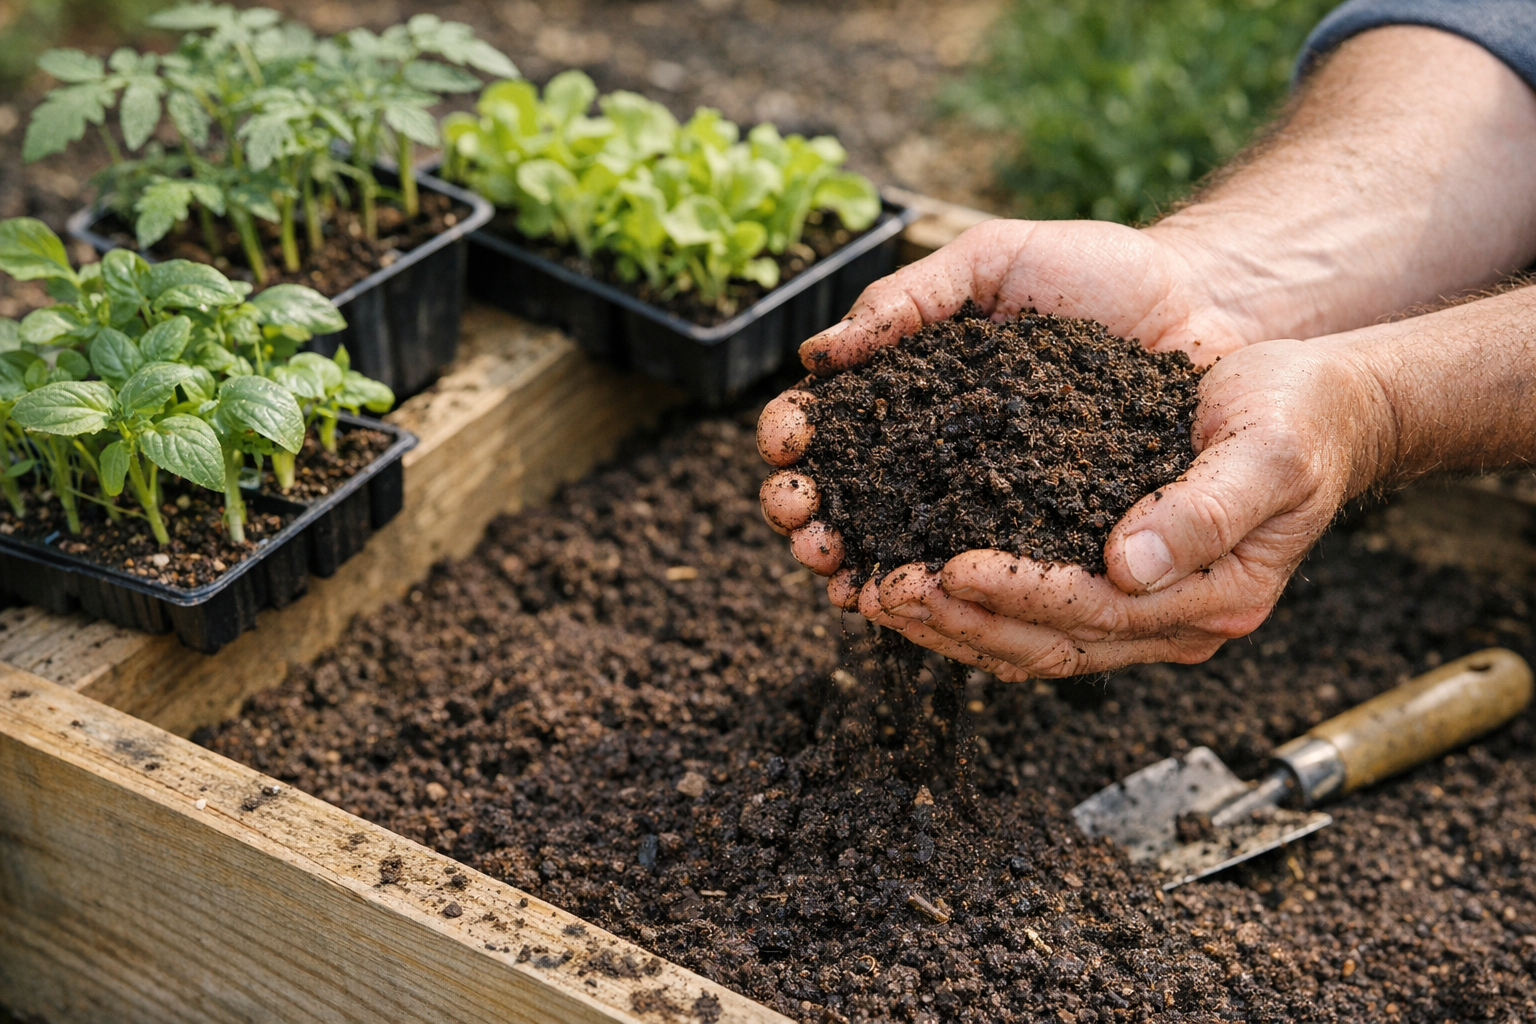
Best Raised Bed Soil Mixes (2026 Buyer's Guide)
Bagged soil for raised beds is a minefield. We tested the top brands for vegetable yield, drainage, and value to find the soil mixes that actually grow food.
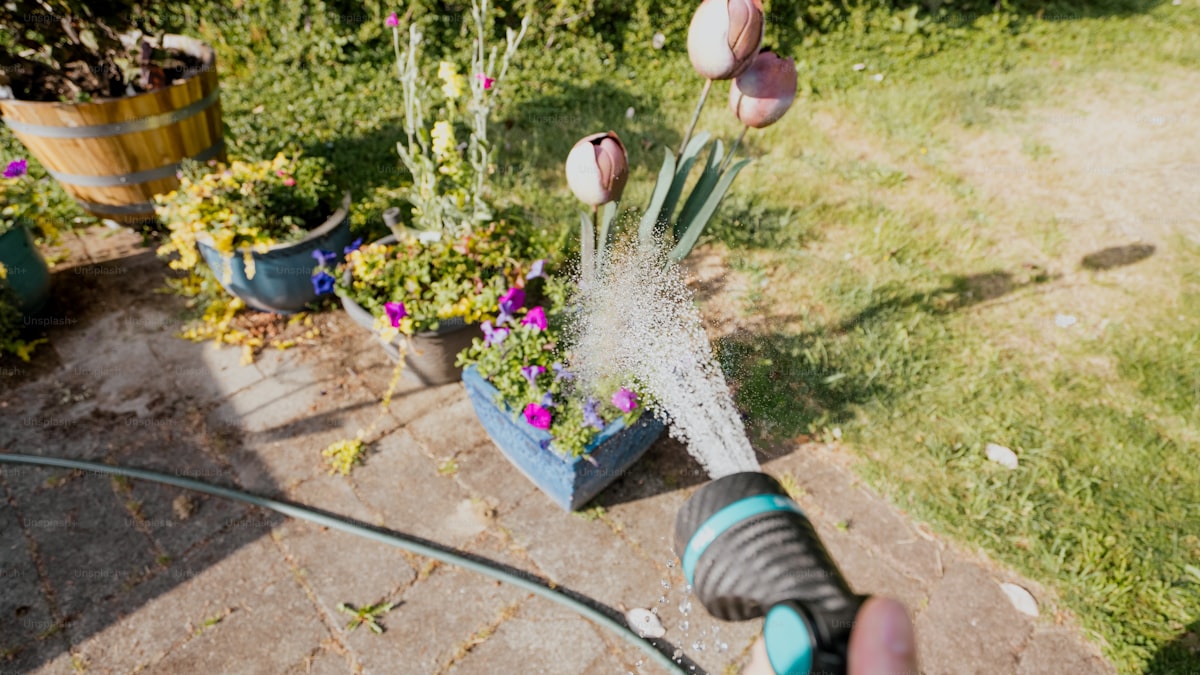
5 Best Garden Hose Nozzles and Sprayers (2026)
Find the perfect garden hose nozzle for watering plants, washing cars, and cleaning patios. We compared the top sprayers — here are the 5 best for every job.
Best Raised Garden Bed Kits You Can Order Online (2026)
The best raised garden bed kits for beginners and experienced gardeners. We compare wood, metal, and composite options with honest reviews and setup tips.
Related Articles
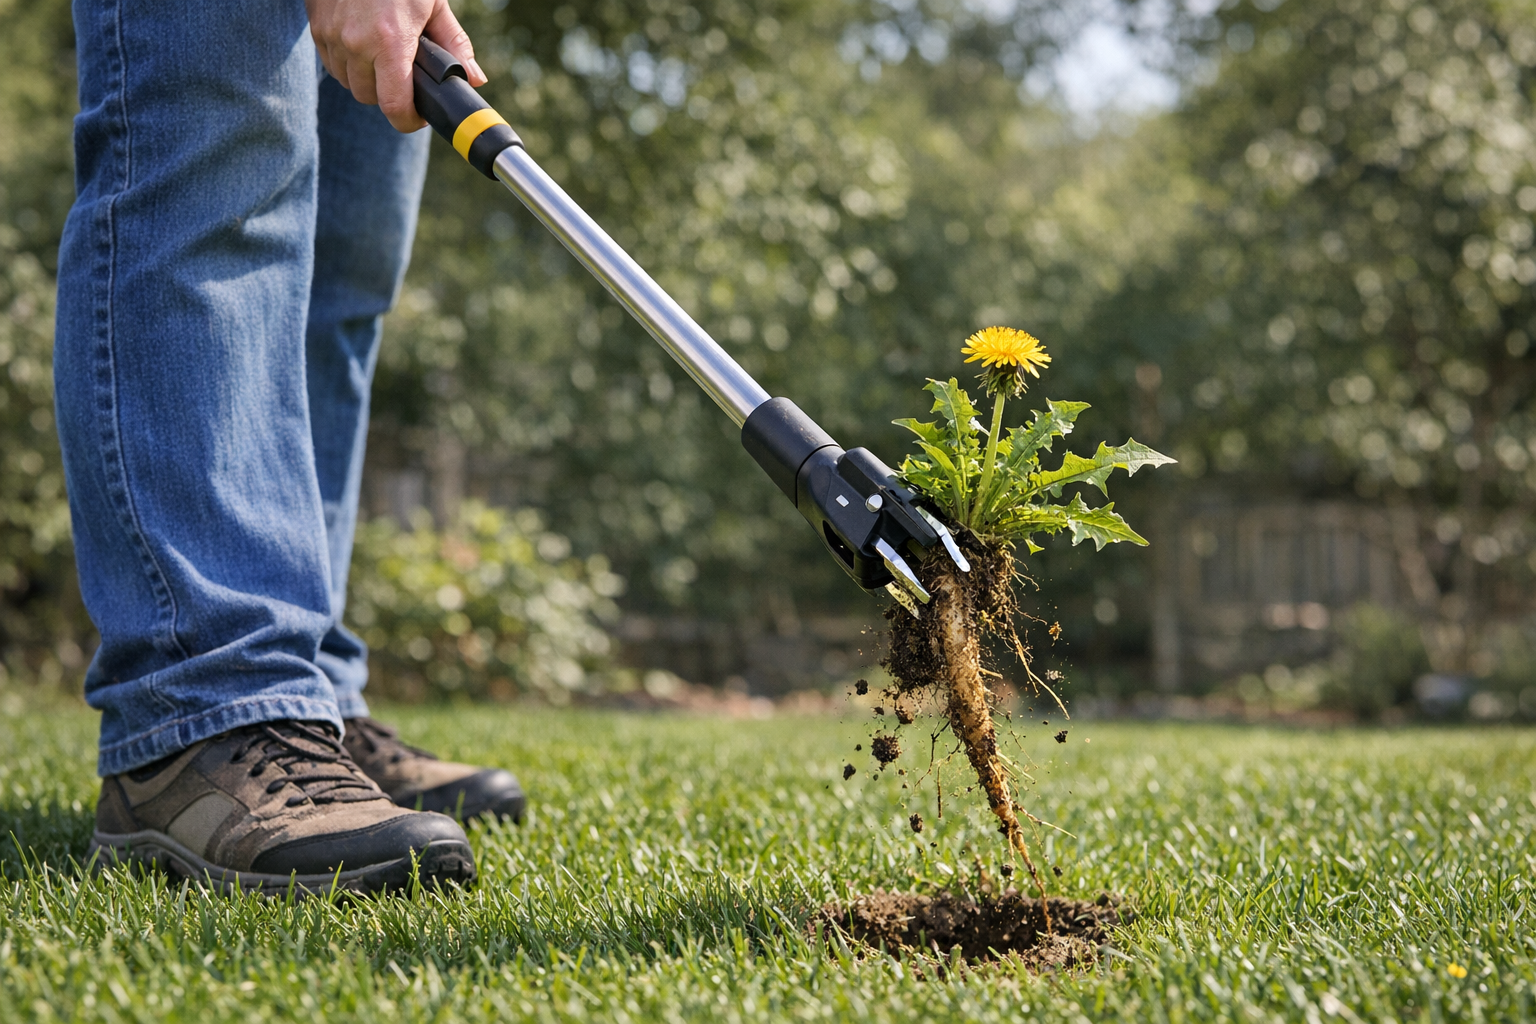
How to Get Rid of Dandelions Naturally (Without Killing the Lawn)
Dandelions are stubborn but beatable without chemical herbicides. Here's the 3-pronged natural approach that works long-term — and the tools that make it easy.
When to Plant Warm-Weather Annuals (And Which Are Easiest)
Tomato, pepper, basil, marigold — all are warm-weather plants that hate cold soil. Here's how to time the transplant for the longest possible harvest.
How to Build a DIY Garden Trellis for Climbing Vegetables
A sturdy trellis doubles your garden's yield per square foot. Here's how to build three easy styles using cheap materials in under an hour each.
How to Start a Container Herb Garden on a Balcony
Fresh herbs all summer from a small apartment balcony or porch — even with limited sun. Picks for the easiest herbs, the right pots, and the soil that actually works.