Summer Plants & Watering: Automate Your Garden While on Vacation
This article may contain affiliate links. If you make a purchase through these links, we may earn a small commission at no extra cost to you. Learn more
Quick Answer
Summer Plants & Watering: Automate Your Garden While on Vacation
The reliable way to keep a summer garden alive while you travel is a battery hose-faucet timer feeding a drip irrigation kit, watering deeply in the early morning. Add a soil moisture sensor to confirm your run times are right, and always test the full system for three to five days before you leave.
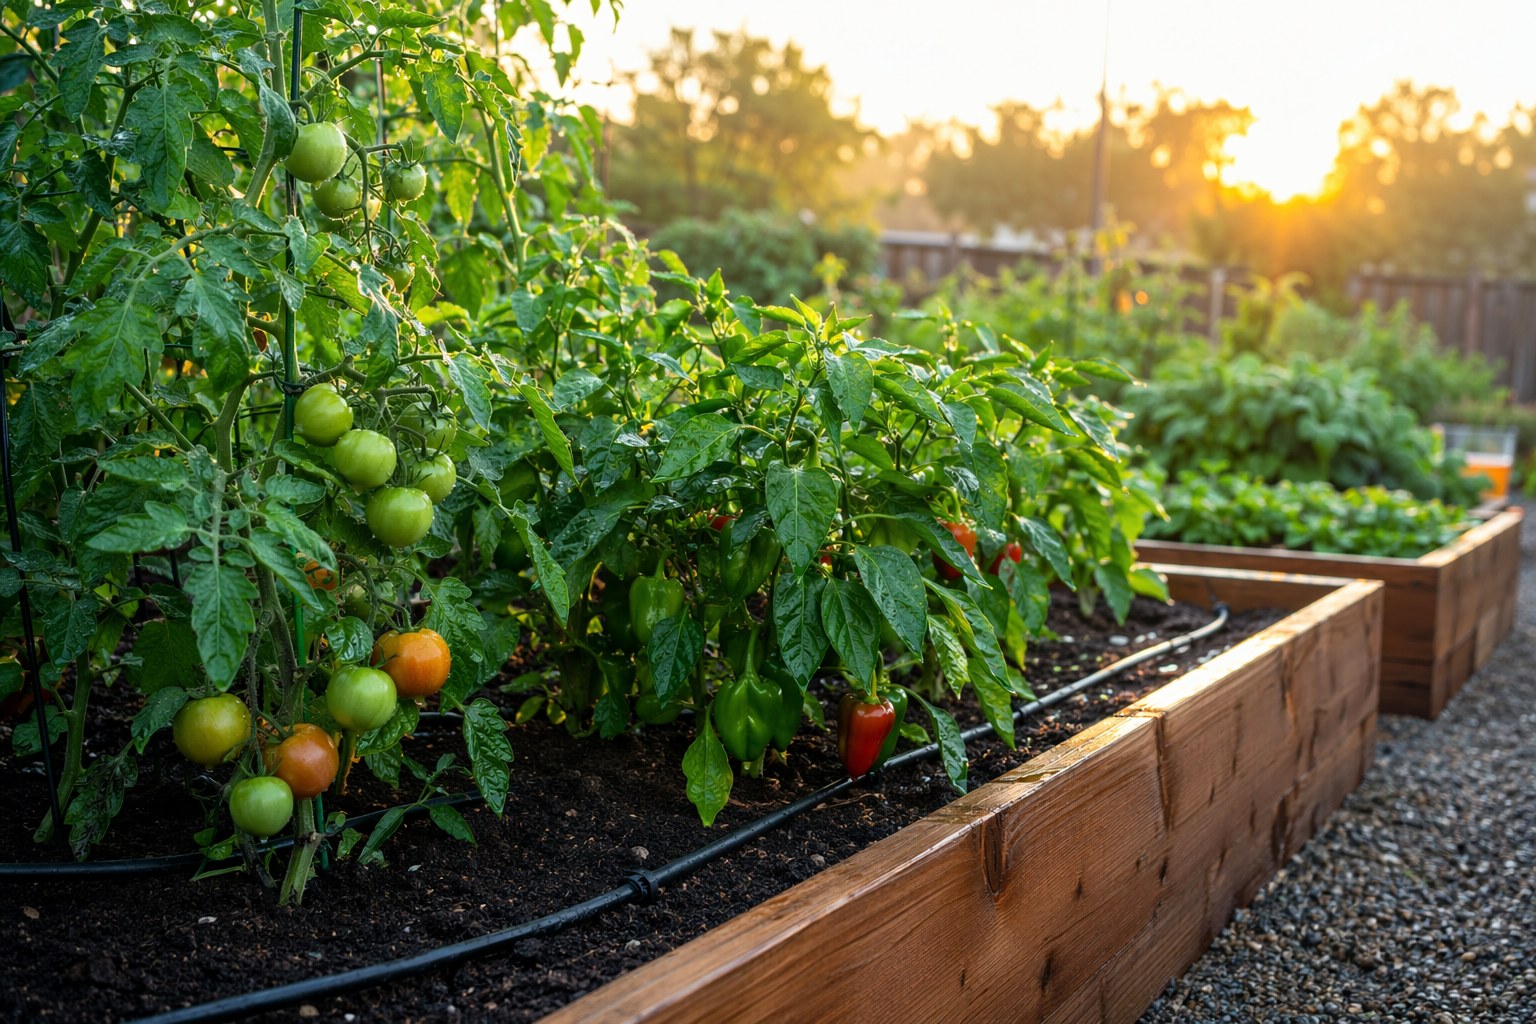
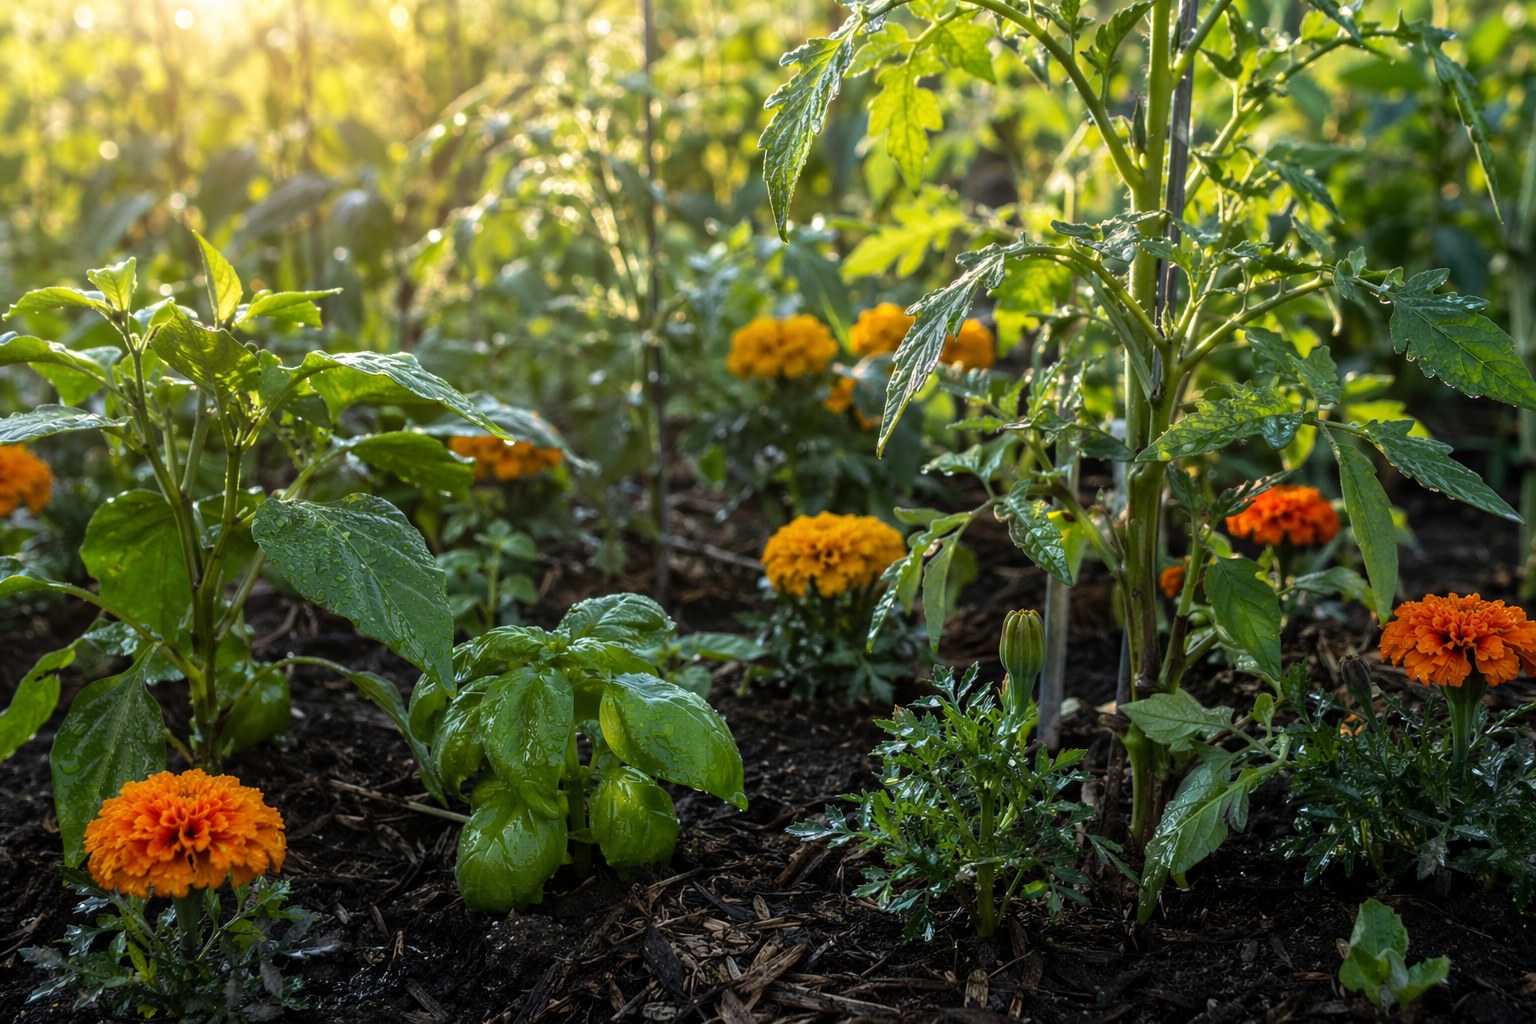
I have lost more plants to a two-week July vacation than to any pest or disease in twenty years of gardening. Here in Texas, a tomato bed that looks lush on the morning you leave can be a crispy memory by the time you land back home. The soil hits 95 degrees, the wind wicks moisture out of the leaves, and there is nobody home to drag the hose out at 7 a.m.
The good news is that summer watering is the single easiest part of your garden to automate, and you can do it for less than the cost of replacing your dead plants. After years of trial, error, and one memorable flooded patio, I have settled on a system that runs itself: a faucet timer, a simple drip kit, and a moisture sensor to keep me honest. Below is exactly how to set it up, how to schedule it for real summer heat, and how to test it so you are not gambling with your garden.

Why Summer Watering Fails (and Hand-Watering Won't Save You)
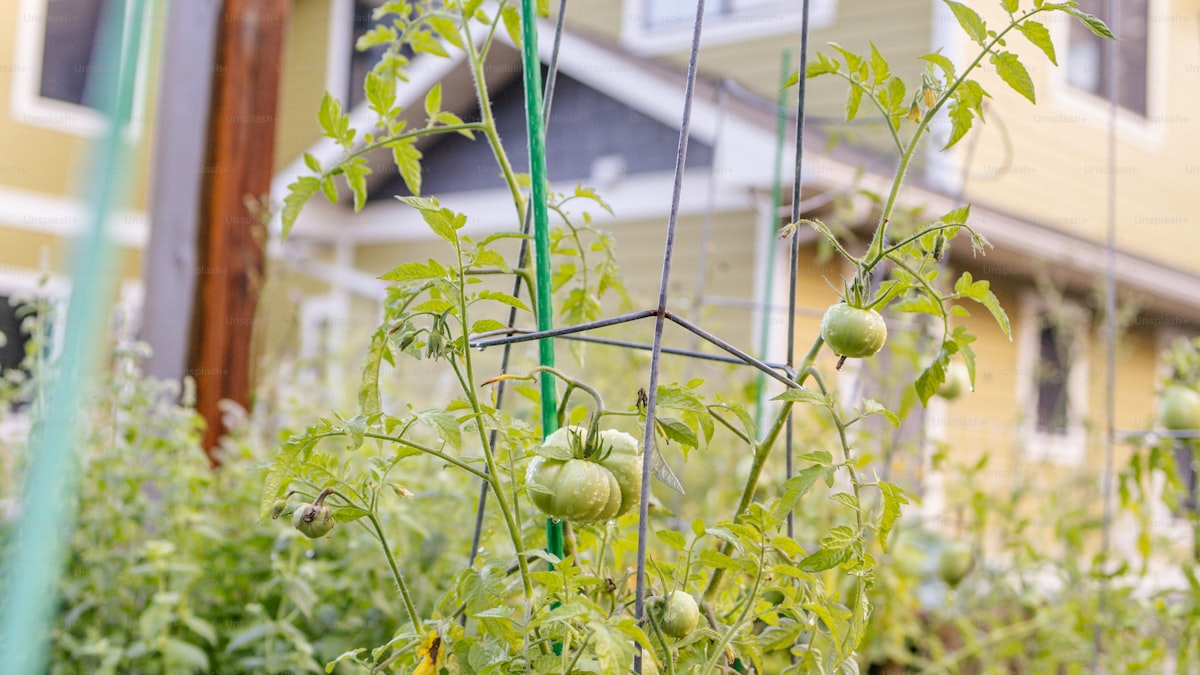
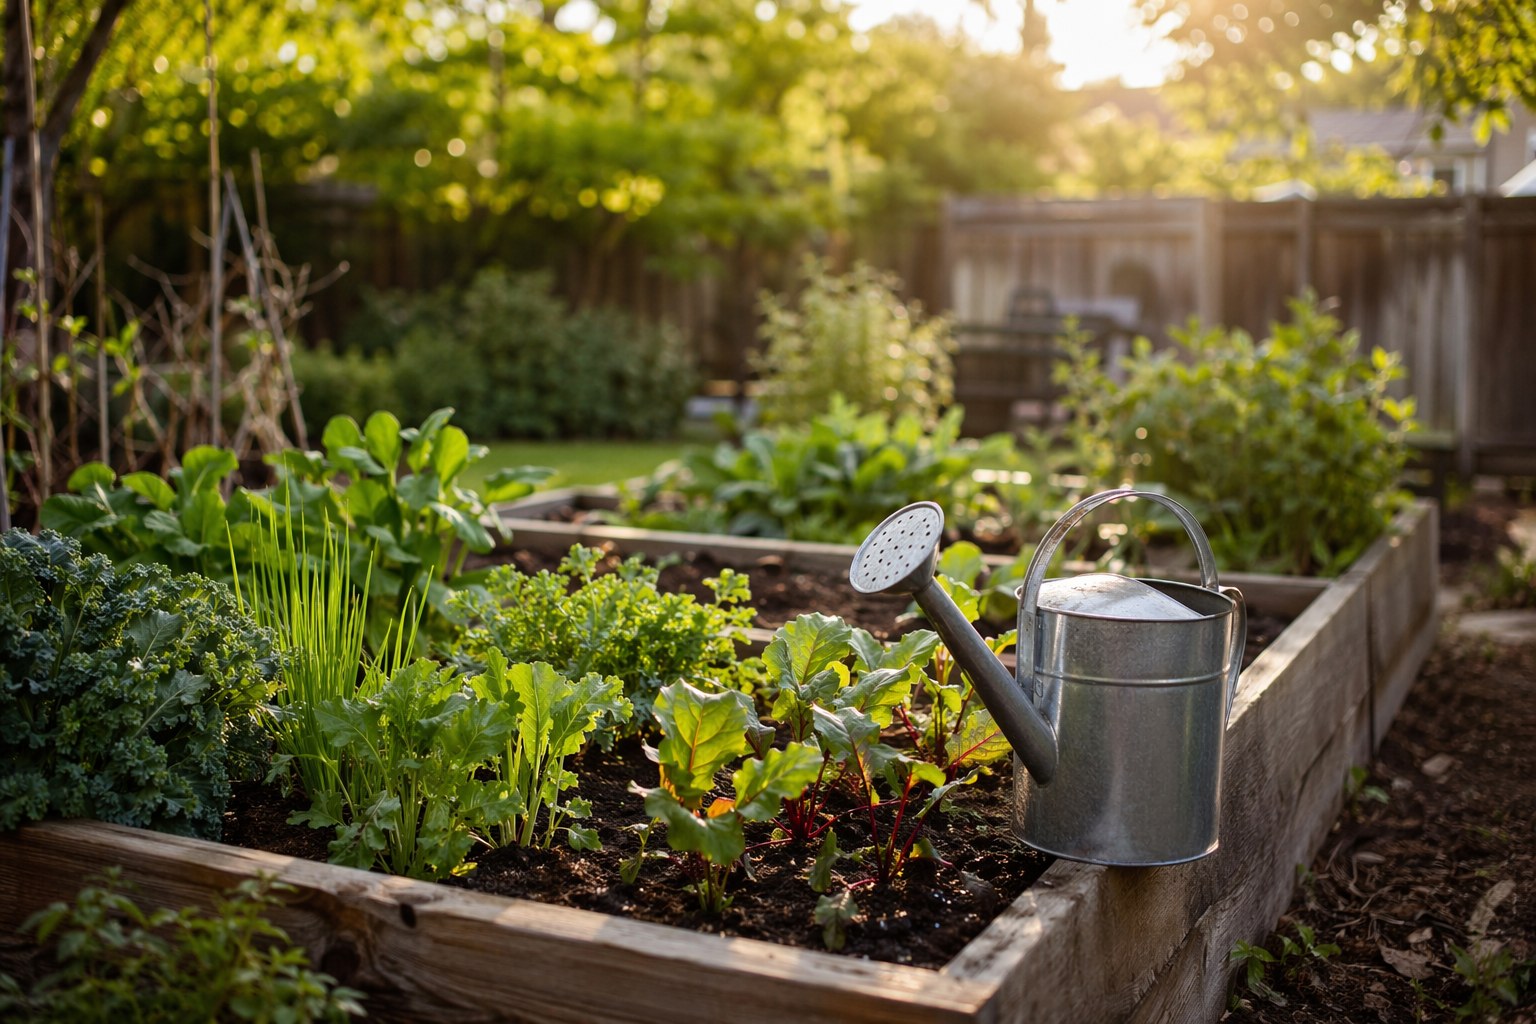
The mistake most people make is assuming a thorough soak before they leave will carry plants through. It will not. A potted tomato in full June sun can transpire its entire root-zone moisture in 24 to 36 hours. Raised beds last a little longer because they hold more soil volume, but even a deep 4x8 bed dries to the root line within three or four days once daytime temperatures climb past 90 degrees.
The other failure point is the well-meaning neighbor. I love a good plant-sitter, but asking someone to remember which of your 14 containers needs water, and how much, is a recipe for both drowned and bone-dry plants. Automation removes the guesswork. The system waters the same amount, at the same time, every single day, whether anyone remembers or not.
There are two numbers worth memorizing. Most vegetables and annuals want about 1 to 1.5 inches of water per week, and in extreme heat that climbs toward 2 inches. Containers, because they drain fast and heat up on all sides, often need watering once or even twice daily in summer. Your automation has to deliver that consistently, which is precisely what a hand can't do from 1,000 miles away.
The Three-Part System That Actually Works
You do not need a contractor or an in-ground sprinkler install. The setup I trust has three parts, and the whole thing connects to an ordinary outdoor faucet in about an afternoon.
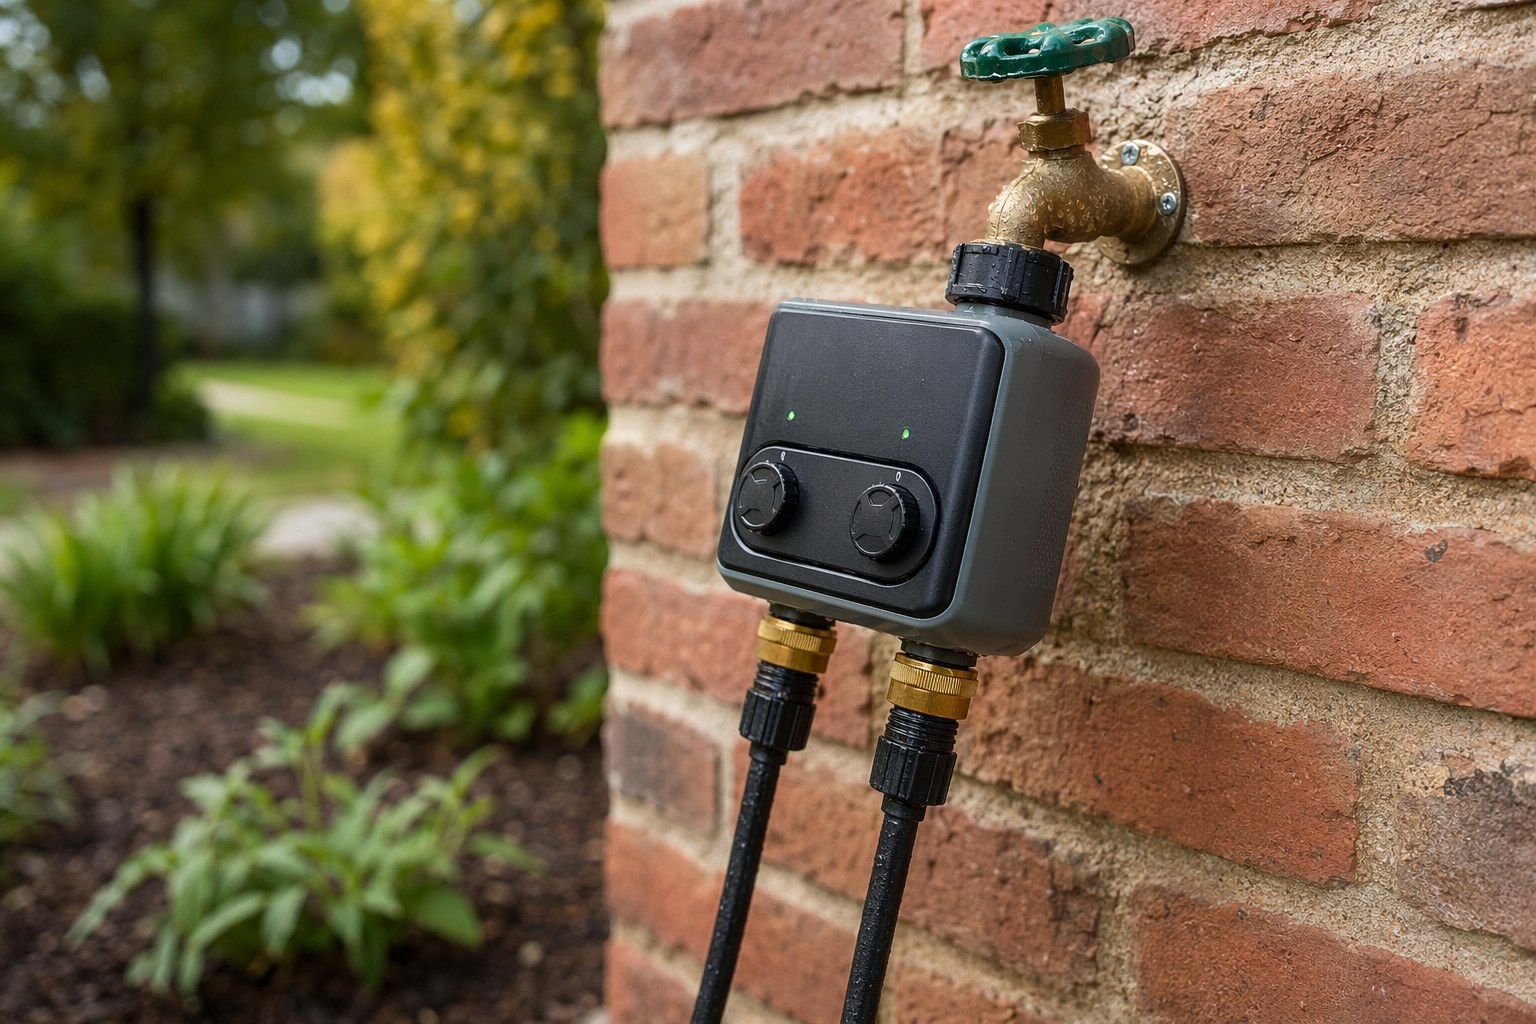
1. A Faucet Timer Is the Brain
The timer is the most important piece, because everything else just delivers water on the schedule it sets. Screw it onto your hose bib, set your start times and durations, and it opens and closes the valve on its own. I strongly prefer a dual-outlet model so you can run two zones on different schedules, for example a thirsty container zone in the morning and a deeper raised-bed soak at dusk.
If you travel often or want to adjust watering based on a heat wave from your phone, a Wi-Fi timer is worth the upgrade. Many connect to local weather and will skip a cycle after rain, which saves water and prevents root rot.
Orbit B-hyve Smart Hose Faucet Timer
WiFi-enabled with two outlets and weather-skip — adjust your watering schedule from your phone anywhere in the world, and it pauses automatically after rain.
Check Price on Amazon →A non-Wi-Fi battery timer is perfectly adequate if you set it correctly and test it. Just put in fresh batteries before you leave. A dead battery on day six is the most common reason these systems fail, and it is entirely preventable. Mark a calendar reminder to swap batteries every spring.
2. Drip Tubing Delivers Water Where It Counts
Sprinklers waste water to evaporation and wet the foliage, which invites fungal disease in humid summer air. Drip irrigation puts water at the base of each plant, directly into the root zone, with almost no loss. A basic kit includes a length of half-inch mainline tubing, thinner quarter-inch feeder lines, a pressure regulator, a filter, and a handful of emitters and stakes.
For raised beds, run the mainline down the center and tap emitters off to each plant. For containers, run a feeder line into each pot with a single adjustable emitter. The pressure regulator matters more than people think: drip systems run at low pressure (around 25 PSI), and skipping the regulator will blow your fittings apart, often while you are away.
Raindrip Automatic Drip Irrigation Kit
A complete starter kit with tubing, emitters, stakes, and a pressure regulator — enough to cover several raised beds or a dozen containers off a single faucet.
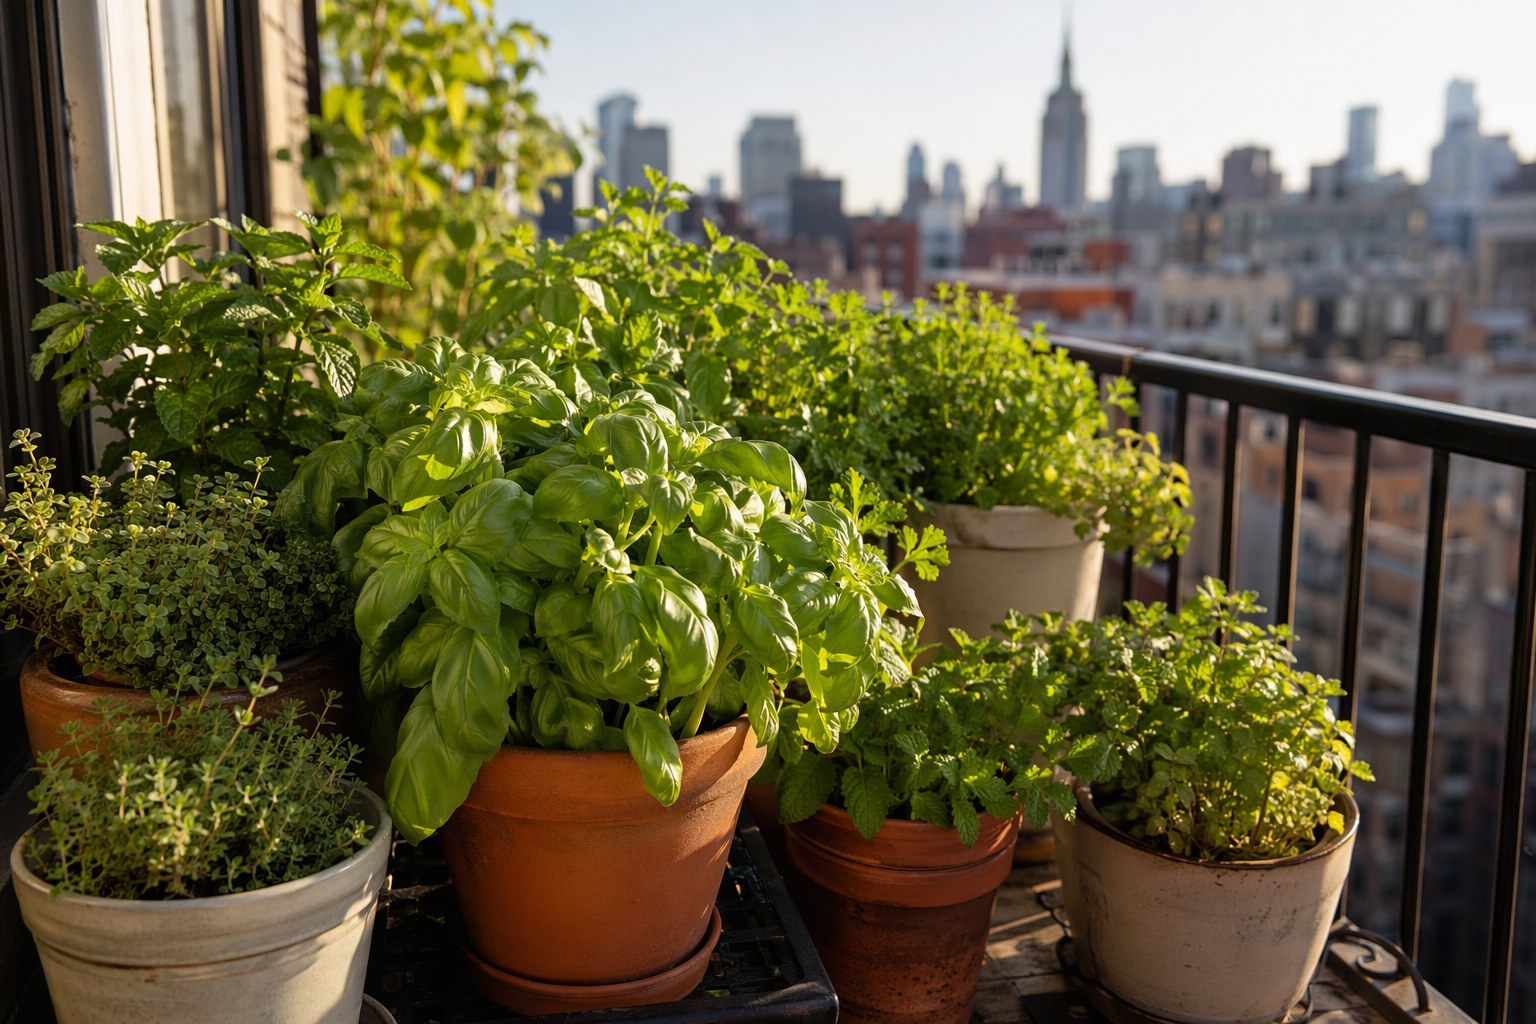
Check Price on Amazon →If you only have a few large pots, you can skip the full kit and use individual watering globes or spikes as a backup layer, the same way I describe in my guide to keeping plants alive while on vacation. But for anything beyond a handful of containers, a drip kit pays for itself the first time it saves your harvest.
3. A Moisture Sensor Keeps You Honest
This is the part most people skip, and it is the part that turns a hopeful guess into a confident plan. A soil moisture meter, pushed into the root zone, tells you whether your run times are actually delivering enough water. A digital model with a phone alert will even ping you if the soil drops below your threshold while you are gone, so you can adjust the Wi-Fi timer remotely or call your neighbor for one targeted rescue.
I run a sensor in the driest, most exposed container and another in a representative raised bed. If those two are happy, the rest of the garden is fine.
Setting Your Summer Watering Schedule
Hardware is only half the job. The schedule is what keeps plants alive. Here is how I program it for true summer heat.
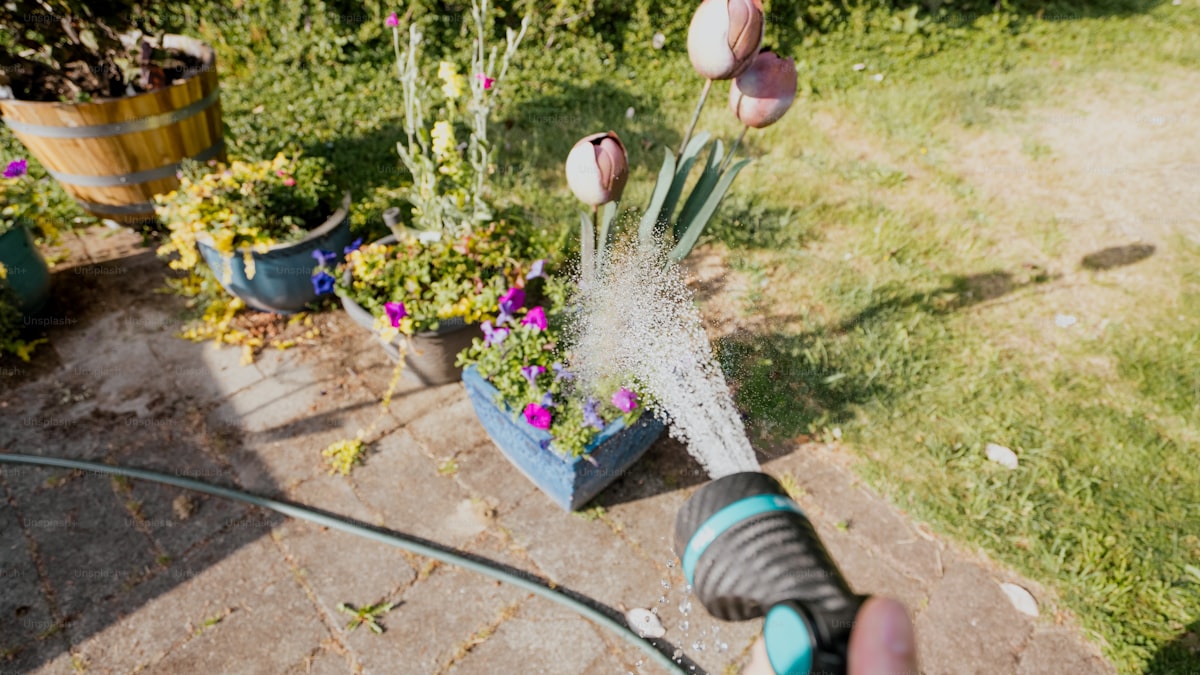
Water early. Set the primary cycle for 5 to 7 a.m. Watering before sunrise gives the soil time to absorb moisture before the heat of the day drives it off, and it leaves foliage dry, which prevents disease. Avoid midday watering entirely; you will lose half of it to evaporation.
Water deeply, not often. One long, deep cycle encourages roots to grow down where the soil stays cooler and moister. Shallow daily sprinkles train roots to stay near the hot surface, which is exactly what you do not want when nobody is home to babysit. For raised beds, that usually means 20 to 30 minutes of drip every morning in peak heat.
Give containers a second cycle. Pots dry out fastest. Add a short evening cycle around 7 p.m. for containers only, which is where a dual-outlet timer earns its keep. A separate zone lets your beds run once and your pots run twice.
Here is a starting point I use for a Texas July. Adjust for your climate and always confirm with your moisture sensor.
| Garden zone | Frequency | Time | Duration |
|---|---|---|---|
| Raised vegetable beds | Once daily | 5:30 a.m. | 25-30 min drip |
| Containers and pots | Twice daily | 6 a.m. and 7 p.m. | 8-10 min each |
| Established perennials/shrubs | Every other day | 6 a.m. | 30-40 min drip |
| Newly planted annuals | Once daily | 5:30 a.m. | 15-20 min drip |
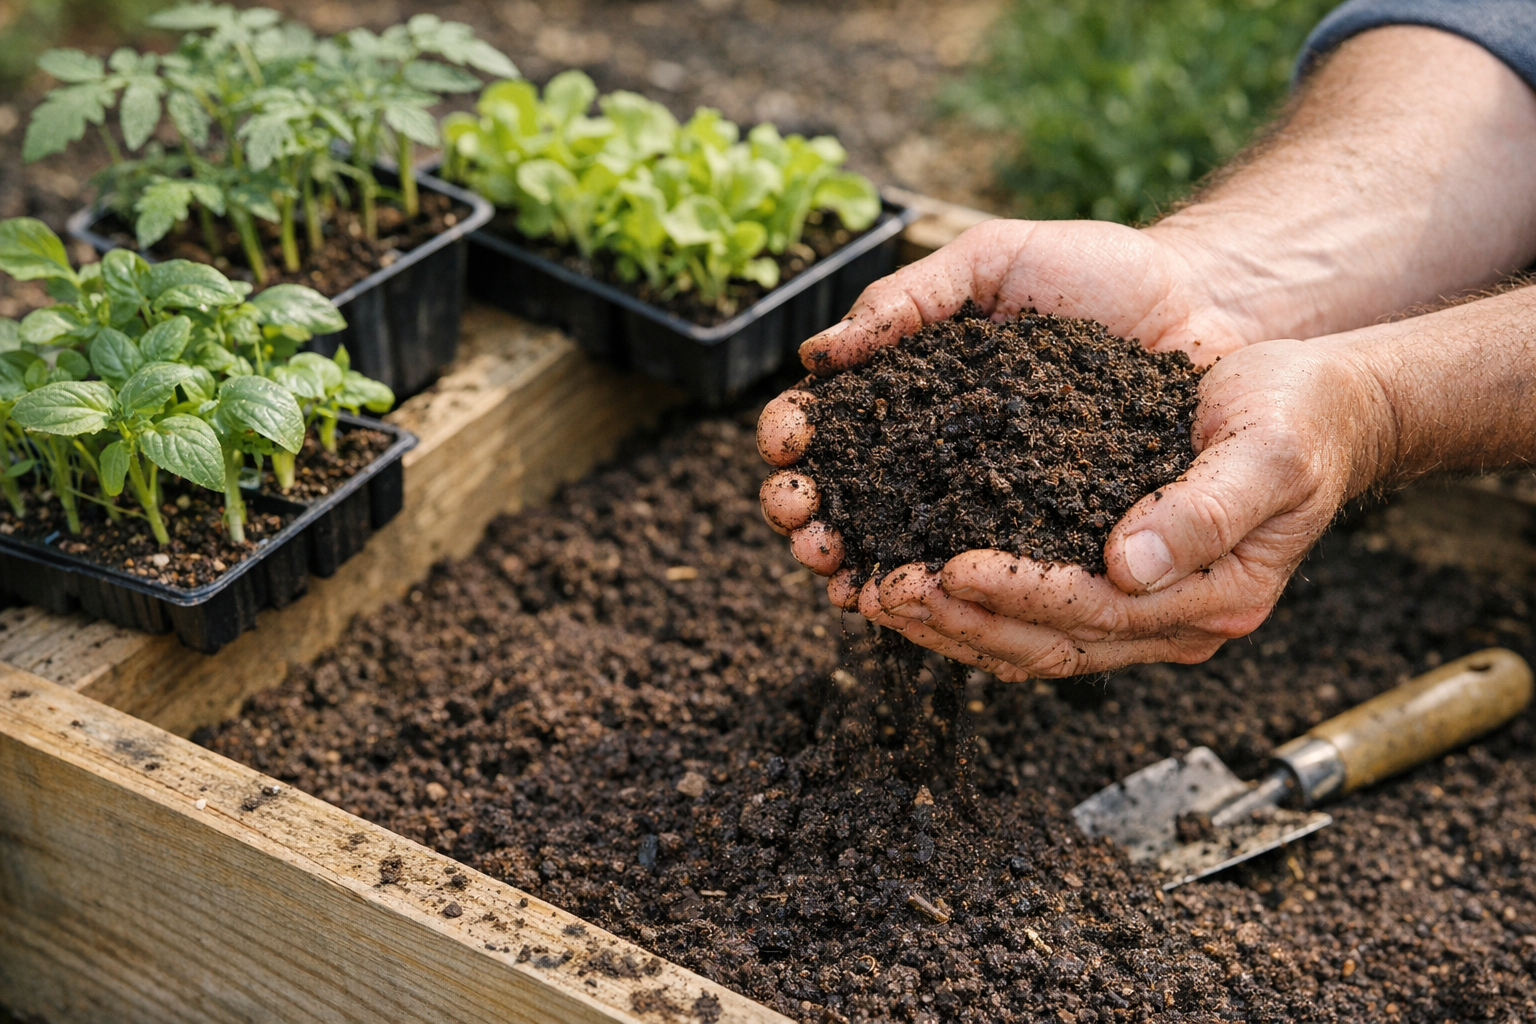
If you are still setting up beds for the season, my walkthrough on how to prepare your garden for spring planting covers the soil prep that makes this watering schedule work harder for you.
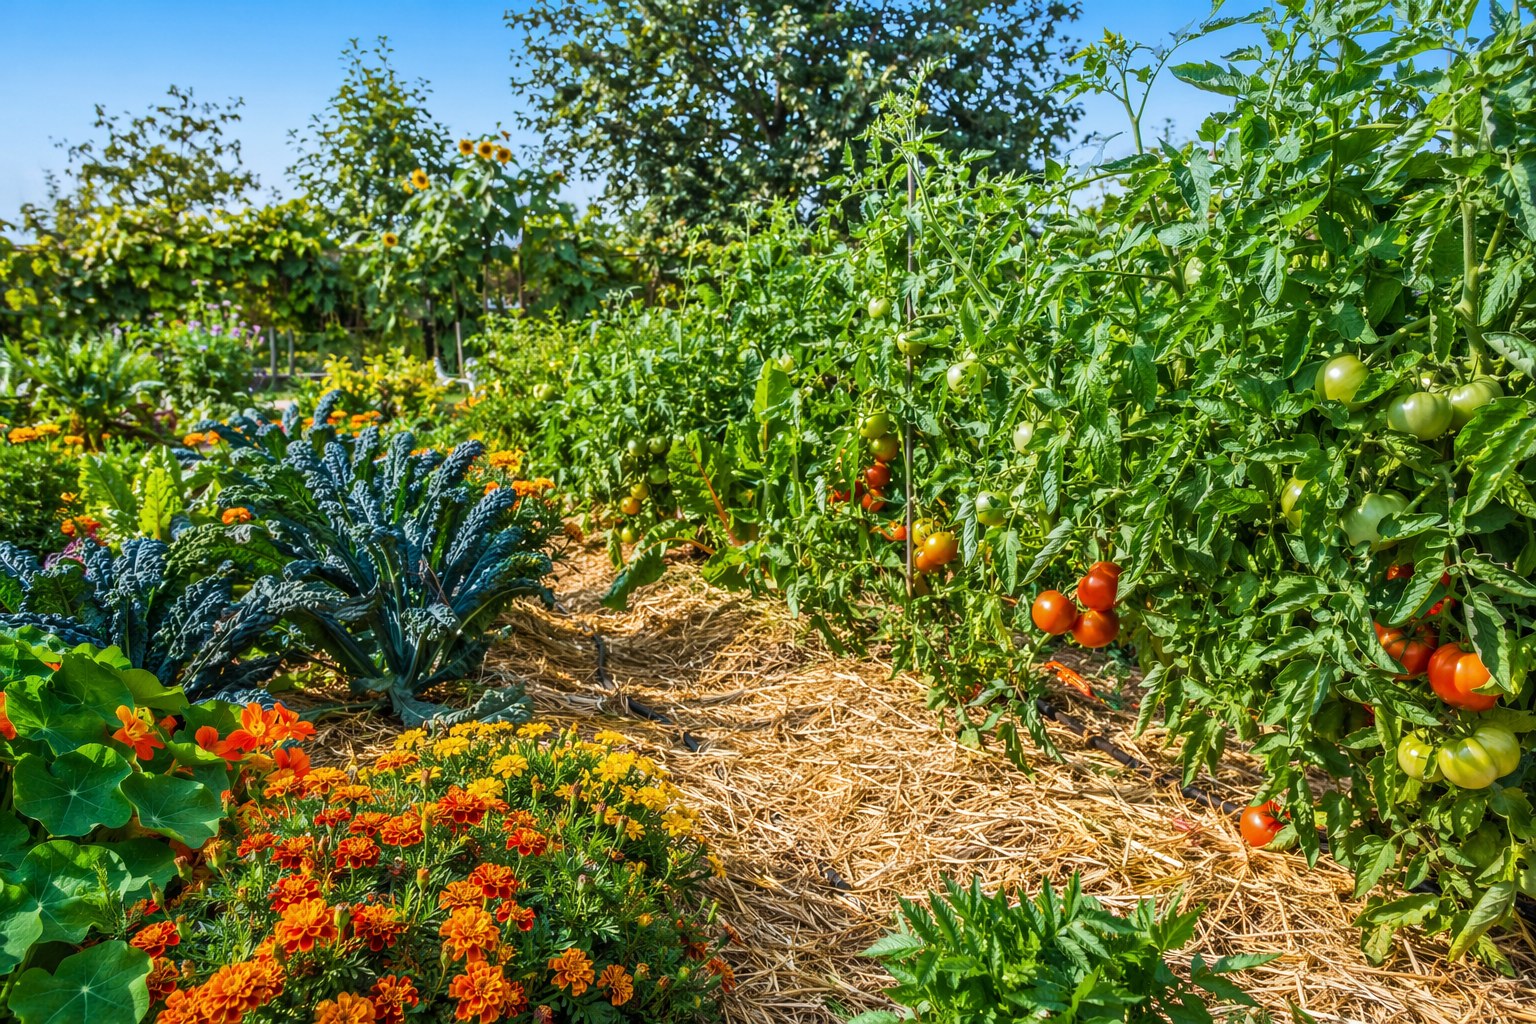
Mulch: The Free Upgrade That Cuts Watering in Half
Before you leave, lay down 2 to 3 inches of mulch over every bed and around every container plant. Shredded bark, straw, or compost all work. Mulch is the cheapest insurance in gardening: it slashes evaporation, keeps soil temperatures 10 to 15 degrees cooler, and suppresses the weeds that would otherwise steal your water.
I have measured the difference with my own moisture sensors, and mulched beds hold usable moisture nearly twice as long as bare soil in summer. Pair good mulch with drip irrigation and you can stretch a tank or a faucet schedule a remarkable distance. It also keeps your soil structure intact, which matters for the heavy feeders like the ones in my guide to growing tomatoes in pots.
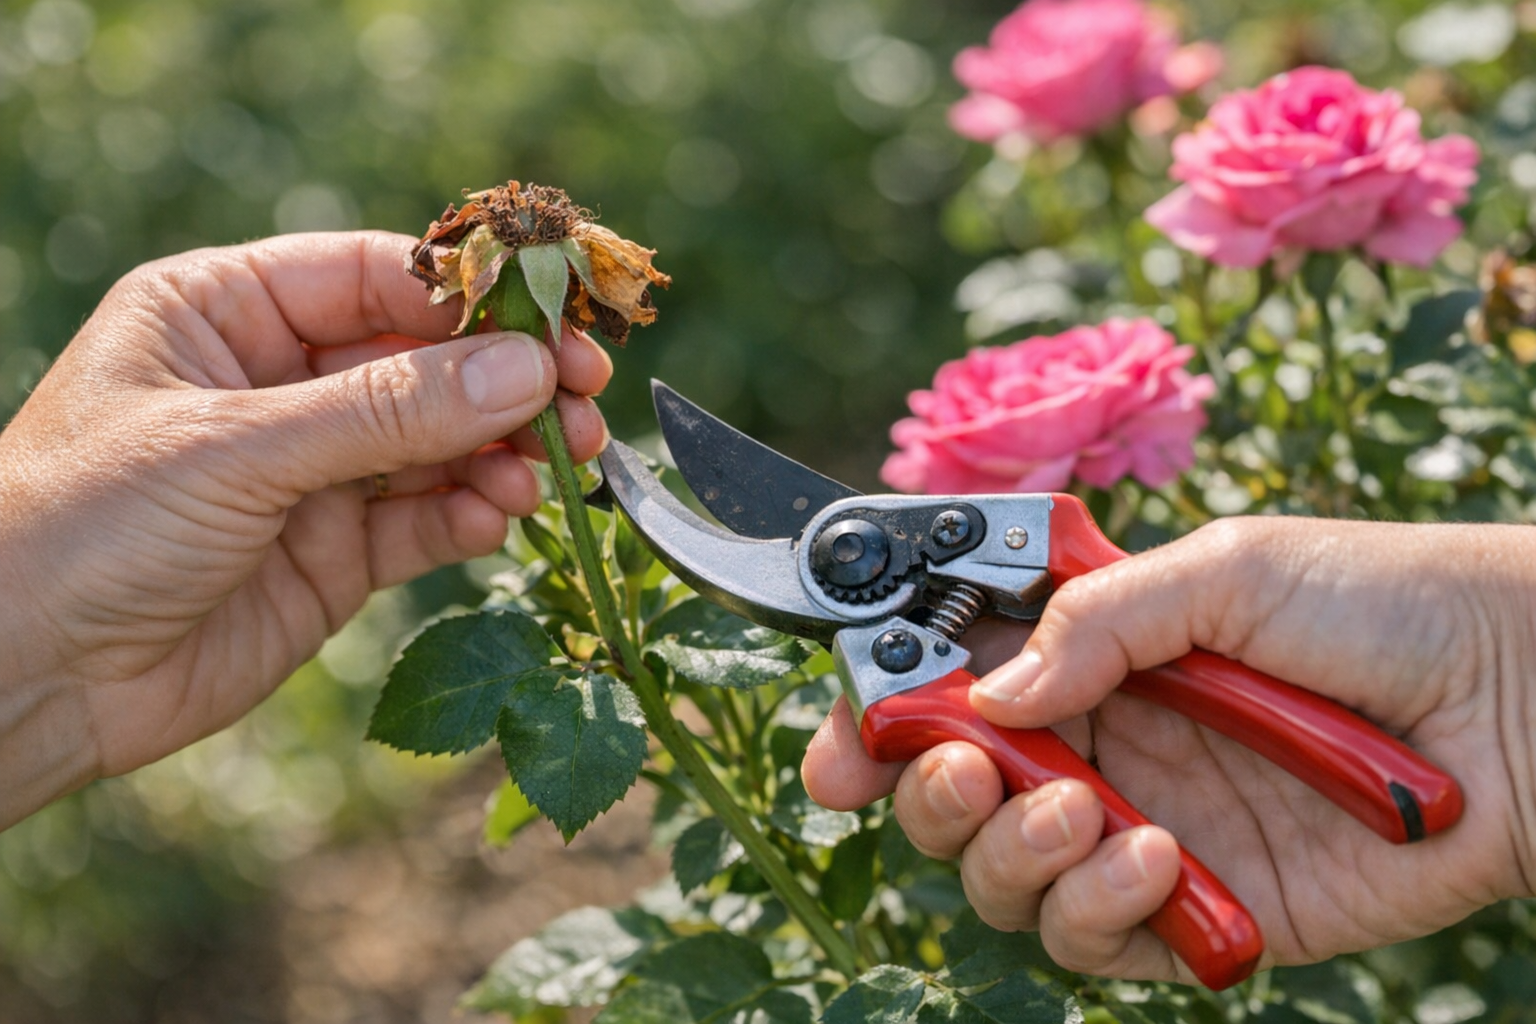
While you are mulching, pull any spent plants, deadhead the flowers, and harvest everything that is ripe or close to it. Less foliage means less water demand, and ripe fruit left on the vine in your absence just rots and attracts pests.
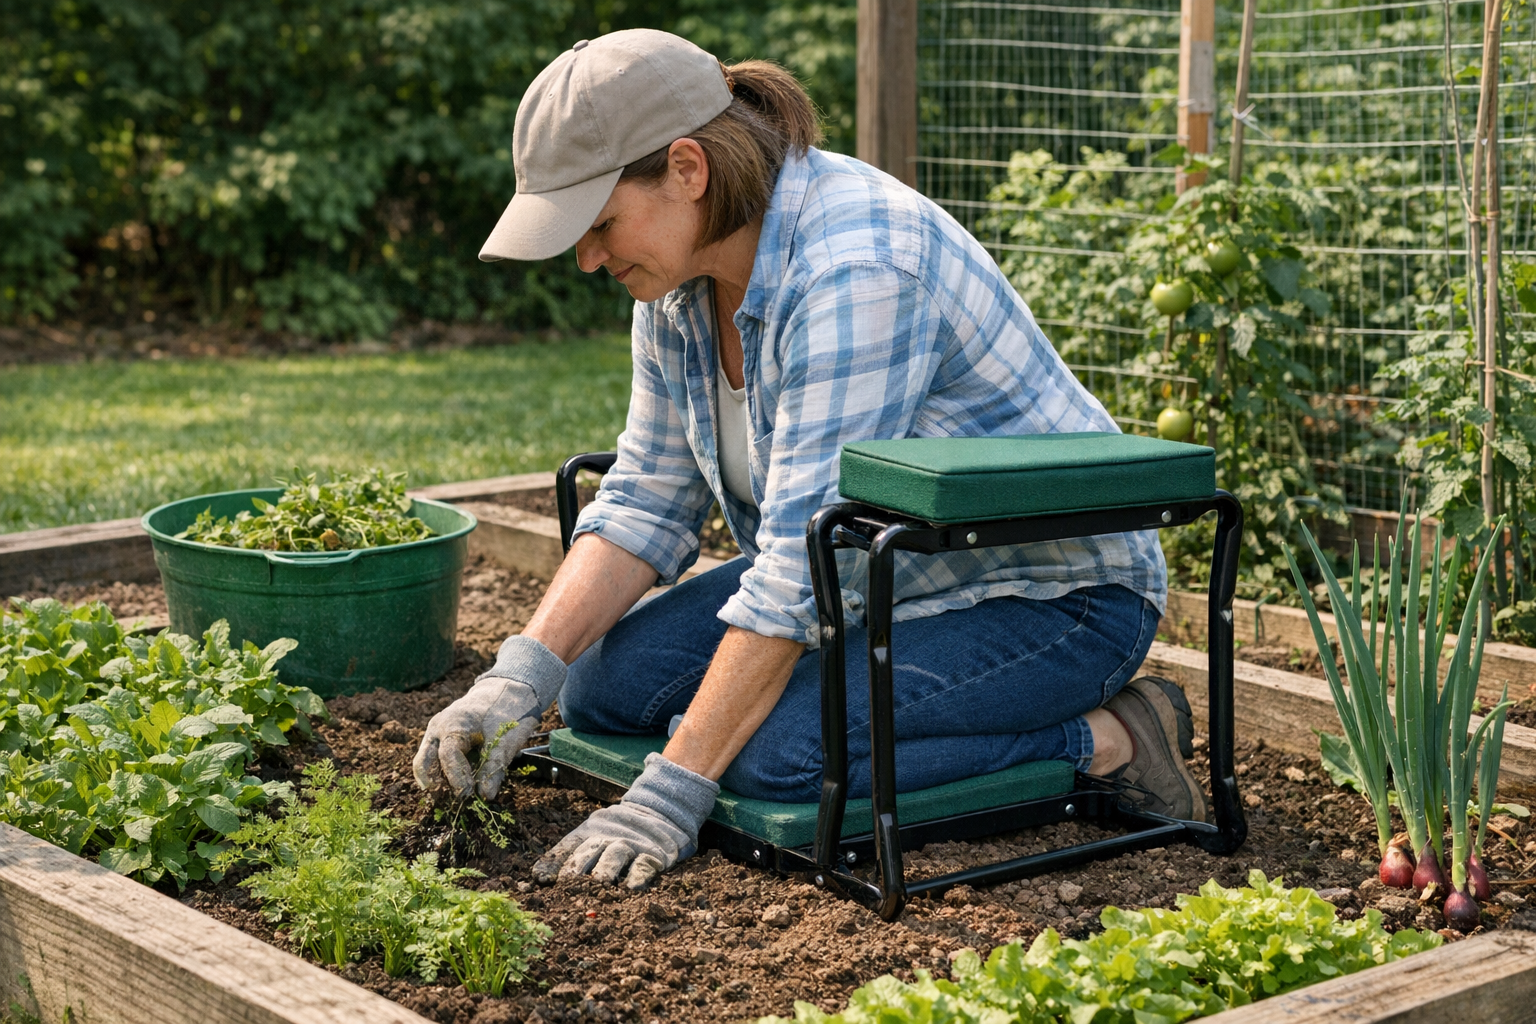
Don't Forget the Gloves and the Grunt Work
Setting up a drip system means crawling around beds, cutting tubing, and pushing stakes into packed soil. A decent pair of nitrile-coated gloves saves your hands and gives you the grip to seat fittings tightly, which is what prevents the leaks that drain your reservoir overnight.
Nitrile-Coated Garden Gloves
Breathable, snug, and grippy enough to seat drip fittings and barbed connectors tightly — the loose cotton kind slip right off wet plastic.
Check Price on Amazon →Test the Whole System Before You Leave
This is the step that separates a thriving homecoming from a graveyard. Set up your full system at least five days before departure and run it on the real schedule. Watch for three things:
- Leaks and blowouts. Walk the lines on day one and look for geysers, dripping connections, or pots that are flooding. A single popped fitting can empty your supply and leave everything downstream dry.
- Coverage. After a few cycles, push your moisture sensor into several spots. Every plant should be reaching adequate moisture, not just the ones nearest the faucet.
- Run-off and pooling. If water is running off the bed surface, your cycle is too long or your soil is compacted. Split it into two shorter cycles, or aerate and add compost.
Five days of testing tells you everything a panicked text from a neighbor never could. The same prove-it-first principle applies to indoor and balcony setups, which I cover in my guide to starting a container herb garden on a balcony.
A Quick Pre-Trip Checklist
Run through this the day before you leave:
- Install fresh batteries in the timer (or confirm the Wi-Fi unit is online).
- Confirm the faucet is turned fully on and the timer valve is the only thing controlling flow.
- Apply 2-3 inches of fresh mulch to all beds and containers.
- Harvest ripe produce and deadhead flowers.
- Move the most heat-sensitive containers into morning sun and afternoon shade.
- Verify moisture sensor readings are in the healthy range across the garden.
- Leave written instructions and your phone number with a neighbor for emergencies only.
Frequently Asked Questions
How long can a garden go without anyone watering it manually?
With a properly tested drip system on a timer and a good layer of mulch, a healthy summer garden can run for two to three weeks unattended. Without automation, raised beds typically last three to five days in 90-degree-plus heat, and containers often less than two days. The automation, not the plants, is the limiting factor.
Do I need Wi-Fi, or is a basic battery timer enough?
A basic battery timer is enough for most travelers as long as you test it and install fresh batteries. The advantage of a Wi-Fi timer is remote control: you can lengthen run times during an unexpected heat wave or skip a cycle after rain, all from your phone. If you travel for more than two weeks at a time or garden in an unpredictable climate, the upgrade is worth it.
Will drip irrigation work with low water pressure or a rain barrel?
Yes, and drip is actually ideal for low-pressure sources. Most kits run best around 25 PSI, and a gravity-fed rain barrel can power a small drip zone if it is elevated a couple of feet above the beds. Pair a rain barrel with a battery timer rated for low pressure, and you have a watering system that costs almost nothing to run.
What about my lawn while I'm away?
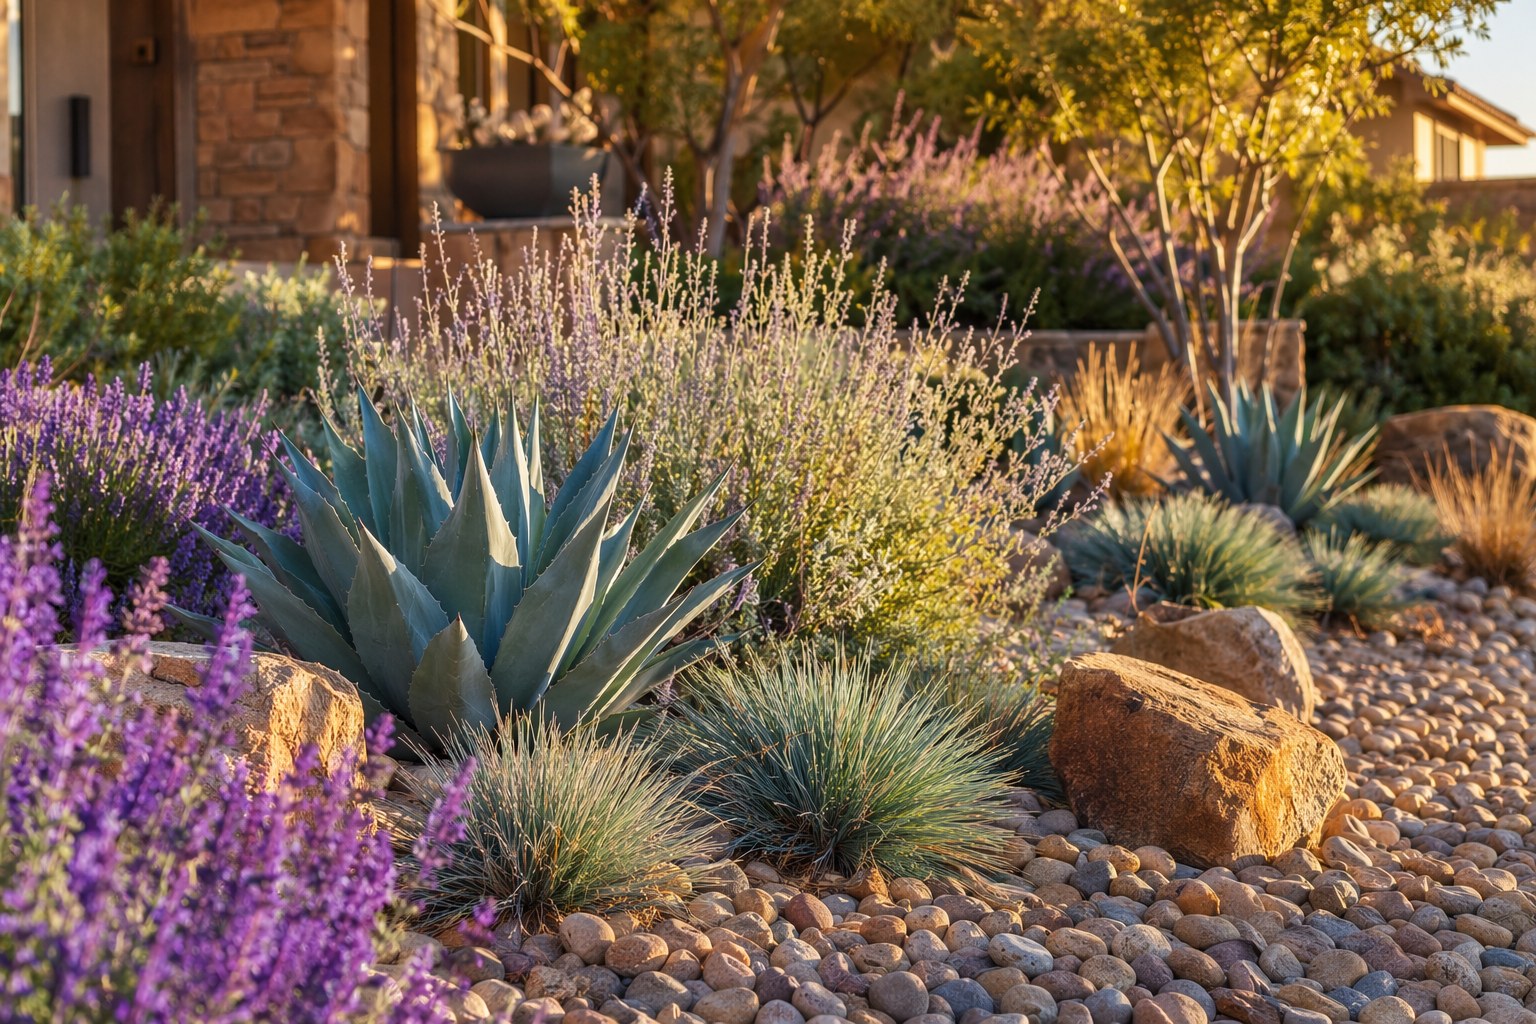
Established lawns tolerate drought far better than vegetables and flowers. In most climates, a healthy lawn can go dormant and brown during a two-week absence and green back up after the next deep watering. Prioritize your timer and water budget on the beds and containers, and let the grass coast.
How much does a full automated setup cost?
A reliable battery timer runs $25 to $40, a Wi-Fi model $60 to $90, and a complete drip kit $30 to $60 depending on coverage. Add $15 to $25 for a moisture sensor. For most home gardens, the whole system lands between $70 and $150, which is less than replacing a single bed of mature tomato and pepper plants.
Travel With Peace of Mind
The first summer I left for two weeks with a tested drip system running, I spent the flight expecting the worst out of pure habit. I came home to tomatoes heavier than when I left and not a single casualty. That is the whole point: automation turns watering from a daily worry into a one-time setup.
Buy the timer, lay the drip line, mulch heavily, and test it for five real days. Then go enjoy your trip. Your garden will be greener when you get back than the day you walked out the door, and you will never again unpack your bags to a row of crispy regrets.
Get weekly home tips that actually work
Join thousands of homeowners getting practical cleaning hacks, DIY fixes, and money-saving tips every week. Free, and you can unsubscribe anytime.

Written by
Sarah RodriguezGardening & Pet Care Contributor
Sarah Rodriguez is a certified Master Gardener and former veterinary technician. She lives on a half-acre lot in central Texas with three rescue dogs, two backyard chickens, and a very ambitious vegetable garden. She covers gardening, sustainable yard care, and everyday pet care for Practical Home Guides.
Recommended Products
Looking for specific product recommendations? Check out our tested picks.
Best Garden Kneelers and Seats (2026 Tested)
Gardening shouldn't wreck your knees and back. We tested kneelers, foldable seats, and rolling carts to find the picks worth the price.
Best Pruning Shears for Gardeners (2026 Guide)
We tested bypass and anvil pruning shears across roses, fruit trees, perennials, and tomato vines. Here are the picks worth your money — and the one to avoid.
Best Raised Bed Soil Mixes (2026 Buyer's Guide)
Bagged soil for raised beds is a minefield. We tested the top brands for vegetable yield, drainage, and value to find the soil mixes that actually grow food.
5 Best Garden Hose Nozzles and Sprayers (2026)
Find the perfect garden hose nozzle for watering plants, washing cars, and cleaning patios. We compared the top sprayers — here are the 5 best for every job.
Best Raised Garden Bed Kits You Can Order Online (2026)
The best raised garden bed kits for beginners and experienced gardeners. We compare wood, metal, and composite options with honest reviews and setup tips.
Related Articles
Pest Control Spring Refresh: Natural Solutions for Summer Prevention
Set up your garden's natural defenses now and you'll coast through summer. A master gardener's spring plan using companion planting, neem oil, and trap crops.
Herb Garden on Your Balcony: Fresh Basil to Cilantro in 4 Weeks
A master gardener's container herb system for apartments: the sunlight hack, watering schedule, and harvesting tricks to grow fresh basil to cilantro in 4 weeks.
Low-Water Garden Design: 8 Beautiful Plants for Drought-Tolerant Landscaping
A Master Gardener's guide to drought-tolerant landscaping. Cut watering by 50% with these 8 beautiful plants, smart drip irrigation, and proven design tips.
End-of-Spring Yard Checklist: Prepare Your Garden for Summer Heat
A week-by-week end-of-spring yard checklist to harden plants, mulch beds, and prevent summer water stress before June heat hits. Master gardener tested.