How to Grow Peppers in Pots (Bell, Jalapeno, and More)
This article may contain affiliate links. If you make a purchase through these links, we may earn a small commission at no extra cost to you. Learn more
Quick Answer
How to Grow Peppers in Pots (Bell, Jalapeno, and More)
Peppers thrive in pots that are at least 5 gallons (12 inches wide and deep) with full sun, warm temperatures, and consistent moisture. Use a well-draining potting mix enriched with compost, water when the top inch of soil feels dry, and feed every two weeks with a balanced fertilizer once flowers appear. Most varieties -- from sweet bells to fiery habaneros -- produce generously in containers as long as they get 6 to 8 hours of direct sunlight daily.
How to Grow Peppers in Pots (Bell, Jalapeno, and More)
Few vegetables reward container gardeners as generously as peppers. Whether you want crisp sweet bells for salads, spicy jalapenos for salsa, or fiery habaneros for hot sauce, every one of these plants adapts beautifully to life in a pot. You do not need a sprawling garden or a raised bed -- a sunny patio, balcony, or even a front stoop with the right light exposure is all it takes.
Peppers are warm-season crops that actually benefit from the extra heat containers absorb during the day. The confined root zone warms up faster in spring than garden soil does, giving your plants a head start. If you have already had success growing tomatoes in pots or growing strawberries in pots, peppers follow a very similar playbook -- and many gardeners find them even easier to manage.
This guide walks you through every step, from choosing the right variety and container to harvesting your first ripe peppers. By the end, you will have a clear plan for growing a productive pepper garden entirely in pots.
What Are the Best Pepper Varieties for Containers?
Not every pepper variety is equally suited to container life. Compact, bushy plants that stay under three feet tall tend to produce the best results in pots because they do not need staking and their root systems are proportional to a confined space.
Sweet Peppers
Bell peppers are the most popular choice and grow well in containers, though they need a longer season to mature (60 to 90 days from transplant). Look for compact varieties like California Wonder, Red Beauty, or King Arthur. Mini sweet peppers like Lunchbox and Sweet Bite are outstanding container performers -- they produce dozens of small, intensely sweet fruits on compact plants that rarely need support.
Banana peppers and cubanelles are also excellent for pots. They produce prolifically, mature faster than bells, and their elongated shape makes them easy to spot and pick.
Hot Peppers
Jalapenos are arguably the easiest hot pepper to grow in containers. Varieties like Early Jalapeno and TAM Jalapeno stay compact and produce heavily over a long season. Serrano peppers perform similarly and pack even more heat.
For extreme heat lovers, habaneros, Thai chilies, and cayenne peppers all thrive in pots. Thai chilies are especially well-suited because the plants are naturally compact and ornamental, producing clusters of small, upright peppers that ripen from green to red.
Ornamental varieties like NuMex Twilight and Black Pearl are edible, attractive, and perfectly proportioned for smaller pots. They double as decorative plants on a patio table.
If you want to get a jump on the season, starting your pepper seeds indoors in spring gives you transplant-ready seedlings several weeks before your last frost date.
What Size Pot Do Peppers Need?
Container size has a direct impact on how large your pepper plant grows and how many peppers it produces. Too small a pot restricts root development, limits water retention, and stresses the plant during hot weather.
For most pepper varieties, a 5-gallon pot (roughly 12 inches wide and 12 inches deep) is the minimum. Full-sized bell peppers and larger hot pepper plants like habaneros perform better in 7- to 10-gallon containers. Compact varieties like Thai chilies and mini sweet peppers can get away with a 3-gallon pot, but a 5-gallon container still produces noticeably better results.
Choosing the Right Container Material
Plastic pots are lightweight, affordable, and retain moisture well. They are a practical choice for balconies where weight matters. Look for high-quality plastic nursery pots or grow bags -- fabric grow bags in particular promote excellent root health through air pruning and are nearly impossible to overwater.
Ceramic and terracotta pots look beautiful on a patio but dry out faster than plastic and can be heavy once filled with soil. If you go this route, make sure the pot is frost-rated if you plan to leave it outside during shoulder seasons.
Self-watering planters are an outstanding option for peppers, especially if you travel or tend to forget watering. The built-in reservoir delivers consistent moisture to the roots, which peppers strongly prefer over cycles of drought and flooding.
No matter what material you choose, drainage holes are non-negotiable. Peppers are susceptible to root rot, and a pot without drainage will eventually kill even the healthiest plant.
What Soil Mix Works Best for Peppers in Pots?
Garden soil is too heavy and compacted for containers, so never use it. Peppers need a lightweight, well-draining potting mix that still holds enough moisture to keep the roots consistently hydrated.
Start with a premium potting mix designed for vegetables and containers. The best mixes contain peat moss or coconut coir for moisture retention, perlite or pumice for drainage and aeration, and composted material for nutrients and beneficial microbes.
To create an ideal pepper growing medium, blend your potting mix with about 20 percent compost and a handful of perlite. If you are composting at home, your finished compost adds a slow-release source of nutrients and improves the soil's water-holding capacity. You can also mix in a slow-release granular fertilizer at planting time to feed the plant for the first several weeks.
Peppers prefer a soil pH between 6.0 and 6.8 -- slightly acidic to neutral. Most commercial potting mixes already fall within this range, so pH adjustment is rarely necessary.
How Much Sunlight Do Peppers Need to Produce Fruit?
Sunlight is the single biggest factor in how many peppers your plants produce. Peppers are sun-loving tropical plants that need a minimum of 6 hours of direct sunlight per day to set fruit. Eight hours or more is ideal and will produce stronger plants, more flowers, and heavier yields.
South-facing or west-facing spots are typically the best locations for container peppers. If your balcony or patio only gets 5 to 6 hours of sun, you can still grow peppers -- but stick to compact, fast-maturing varieties like jalapenos or mini sweet peppers that are more forgiving in lower light.
One of the major advantages of growing in containers is portability. If you notice your plants stretching toward the light or producing flowers that drop without setting fruit, you can reposition the pots to a sunnier location. Even shifting a pot two or three feet can make a meaningful difference in light exposure.
During the hottest part of summer, peppers in dark-colored containers can overheat. If afternoon temperatures regularly exceed 95 degrees Fahrenheit, consider moving pots to a spot with bright morning sun and light afternoon shade. The roots are more vulnerable to heat stress than the foliage.
How Do You Plant Peppers in Containers Step by Step?
Getting your peppers off to a strong start is straightforward. Follow these steps for healthy transplants that establish quickly and begin producing early.
Step 1: Wait until nighttime temperatures consistently stay above 55 degrees Fahrenheit before moving peppers outdoors. Peppers are tropical plants that stall or suffer damage in cool weather. In most regions, this means planting two to three weeks after your last spring frost date.
Step 2: Fill your container with pre-moistened potting mix to within two inches of the rim. If you are adding slow-release fertilizer or compost, blend it into the mix now.
Step 3: Dig a hole in the center of the pot that is slightly deeper and wider than the transplant's root ball. Unlike tomatoes, peppers should be planted at the same depth they were growing in their nursery pot -- burying the stem does not promote additional root growth the way it does with tomatoes.
Step 4: Gently remove the transplant from its nursery pot. If the roots are tightly circled around the outside of the root ball, loosen them gently with your fingers to encourage outward growth.
Step 5: Set the plant in the hole, backfill with potting mix, and firm the soil gently around the base. Leave about one inch of space between the soil surface and the rim of the pot to allow for watering without overflow.
Step 6: Water deeply and slowly until liquid flows freely from the drainage holes. This settles the soil around the roots and eliminates air pockets.
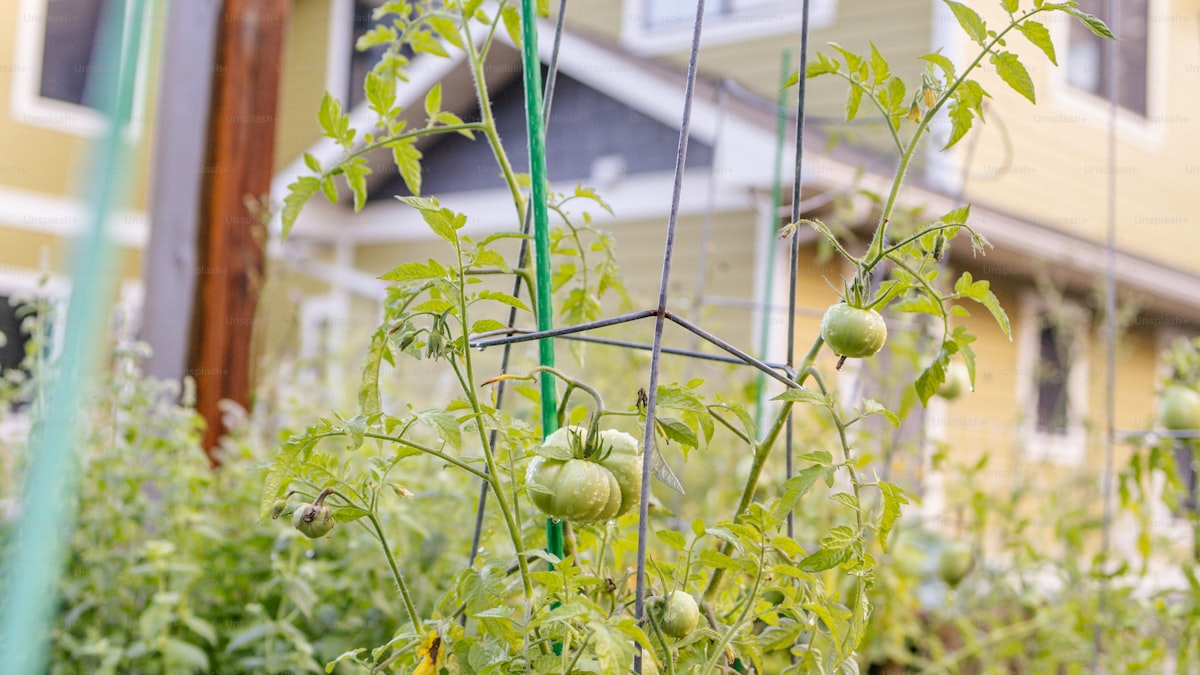
Step 7: If the transplant is tall or leggy, insert a small stake or tomato cage at planting time. Bell peppers and larger varieties will eventually need support once they are loaded with heavy fruit.
Place the pot in its sunniest location and you are off and running.
How Often Should You Water Peppers in Pots?
Consistent watering is critical for pepper production. Erratic moisture -- alternating between bone dry and soaking wet -- causes blossom end rot, flower drop, and cracked or misshapen fruit. The goal is to keep the potting mix evenly moist without waterlogging.
Check the soil daily by pushing your finger about one inch deep. If it feels dry at that depth, water thoroughly until liquid drains from the bottom of the pot. During peak summer heat, peppers in 5-gallon containers may need water every single day -- sometimes twice a day if temperatures climb above 90 degrees Fahrenheit.
Morning watering is best. It gives foliage time to dry before evening, reducing the risk of fungal diseases, and ensures the plant has plenty of moisture to carry it through the hottest part of the day.
Mulching the soil surface with a one- to two-inch layer of straw, shredded bark, or wood chips dramatically reduces evaporation and keeps the root zone cooler. This simple step can cut your watering frequency by 25 to 30 percent during hot weather.
If you are looking for a hands-off watering approach, a quality adjustable garden hose nozzle makes it easy to deliver a gentle, soaking stream directly to the base of each pot without disturbing the soil or splashing foliage.

What Fertilizer Do Peppers in Containers Need?
Peppers are moderate to heavy feeders, and the limited soil volume in a container means nutrients deplete faster than they would in a garden bed. A consistent fertilizing schedule is one of the biggest differences between a plant that produces a handful of peppers and one that yields dozens.
At planting: Mix a slow-release granular fertilizer into the potting soil according to package directions. This provides a baseline of nutrients for the first four to six weeks.
Once flowers appear: Begin supplementing with a liquid fertilizer every two weeks. Use a balanced formula (such as 10-10-10) early in the season to support overall growth, then switch to a formula higher in phosphorus and potassium (like 5-10-10) once the plant begins setting fruit. Phosphorus drives flower and fruit production, while potassium strengthens cell walls and improves flavor.
Espoma Organic Tomato-Tone Fertilizer
Slow-release organic fertilizer formulated for tomatoes and peppers. Contains beneficial microbes and all 15 essential nutrients. Safe for container use and feeds plants for up to two months per application.
Check Price on Amazon →Avoid over-fertilizing with nitrogen. Too much nitrogen produces lush, dark green foliage but fewer flowers and fruit. If your plant looks healthy and leafy but is not flowering, cut back on nitrogen and increase phosphorus.
Calcium supplements can help prevent blossom end rot, which appears as dark, sunken spots on the bottom of developing fruit. This condition is usually caused by inconsistent watering rather than a true calcium deficiency, but a calcium-enriched fertilizer provides extra insurance.
How Do You Handle Common Pepper Pests and Problems?
Container peppers face fewer pest problems than garden-grown plants, but they are not immune. Knowing what to watch for lets you catch issues early before they affect your harvest.
Aphids
These tiny green, black, or white insects cluster on the undersides of leaves and on new growth, sucking sap and excreting sticky honeydew. A strong spray of water from the hose knocks them off. For persistent infestations, spray with insecticidal soap or neem oil every five to seven days until they are gone.
Blossom End Rot
Dark, leathery spots on the bottom of developing peppers signal blossom end rot. This is a calcium uptake issue almost always triggered by inconsistent watering. The fix is to water more consistently -- not to add more calcium to the soil (though it does not hurt). Mulching and using self-watering pots largely eliminate this problem.
Flower Drop
When pepper plants drop their flowers without setting fruit, temperature is usually the culprit. Nighttime temperatures below 55 degrees or daytime temperatures above 95 degrees can cause blossoms to fall. There is not much you can do about weather, but moving containers to a more sheltered location during extreme heat or cold snaps helps.
Sunscald
Peppers exposed to intense afternoon sun can develop white, papery patches on the fruit. This cosmetic damage does not affect flavor or safety, but you can prevent it by positioning plants where they get morning sun and dappled afternoon shade during the hottest months.
Encouraging beneficial insects by growing herbs on your kitchen windowsill and moving them outdoors during summer -- or planting flowers nearby -- draws in ladybugs, lacewings, and parasitic wasps that keep aphid and caterpillar populations under control naturally.
When Should You Harvest Peppers from Containers?
Knowing when to pick is just as important as knowing how to grow. The timing depends on whether you want green peppers or fully ripe, colored ones.
All peppers start green and change color as they mature. Bell peppers turn red, yellow, orange, or even purple depending on the variety. Jalapenos turn from green to red. Hot peppers generally get hotter as they ripen and change color.
You can harvest peppers at any stage. Green bell peppers are simply unripe bells -- they are perfectly edible but have a sharper, slightly bitter flavor compared to the sweetness of a fully ripe red or yellow bell. Jalapenos are most commonly picked green, but red jalapenos are sweeter and just as spicy.
Step 1: Check your peppers daily once they reach full size. Gently squeeze the fruit -- it should feel firm and the skin should be glossy and taut.
Step 2: Use clean scissors or pruning shears to cut the pepper from the plant, leaving a short stub of stem attached. Never twist or pull peppers off by hand, as this can break branches and damage the plant.
Step 3: Harvest regularly to encourage continued production. A plant carrying ripe, unpicked fruit will slow down or stop producing new flowers. Picking promptly signals the plant to keep flowering and setting new peppers.
A single well-maintained bell pepper plant in a 5-gallon pot can produce 6 to 10 peppers over a season. Jalapeno and smaller hot pepper plants are even more productive -- a healthy jalapeno plant can yield 25 to 40 peppers or more.
Can You Extend the Pepper Growing Season?
Absolutely. Peppers are perennial plants in their native tropical habitat, and with a little effort you can keep them producing well beyond the typical outdoor season.
In fall, when nighttime temperatures start dipping below 55 degrees, move your containers indoors to a bright, south-facing window or under grow lights. Peppers will continue to ripen existing fruit and may even set a few new peppers indoors if they receive enough light.
Overwintering pepper plants is increasingly popular among container gardeners. After the final harvest, prune the plant back by about one-third, reduce watering to once a week or less, and keep it in a cool (55 to 65 degrees Fahrenheit), bright location. The plant will go semi-dormant. In spring, move it back outdoors gradually -- a process called hardening off -- and it will explode with new growth. Second-year pepper plants often produce earlier and more heavily than first-year ones.
If overwintering sounds like too much trouble, you can also build a raised garden bed on a budget to grow peppers in the ground, where the root systems have more room and the soil temperature stays more stable.
Frequently Asked Questions
How many pepper plants can you grow in one pot?
One pepper plant per 5-gallon pot is the standard recommendation. Crowding two plants into a single container forces them to compete for water, nutrients, and root space, which reduces yields for both. If you want multiple plants in one container, use a large 15- to 20-gallon planter or a half-whiskey-barrel and space plants 12 to 18 inches apart. Smaller hot pepper varieties like Thai chilies can handle slightly closer spacing, but even then, one plant per pot produces the best results with the least maintenance.
Can you grow peppers and tomatoes in the same container?
While both are members of the nightshade family and share similar growing requirements, planting peppers and tomatoes together in one pot is not recommended. Tomatoes grow much larger and more aggressively, quickly dominating the shared root space and shading out the shorter pepper plant. They also have different watering sensitivities -- overwatering that a tomato tolerates can stress a pepper. You are better off growing each in its own container and placing them side by side so they benefit from the shared warmth without competing for resources.
Do pepper plants come back every year?
In frost-free climates (USDA zones 9b through 11), pepper plants are perennial and will produce for multiple years without any special care. In colder climates, you can overwinter pepper plants indoors by pruning them back, reducing watering, and keeping them in a bright, cool room. When moved back outdoors in spring, overwintered plants typically produce fruit two to four weeks earlier than new transplants and often yield more heavily. Most gardeners find that pepper plants remain productive for two to three seasons before declining.
Why are your pepper plant's leaves turning yellow?
Yellow leaves on pepper plants can signal several issues. Overwatering is the most common cause in containers -- if the soil stays soggy, roots suffocate and leaves yellow from the bottom up. Nitrogen deficiency produces overall yellowing, especially on older leaves, and is fixed by feeding with a balanced fertilizer. Magnesium deficiency shows up as yellowing between leaf veins while the veins stay green, and can be corrected with a foliar spray of Epsom salts (one tablespoon per gallon of water). Check your watering habits first, then your feeding schedule, and adjust accordingly.
Final Thoughts
Growing peppers in pots is one of the most rewarding ways to produce your own food in a limited space. The plants are attractive, productive, and surprisingly low-maintenance once you understand their basic needs -- warmth, sun, consistent water, and regular feeding. Whether you start with a single jalapeno on a balcony or line your patio with a dozen pots of mixed varieties, the satisfaction of cooking with peppers you grew yourself is hard to beat.
Start with two or three proven varieties, use quality potting mix in properly sized containers, and pay attention to watering consistency above all else. Those fundamentals will carry you further than any advanced technique. And once your pepper plants are thriving, you may find yourself expanding into other container crops -- herbs on your kitchen windowsill, strawberries in pots, or even a full raised garden bed in the backyard.
The growing season is waiting. Pick up a few transplants, grab a bag of potting mix, and get your first pepper pot started this spring.
Get weekly home tips that actually work
Join thousands of homeowners getting practical cleaning hacks, DIY fixes, and money-saving tips every week. Free, and you can unsubscribe anytime.

Written by
Beth SullivanFounder & Editor-in-Chief
Beth Sullivan is the founder of Practical Home Guides. With over a decade of hands-on experience tackling every home challenge imaginable, she started this site to share the practical, no-nonsense solutions she wishes she had found years ago. When she's not testing cleaning hacks or organizing pantries, you'll find her in the garden or working on her next DIY project.
Recommended Products
Looking for specific product recommendations? Check out our tested picks.
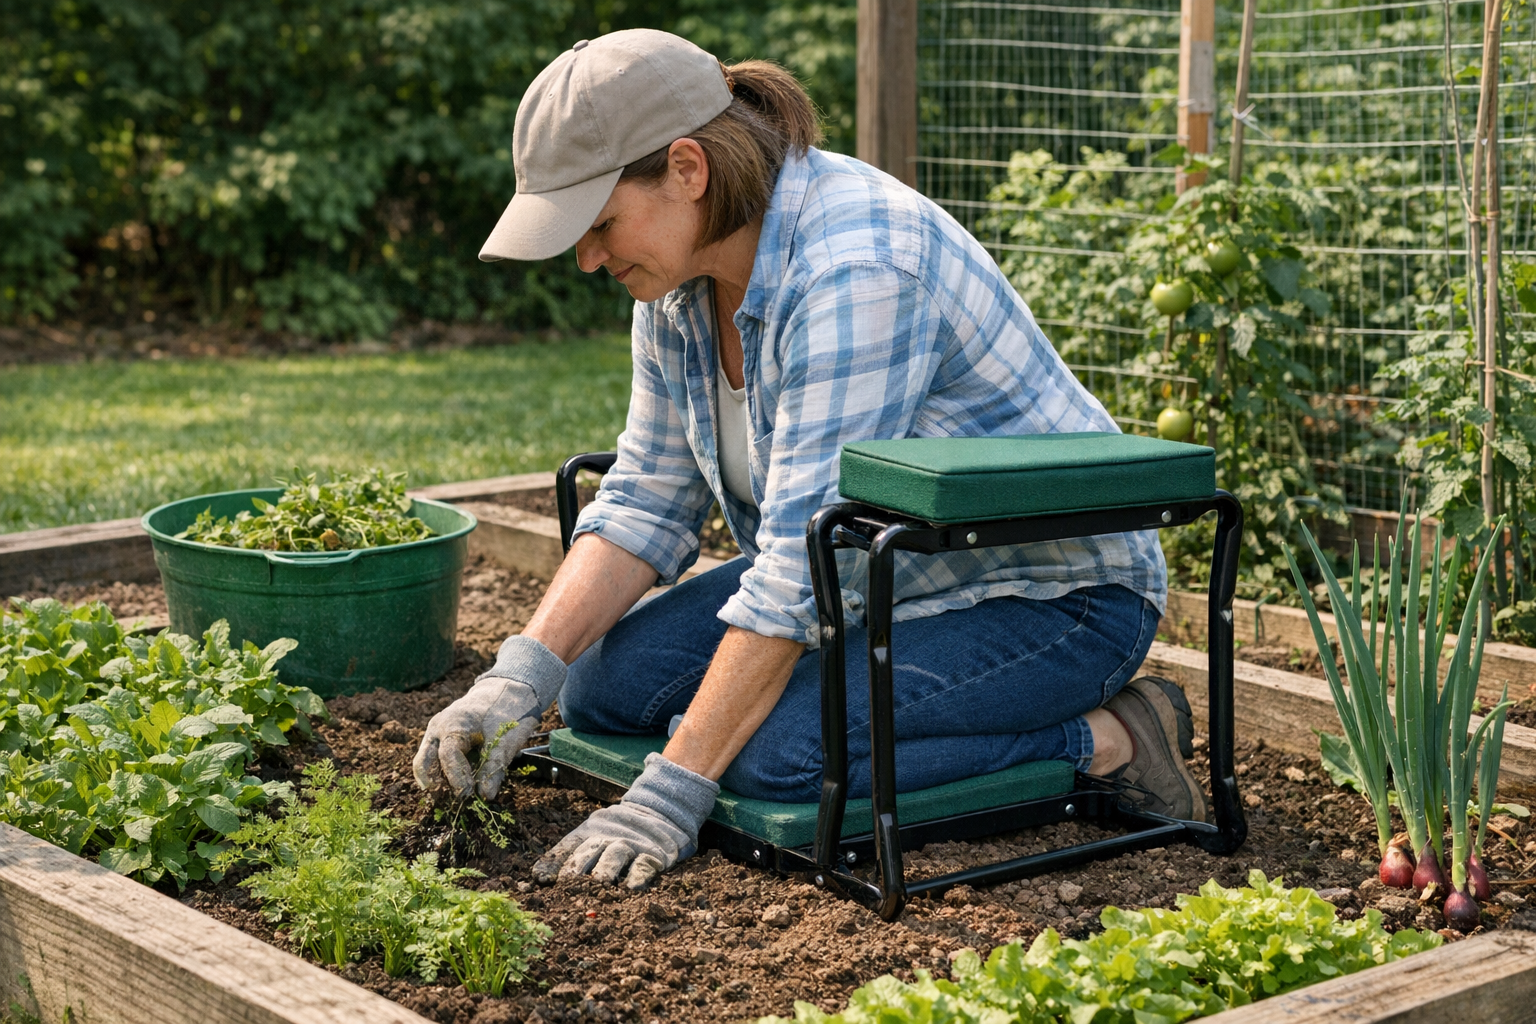
Best Garden Kneelers and Seats (2026 Tested)
Gardening shouldn't wreck your knees and back. We tested kneelers, foldable seats, and rolling carts to find the picks worth the price.
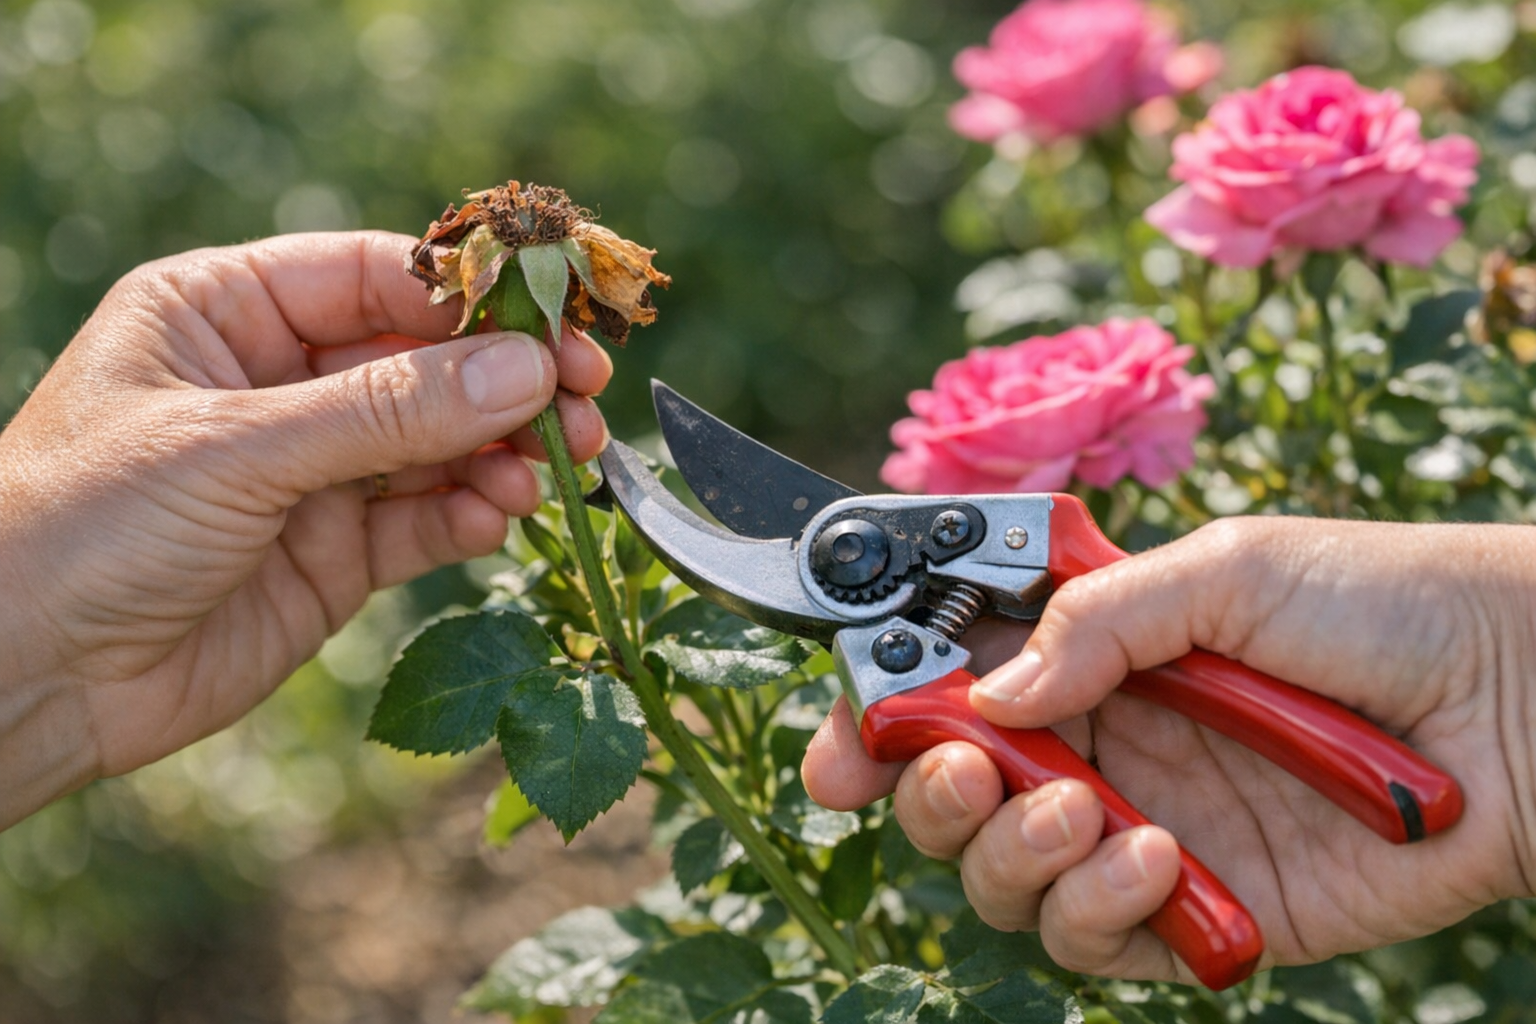
Best Pruning Shears for Gardeners (2026 Guide)
We tested bypass and anvil pruning shears across roses, fruit trees, perennials, and tomato vines. Here are the picks worth your money — and the one to avoid.
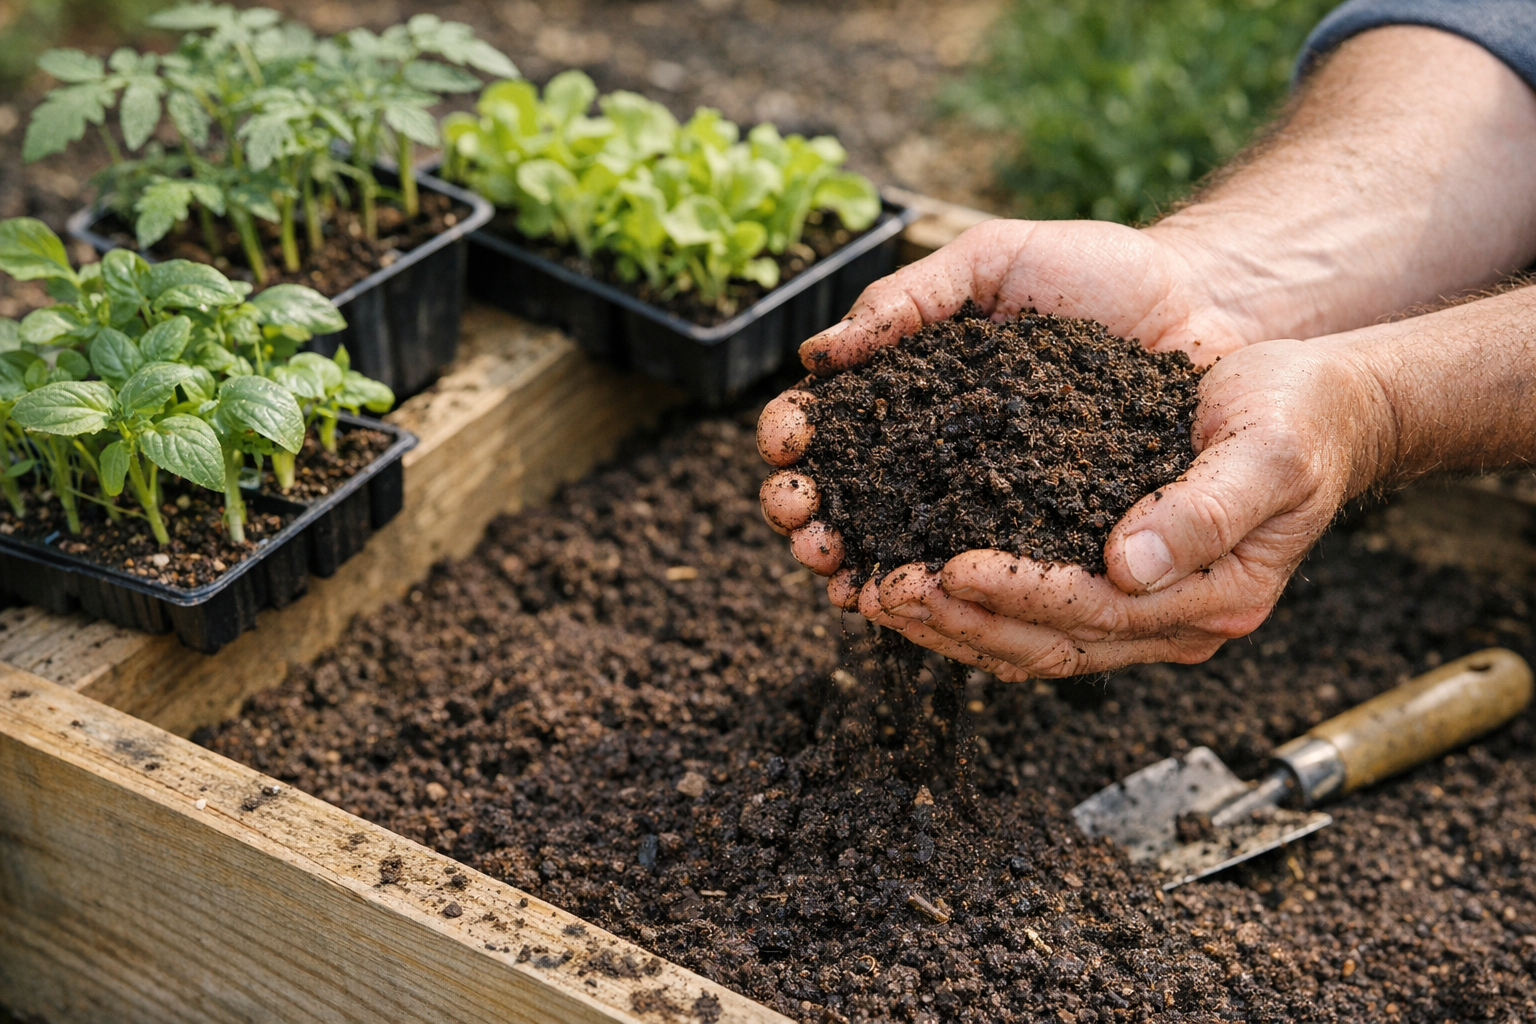
Best Raised Bed Soil Mixes (2026 Buyer's Guide)
Bagged soil for raised beds is a minefield. We tested the top brands for vegetable yield, drainage, and value to find the soil mixes that actually grow food.
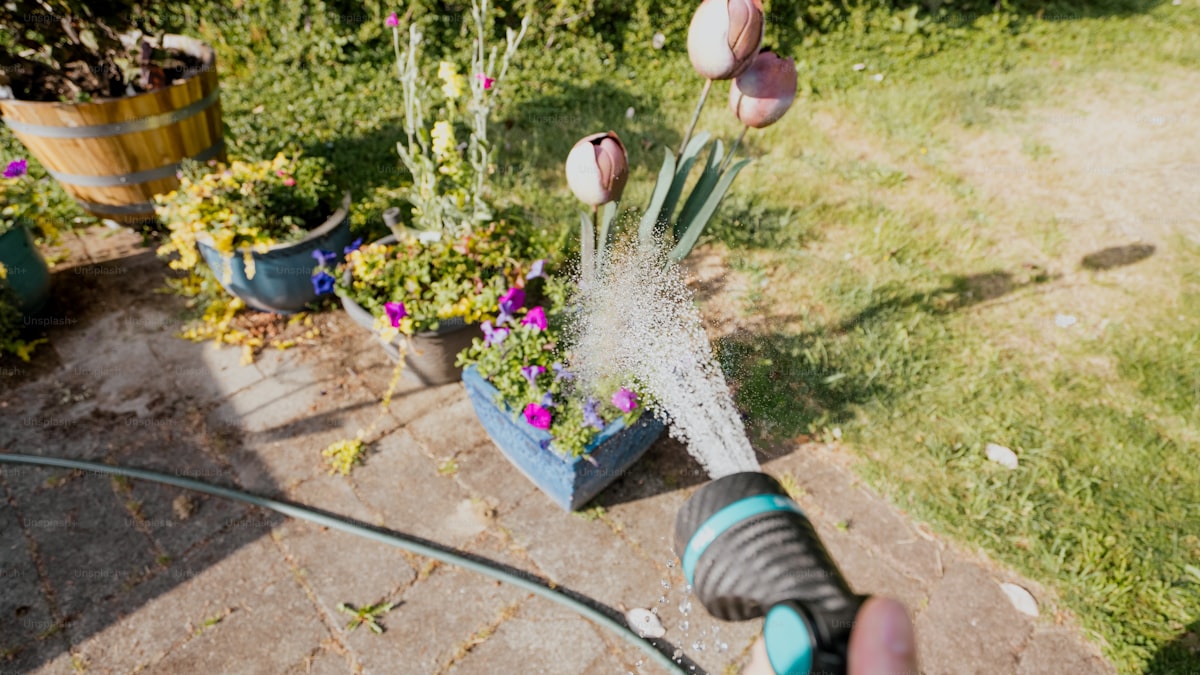
5 Best Garden Hose Nozzles and Sprayers (2026)
Find the perfect garden hose nozzle for watering plants, washing cars, and cleaning patios. We compared the top sprayers — here are the 5 best for every job.
Best Raised Garden Bed Kits You Can Order Online (2026)
The best raised garden bed kits for beginners and experienced gardeners. We compare wood, metal, and composite options with honest reviews and setup tips.
Related Articles
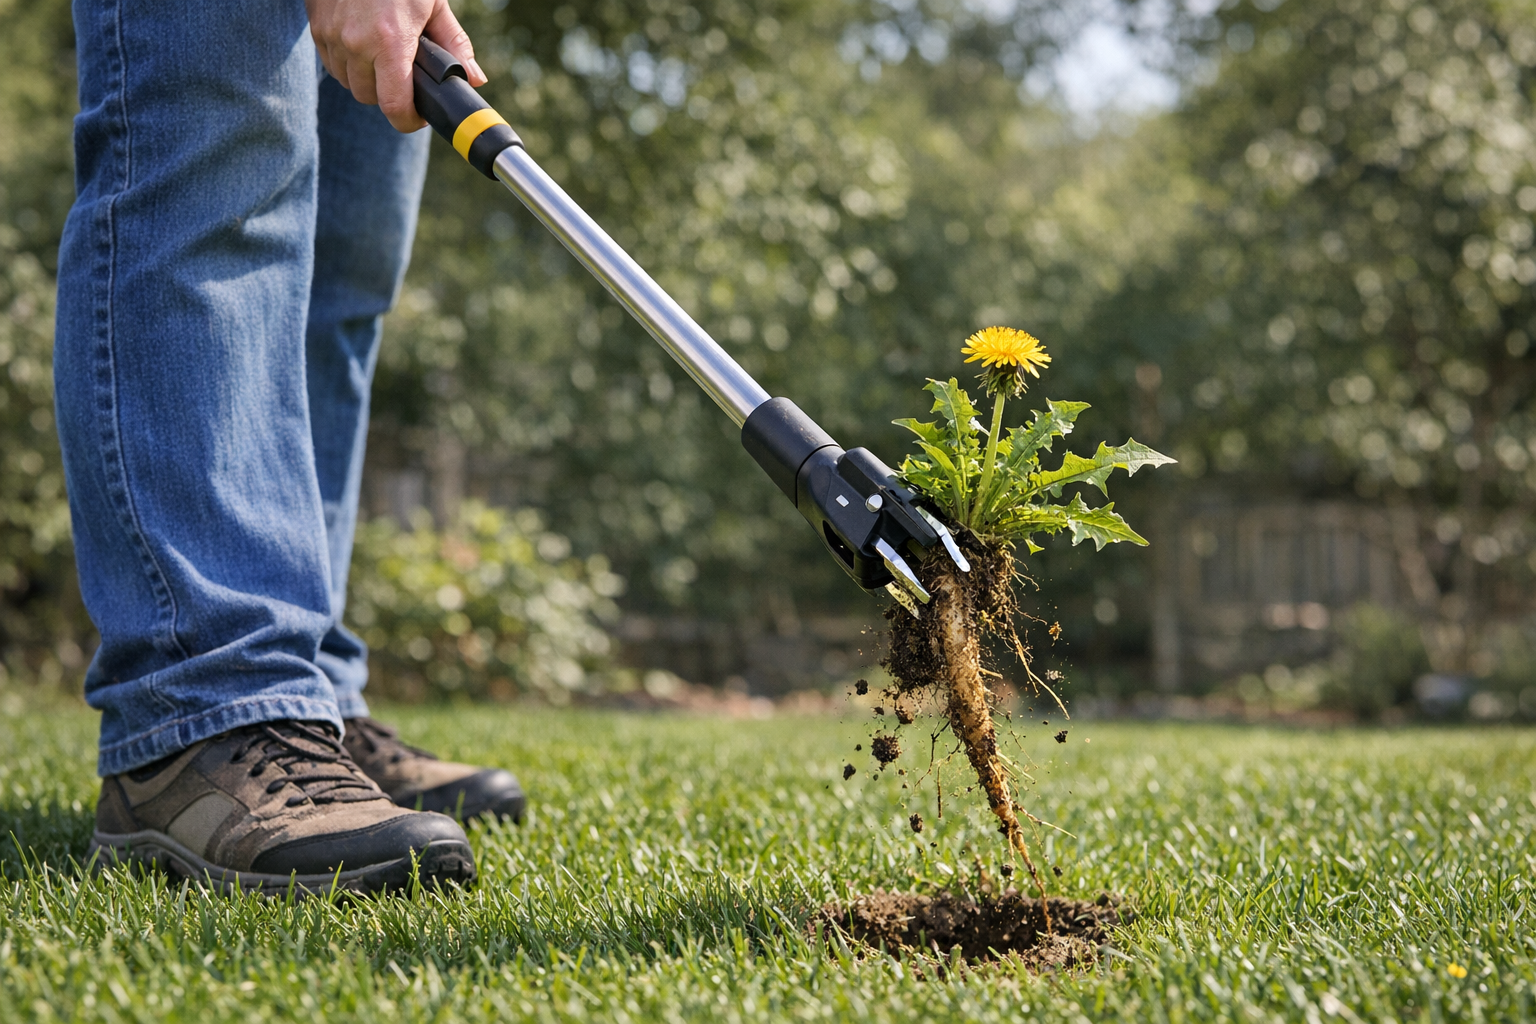
How to Get Rid of Dandelions Naturally (Without Killing the Lawn)
Dandelions are stubborn but beatable without chemical herbicides. Here's the 3-pronged natural approach that works long-term — and the tools that make it easy.
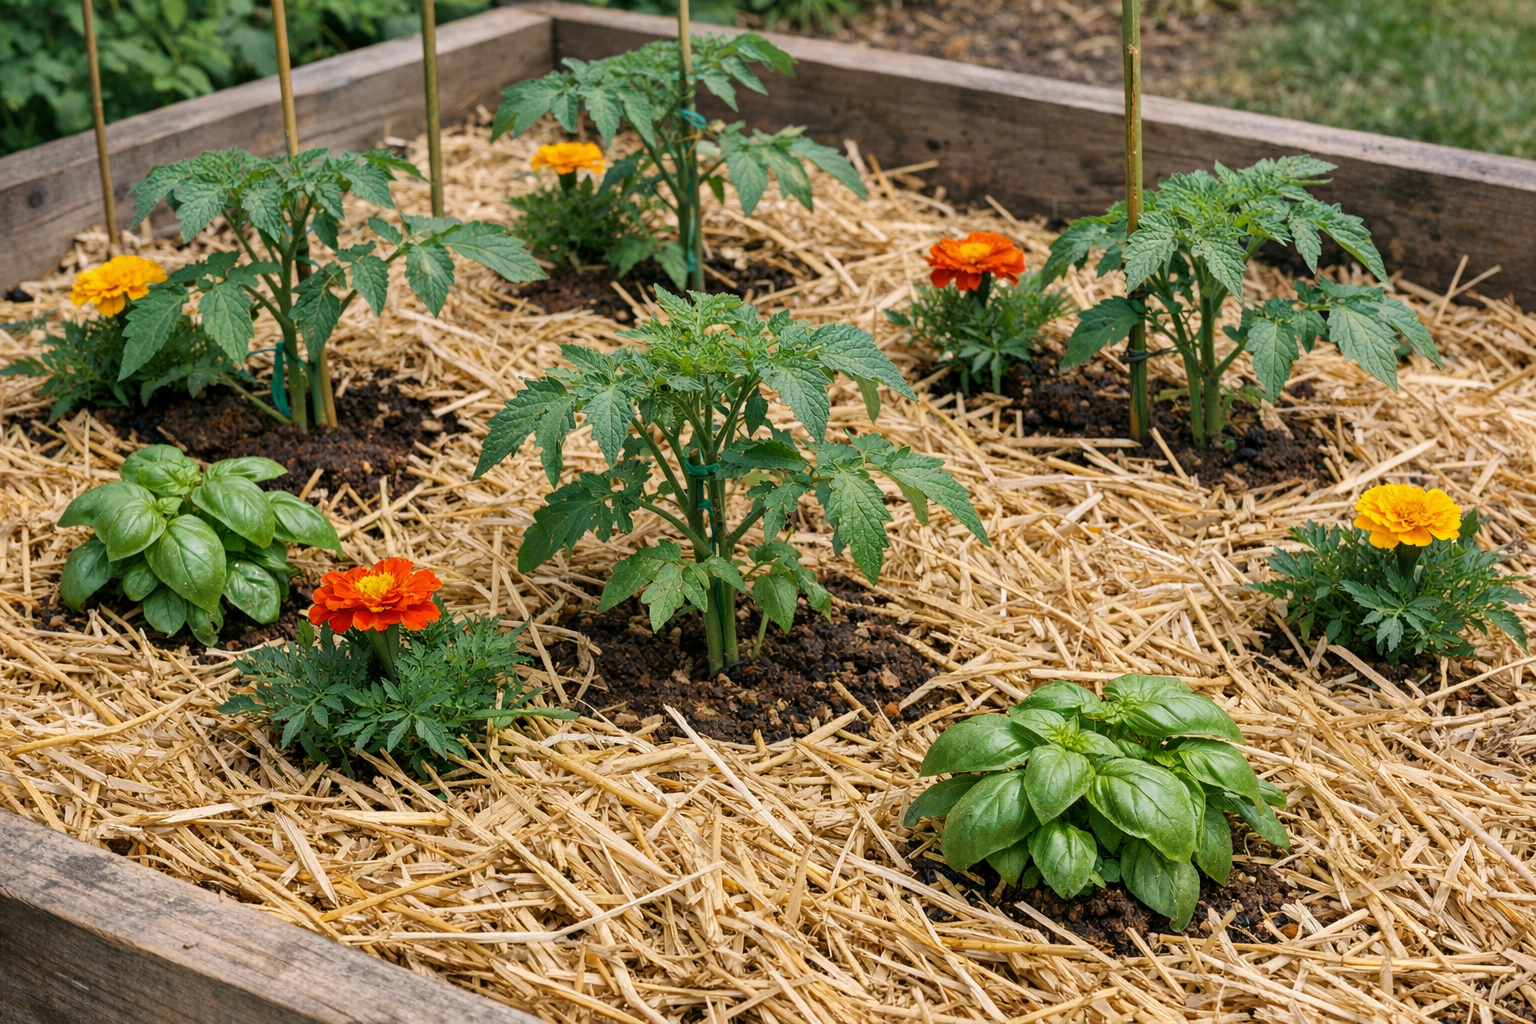
When to Plant Warm-Weather Annuals (And Which Are Easiest)
Tomato, pepper, basil, marigold — all are warm-weather plants that hate cold soil. Here's how to time the transplant for the longest possible harvest.
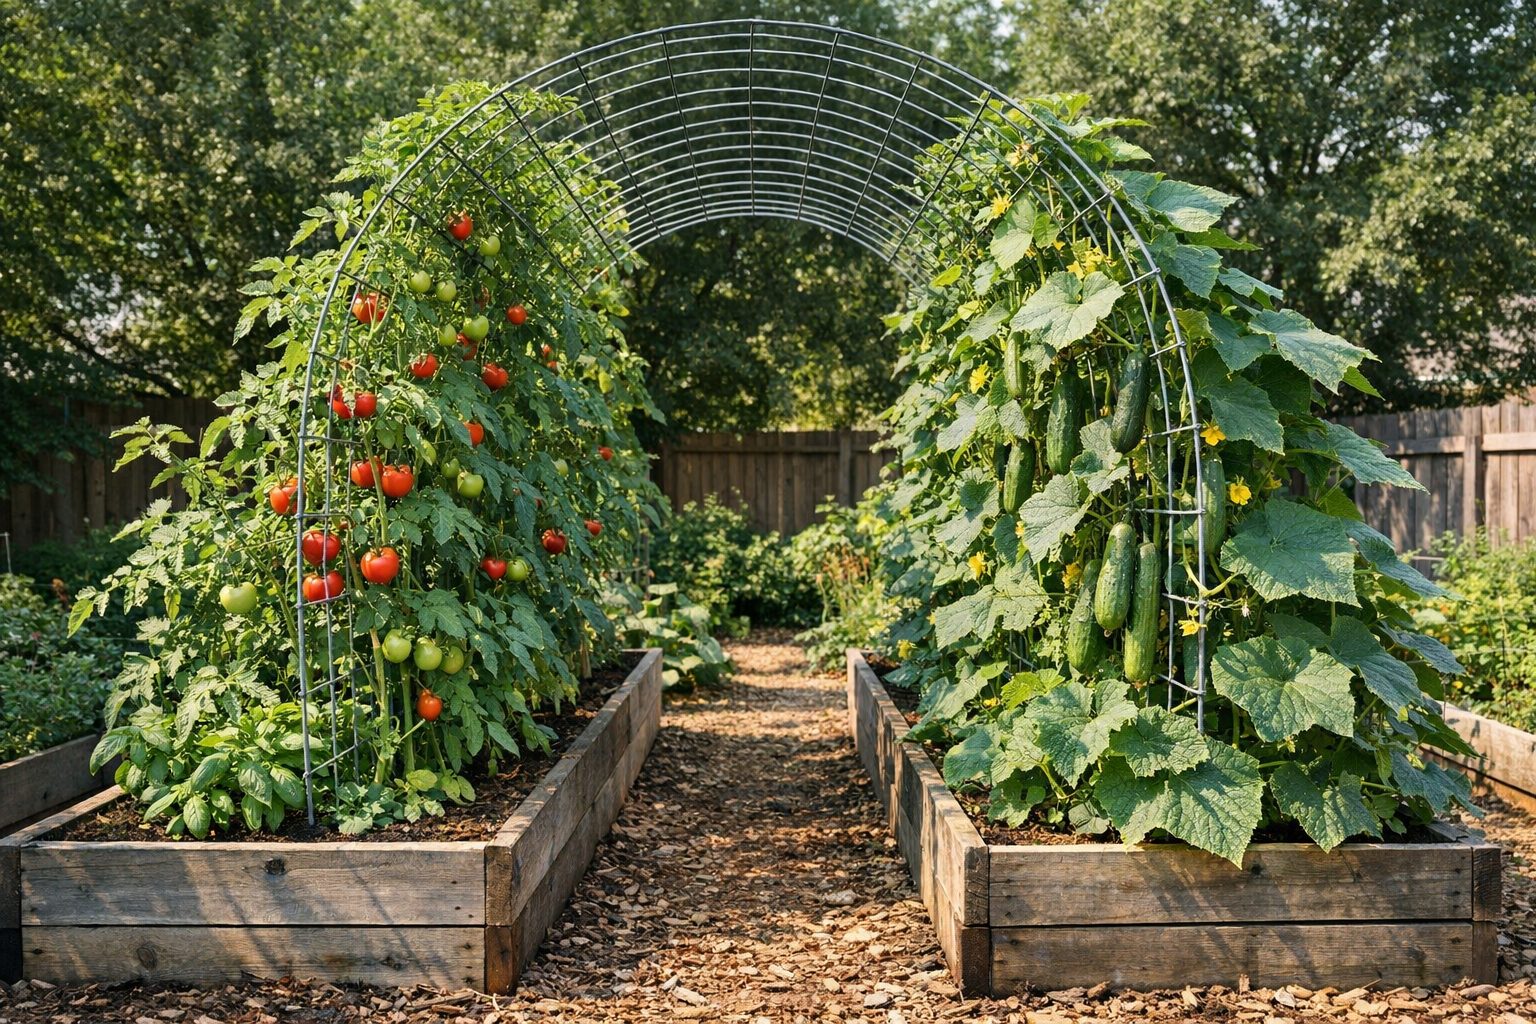
How to Build a DIY Garden Trellis for Climbing Vegetables
A sturdy trellis doubles your garden's yield per square foot. Here's how to build three easy styles using cheap materials in under an hour each.
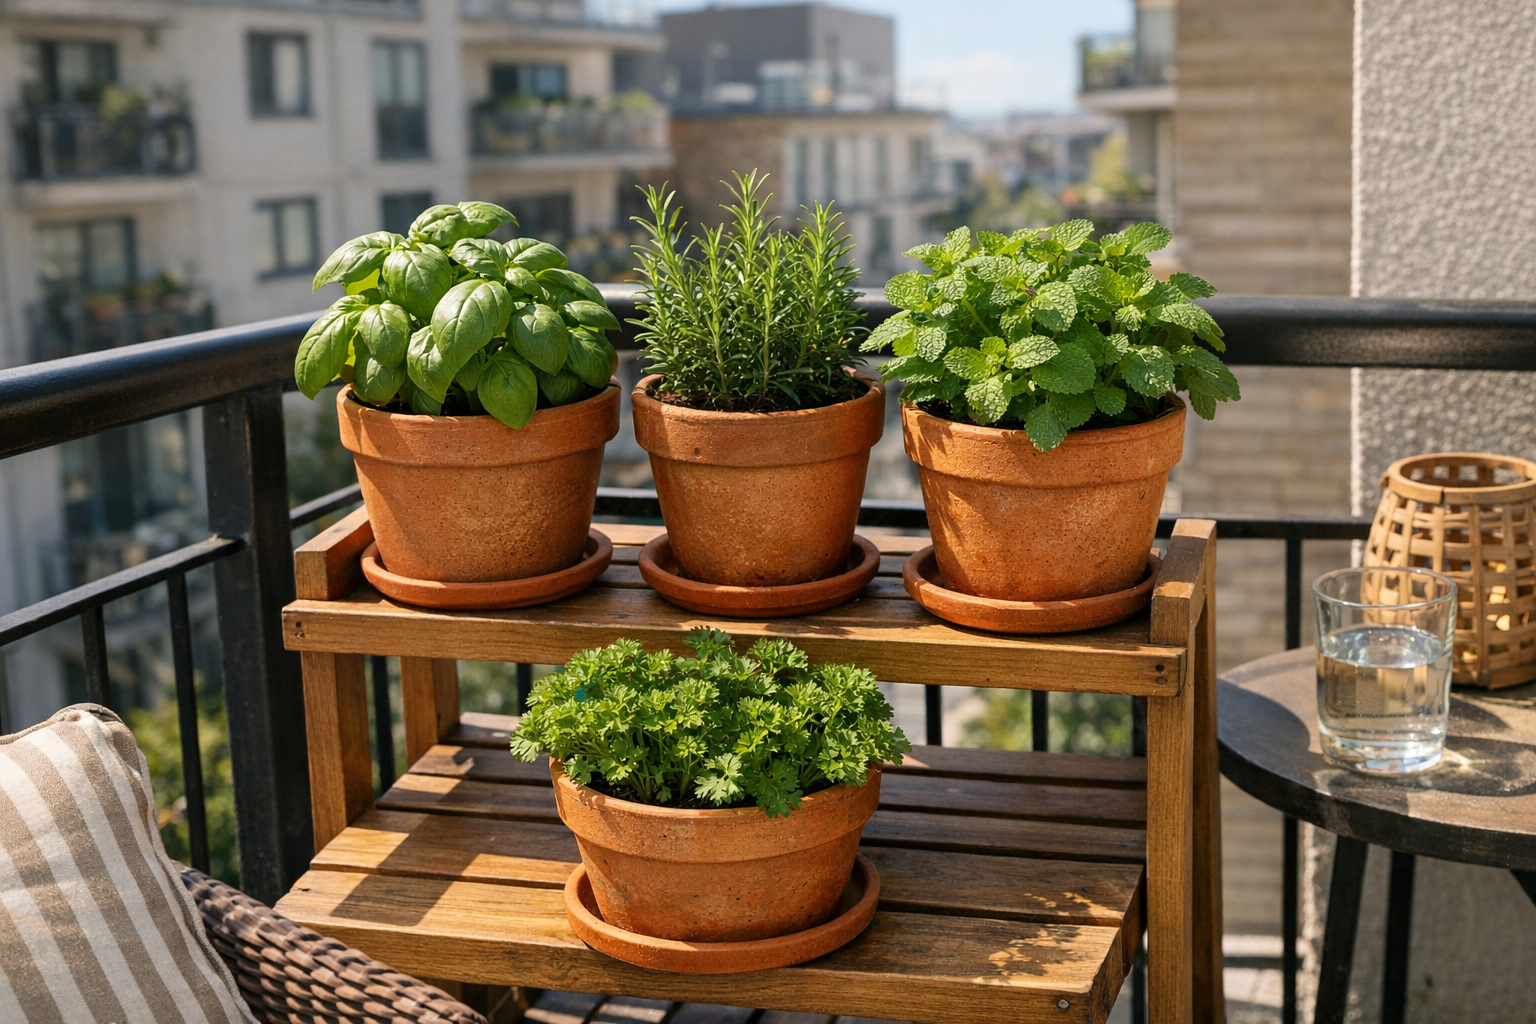
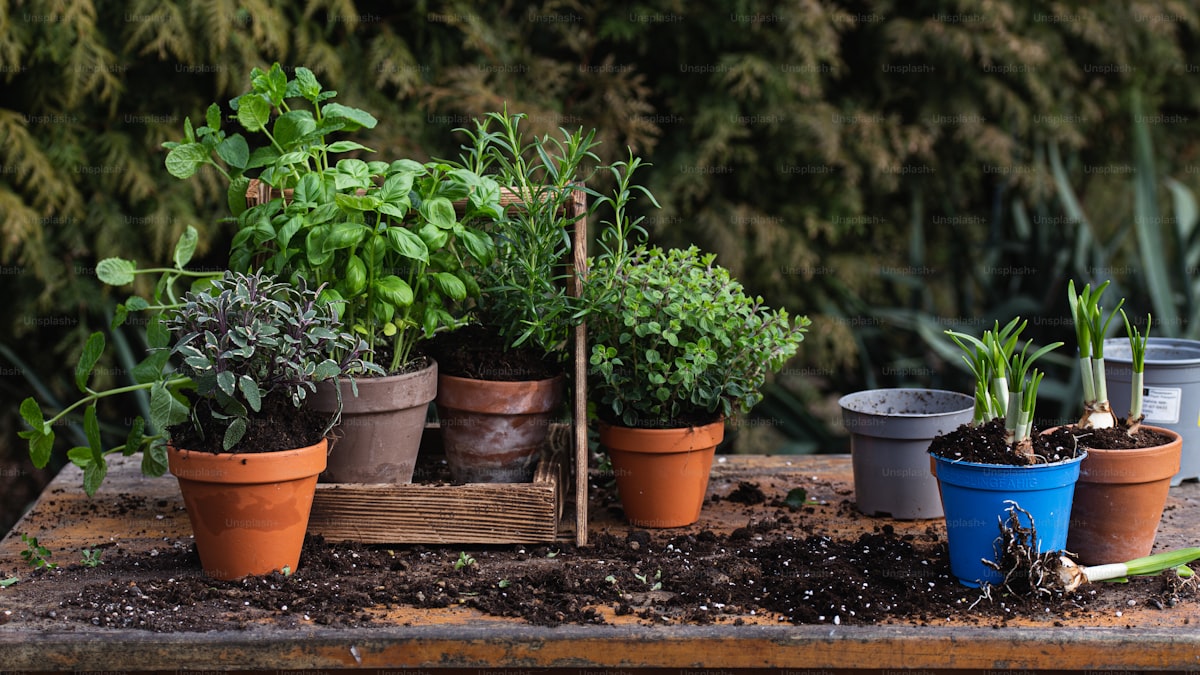
How to Start a Container Herb Garden on a Balcony
Fresh herbs all summer from a small apartment balcony or porch — even with limited sun. Picks for the easiest herbs, the right pots, and the soil that actually works.